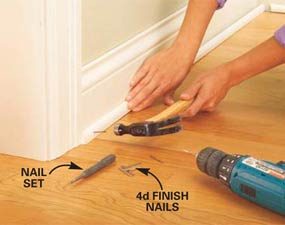
Cutting beading for laminate flooring requires precision to achieve clean, professional-looking results. Start by measuring the length needed for each section, accounting for corners and obstacles like door frames. Use a miter saw or hand miter box for accurate angled cuts—typically 45-degree angles for corners. Mark the beading clearly with a pencil before cutting to avoid mistakes. For straight cuts, a sharp utility knife or fine-toothed handsaw works well on plastic or wooden beading. Always cut slightly longer than needed; you can trim excess material, but can’t add length if cut too short.

When working with internal or external corners, proper technique ensures tight fits. For standard 90-degree corners, two 45-degree cuts create a clean joint. Hold the beading in the same orientation it will be installed when making cuts. Coping saws help shape the end of one piece to fit snugly against the profile of another in intricate corners. Test fit each piece before final installation to identify any gaps that need adjustment. Apply wood glue to mitered joints for added stability, wiping away excess immediately with a damp cloth.

Different beading materials require specific cutting approaches. Flexible PVC beading can often be cut with heavy-duty scissors or a utility knife. Solid wood beading demands sharper tools like a backsaw or power miter saw for clean edges. Composite materials may splinter; score the cut line first with a knife before sawing. For metal beading, use a hacksaw with a fine blade and file rough edges afterward. Always wear safety goggles when cutting any material to protect your eyes from flying debris.
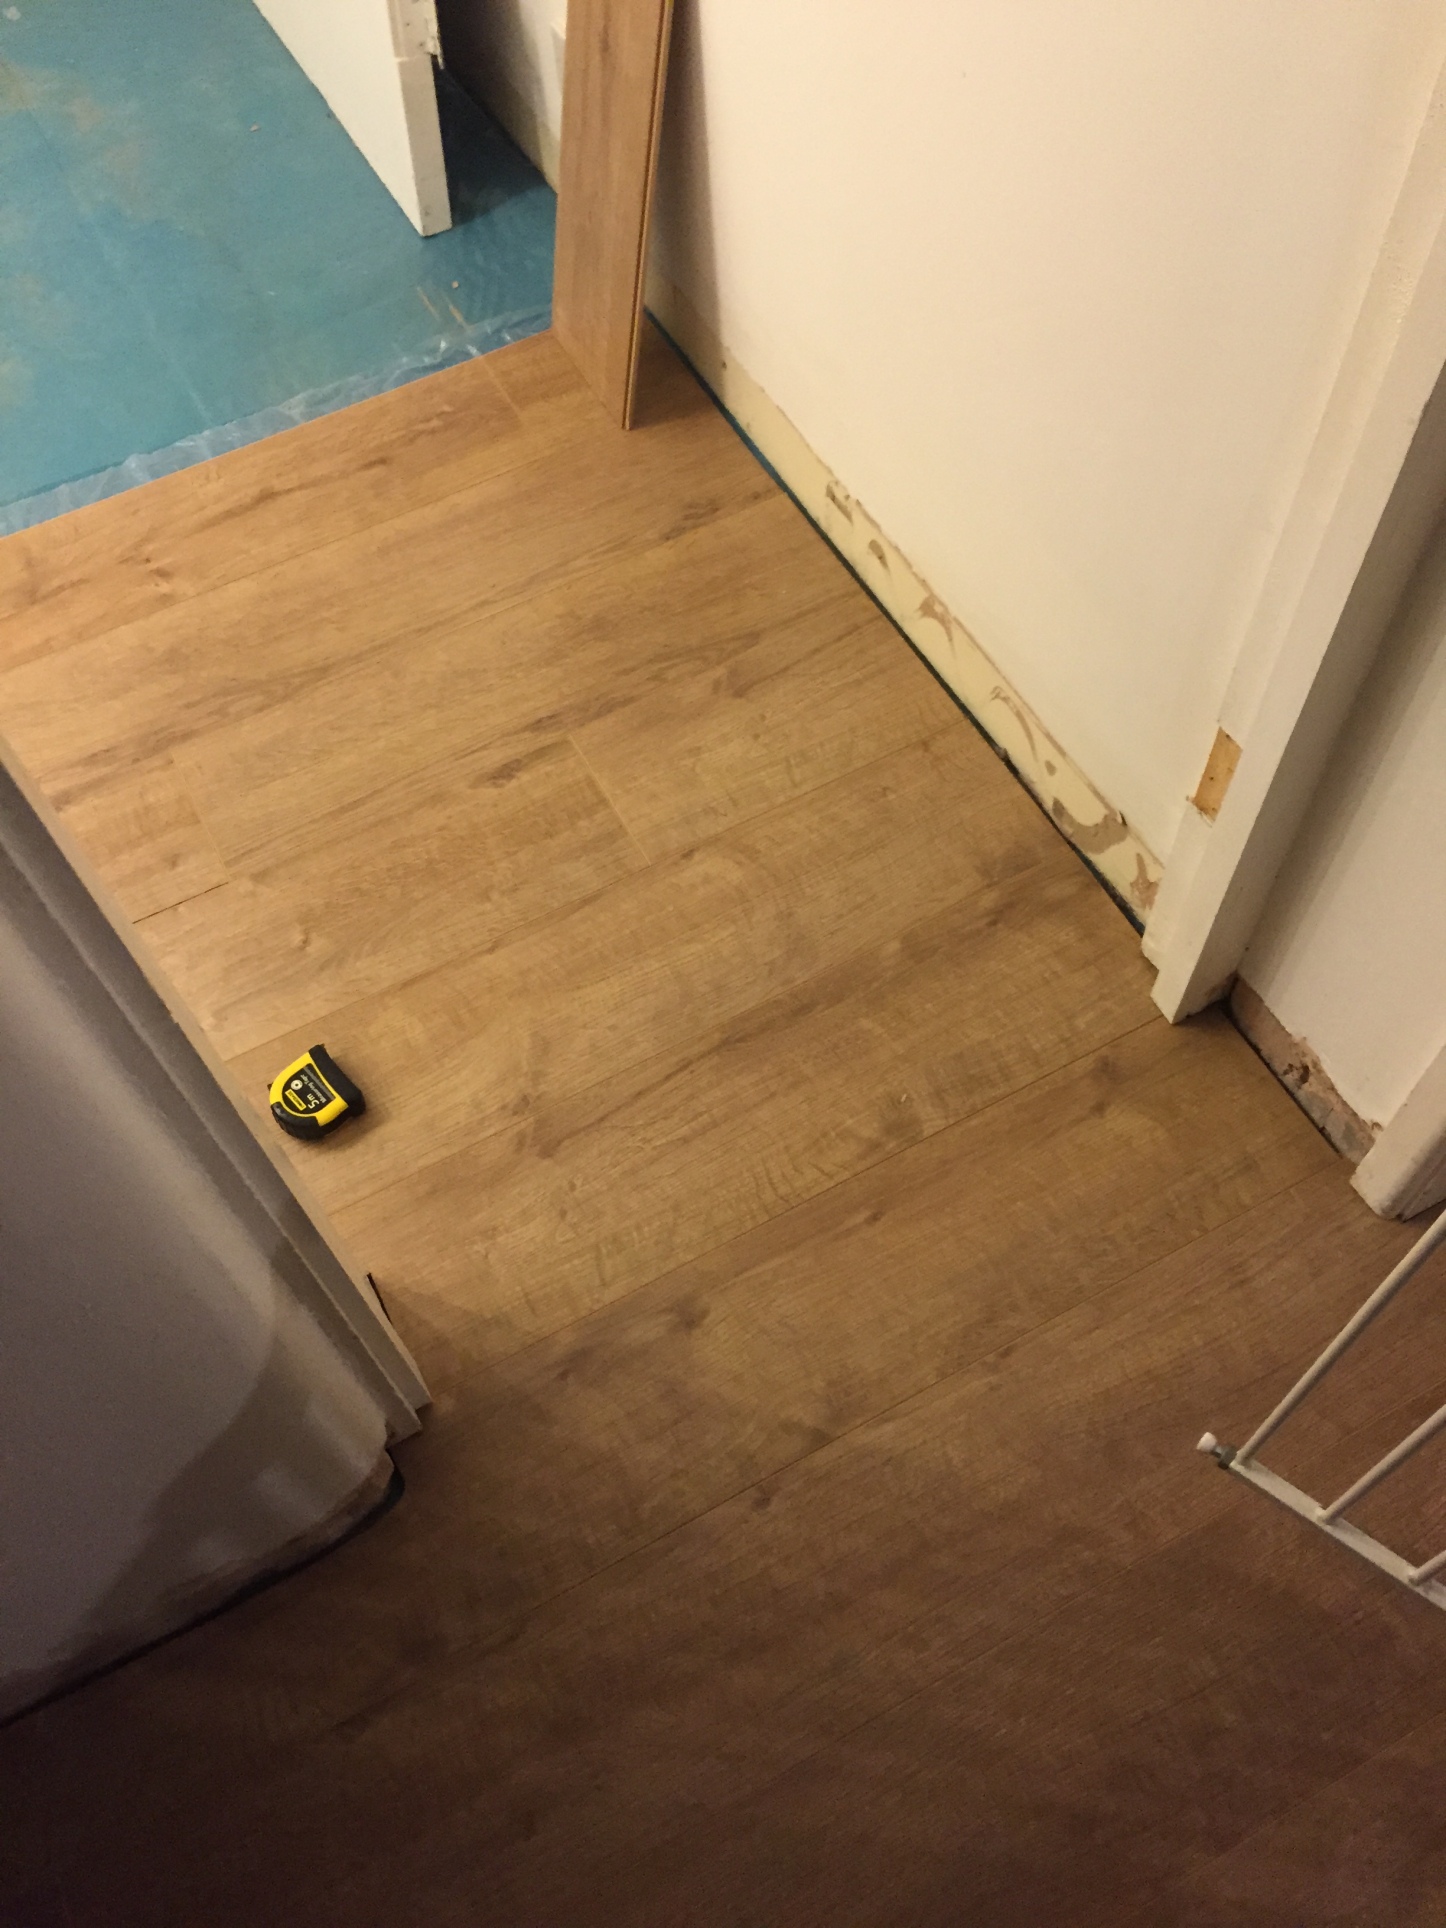
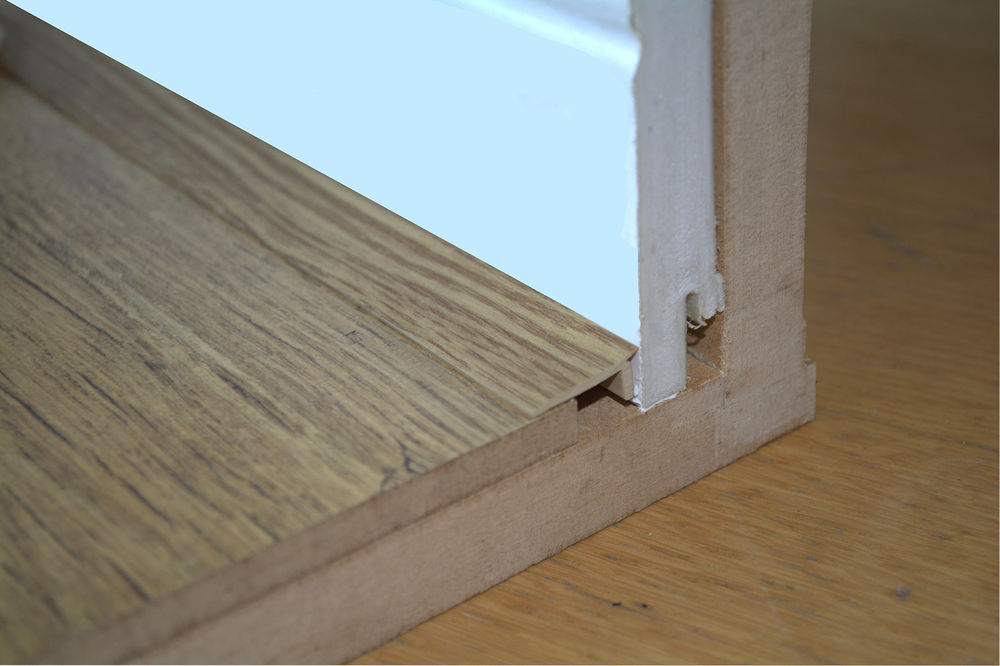
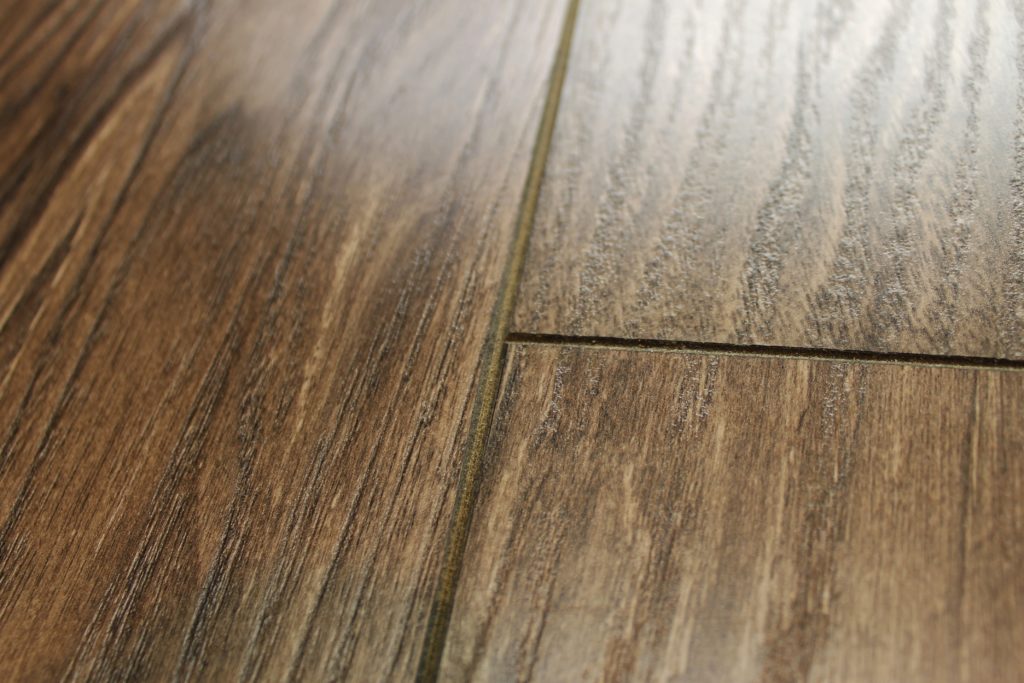
Installation tips help achieve polished results. Leave a small expansion gap (about 5mm) between beading ends and walls or obstacles. Use a nail gun or adhesive specifically designed for your beading material. For rented properties or temporary installations, consider glue-free options like tension-fit beading. Paint or stain wooden beading before installation for easier finishing. When joining straight sections, cut ends square and butt them together tightly. A colored filler pencil can disguise minor imperfections in cut edges.
Troubleshooting common issues improves the final appearance. If corners don’t meet perfectly, lightly sand the edges for better alignment. Gaps between beading and flooring can often be resolved by applying gentle pressure during installation. For stubborn curved walls, make relief cuts on the backside of rigid beading to help it conform. Keep spare material for future repairs in case of damage. With patience and the right techniques, neatly cut and installed beading gives laminate flooring a finished, professional edge while hiding necessary expansion gaps.
Wood and Laminate Flooring Ideas: Laminate Flooring Beading

Flooring Scotia Beading – Just £3.99 each – Save 55%

White Wood Effect Laminate Flooring Beading/Edging, 24m pack length (10 x 2.4m lengths). *FREE

Floor Edge Trim 10m & 20m Packs 2m Lengths Bridge Gap Between Floor & Skirting eBay
Baru Crema Ceramic floor tiles, Wood effect floor tiles, Wood effect tiles

Taking another look at wood-flooring alternatives – Katie Jane Interiors
Laminate Floor Beading Discount Flooring Depot

How To Lay Laminate Flooring Laying laminate flooring, Painting laminate floors, Diy flooring

Related Posts: