Engineered wood flooring is a versatile and stylish option for homeowners seeking durability and beauty. Unlike solid hardwood, it’s made with layers of wood topped by a genuine hardwood veneer, offering stability and resistance to moisture. Tackling this project as a DIY task not only saves on installation costs but also allows for personalization. With the right preparation and tools, installing engineered wood flooring can refresh your space, adding value and charm while staying within budget.
The first step in installing engineered wood flooring is preparation. Clear the room of furniture and ensure the subfloor is clean, dry, and level. If necessary, use a leveling compound to smooth uneven areas. Acclimate the engineered wood planks in the room for at least 48 hours to adapt to temperature and humidity. Proper preparation sets the foundation for a successful project, ensuring that your floor remains stable and visually appealing over time.

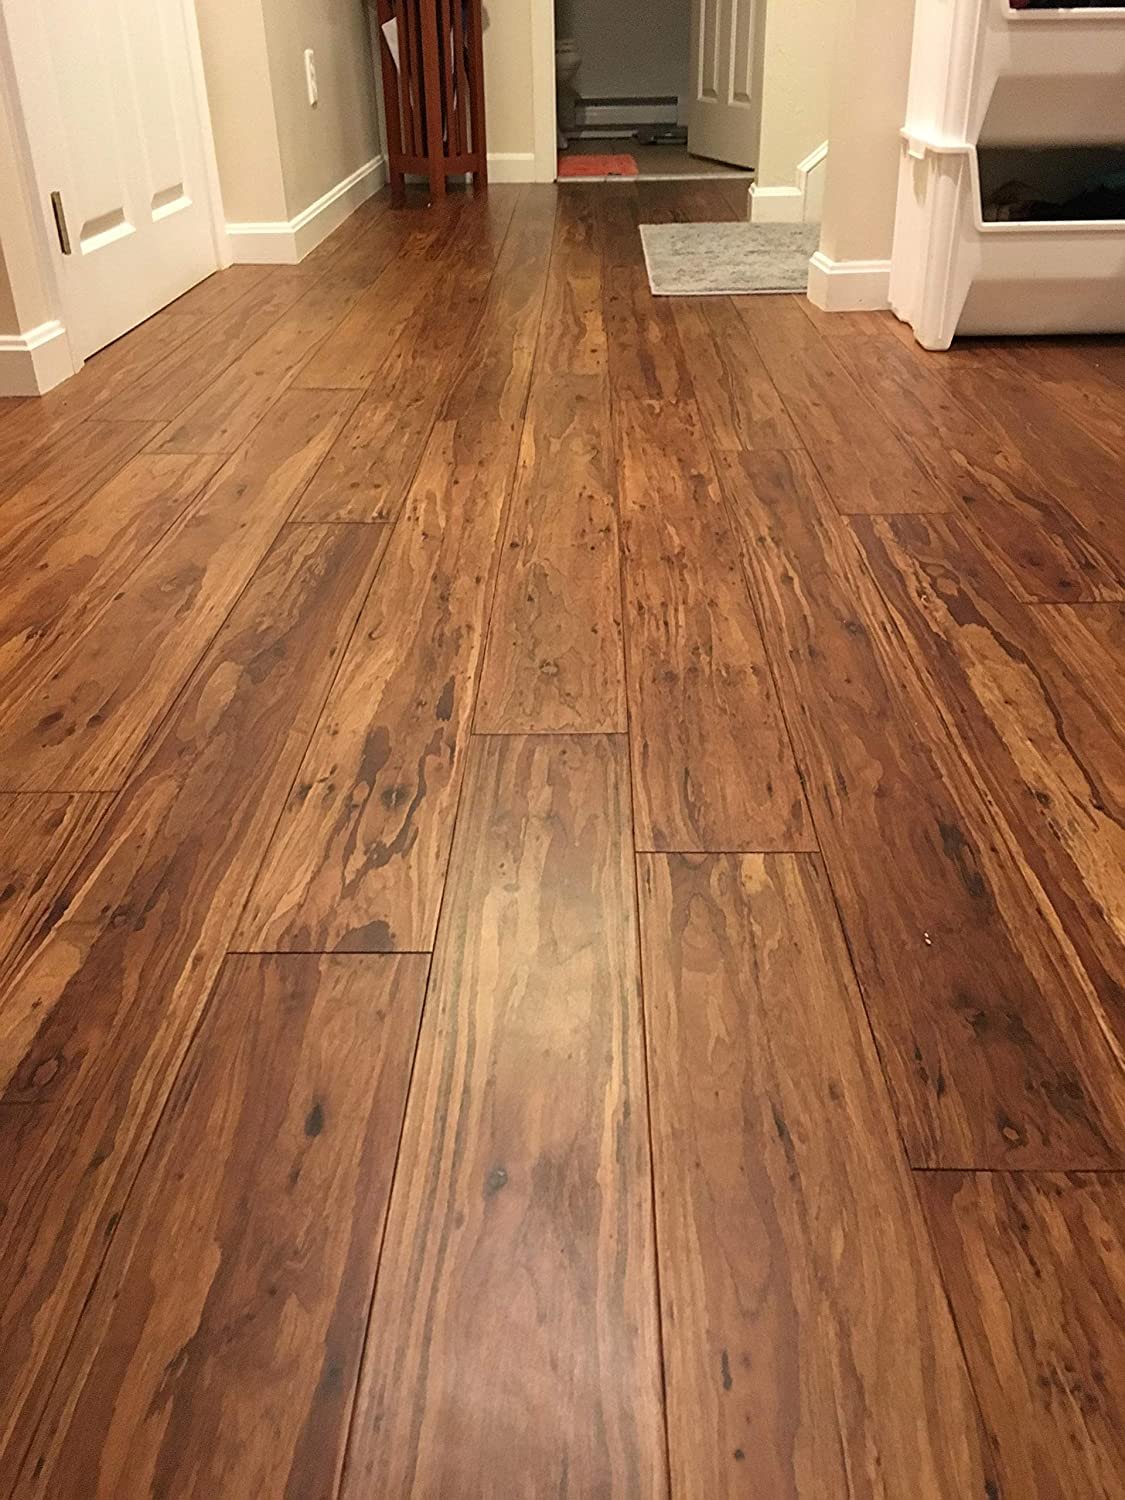
Once the floor is prepared, begin installation by laying out the planks to determine the pattern and alignment. Decide whether to use a glue-down, nail-down, or floating method, depending on the type of engineered wood and your subfloor. For floating floors, click-lock systems make assembly straightforward. Start from one corner, aligning the planks tightly while leaving a small gap around the edges for expansion. Precision during this phase ensures a seamless finish and longevity.

After laying down the engineered wood flooring, focus on finishing touches to enhance the overall look. Trim excess material around edges and install baseboards or molding to secure the floor and add polish to the room. For added protection, apply a sealant or finish as recommended by the manufacturer. These final details not only improve durability but also give your floor a professional appearance that rivals expert installation.

Finally, maintaining your engineered wood flooring is essential to preserve its beauty and functionality. Regular sweeping and gentle mopping prevent dirt and debris buildup, while furniture pads protect against scratches. Avoid excessive moisture and harsh cleaning chemicals to extend the floor’s lifespan. With proper care, your DIY engineered wood flooring will remain an attractive and resilient feature, reflecting the effort and craftsmanship you invested in its installation.
Engineered Wood – Flooring

Buyer’s Guide To Flooring Options The Family Handyman

Bernina Hickory compliments any kitchen with a variety of tones from a timeless, light natural

BELLAWOOD Artisan Distressed 5/8″ x 11-1/2″ Manhattan Chevron Engineered Hardwood Flooring

flooring #woodworking Wood floor design, Wood floor pattern, Floor design

Engineered Hardwood Flooring: 3/8 in. x 3-1/4 in., 5 in. and 7 in. Hand Scraped – contemporary

Left-Over Engineered Hardwood Flooring – Project Ideas? – The Wood – Wood Talk Online

DIY Home Projects – Home Improvement Projects

Related Posts: