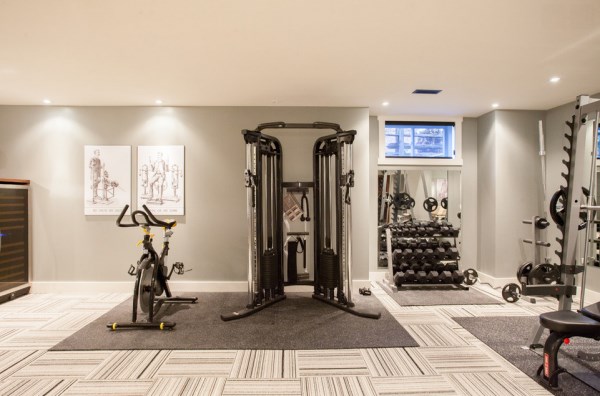
Three years ago, I converted my untidy garage into a completely functional home gym, and the flooring choice proved more important than any equipment purchase I made. My first error was attempting to workout on bare concrete, which resulted in joint soreness, excessive equipment noise, and a damaged dumbbell that couldn’t withstand a drop. Proper gym flooring serves numerous purposes, including preserving your body and equipment and creating a motivating environment for frequent exercises. After experimenting with various possibilities in different areas of my garage gym, I’ve obtained actual knowledge of what works best for different training styles. The ideal flooring option strikes a compromise between durability, shock absorption, sound dampening, comfort, and cost, all while taking into account your individual exercise preferences.
Following extensive testing of several materials, rubber flooring emerged as my preferred solution for free weight zones. I added 3/4-inch vulcanized rubber tiles in my deadlift zone, which have withstood thousands of pounds of repeated drops without displaying noticeable wear. The material absorbs impact very well, reducing noise transfer that previously generated neighbor complaints when weights struck the ground. The firm rubber provides secure footing for big lifts, as opposed to softer foam choices, which compress unevenly under weight. I particularly like how the rubber resists indentation from heavy equipment, remaining intact even under my squat rack and weight storage racks. For regions that will take the most abuse, I suggest virgin rubber over recycled choices.

Horse stall mats are a cost-effective alternative to commercial gym rubber flooring, which I’ve installed in around half of my space. These 3/4-inch thick rubber mats, which cost around $2 per square foot at agricultural supply stores, operate similarly to specialized gym flooring but at a lower cost. The dense material can withstand heavy equipment and falling weights while providing enough joint protection for most exercises. I did experience a strong rubber stench at first, which took several weeks of garage ventilation to totally fade. The main disadvantages are the heavy weight of each mat, which makes installation a two-person process, and the difficulty in precisely cutting them for a smooth finish against walls. Despite these issues, they are still my #1 choice for budget-conscious home gym builders.
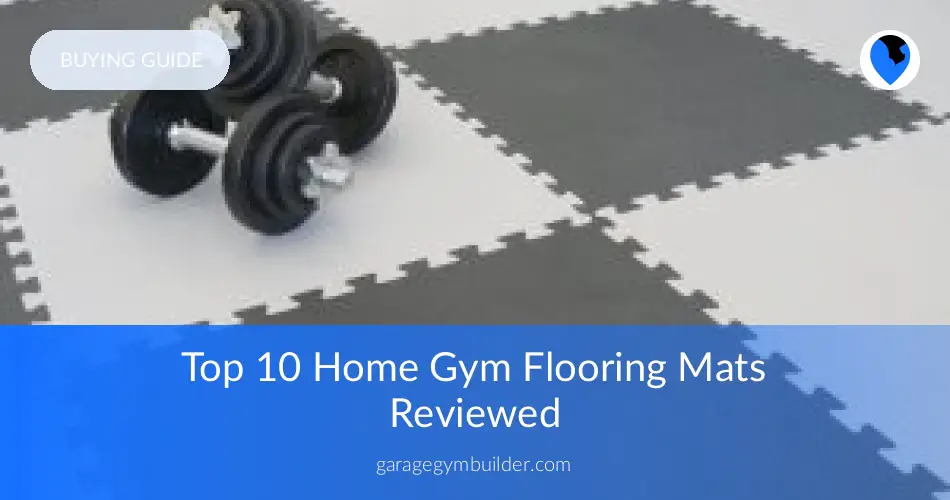
Interlocking foam tiles were ideal for creating a distinct stretching and bodyweight exercise zone. The 1/2-inch EVA foam adds comfort to floor workouts like sit-ups, push-ups, and yoga without being overly soft. Installation was incredibly simple, as the puzzle-piece edges bonded securely without adhesive, allowing for easy reconfiguration when necessary. I enjoy how these tiles protect against the chilly concrete, making winter morning workouts much more bearable. However, I quickly realized their limitations when I accidently rolled a heavy barbell across them, creating lasting indentations. Foam tiles are ideal for regions where just bodyweight movements and mild dumbbell work are performed, but they cannot support significant weight training.

Vinyl plank flooring adds a professional touch to my gym’s central hallway and exercise planning space. This waterproof, low-maintenance choice visually contrasts with the industrial style of the rubber flooring while offering a sturdy surface for my training bench and exercise equipment storage. I chose a woodgrain pattern that fits the interior style of my home, making the garage gym feel like a purposeful addition to our living area rather than an afterthought. The vinyl planks mount readily over concrete with no preparation, withstand moisture damage from perspiration, and clean up quickly after dusty workouts. While not suited for high weight regions, vinyl provides an appealing, long-lasting surface for transition spaces and mild training zones in a complete garage gym setup.
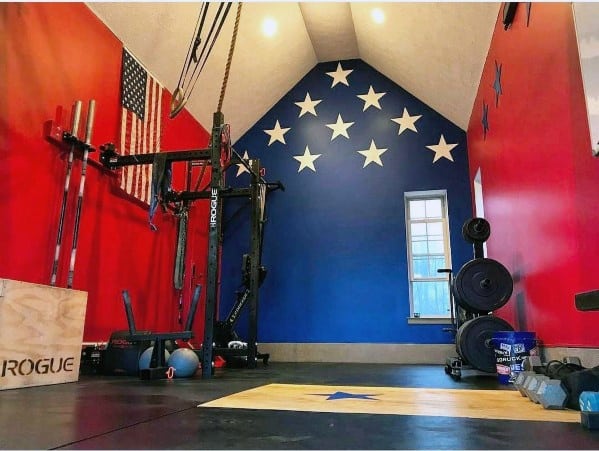
After numerous flooring solutions failed to adequately protect my concrete from dropped barbells, I constructed a specialized lifting platform, which dramatically improved my Olympic lifting area. I constructed an 8’x8′ platform with two pieces of 3/4-inch plywood topped with stall mats on the sides and a center-mounted 3/4-inch maple plywood for barbell support. This combination provides the ideal balance of stability for explosive actions such as cleans and jerks while also absorbing shock as weights fall down. Building the platform requires basic carpentry skills but cost hundreds less than commercial versions. The platform’s higher height initially posed a tripping hazard until I installed transition strips along the borders. For professional lifters, a specialized platform protects both the floor and the equipment from early damage.

Carpet tiles were an unexpected answer for my cardio equipment room after I discovered that my treadmill and stationary cycle caused vibrations on firmer floors. The low-pile commercial-grade tiles effectively absorb equipment vibration while also providing sound dampening capabilities, making early morning exercises less likely to wake sleeping family members. Individual tiles, as opposed to rolled carpet, are easy to replace when worn in high-traffic areas or under machine contact points. I chose dark grey tiles with small specks to disguise dust and rubber residue from other gym sections. The carpet enables pleasant barefoot training for bodyweight circuits while still providing adequate stability for modest dumbbell exercises, making it an adaptable flooring solution for mixed-use areas of my garage gym.
Epoxy coating, when paired with exercise-specific overlays, dramatically improved my initial concrete floor portions. Before installing any gym flooring, I completely cleaned, etched, and sealed the porous concrete with a commercial-grade epoxy coating to minimize moisture transmission and harm to the rubber or foam layers above. When I remove my modular flooring components for deep cleaning, I can easily clean under and around them thanks to the epoxy’s smooth, sealed surface. In spots where I periodically park cars, the epoxy gives chemical resistance to automotive fluids while effortlessly transitioning to specialized gym flooring parts. The reflective surface unexpectedly increased lighting efficiency, lowering the amount of overhead bulbs required to brightly illuminate my training area.
Artificial turf strips provided an ideal surface for my functional training zone, where I do sled pushes, battle rope exercises, and agility drills. The 15-foot synthetic grass track provides perfect resistance for pushing workouts while also providing stable footing during lateral movements that would be slick on rubber surfaces. The turf’s texture allows for medicine ball slams and rope work without the high bounce found on firmer grounds. Installing the material required special perimeter tape to avoid edge curling, but the end result transformed previously underutilized garage space into my most frequently used training zone. While I was first cautious of putting turf indoors, it has since become a vital component that distinguishes my garage gym from standard home setups.
The modular approach to flooring ultimately proven the most successful across my garage gym, allowing for customization for certain activities while supporting my changing fitness interests. Rather than covering the entire space with a single material, I divided it into zones with specific surfacing for each: rubber for weight training, foam for mobility work, platform for Olympic lifts, turf for functional training, and vinyl for transition regions. This planned approach maximized my budget by only using premium materials when absolutely necessary. The modular design allows for rearrangement as my training priorities shift and partial replacement when specific pieces wear out, rather than necessitating a full flooring makeover. Zone-specific flooring provides the best training environment for garage gyms with different users and varying workout preferences.

What is the greatest flooring option if I frequently need to convert my garage back to parking?
Based on my experience with this specific circumstance, interlocking rubber tiles are the best choice for convertible spaces. Unlike glued rubber or permanent platforms, these heavy-duty tiles remain in place during workouts but can be easily removed and placed against a wall when vehicle parking is required. I propose 3/4-inch thickness for providing protection without adding too much height that may interfere with vehicle clearance. Look for tiles with beveled edges to avoid stumbling when going from flooring to concrete. Consider putting the tiles on moving platforms for easy transitions between gym and parking arrangements.
How can I avoid moisture concerns under my garage gym flooring?
Moisture control proved critical in my humid climate to prevent mold growth and flooring damage. I started with a simple moisture test, taping plastic sheeting to various concrete surfaces for 24 hours to check for condensation. After discovering extensive wetness, I applied an epoxy moisture barrier before laying any flooring. For permanent installations, I used a dimpled underlayment membrane that generates air channels, allowing moisture to dissipate rather than being trapped. Regular periodic lifting of modular flooring portions for examination and drying helps to prevent concealed moisture accumulation. During extreme weather conditions, dehumidifiers help to protect both the flooring and the equipment.

What is the best cost-effective way to cover a huge garage gym?
Based on my careful price evaluations, horse stall mats are clearly the greatest bargain for total garage gym coverage. These 4’×6′ rubber mats cost around $1.50-$2.00 per square foot and outperform solutions that cost three times more. I supplemented these with carefully placed carpet scraps for stretching and cardio equipment to further reduce expenditures. For really tight budgets, I recommend beginning with appropriate flooring beneath critical equipment such as power racks and platforms, then progressively expanding coverage as funds allow. When selecting stall mats, check for constant thickness and density, as quality varies greatly between suppliers.
How should I clean and maintain various types of garage gym flooring?
on achieve the best results, my maintenance approach differs according on the flooring type. I vacuum rubber areas weekly to remove chalk and debris, and then clean them monthly with diluted simple green to minimize perspiration buildup without deteriorating the material. Foam tiles respond nicely to gentle vacuuming and occasional wiping with a moderate soap solution, which avoids harsh chemicals that degrade the substance. Vinyl portions require simply dust mopping and occasional moist cleaning using vinyl cleaners. To maintain optimal fiber orientation, vacuum turf areas on a regular basis with a brush attachment. All flooring benefits from a quarterly edge inspection and seam resealing as needed.

What thickness should gym flooring be for dropping large weights?
After experimenting with different thicknesses, I discovered that minimal requirements vary greatly by activity type. 3/4-inch rubber on concrete provides ample protection for deadlifts and rack pulls. Olympic lifts with overhead drops require either specialized platforms or a minimum 1.5-inch rubber thickness to avoid concrete damage and noise. For general dumbbell exercises with intermittent drops, 1/2-inch commercial rubber is sufficient. Instead of covering the entire garage with pricey thick rubber, I made specialized dropping zones with the appropriate thickness and used thinner material elsewhere. Consider bumper plates instead of iron for further floor protection during big lifts.
What flooring is most suited for cardio equipment such as treadmills and rowers?
Specialized exercise mats surpass regular flooring options under my heavy cardio equipment. These dense rubber mats, which are typically 3/8-inch thick, inhibit machine movement while also protecting the flooring from mechanical wear and perspiration damage. For treadmills, I recommend extending the mat 6-12 inches beyond the machine’s footprint to collect perspiration and dirt. Equipment mats with textured bottoms prevent sliding on a variety of surfaces, including concrete, vinyl, and carpeting. For rowers who move slightly during strenuous sessions, attaching the equipment mat to the underlying flooring with double-sided carpet tape efficiently avoids movement while protecting your primary floor surface.
Finally getting to build my garage gym flooring?
The Best Home Gym Flooring – DIY Garage Gym Renovation

Best Garage Gym Ideas – Home Fitness Center Designs
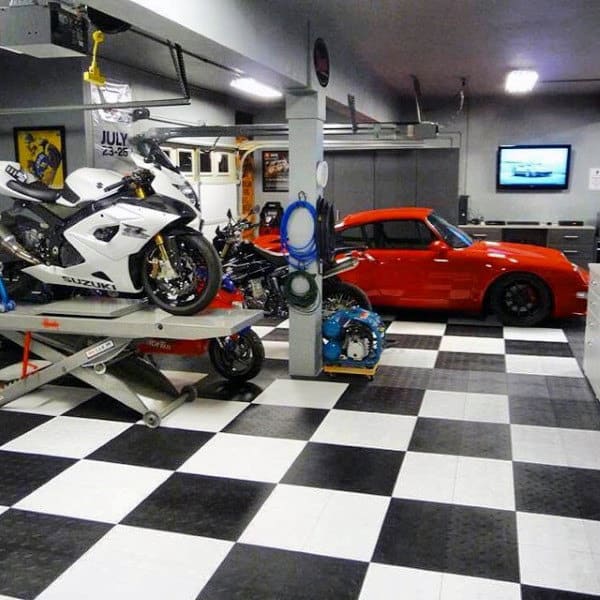
Garage Flooring – Garage Floor Epoxy, Concrete Flooring

Garage Flooring Ideas For Men – Paint, Tiles And Epoxy Coatings
Carpet Tiles Bring Modular Flooring Home
Related Posts: