Standing in my 1950s colonial home three years ago, I stared at the scratched, water-stained oak floors that had seen decades of family life. The original finish had worn through to bare wood in high-traffic areas, leaving an inconsistent patchwork of colors and textures. Professional quotes exceeded $4,000 for my 800 square foot main level, prompting me to research DIY refinishing techniques. That decision launched me into one of the most challenging yet rewarding home improvement projects I have ever undertaken.
My research phase consumed weeks as I studied different approaches, equipment options, and finish types. I learned that successful hardwood refinishing requires understanding wood species, grain patterns, and how different sanders affect the surface. Red oak responds differently than maple or cherry to sanding grits and stain absorption. The key insight came from realizing that patience and proper preparation account for 80% of professional-looking results, while rushing through steps guarantees disappointment and potential damage.
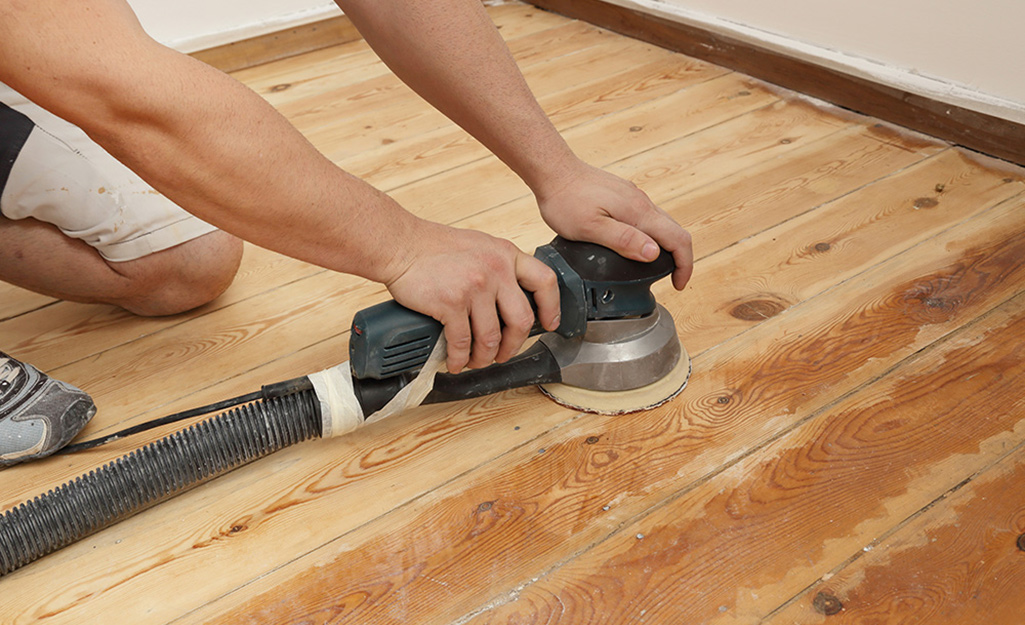
Equipment rental became my next major consideration after discovering that purchasing professional-grade sanders would cost more than hiring contractors. I rented a drum sander for the main areas and an edge sander for perimeters, along with a random orbital sander for final smoothing. The rental shop provided a brief demonstration, but I supplemented this with online tutorials and practice sessions on closet floors. Safety equipment including dust masks, ear protection, and knee pads proved essential for the multi-day process.
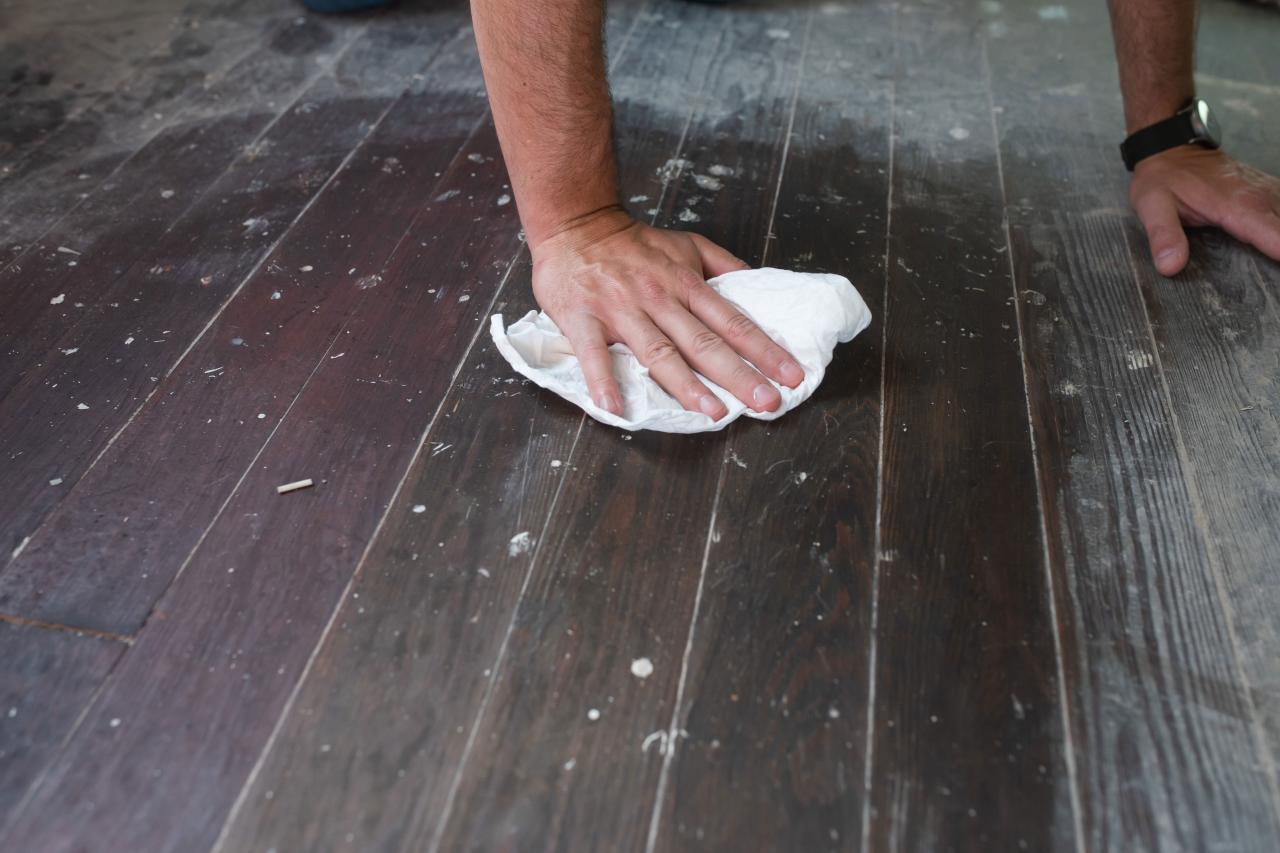
Preparation work revealed the true scope of my project as I moved furniture, removed baseboards, and addressed loose floorboards. Several boards required renailing to eliminate squeaks and movement that would interfere with sanding. I discovered that thorough vacuuming between each sanding stage prevents scratches from debris trapped under the equipment. Room sealing with plastic sheeting contained dust somewhat, though I underestimated how fine particles would infiltrate adjacent spaces despite my precautions.

The first sanding pass with 36-grit paper removed the old finish and exposed decades of accumulated damage. Deep scratches from furniture legs and pet claws required multiple passes to eliminate completely. I learned to overlap each pass by approximately one-third to avoid leaving ridge marks, maintaining steady forward motion without stopping on the wood surface. The drum sander’s aggressive cutting power demanded respect and constant attention to prevent gouging that would require extensive repair work.
Progressive sanding through 60, 80, and 120-grit papers gradually refined the surface texture while removing scratches from previous stages. Each grit level served a specific purpose in creating the smooth foundation necessary for stain and finish adhesion. I discovered that skipping grits or rushing through stages results in visible scratch patterns that become apparent after staining. The edge sander required different techniques due to its vertical orientation and smaller contact area, demanding extra care around room perimeters.
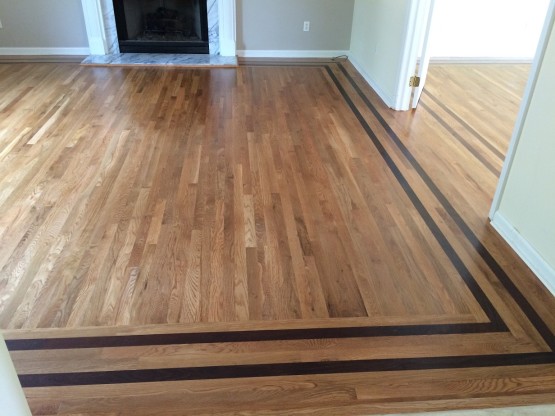
Stain selection presented unexpected complexity as I tested various colors on inconspicuous areas and scrap pieces. The same stain appeared dramatically different on my oak floors compared to the manufacturer’s pine samples. Wood grain, density variations, and sanding quality all influenced color absorption and final appearance. I ultimately chose a medium walnut tone that enhanced the natural grain patterns while providing the warm, rich color my family preferred. Multiple thin coats produced more even results than single heavy applications.
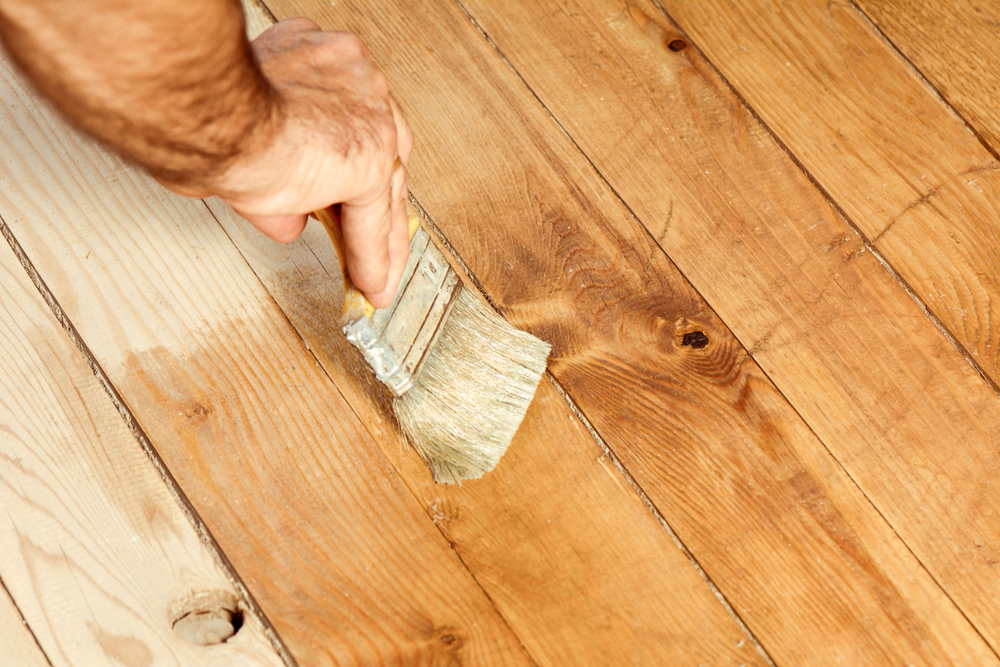
Application technique proved critical for achieving professional-looking stain coverage without lap marks or blotching. Working with the grain in long, continuous strokes while maintaining a wet edge prevented the overlapping patterns that create obvious boundaries between sections. I used lint-free rags for application and immediately wiped excess stain to prevent uneven absorption. Room temperature and humidity affected drying times significantly, requiring adjustments to my planned schedule and ventilation strategy.
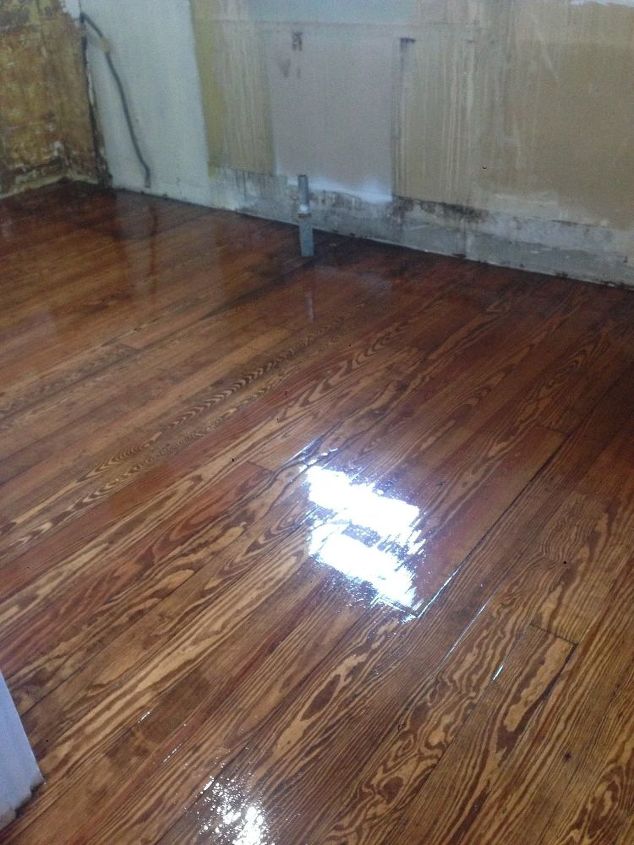
Polyurethane finish selection involved choosing between oil-based and water-based formulations, each offering distinct advantages and challenges. Oil-based finishes provide deeper color enhancement and longer working times but require extensive ventilation and longer cure periods. I selected water-based polyurethane for its lower odor, faster drying, and crystal-clear appearance that would not yellow over time. Three thin coats with light sanding between applications created the durable, smooth surface I desired.
My completed hardwood refinishing project transformed our home’s appearance while saving thousands of dollars compared to professional installation. The process required two weeks of evening and weekend work, but the satisfaction of walking barefoot across smooth, gleaming floors made every hour worthwhile. Friends and family consistently comment on the beautiful results, never suspecting the floors were refinished by an amateur. The experience taught me valuable skills while creating lasting pride in my home’s renewed beauty and character.
How do I determine if my hardwood floors can be refinished or need replacement?
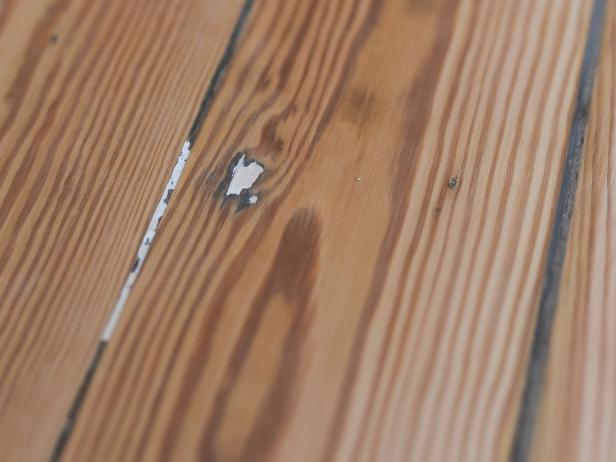
Assessing refinishing potential requires examining several key factors that determine whether your floors have sufficient material remaining. Solid hardwood floors can typically be refinished 6-10 times during their lifespan, while engineered floors may only handle 1-3 refinishing cycles due to thinner wear layers. Check for cupping, warping, or extensive water damage that might indicate subfloor problems requiring professional evaluation. If nail heads are visible or floorboards feel spongy underfoot, replacement might be necessary rather than surface refinishing.
What equipment do I need to rent for a successful DIY hardwood floor refinishing project?
Essential rental equipment includes a drum sander for main areas, an edge sander for room perimeters, and a random orbital sander for final smoothing between finish coats. You will also need various sandpaper grits from 36 to 120, dust collection bags, and safety equipment including respirators, ear protection, and knee pads. Many rental shops offer package deals that include sanders, paper, and accessories for multi-day projects. Reserve equipment in advance, particularly during peak spring and summer renovation seasons when availability becomes limited.

How long should I expect the entire hardwood floor refinishing process to take?
My 800 square foot project required approximately 40 hours spread across two weeks, working evenings and weekends around my regular schedule. Preparation and furniture moving consumed the first day, followed by three days of progressive sanding stages. Staining required one full day including drying time, while three polyurethane coats needed individual days due to curing requirements between applications. Larger spaces or rooms with complex layouts will extend this timeline significantly, so plan accordingly and avoid rushing through critical stages.
What is the best way to choose stain colors for my specific wood species and lighting conditions?
Stain testing on inconspicuous areas or spare flooring pieces prevents costly mistakes and ensures satisfaction with the final appearance. Different wood species absorb stain uniquely, with oak showing more dramatic color changes than maple or cherry. Natural and artificial lighting dramatically affects color perception, so evaluate test areas under various lighting conditions throughout the day. I recommend testing 3-4 color options and living with samples for several days before making final decisions, as initial impressions often change with extended observation.
Should I choose oil-based or water-based polyurethane finish for my refinished floors?
Both finish types offer distinct advantages depending on your priorities and circumstances. Oil-based polyurethane provides richer color enhancement, longer working times, and potentially greater durability, but requires extensive ventilation and longer cure periods between coats. Water-based finishes dry faster, produce less odor, maintain crystal clarity without yellowing, but cost more and may require additional coats for equivalent protection. Consider your timeline, ventilation capabilities, and desired appearance when making this important decision.
How can I minimize dust and mess during the sanding process?
Dust control requires multiple strategies working together to protect your home and health during the refinishing process. Seal off work areas with plastic sheeting and tape, though some fine particles will still escape despite precautions. Rent sanders with built-in dust collection systems and change bags frequently to maintain suction efficiency. Open windows for ventilation while running fans to direct airflow outward, and vacuum thoroughly between each sanding stage to prevent debris from scratching subsequent passes with finer grits.
grey hardwood floors Design in Mind: Gray Hardwood Floors Coats Homes Wood Stain , Floor

DIY Refinishing Hardwood Floors: Part 1 – Say Yes Refinishing hardwood floors, Hardwood floors

How to Refinish Hardwood Floors

Hardwood Floor Refinish using DuraSeal Ebony Stain Home remodeling contractors, Refinishing

Wood Floor Border Inlay Wc Floors
Related Posts: