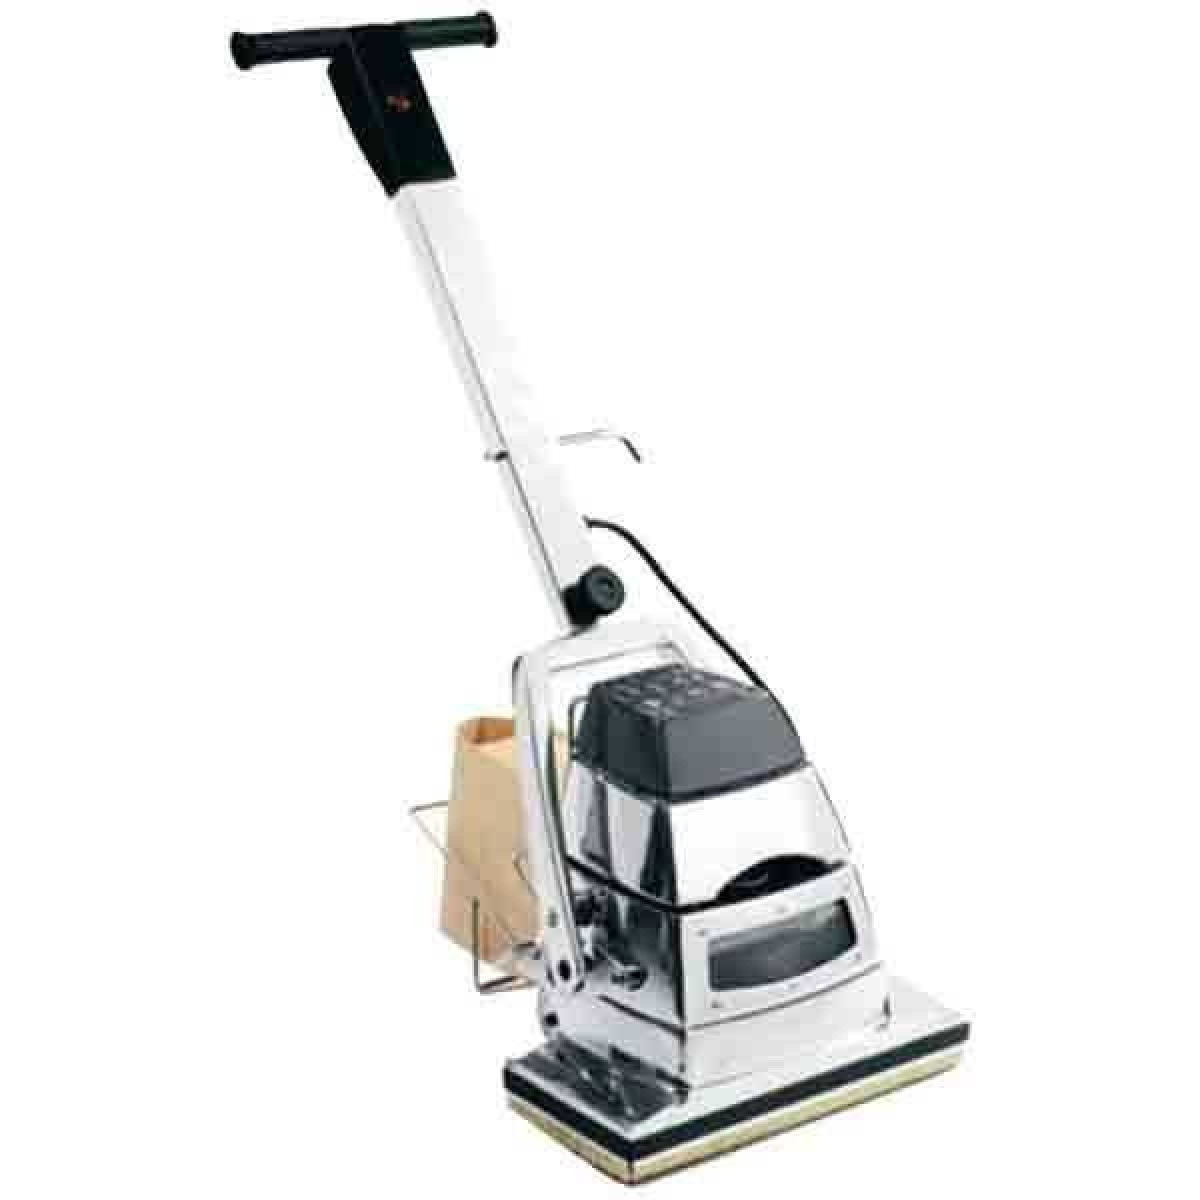
Refinishing hardwood floors can breathe new life into your home, and using an orbital sander is an excellent choice for this task. Orbital sanders are known for their ease of use and ability to produce a smooth, even finish. They are particularly suitable for DIY enthusiasts due to their user-friendly design. Unlike drum sanders, which require a more experienced hand, orbital sanders are less likely to cause gouges or uneven sanding marks, making them ideal for those new to floor refinishing.

One of the main benefits of using an orbital sander is its gentle sanding action. The sander’s random orbit motion ensures that no single area of the floor is over-sanded, reducing the risk of damage. This even sanding pattern results in a consistently smooth surface, ready for staining or sealing. Additionally, orbital sanders are relatively lightweight and easy to maneuver, allowing you to work efficiently without fatigue. This combination of gentle action and ease of use makes orbital sanders a popular choice for hardwood floor refinishing.
Before starting the sanding process, it’s essential to prepare the floor properly. Begin by removing any furniture, rugs, and debris from the area. Clean the floor thoroughly to ensure that no dirt or particles interfere with the sanding. Inspect the floor for nails or staples that may be protruding, and remove them to prevent damage to the sander. Proper preparation ensures a smooth and successful sanding experience, allowing the orbital sander to work its magic on your hardwood floors.
/GettyImages-183768766-587b01a45f9b584db3a5315f.jpg)
During the sanding process, start with a coarse-grit sandpaper to remove the old finish and any imperfections. Gradually move to finer grits to achieve a smooth and polished surface. It’s important to sand in a consistent pattern, overlapping each pass to ensure even coverage. Pay special attention to edges and corners, using an edge sander or hand sanding as needed. By following these steps, you can achieve a professional-quality finish that highlights the natural beauty of your hardwood floors.

Finally, after sanding, clean the floor thoroughly to remove any dust and debris. Apply your chosen stain or sealant according to the manufacturer’s instructions, allowing it to dry completely before placing furniture back in the room. Regular maintenance, such as sweeping and using protective pads under furniture, will help preserve the finish and extend the life of your hardwood floors. By using an orbital sander, you can achieve stunning results and enjoy the beauty of your refinished hardwood floors for years to come.
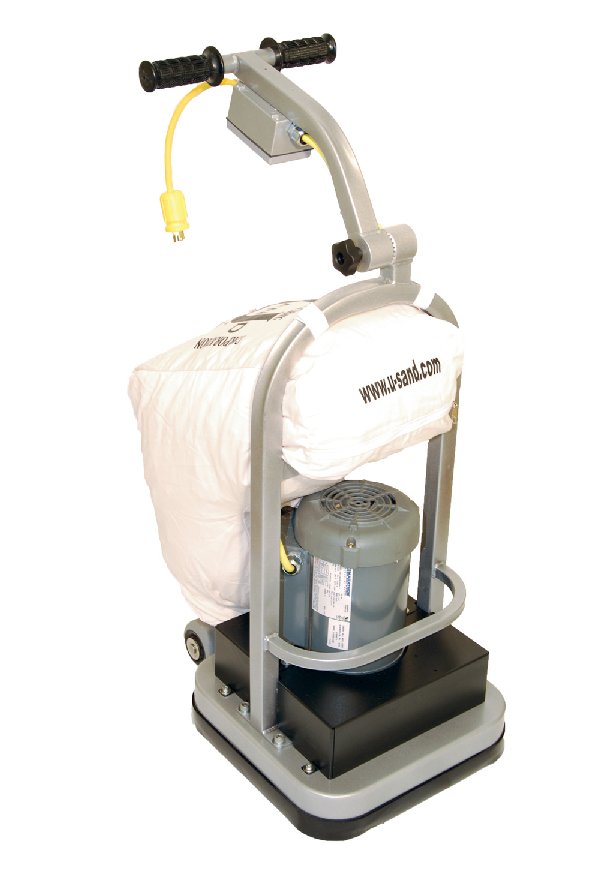
Random Orbital Floor Sander – RentalZonePA
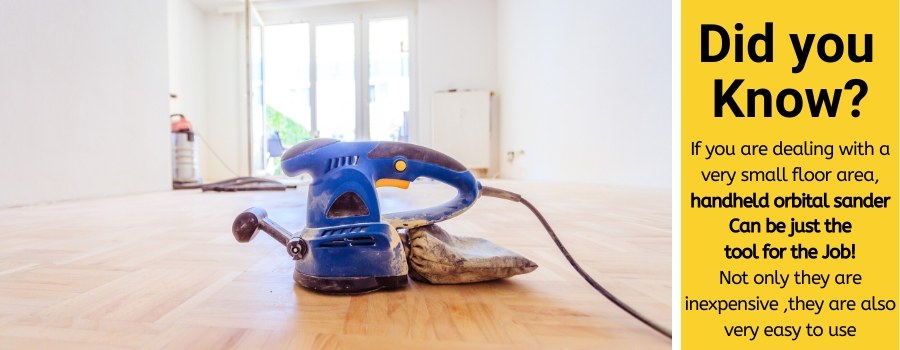
Best DIY Floor Sander for Beginners – Bob Vila

Can You Use an Orbital Sander On Hardwood Floors (How to!)
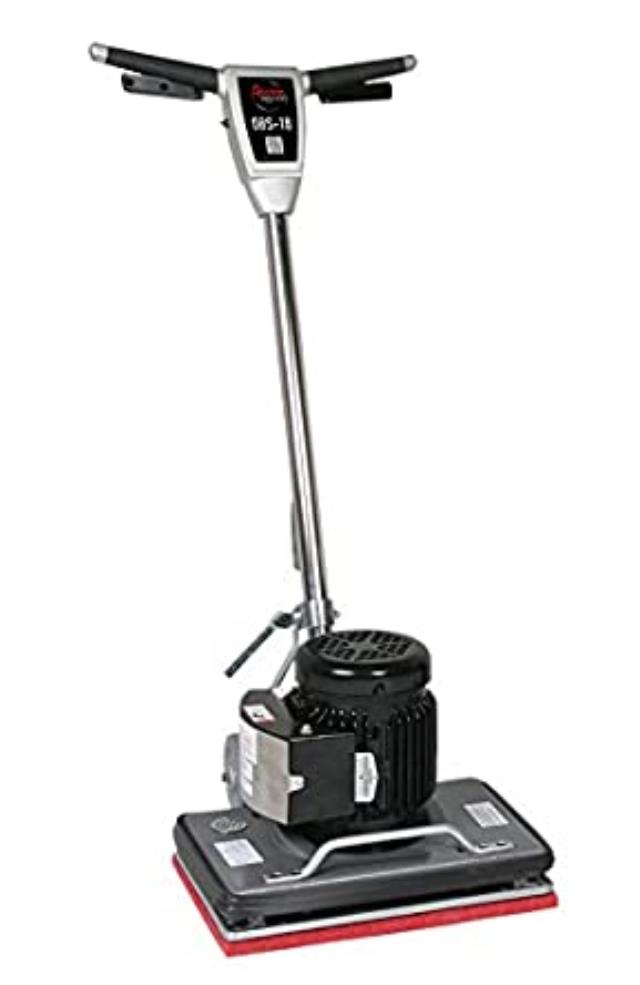
Cheap Buy Clarke Orbital 3-Disc Floor Sander Power & Hand Tools For Sale

ORBITAL FLOOR SANDER Rentals Calgary AB, Where to Rent ORBITAL FLOOR SANDER in Calgary Alberta
Tape your orbital sander to the shop vac for a dust free sanding experience! Great for drywall

Orbital Floor Sander For – Carpet Vidalondon

Orbital Floor Sander 15-3/4 x 4-1/2 in: Amazon.com: Industrial & Scientific

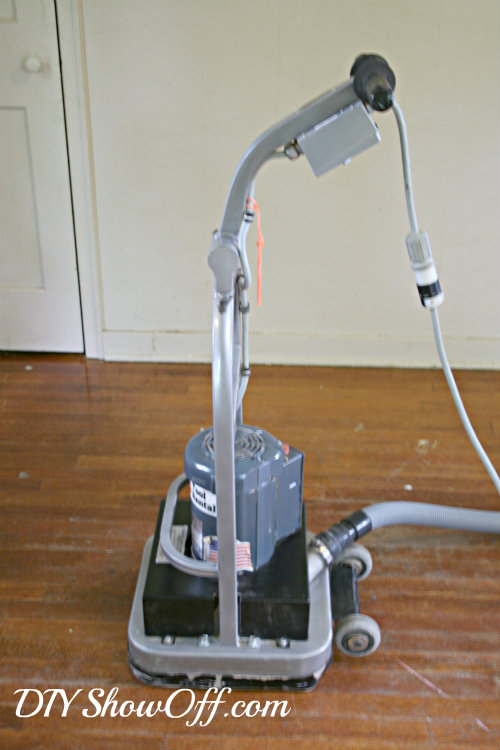
sanding hardwood floors Archives – DIY Show Off ™ – DIY Decorating and Home Improvement BlogDIY
Related Posts: