A damaged or loose tile in your bathroom floor can lead to water seepage and further deterioration if not addressed promptly. Start by removing the grout around the affected tile using a grout saw or rotary tool, being careful not to damage adjacent tiles. For cracked tiles, break them into smaller pieces with a hammer and chisel, then remove all debris from the exposed area. Clean the substrate thoroughly to ensure proper adhesion for the new tile. If the underlying surface shows water damage, repair it with a waterproof patching compound before proceeding. Allow the area to dry completely before installing the replacement tile.

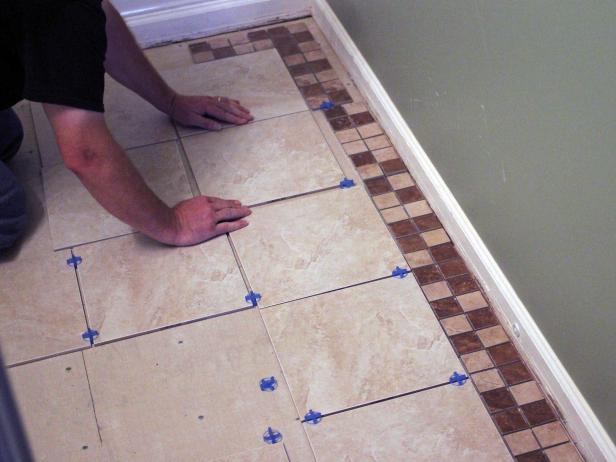
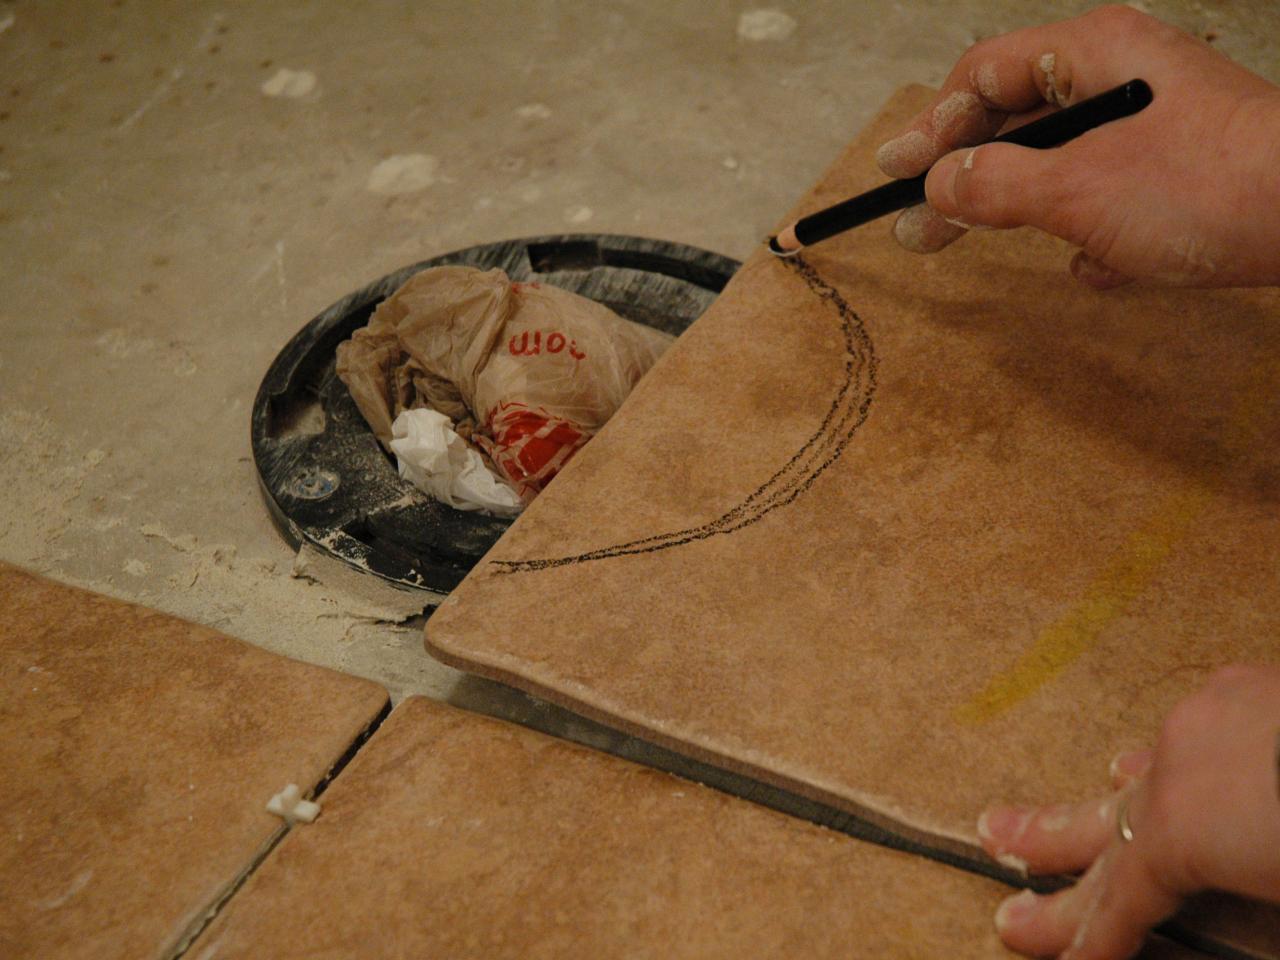
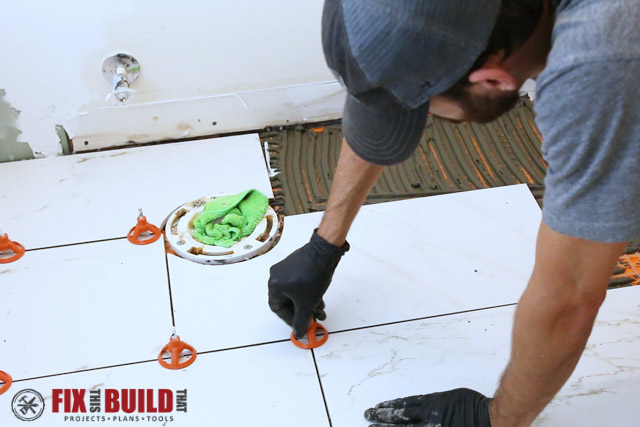
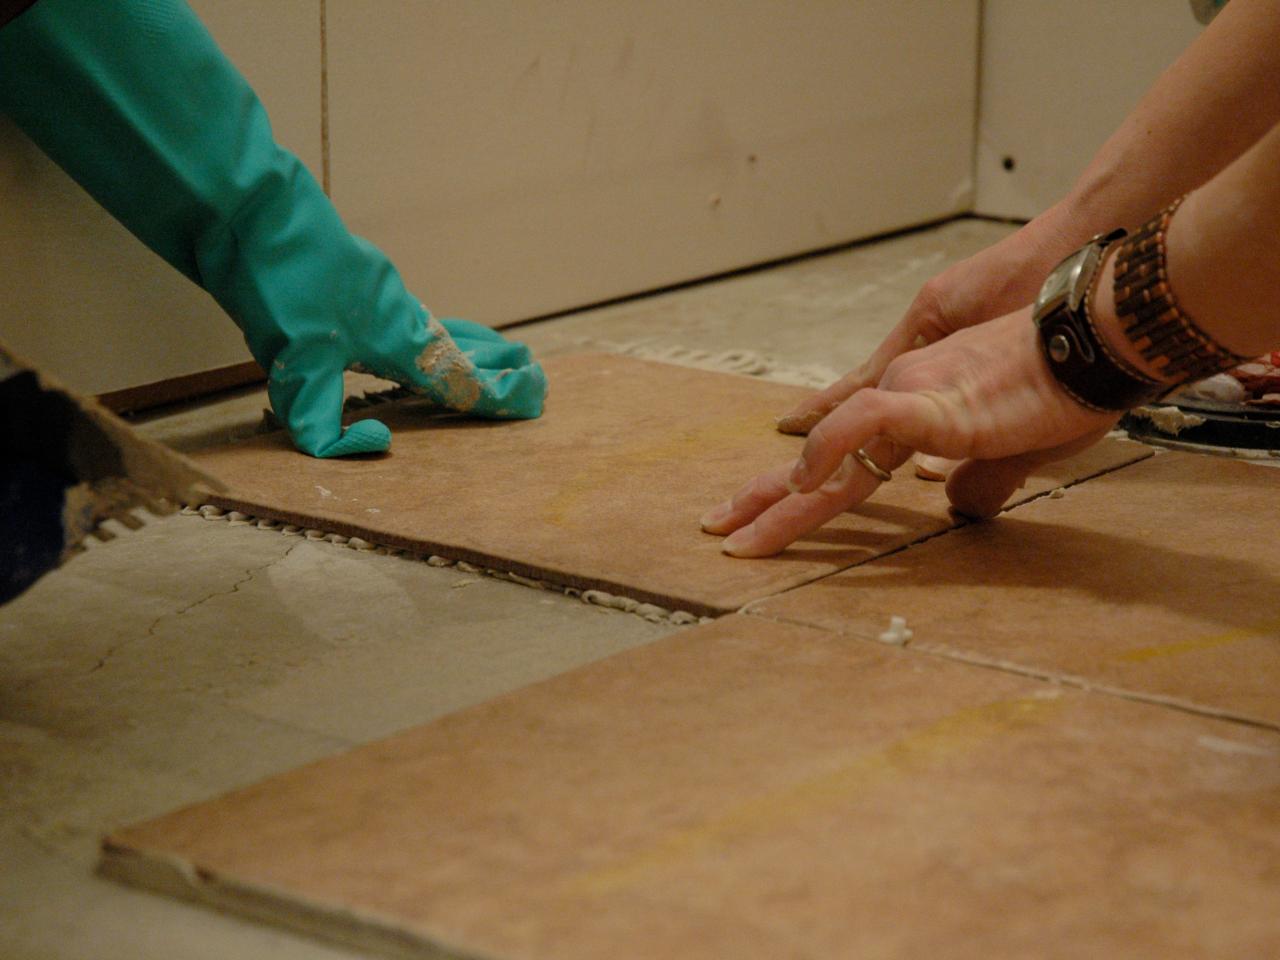
Selecting the right replacement tile and adhesive is crucial for a lasting repair. Match the new tile’s size, thickness, and color as closely as possible to existing flooring. Use a high-quality thin-set mortar for ceramic or porcelain tiles, ensuring it’s rated for wet areas. Spread the adhesive evenly on both the substrate and back of the new tile using a notched trowel. Press the tile firmly into place, using spacers to maintain consistent grout lines. Check for level with surrounding tiles and adjust as needed before the adhesive sets. Remove excess mortar immediately with a damp sponge to prevent hardening on the tile surface.

Grouting completes the repair and restores the floor’s waterproof seal. Wait at least 24 hours after setting the tile before applying grout. Choose a sanded grout for wider joints or unsanded for narrow spaces, matching the existing color. Work the grout into joints with a rubber float, holding it at a 45-degree angle to force material deep into gaps. Wipe away excess grout with a damp sponge, rinsing frequently to avoid haze formation. After 20-30 minutes, polish the tiles with a dry cloth to remove residual grout film. Allow the grout to cure for the recommended time before exposing it to moisture.
Proper sealing protects the repaired area from bathroom moisture. Apply a penetrating grout sealer after the grout fully cures (typically 72 hours). Use a small brush to target just the grout lines, avoiding the tile surfaces. For natural stone tiles, apply an appropriate stone sealer to the entire surface. Reapply sealers annually or as recommended by the manufacturer to maintain protection. Keep the repaired area dry for at least 48 hours after sealing to allow proper curing. These steps ensure your tile repair withstands daily bathroom use and prevents future water damage.
Prevent future tile problems by addressing underlying issues. Check for and fix any subfloor movement or flexing that may have caused the original damage. Improve bathroom ventilation to reduce moisture buildup that weakens grout and adhesive. Place mats near sinks and showers to minimize water exposure to tile edges. Regularly inspect grout lines and reseal them when wear becomes visible. For persistent tile problems, consult a professional to assess potential plumbing leaks or structural concerns. With proper installation and maintenance, your bathroom floor tiles should remain secure and watertight for years.
How to Install Tile on a Bathroom Floor
Fast and Fabulous Fixes for Frightful Floors
:max_bytes(150000):strip_icc()/Fast-Fixes-for-Ugly-Floors-via-smallspaces.about.com-579bb3ff3df78c32766549d2.jpg)
How to Tile a Bathroom Floor
How to Remove Tile Flooring, master bath update part 3. Bathroom tile diy, Diy bathroom, Diy

How to Install Tile on a Bathroom Floor how-tos DIY
Custom travertine shower bench with arched niche and rope trim Bathroom remodel Pinterest

Ideas for Covering Up Tile Floors Without Removing It — The Decor Formula Tile floor, Flooring

grey geometric floor vinyl – Google Search Vinyl flooring bathroom, Self adhesive floor tiles

best tiles- 12 x24 images on Pinterest Bathroom ideas, Bathrooms decor and Bathroom

Related Posts: