Guide to Removing and Installing Tile Floors
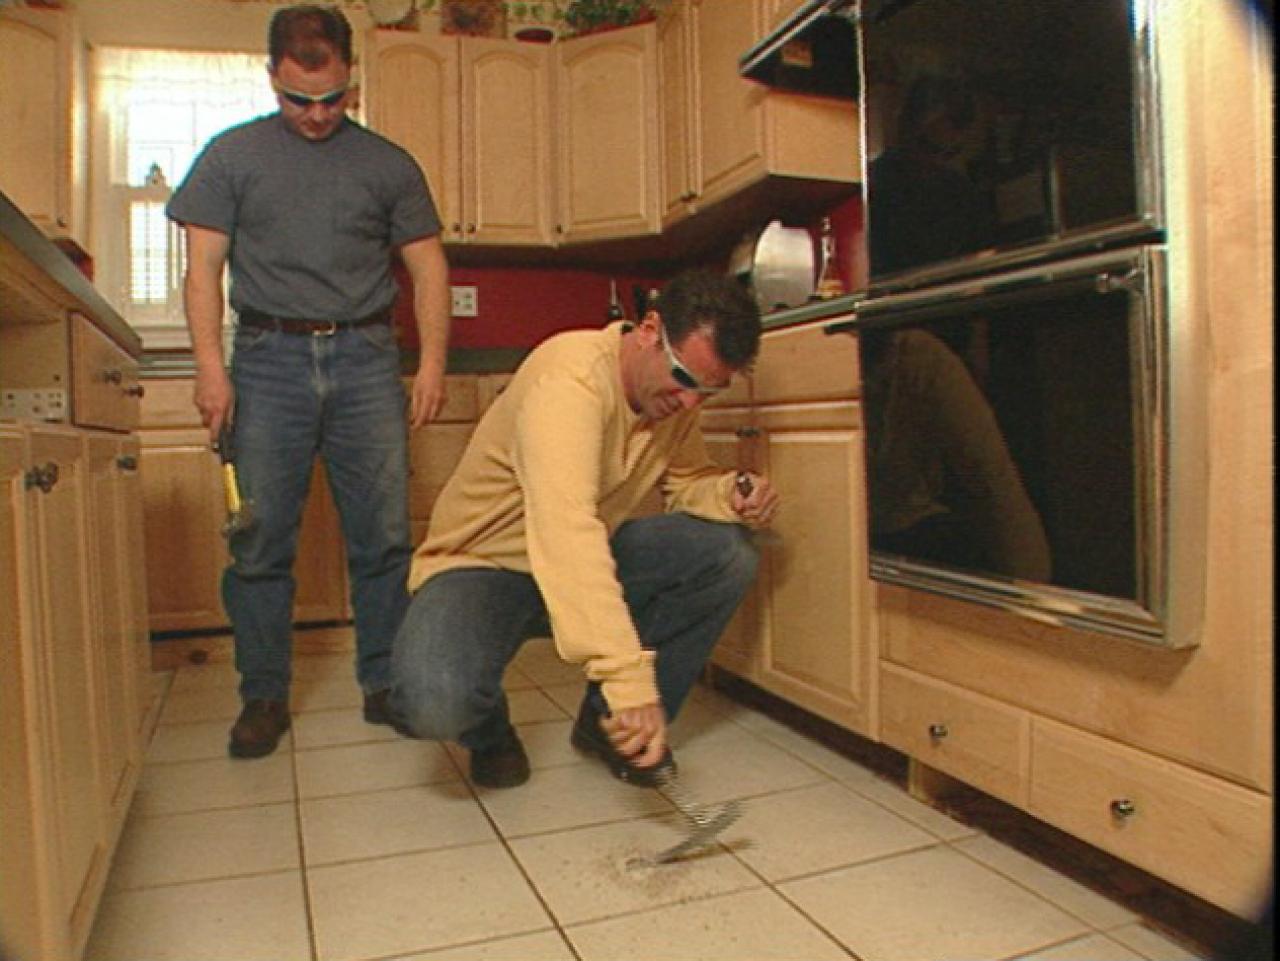
Replacing old tile floors with new ones can breathe fresh life into your space. The first step is preparation. Clear the area of furniture and decor, and ensure you have the necessary tools, such as a hammer, chisel, pry bar, and safety gear. Begin by breaking the first tile using a hammer and chisel to create an edge. Once you have an entry point, use the pry bar to lift and remove the remaining tiles. It’s essential to work carefully to avoid damaging the subfloor, which will serve as the base for your new tiles.
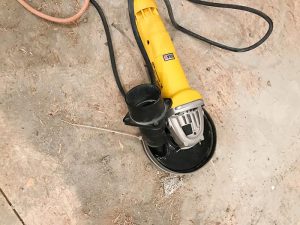
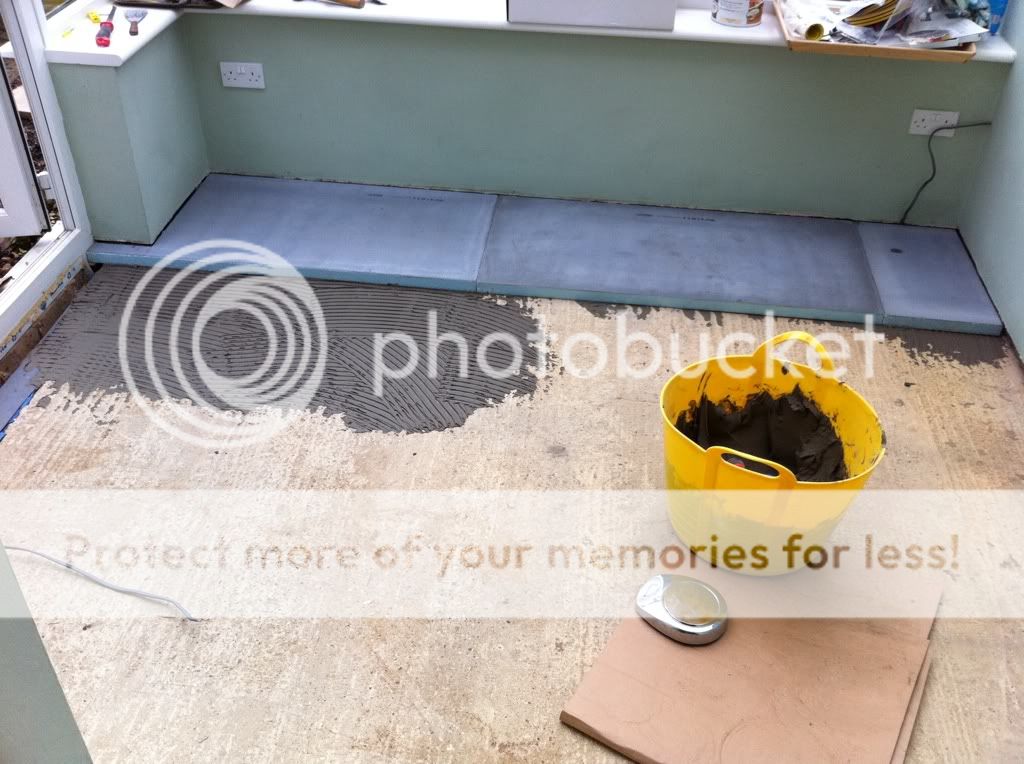
After removing the old tiles, it’s time to clean and prepare the subfloor. Remove any remaining adhesive or mortar using a scraper or putty knife. This step is crucial for ensuring a smooth surface for the new tiles. Inspect the subfloor for any damage or uneven areas and repair them as needed. A clean, level subfloor is essential for achieving a flawless tile installation. Once the surface is prepped, lay down a layer of thin-set mortar or adhesive to provide a strong bond for the new tiles.
Next, plan the layout of your new tiles. Start by finding the center of the room and marking it with chalk lines to create a grid. This will help you position the tiles evenly and avoid any awkward cuts along the edges. Begin laying the tiles from the center, following the grid lines. Use tile spacers to ensure consistent gaps between the tiles for grout lines. Work in small sections to prevent the mortar from drying out before you can set the tiles. Press each tile firmly into place, making sure they are level and properly aligned.
Once the tiles are laid and the mortar has dried, it’s time to apply the grout. Mix the grout according to the manufacturer’s instructions and spread it over the tiles using a rubber float. Work the grout into the gaps between the tiles, ensuring all spaces are filled. Remove excess grout with the float, holding it at a 45-degree angle. Allow the grout to set for the recommended time, then use a damp sponge to clean the tiles’ surface. Rinse the sponge frequently to avoid spreading grout residue. Let the grout cure completely before moving on to the final step.
The last step is sealing the grout to protect it from stains and moisture. Apply a grout sealer using a small brush or applicator bottle, following the product instructions. Allow the sealer to penetrate and dry before using the area. Regular maintenance, such as sweeping and mopping, will keep your new tile floor looking its best. With careful planning and execution, you can achieve a professional-quality tile installation that enhances the beauty and functionality of your space.
How to Remove Tile Flooring how-tos DIY
How to Remove Tile Floors The Harper House
How to Install a Shower Pan Liner: DIY Guide – Howto
Flooring Store in Duluth, MN Contract Tile & Carpet LLC
How to Remove Tile Floors The Harper House
How To Install Porcelain Tiles
How to Remove Tile Floors The Harper House
Floor Tile: Youtube Floor Tile Removal
Cover Up Those Old Kitchen Tiles, 3 Really Affordable Ideas to Try – Quadrostyle
Basement waterproofing / 50’s clay drain tile / exposed pit – AVS Forum Home Theater
Removing floor tiles, hmmm whats that, need a bit of
Related Posts:


