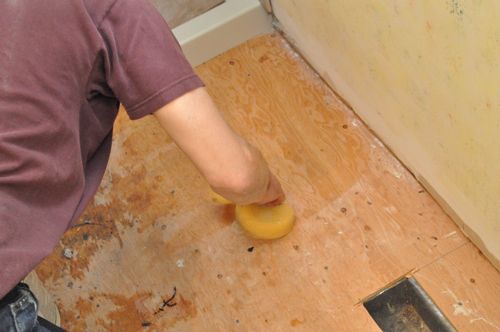
Tiling a concrete bathroom floor can enhance the look and functionality of your space. Begin by thoroughly cleaning the concrete surface to remove any dirt, dust, or debris. Use a broom, vacuum, and a damp mop to ensure the floor is spotless. This is a crucial step, as any residue can affect the adhesion of the tiles. Once the floor is clean, inspect it for any cracks or imperfections. Fill any gaps with a concrete patching compound and let it dry completely to create a smooth, even surface for tiling.

Next, apply a concrete primer to the floor. This helps the adhesive bond better with the concrete, ensuring a durable and long-lasting tile installation. Follow the manufacturer’s instructions for applying the primer and allow it to dry thoroughly. Once the primer is set, lay out your tile pattern. Start by finding the center of the room and use a chalk line to create guidelines. This will help you position the tiles evenly and achieve a professional look. Planning your layout in advance is key to a successful tiling project.
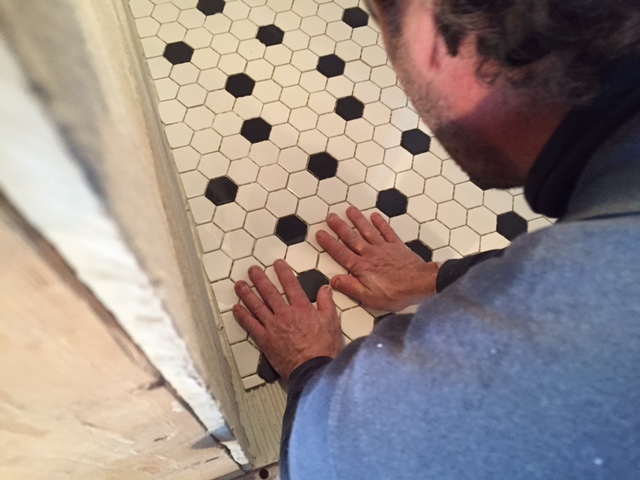
Mix the thin-set mortar according to the manufacturer’s instructions. Using a notched trowel, spread the mortar onto a small section of the floor, working within an area you can tile before the mortar dries. Press each tile firmly into the mortar, twisting slightly to ensure a good bond. Use tile spacers to maintain consistent gaps between the tiles. Continue this process, working in small sections and checking your alignment regularly. Proper application of mortar and consistent spacing are essential for a smooth, even tile floor.

Once all the tiles are in place, allow the mortar to cure according to the manufacturer’s recommendations. This usually takes about 24 hours. After the mortar has set, it’s time to apply the grout. Mix the grout and use a rubber float to spread it over the tiles, pressing it into the gaps. Wipe away excess grout with a damp sponge, being careful not to disturb the grout lines. Allow the grout to cure, and then buff the tiles with a dry cloth to remove any remaining haze. Proper grouting ensures a polished and professional finish.
Finally, seal the grout to protect it from moisture and stains. Use a grout sealer designed for bathroom use and apply it according to the manufacturer’s instructions. Sealing the grout helps maintain the longevity and appearance of your tiled floor. Regular maintenance, such as sweeping and mopping, will keep your bathroom floor looking pristine. By following these steps, you can successfully tile a concrete bathroom floor, creating a stylish and durable surface that enhances your home’s value and appeal.
How Do Contractors Tile a Bathroom Floor?
Removing and re-tiling bathroom floor questions (concrete floor) : HomeImprovement

Blue Glass Subway Tiles on Shower Wall – Transitional – Bathroom Glass tile shower, Blue

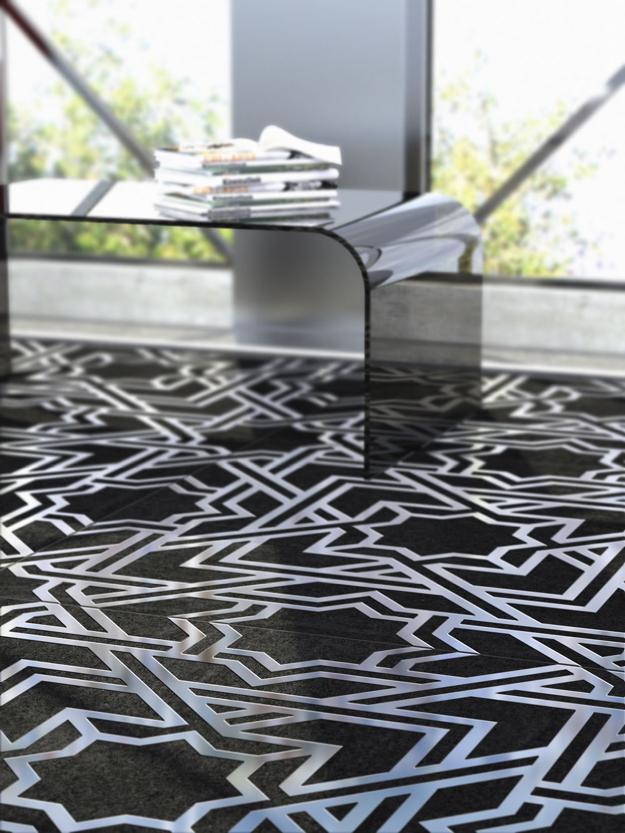
Stylish Bathroom Flooring Ideas Remodeling A Bathroom
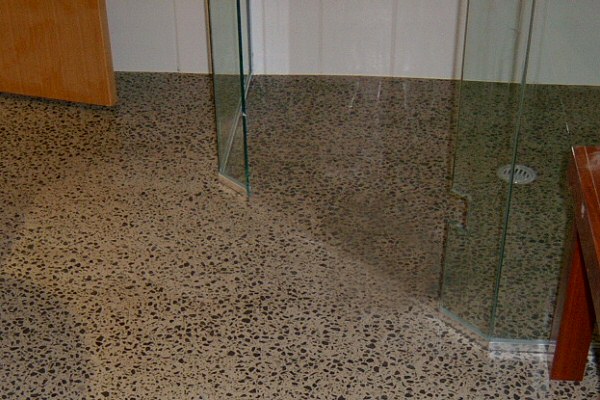
Basement Makeover From Concrete to Complete Remodel
brass inlay marble tile – Google Search Marble mosaic floor, Mosaic flooring, Marble mosaic

Bathroom Tile Ideas & bathroom flooring tiles

DIY-My-Home Join us on our DIY adventures from concrete to furniture building Page 3

Bathroom Tiles for Walls, Floors & Shower Splashbacks Tiles Direct

Related Posts: