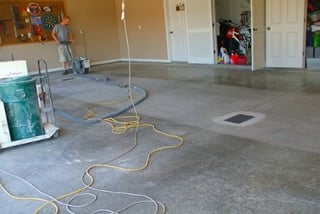
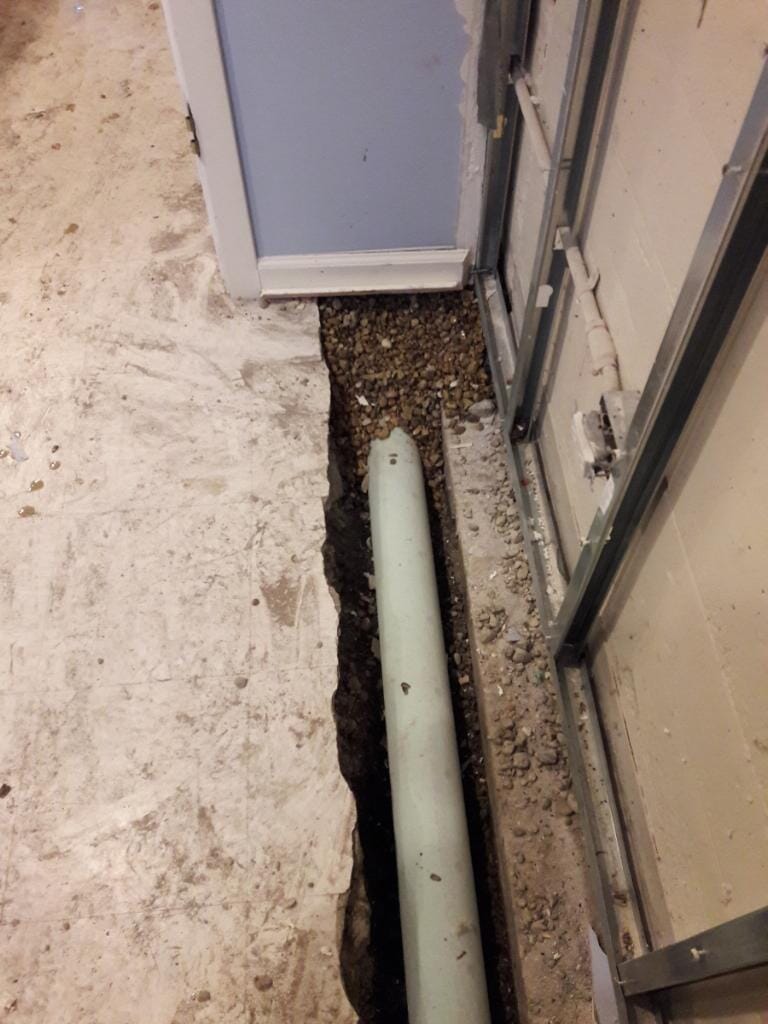
Pouring a new basement floor is a significant project that can enhance the functionality and value of your home. Start by preparing the area; this involves removing any existing flooring, debris, and obstacles. Ensure the subfloor is level and compact the soil to create a stable base. Adding a layer of gravel helps with drainage and provides a solid foundation. This preparation is crucial for a smooth, even pour, reducing the risk of cracks and imperfections in the finished floor.

Next, install a vapor barrier to protect your new floor from moisture. Lay the plastic sheeting over the gravel, ensuring it covers the entire area. Overlap the edges and seal the seams with waterproof tape. This barrier prevents ground moisture from seeping into the concrete, which can lead to issues like mold and mildew. Proper moisture control is essential for maintaining the integrity and longevity of your new basement floor.

Once the vapor barrier is in place, set up your forms and reinforcement. Use wooden or metal forms to outline the edges of the floor, securing them firmly to prevent movement during the pour. Add rebar or wire mesh for reinforcement, spacing it evenly across the floor area. This reinforcement provides additional strength and helps prevent cracks. Ensure the forms and reinforcement are correctly positioned to achieve a level and stable concrete pour.
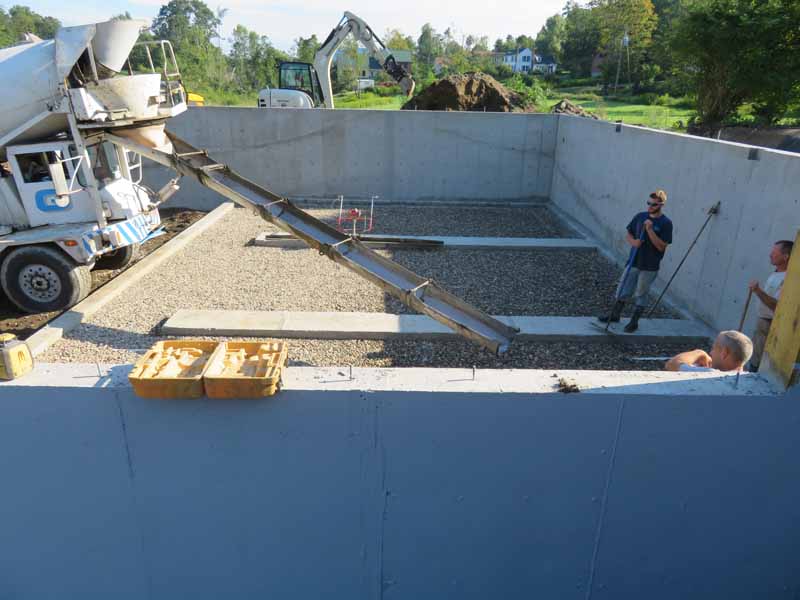
Mixing and pouring the concrete is the next critical step. Use a high-quality concrete mix and follow the manufacturer’s instructions for the correct water-to-mix ratio. Begin pouring the concrete into the forms, starting at one corner and working your way across the floor. Use a screed board to level the surface, moving it back and forth to remove excess concrete and fill low spots. Once the concrete is leveled, use a bull float to smooth the surface and remove any remaining imperfections.

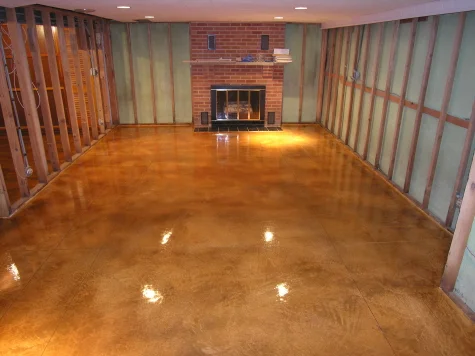
Finally, allow the concrete to cure properly. Keep the surface moist by misting it with water and covering it with a curing blanket or plastic sheeting. This process can take several days, depending on the temperature and humidity levels. Once the concrete has fully cured, remove the forms and finish the surface as desired. Whether you choose to seal, stain, or polish the floor, proper curing ensures a strong, durable basement floor that will serve you well for years to come.
Foundation and floor
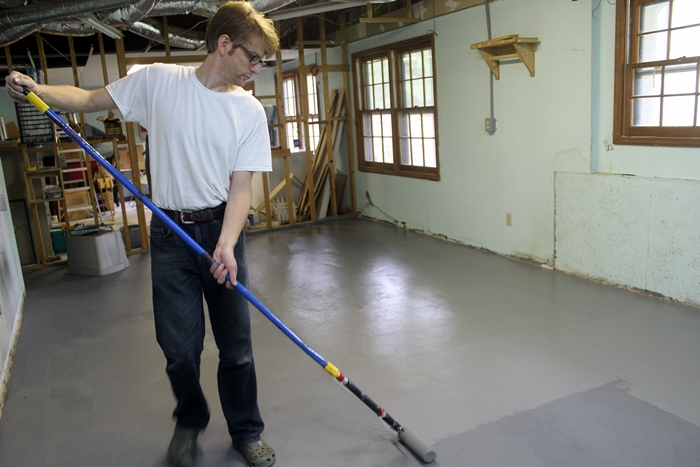
Bill’s Log Blog: Basement floor poured

Pouring Second-Story Concrete Flooring DoItYourself.com
Drain Tile: Drainage Tile System, Foundation Drainage Installation
Self leveling concrete contractor in NJ

18 Images Poured Basement Cost – basement tips
shower drain concrete slab issue – DoItYourself.com Community Forums

basementfloors06s
Related Posts: