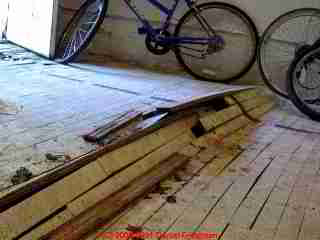
Wood floors add warmth and character to any home, but scratches, dents, and water damage can diminish their appearance. Repairing these issues promptly prevents further deterioration and maintains your floor’s value. Common problems include surface scratches, deep gouges, cupping from moisture, and discoloration from sun exposure. The repair method depends on the damage type, wood species, and finish. While minor issues can be fixed with DIY solutions, extensive damage may require professional refinishing or board replacement. Addressing problems early saves money and preserves your floor’s longevity.
Surface scratches are the easiest to repair and often don’t require sanding. For light marks, rub a walnut or pecan along the scratch—the natural oils darken the area to blend with the surrounding wood. Specialized wood repair pens or wax sticks matched to your floor color fill shallow scratches effectively. Deeper scratches may need wood filler applied with a putty knife, then sanded smooth once dry. Always test products in an inconspicuous area first. After repairing, apply a matching finish to protect the spot. These quick fixes work well for isolated damage in high-traffic areas.
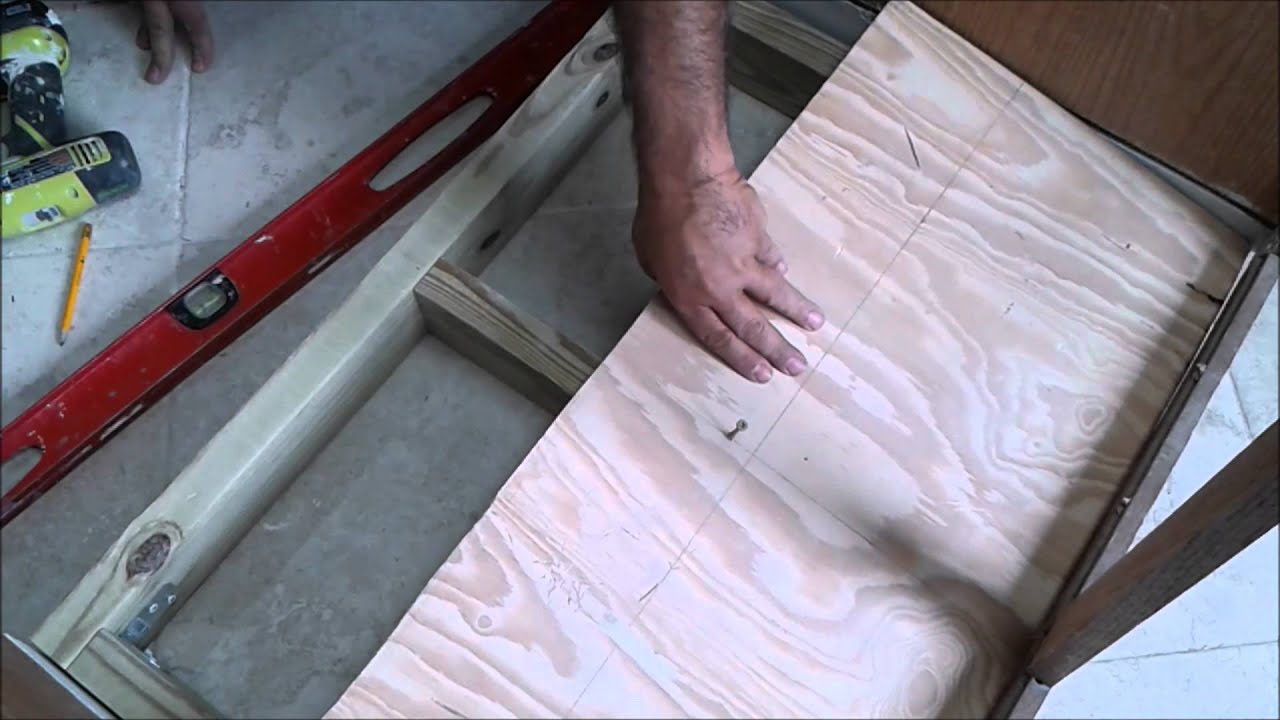
Dents and gouges demand more involved repairs. For small dents, place a damp cloth over the area and apply a hot iron—the steam can sometimes raise compressed wood fibers. Deeper impressions require wood filler or epoxy putty shaped to match the grain pattern. After drying, sand the repair flush with the floor and refinish. When entire boards are severely damaged, replacement becomes necessary. Professionals can often source matching planks from closets or under appliances to maintain consistency. For engineered wood, only the top layer can be sanded, so deep damage may require full board replacement.
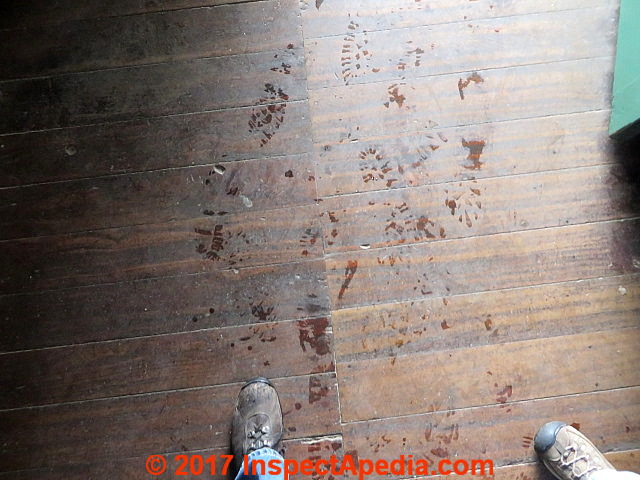
Water damage manifests as warping, cupping, or staining. Minor cupping often resolves as the wood dries naturally if the moisture source is removed. For white water stains, gently rub with toothpaste or a mixture of baking soda and oil. Dark stains indicate deeper penetration and may need sanding. Buckled boards from severe water exposure typically require replacement after addressing the underlying moisture issue. Always dry floors completely before attempting repairs to prevent mold growth. Installing proper humidity controls helps prevent future water-related problems in susceptible areas.
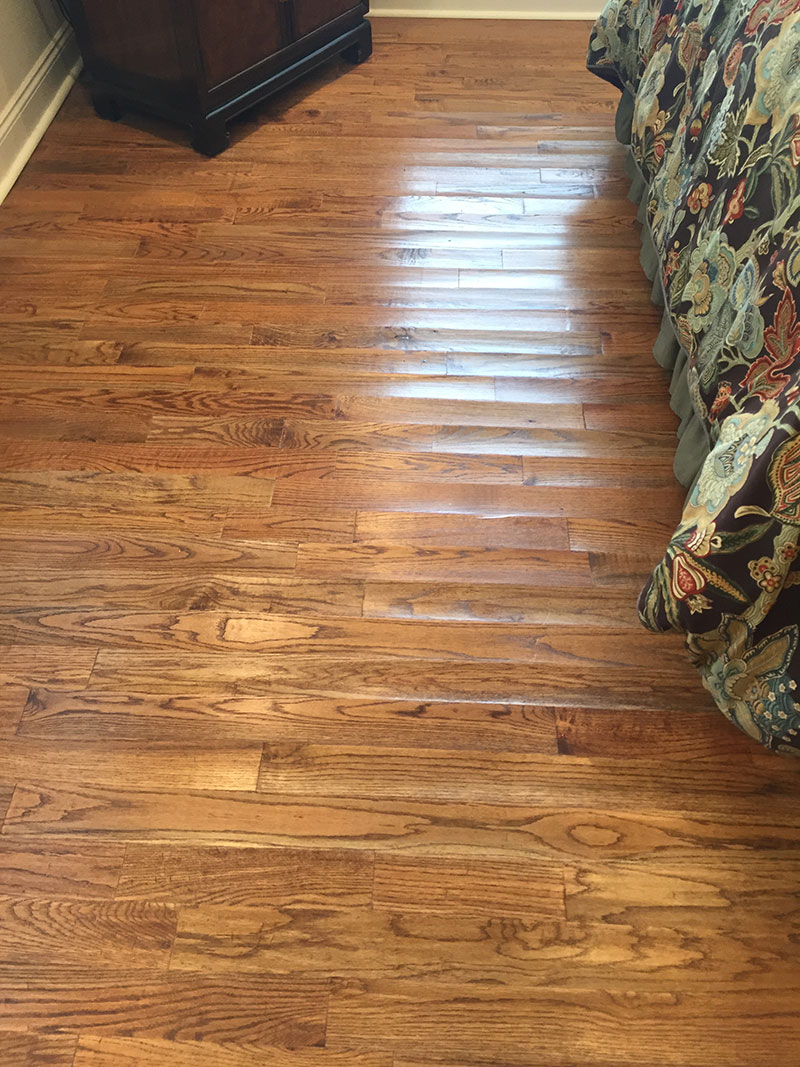
Sun damage causes uneven fading and discoloration. Sanding and refinishing removes surface oxidation, but this may not completely eliminate color differences if damage is deep. Rotating rugs and furniture periodically prevents severe fading. For floors with polyurethane finishes, UV-protective window films help slow additional damage. Bleached areas can sometimes be blended using wood stains, though perfect matches are challenging. Prevention remains the best approach—using curtains or blinds during peak sunlight hours protects vulnerable areas.
Gap repair becomes necessary as wood expands and contracts with seasonal changes. Small gaps under 1/4 inch can be filled with color-matched rope or specialized wood gap filler that moves with the floor. Larger gaps may indicate humidity problems requiring environmental controls. In extreme cases, professional board replacement and reinstallation corrects spacing issues. Avoid using rigid fillers in gaps, as they’ll crack when the wood naturally moves. Maintaining consistent indoor humidity between 30-50% minimizes seasonal gapping.

Squeaky floors result from loose boards rubbing against subflooring or nails. Simple fixes involve sprinkling talcum powder or graphite lubricant between boards to reduce friction. For persistent squeaks, secure loose planks with finish nails driven at angles through the tongue. Screws through the face of boards work but require filling holes. Access from below allows more permanent repairs with shims or additional fasteners. Squeaks near walls often indicate inadequate expansion space needing adjustment. Proper subfloor preparation during installation prevents most squeak issues.
Pet damage requires special consideration. Deep scratches may need filler followed by light sanding and spot refinishing. Enzymatic cleaners remove urine stains before they penetrate deeply. For dark stains that reach the wood, sanding may be the only solution. Protective rugs in pet areas prevent future damage. Some finishes like aluminum oxide provide extra scratch resistance. Keeping pets’ nails trimmed minimizes new scratches, while immediate cleanup of accidents prevents staining.

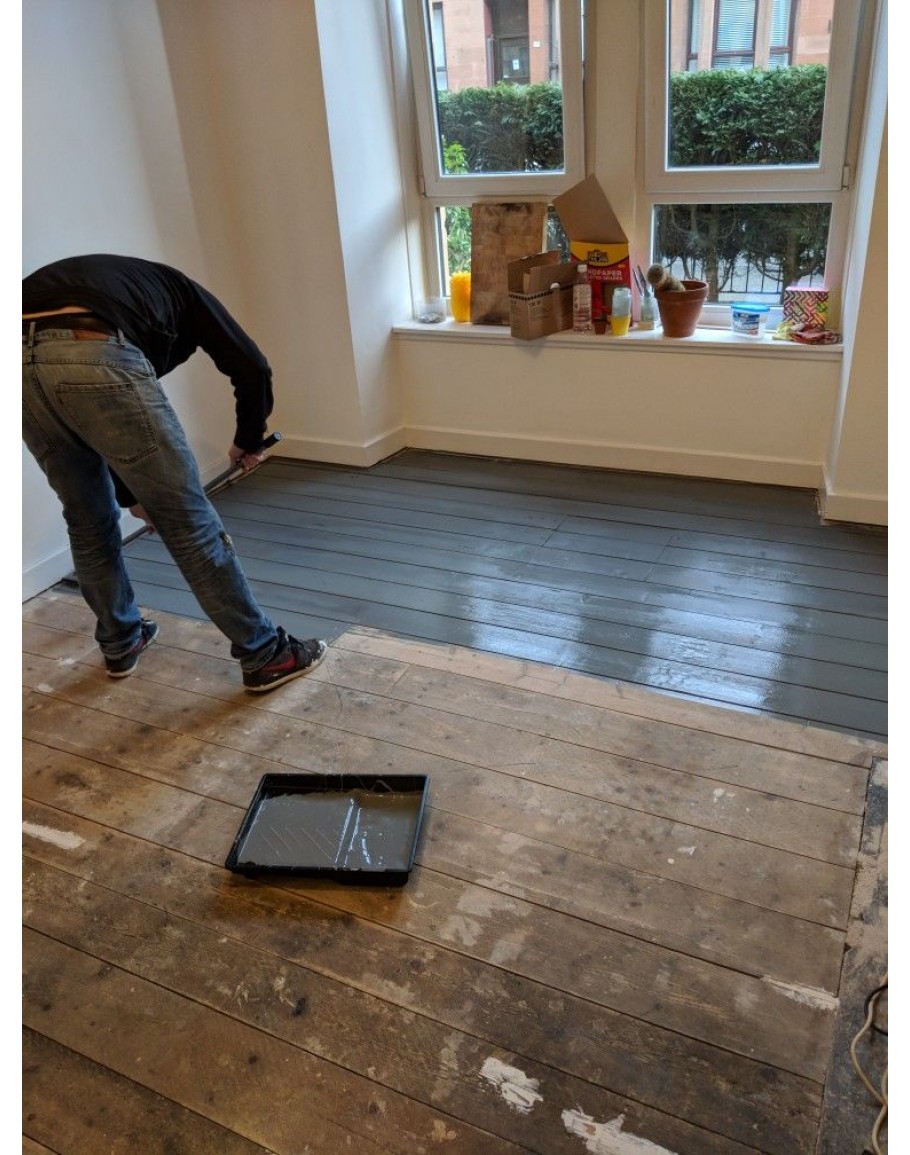
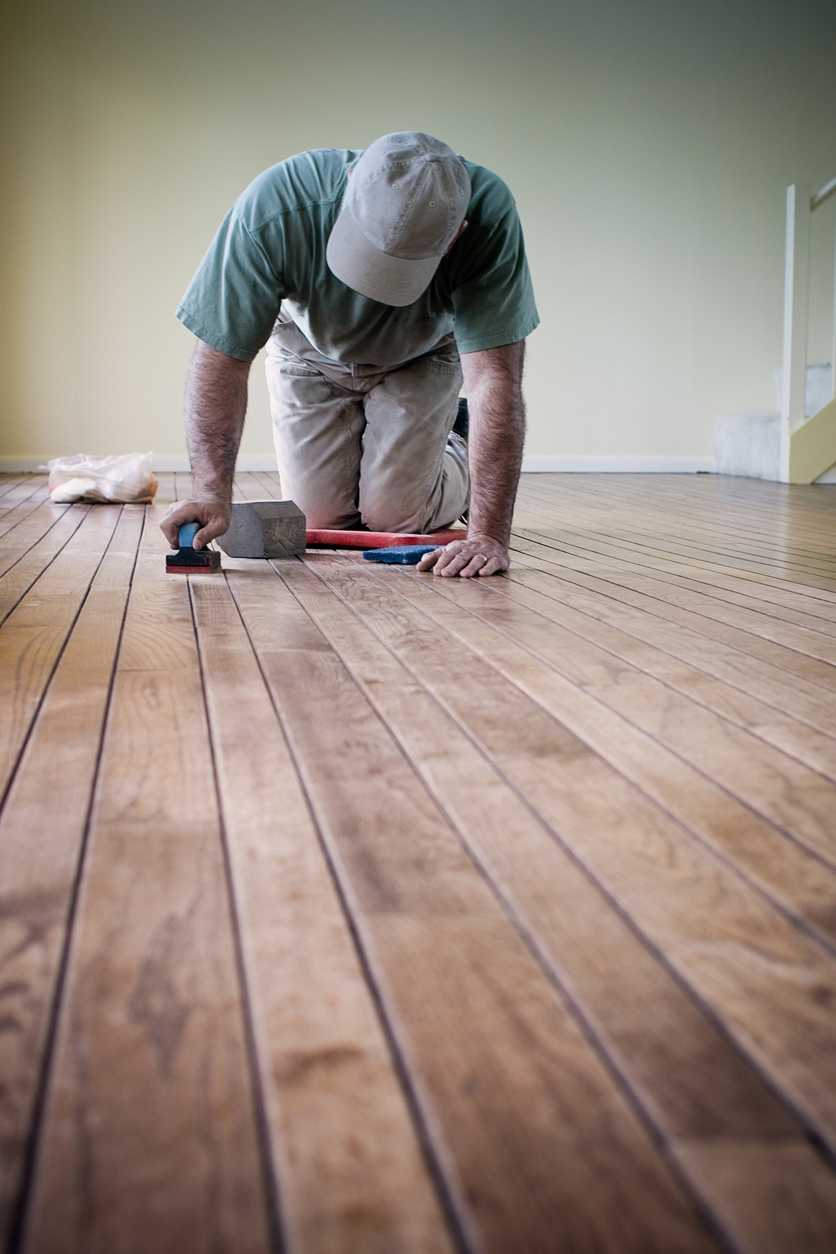
Professional refinishing restores severely damaged floors. This multi-step process involves drum sanding to remove old finish and surface damage, followed by edge sanding and fine grit smoothing. Stain application changes or evens the color before new protective coats are applied. Water-based polyurethane dries quickly with low odor, while oil-based provides greater durability. Screen-and-recoat options refresh worn finishes without full sanding. Professionals have equipment to handle difficult situations like stain removal or extensive board replacement.
Preventive care reduces repair needs. Felt pads under furniture legs prevent scratches, while area rugs protect high-traffic zones. Immediate cleanup of spills prevents water damage. Maintaining proper humidity minimizes seasonal movement. Regular cleaning with wood-appropriate products preserves finishes. Avoiding high heels and sharp objects reduces surface damage. Periodic inspections catch small issues before they worsen. With proper maintenance and timely repairs, wood floors can maintain their beauty for generations, developing a rich patina that adds character to your home.

Wood floor types, damage, diagnosis & repair damaged wood floors
Repairs to Damaged Floors Dustless Hardwood Floors

How To Restore Damaged Oak Floors THE HANDYMAN

Wood floor types, damage, diagnosis & repair damaged wood floors
Kitchen sink cabinet bottom wood floor replacement with Tile Floor after Water Damage
Repairing Water Damage on an Engineered Hardwood Floor?
How to recover wooden floors damaged by wear

Replacing a sink base cabinet bottom floor after water leak damage

Related Posts: