Installing wood floor padding is an essential step in ensuring the longevity and comfort of your hardwood floors. Start by preparing the subfloor, making sure it is clean, dry, and free of debris. Sweep and vacuum the area to remove any dust and dirt. If necessary, repair any cracks or imperfections in the subfloor using a leveling compound. This preparation is crucial for a smooth and even installation as it ensures the padding adheres properly and provides a solid foundation for your hardwood flooring.
:max_bytes(150000):strip_icc()/installing-hardwood-floor-155149312-57e967d45f9b586c35ade84a.jpg)
Next, choose the right type of wood floor padding for your project. There are various options available, including foam, cork, and rubber padding. Each type has its own benefits, such as sound insulation, moisture resistance, and added cushioning. Consider the specific needs of your space and select the padding that best meets those requirements. Once you have your padding, lay it out in the room, allowing it to acclimate for at least 24 hours. This step helps the padding expand and contract to the room’s temperature and humidity, ensuring a proper fit.
/new-floor-installation-185270632-582b722c3df78c6f6af0a8ab.jpg)
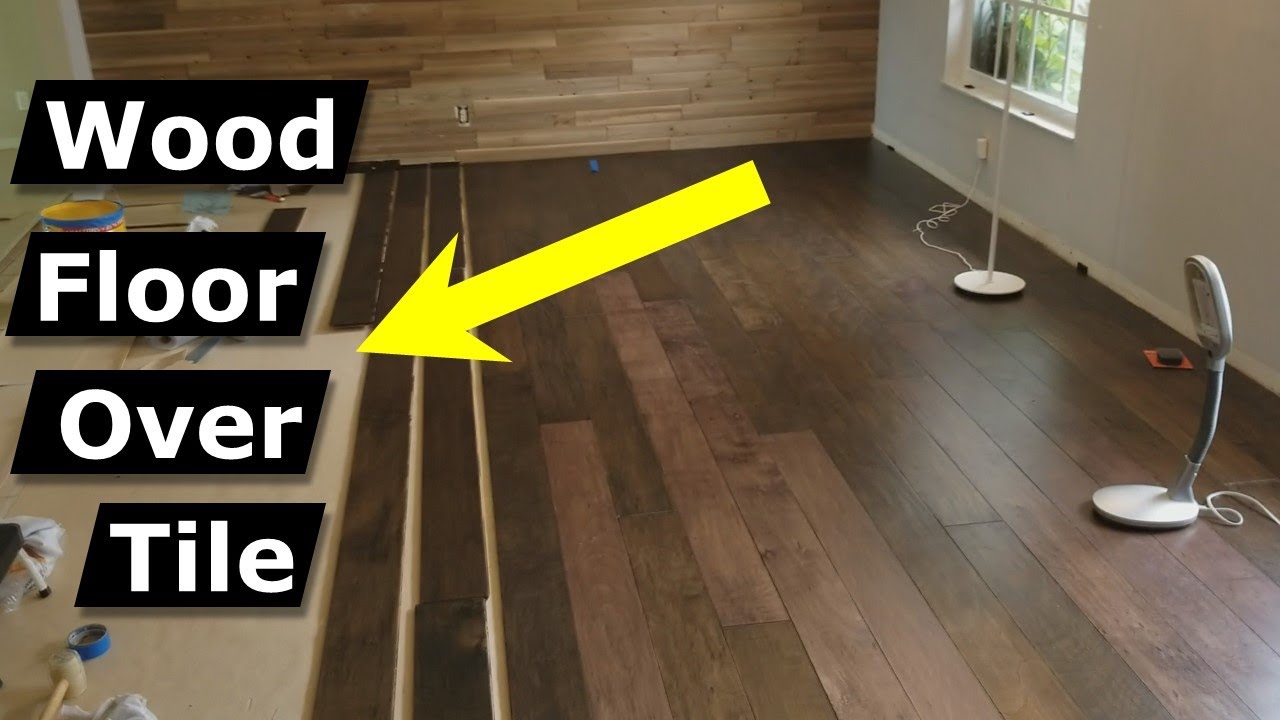
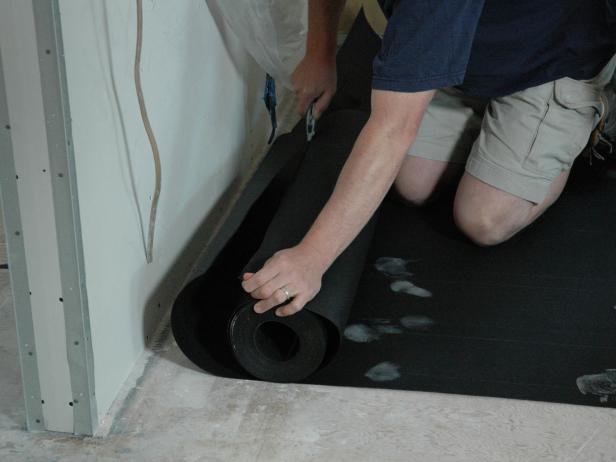
Begin the installation process by rolling out the padding, starting from one corner of the room. Place the padding with the smooth side facing up and the textured side down. This orientation ensures maximum grip and stability. Trim the edges of the padding using a utility knife, making sure it fits snugly against the walls. Overlap the edges of the padding by about an inch to prevent any gaps, and use tape to secure the seams. This step creates a seamless barrier that enhances the overall performance of the padding and provides a stable base for your hardwood flooring.

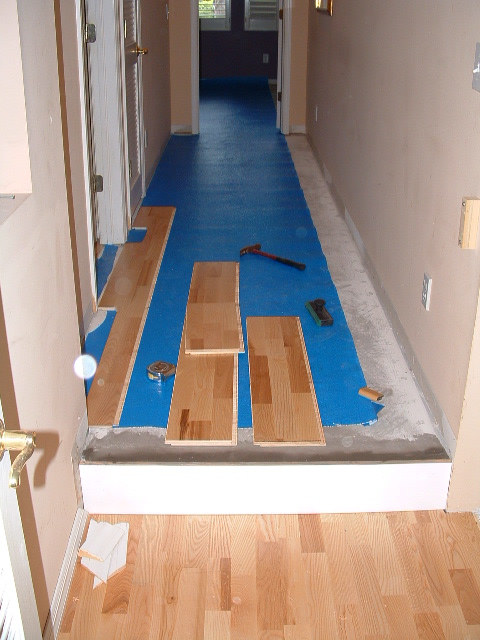
Once the padding is securely in place, it’s time to install the hardwood flooring. Begin by laying the first row of planks along the longest wall, ensuring they are straight and evenly spaced. Use spacers to maintain a consistent gap between the planks and the wall, allowing for natural expansion and contraction. Continue laying the planks row by row, tapping them gently into place with a rubber mallet. The padding beneath the flooring provides added cushioning and reduces noise, making your hardwood floors more comfortable and quiet.
Finally, complete the installation by trimming and fitting the last row of planks. Remove the spacers and install the baseboards or molding to cover the expansion gaps along the walls. Regular maintenance, such as sweeping and occasional mopping, will keep your wood floors looking beautiful and prolong their lifespan. By following these steps, you can achieve a professional-quality wood floor padding installation that enhances the comfort, durability, and appearance of your hardwood floors.
Does Vinyl Floor Need Padding – how to make vinyl wood flooring shine

How to Get Stuck-on Padding Off Hardwood Floors HomeSteady

Serenity Ultimate Carpet Underlay™

Installing Hardwood Floors how-tos DIY
Flooring pad
About Floors & Flooring Installation

How To Remove Wood Flooring To Reuse : Looking To Reuse This Connector But No Idea How To Remove

Photo Gallery Laminate Flooring Pictures
Related Posts: