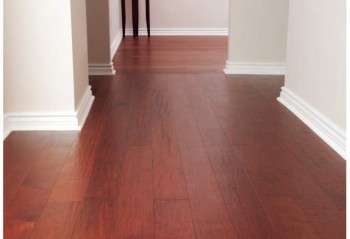
When I first walked into my 1890s Victorian home eight years ago, I was immediately captivated by the original hardwood floors that had somehow survived over a century of life. Hidden beneath layers of carpet and linoleum, these wide-plank chestnut floors told stories through every scratch, dent, and worn spot. What I initially thought would be a simple refinishing project became a passionate journey into understanding the craftsmanship and character that only vintage hardwood can provide. I learned that these floors weren’t just surfaces to walk on; they were living pieces of history.
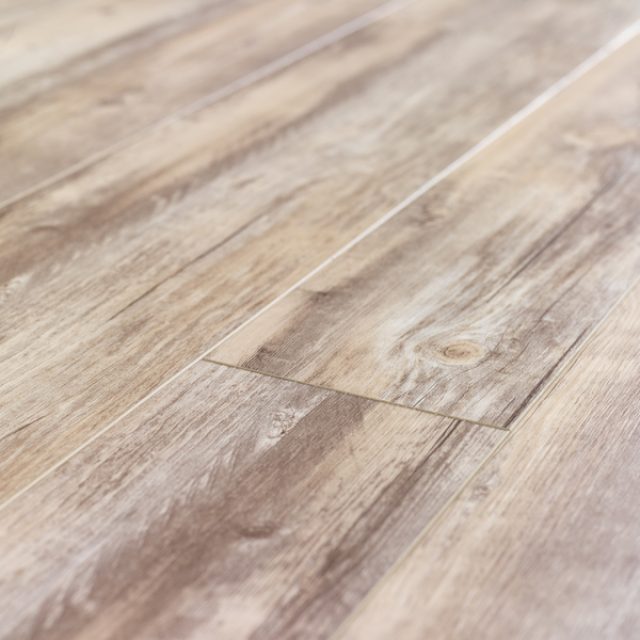
The first thing that struck me about vintage hardwood was the incredible width of the planks. My chestnut floors feature boards that range from eight to twelve inches wide, something you rarely see in modern installations. These wide planks came from old-growth forests where trees had centuries to mature, creating dense, stable wood with tight grain patterns. I discovered that the sawmills of the late 1800s cut lumber differently, too, often quarter-sawing boards to maximize stability and showcase the wood’s natural figure. This traditional milling technique created floors with character that modern plain-sawn boards simply cannot match.

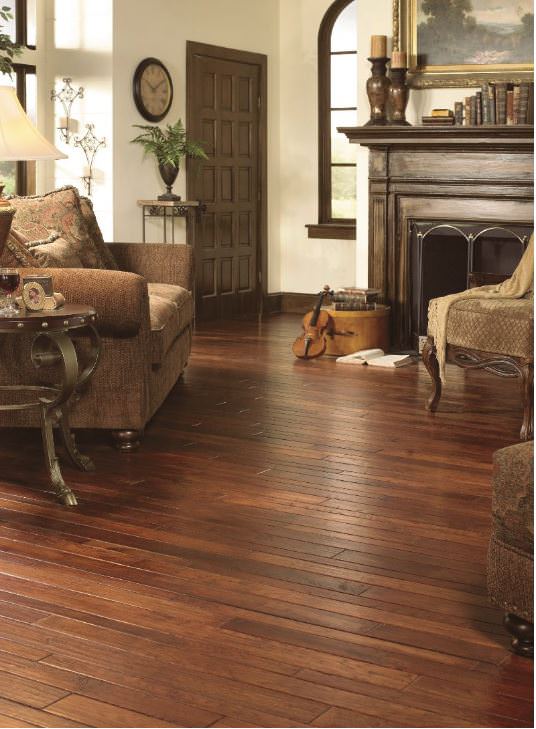
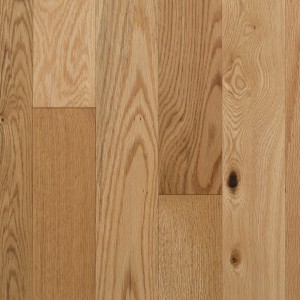
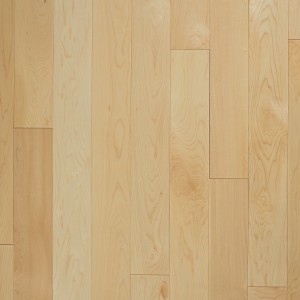
Understanding the species used in vintage flooring opened my eyes to how much the industry has changed. My home features American chestnut, a species that’s now virtually extinct due to blight but was once abundant in Eastern forests. I’ve also encountered vintage floors made from heart pine, old-growth oak, and even exotic woods like Brazilian rosewood that were more accessible in earlier eras. Each species has unique characteristics: chestnut’s warm honey tones and distinctive grain, heart pine’s rich amber patina, and oak’s incredible durability. Learning to identify these woods became a fascinating hobby that enhanced my appreciation for what I was preserving.
The installation methods used for vintage floors were completely different from modern techniques. Instead of the tongue-and-groove systems we use today, many of my floors are simply butted together and face-nailed with square-cut nails. Some sections feature ship-lap joints or even plain edge boards held in place by the tightness of the installation. I found evidence of hand-forged nails and even wooden pegs in some areas. These traditional fastening methods have held strong for over 130 years, proving that sometimes the old ways were indeed better. The craftsmanship required to install floors this way demanded skills that few modern installers possess.

Restoring vintage hardwood taught me patience and respect for the original craftsmen’s work. I made early mistakes trying to sand away every imperfection before realizing that the character marks were part of the floor’s story and value. Nail holes from long-removed carpets, dents from dropped tools, and worn pathways showing family traffic patterns are all part of what makes vintage floors special. I learned to distinguish between character marks that should be preserved and damage that genuinely needed repair. The goal became enhancing the floor’s natural beauty while maintaining its historical integrity.
The refinishing process for vintage hardwood requires a completely different approach than working with modern floors. These old boards are often thinner than contemporary lumber, having been milled to different standards and possibly refinished multiple times over the decades. I had to be extremely careful not to sand through to the tongue and groove joints or create low spots. I also discovered that vintage woods often react differently to stains and finishes due to their age and density. Testing every product on hidden areas became essential, and I learned that sometimes the natural patina that develops over time is more beautiful than any applied finish.

One of my biggest challenges was dealing with gaps between boards that had developed over the decades. Seasonal movement, settling, and drying had created spaces that ranged from hairline cracks to quarter-inch gaps. I researched traditional methods and found that craftsmen historically used wood strips, rope caulking, or even paper to fill gaps. For my restoration, I chose to embrace most gaps as character features while filling only the largest ones with matching wood strips. This approach maintained the floor’s authenticity while improving its functionality and appearance.
The hunt for matching replacement boards when I encountered damaged sections became an adventure in itself. I learned that architectural salvage companies specialize in vintage flooring materials, often purchasing entire floors from demolition projects. I developed relationships with several dealers who would call when they found chestnut or other species that might match my needs. Sometimes I’d drive hours to examine a single board, and I always kept my camera ready to document grain patterns and dimensions. Finding perfect matches was rare, but close matches that could be stained to blend became treasured discoveries.
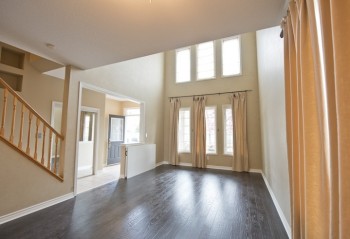
Living with vintage hardwood floors has taught me to appreciate imperfection as beauty. The slight unevenness that comes from hand-installation, the color variations between boards, and the patina that develops over time create visual interest that perfectly uniform modern floors cannot achieve. I’ve learned to see beauty in the worn areas near doorways and the gentle undulations that follow the natural settling of an old house. These characteristics make every room unique and give my home a warmth and authenticity that cannot be manufactured or replicated.
Maintaining vintage hardwood requires understanding that these floors were built to last for generations with proper care. I use traditional maintenance methods: regular sweeping, occasional damp mopping with appropriate cleaners, and periodic applications of paste wax or oil finishes depending on the original treatment. I avoid modern polyurethane finishes that can look artificial on vintage wood, preferring penetrating oils and waxes that enhance the natural beauty while allowing the wood to breathe. These floors reward gentle, consistent care with decades of continued beauty and improved character over time.

How can I tell if the hardwood floors in my old house are original vintage flooring worth preserving?
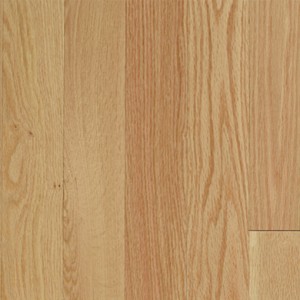
I learned to identify vintage floors by several key characteristics. Look for wide planks (typically 4+ inches), often with plain-sawn or quarter-sawn grain patterns. Check the edges: vintage floors may have simple butted joints or ship-lap rather than modern tongue-and-groove. The nails are often square-cut or hand-forged rather than modern round wire nails. Species like chestnut, heart pine, or old-growth oak suggest vintage origins. Wood thickness varies more in vintage floors, and you might find roman numerals or other marks from the original mill. Most importantly, the patina and character marks tell the story of age and craftsmanship.
What should I expect to invest in restoring vintage hardwood floors, and is it worth the cost?
My restoration costs varied widely depending on condition and scope of work. Professional sanding and refinishing ran $3-8 per square foot, while DIY saved about half that cost but required significant time investment. Replacement boards for damaged sections cost $5-15 per square foot for matching vintage materials. Specialty services like hand-scraping or traditional finishes added premium pricing. However, restored vintage floors typically add $10,000-30,000 to home value and create irreplaceable character. The investment pays off both financially and in daily living satisfaction. Quality vintage floors will outlast multiple generations with proper care.
Can vintage hardwood floors handle modern living, including pets and heavy furniture?
Vintage floors are often more durable than modern alternatives because they were made from old-growth timber with an incredibly dense grain structure. My chestnut floors have handled eight years of dogs, moving furniture, and daily family life beautifully. The key is proper maintenance and realistic expectations. Pet nails will create scratches, but these add to the character rather than detracting from it. Heavy furniture should use protective pads, just like with any hardwood. The beauty of vintage floors is that minor damage blends with existing character marks. They’re meant to be lived on, not preserved in museum-like perfection.
Should I attempt DIY restoration or hire professionals for vintage hardwood floor refinishing?
This depends heavily on your skill level and the floor’s condition. I started with a professional consultation to assess the floors and identify any structural issues before deciding on DIY work. Vintage floors require more finesse than modern ones due to varying thickness and historical installation methods. I handled the prep work, gap filling, and final finishing myself, but hired professionals for the initial sanding to avoid costly mistakes. If your floors have significant damage, uneven surfaces, or you’re inexperienced with floor restoration, professional work is worth the investment to protect irreplaceable vintage materials.

How do I properly maintain vintage hardwood floors to preserve their character and longevity?
Vintage floor maintenance focuses on gentle, consistent care rather than aggressive cleaning. I sweep daily with a soft-bristle broom and use a barely damp mop weekly with pH-neutral hardwood cleaner. I avoid steam mops and excessive water that can cause vintage wood to cup or gap. Every 6-12 months, I apply an appropriate finish: paste wax for traditional finishes or penetrating oil for oil-finished floors. I immediately clean spills and use mats at entrances to minimize grit. Most importantly, I embrace the gradual patina development as part of the floor’s ongoing story rather than trying to maintain a perfect appearance.
Where can I find replacement boards or matching materials for vintage hardwood floor repairs?
Finding matching vintage materials requires patience and multiple sources. Architectural salvage companies are my primary resource, as they often purchase entire floors from demolition projects. I’ve developed relationships with several dealers who understand my specific needs and call when suitable materials arrive. Online marketplaces like Facebook and specialized vintage building material sites offer possibilities but require careful measurement and color matching. Some sawmills specialize in reclaimed lumber and can mill custom pieces from old timber. Estate sales and barn demolitions sometimes yield surprises. Always bring samples and measurements when hunting for matches.

Discover our flooring collections Vintage Hardwood Flooring, and engineered flooring
Shop for Evoke Vinyl LVT – Heath ESL Hardwood Floors – Boise, ID

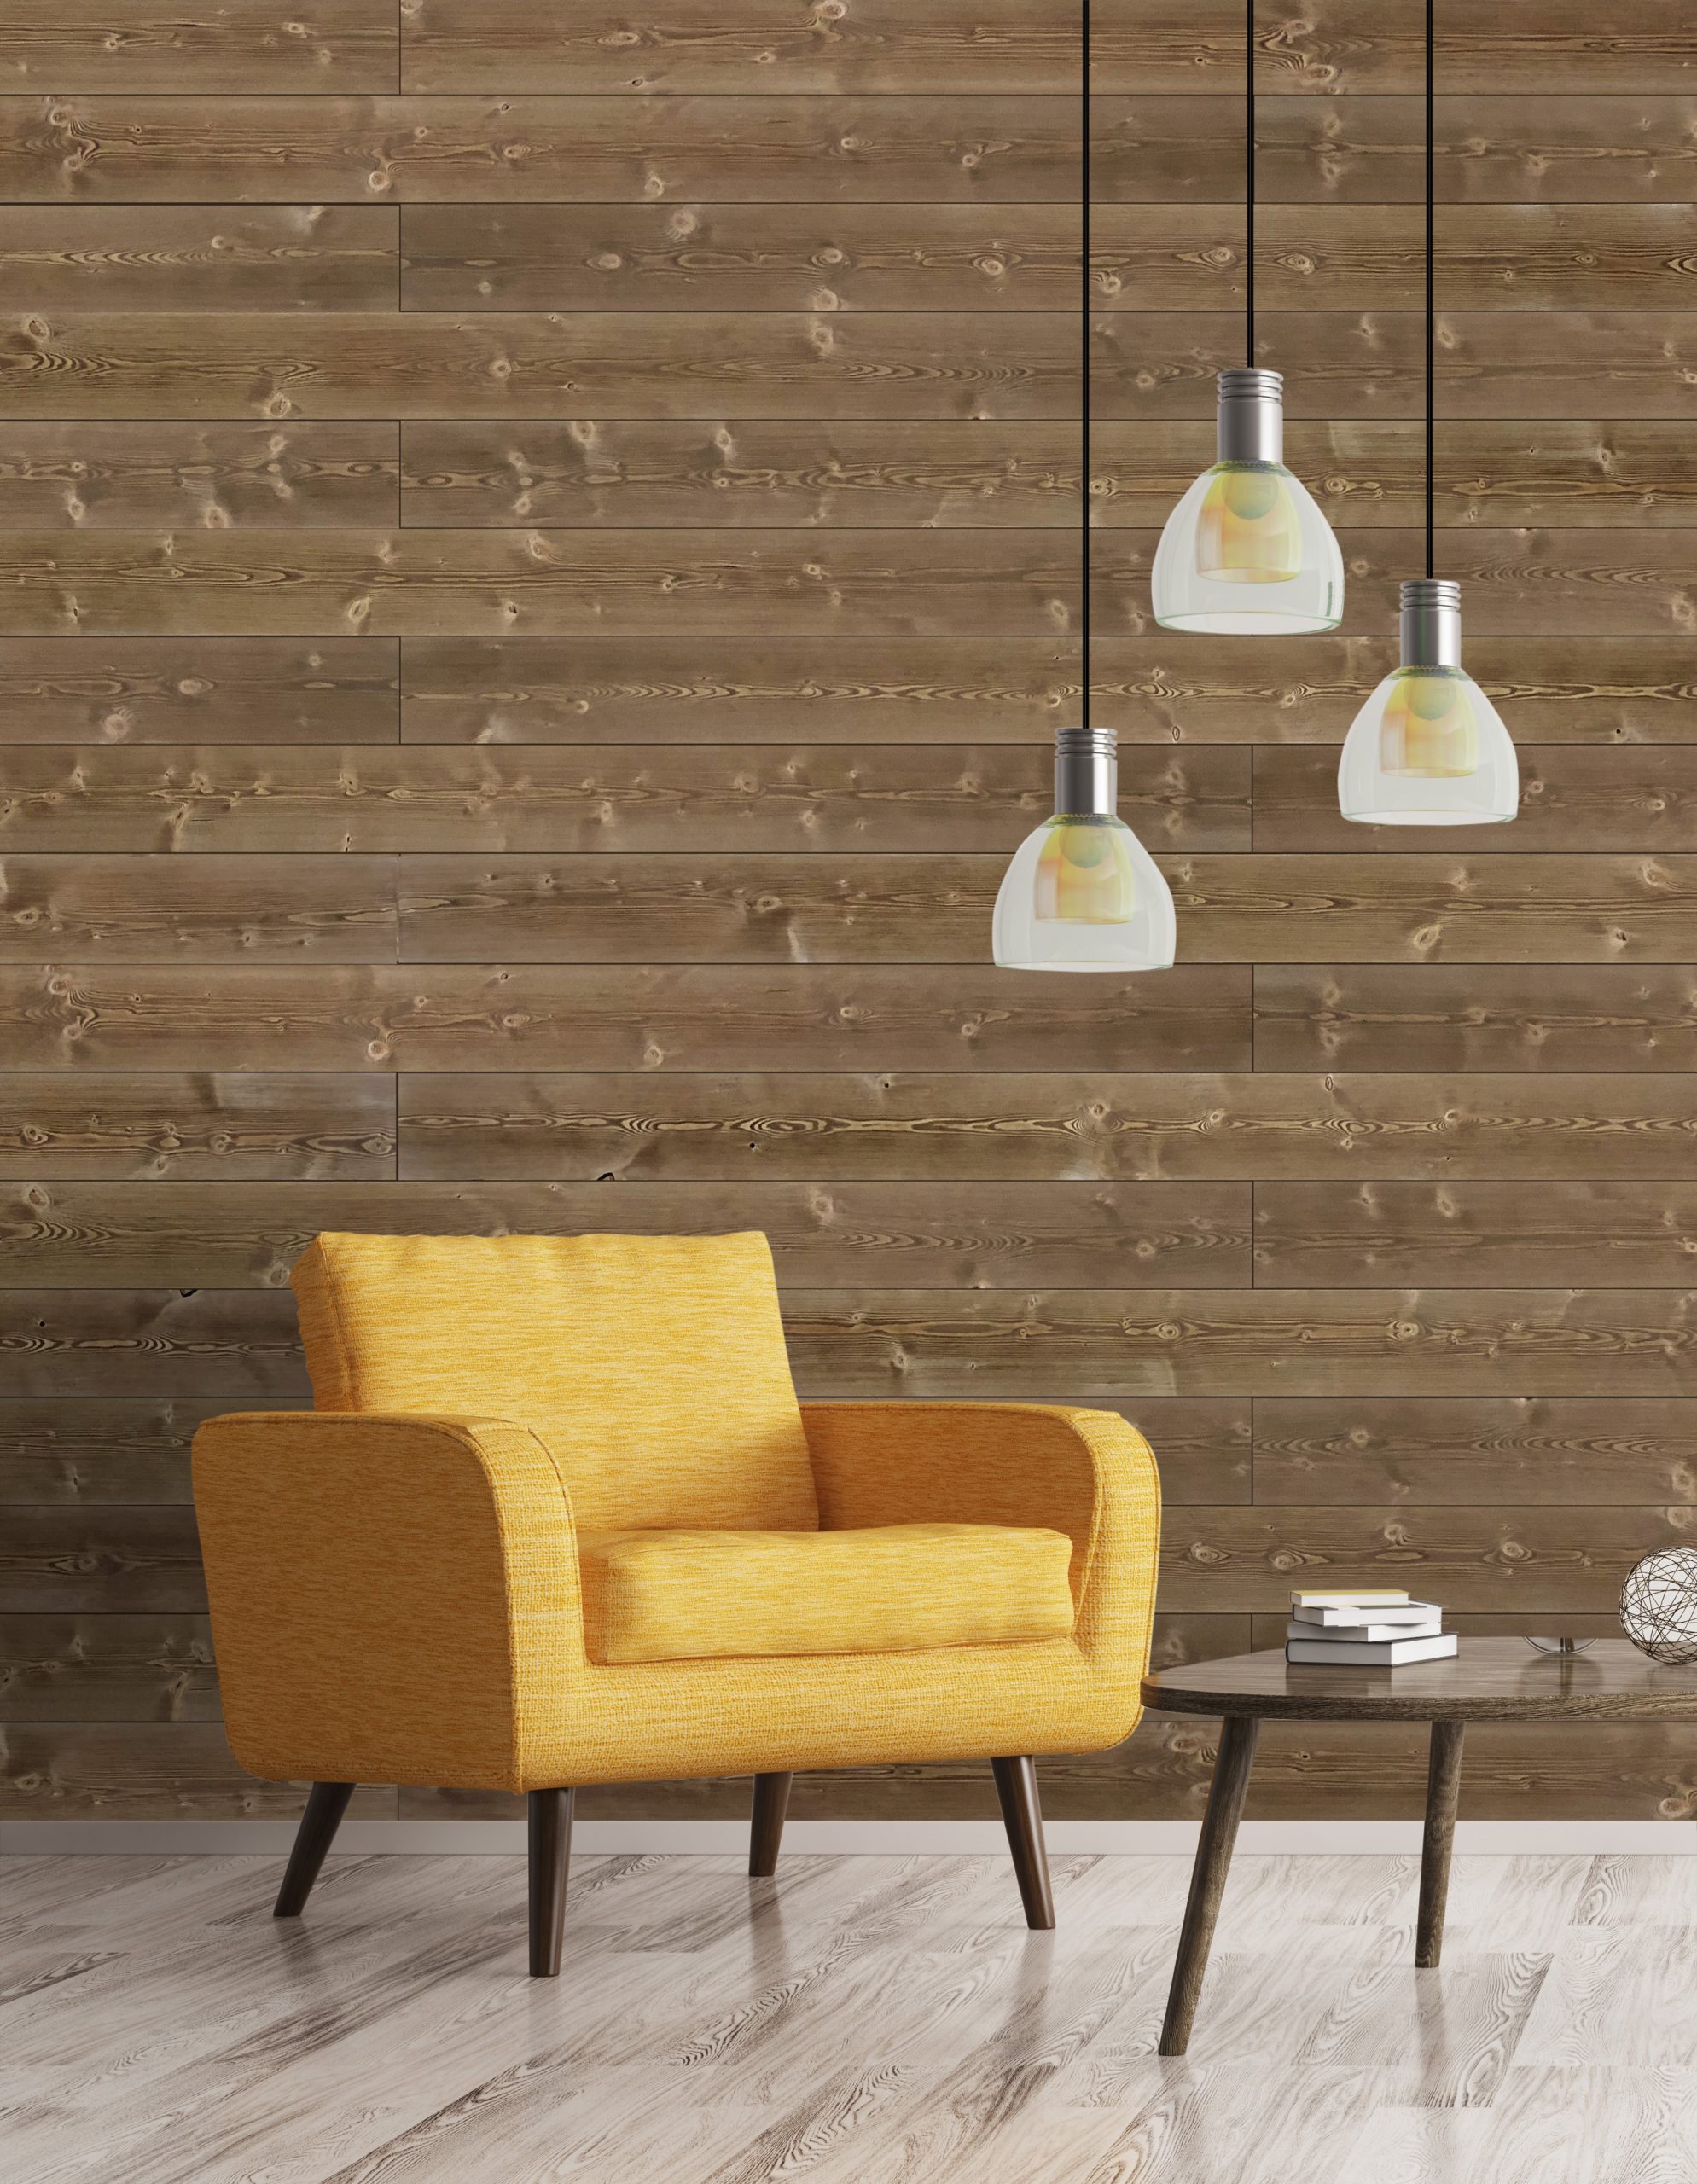
Timberwall Vintage Collection Wall Paneling Buckeye Brown
Discover our flooring collections Vintage Hardwood Flooring, and engineered flooring
Shop for Evoke Vinyl LVT – Joan ESL Hardwood Floors – Boise, ID

Be inspired Vintage Hardwood Flooring, and engineered flooring
Showcase of Work – DJ Cox – Wall & Floor Tiler

Shop for Evoke Vinyl LVT – Chip ESL Hardwood Floors – Boise, ID
Discover our flooring collections Vintage Hardwood Flooring, and engineered flooring
Related Posts: