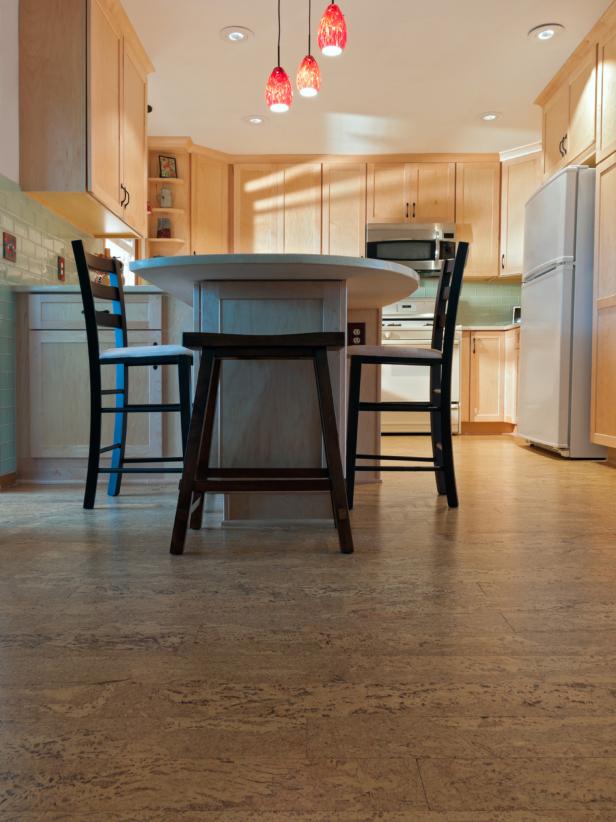
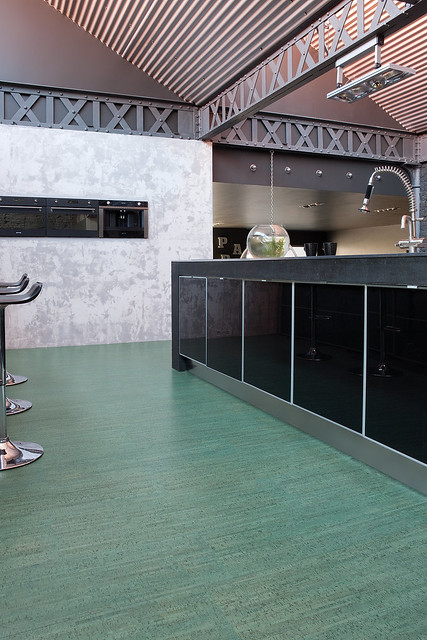
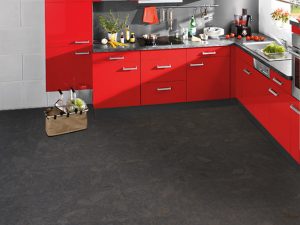
Cork flooring brings warmth, comfort, and eco-friendly appeal to kitchens, making it an excellent alternative to traditional options. Naturally resistant to moisture and mold, cork works well in kitchens where spills and humidity are common. Its cellular structure provides cushioning underfoot, reducing fatigue during long cooking sessions. Cork’s natural insulation properties help maintain comfortable floor temperatures year-round. Available in tiles or planks with various finishes, cork complements both modern and traditional kitchen designs. Proper installation ensures durability and maximizes cork’s unique benefits in this high-traffic area.
Before installation, assess your kitchen’s subfloor condition. Cork requires a clean, dry, and level surface for optimal performance. Concrete subfloors need moisture testing – place a plastic sheet taped to the floor for 24 hours to check for condensation. Wood subfloors should be structurally sound with no squeaks or movement. Address any uneven areas with leveling compound, and repair cracks or imperfections. Acclimate cork planks or tiles in the kitchen for 48 hours before installation, allowing the material to adjust to room temperature and humidity. Proper preparation prevents future problems like buckling or gaps.

Floating cork floor installations work best for most DIY kitchen projects. This method involves interlocking planks over an underlayment without adhesive or nails. Start by laying a vapor barrier over the subfloor, especially important in kitchens where moisture is present. Use cork-specific underlayment for added insulation and sound absorption. Begin installation along the longest straight wall, leaving a 1/4-inch expansion gap around the perimeter. Stagger end joints by at least 6 inches for stability. A rubber mallet helps snugly connect tongue-and-groove edges without damaging the material. This straightforward approach creates a stable, unified floor surface.
Glue-down cork tile installation offers superior stability for busy kitchens. This method works particularly well with cork tiles or for kitchens with radiant heating systems. Apply recommended adhesive evenly using a notched trowel, working in small sections. Press tiles firmly into place, using a roller to ensure full contact with the subfloor. Wipe excess adhesive immediately with a damp cloth. Maintain consistent spacing between tiles using spacers, and check alignment frequently. Glue-down installations provide a more permanent solution that withstands heavy kitchen traffic and rolling appliance movement better than floating floors.

Cutting cork flooring requires sharp tools for clean edges. Use a utility knife with fresh blades for straight cuts on cork tiles, scoring several times before snapping. For cork planks, a jigsaw or handsaw works best for cutting around cabinets or appliances. Leave expansion gaps around fixed objects like islands or pantry cabinets. When fitting around pipes or irregular shapes, create cardboard templates for precise cuts. Always wear safety glasses when cutting, and work in a well-ventilated area. Proper cutting techniques ensure professional-looking results where the flooring meets walls, transitions, or kitchen fixtures.
Finishing touches complete the installation for a polished look. Install matching cork or complementary transition strips where the kitchen floor meets other surfaces. Use appropriate quarter-round or baseboard molding to cover expansion gaps along walls. For glue-down installations, wait the recommended time before applying sealant. Floating floors may need edge trim to secure the perimeter. These final steps protect the flooring edges while creating seamless transitions between spaces. Allow the floor to settle for 24-48 hours before moving heavy appliances back into place or subjecting it to heavy use.
Sealing cork kitchen floors enhances protection against spills and stains. While cork naturally resists moisture, kitchens demand extra protection. Use water-based polyurethane sealant specifically formulated for cork, applying two to three thin coats with a foam roller. Allow proper drying time between coats, lightly sanding with fine-grit paper for adhesion. Some pre-finished cork products have built-in sealants, but adding an extra layer in kitchens is advisable. Reapply sealant every 2-3 years in high-traffic cooking areas. Proper sealing maintains cork’s beauty while preventing liquid penetration that could cause damage over time.
Cork flooring offers practical kitchen advantages beyond its aesthetic appeal. Its natural shock absorption reduces breakage when dishes are dropped. The soft surface eases joint stress for those who stand while cooking. Cork’s sound-dampening qualities minimize noise from foot traffic and clattering utensils. Unlike cold tile, cork feels warm underfoot during early morning coffee routines. The material’s natural antimicrobial properties inhibit mold and bacteria growth – a significant benefit in food preparation areas. These functional benefits make cork an increasingly popular choice for health-conscious homeowners designing practical, comfortable kitchens.

Maintaining cork kitchen floors is simple with proper care. Wipe spills promptly to prevent prolonged moisture exposure. Use protective pads under heavy appliances to prevent indentations. Clean with pH-neutral cleaners and avoid harsh chemicals that could degrade the finish. Place mats near sinks and cooking areas to catch drips. Occasionally rearrange rugs and furniture to ensure even wear patterns. With reasonable precautions, cork withstands kitchen demands beautifully. Unlike materials that show every scratch, cork’s natural pattern helps camouflage minor wear. Periodic resealing maintains protection while preserving the floor’s warm, inviting appearance.
Cork flooring installation transforms kitchens into comfortable, sustainable spaces. Its renewable nature appeals to eco-conscious homeowners – cork oak trees regenerate their bark every 9-12 years. The material’s natural variations create unique floors with character no two kitchens share. From busy family cooking spaces to elegant chef’s kitchens, cork adapts to diverse lifestyles while offering unparalleled comfort. Proper installation techniques ensure years of reliable performance in this demanding environment. Combining environmental responsibility with practical benefits, cork flooring proves that kitchen surfaces can be both beautiful and kind to the planet underfoot.
Kitchen and Cabinets Styles Cork flooring, Flooring trends, Basement flooring

Best Flooring Option Pictures: 11 Ideas for Every Room Cork flooring, Flooring options

Living in your Kitchen — design trends– Aston Smith: Cork Flooring for the Kitchen

Cork Flooring Research images on Pinterest Flooring ideas, Cork flooring and Cork

Cork Flooring: Kitchen Flickr – Photo Sharing!
Salem Cellar Brick Engineered Vinyl Plank Flooring Lumber Liquida… Waterproof

Cork Floating Floor Installation In Kitchen – ICork Floor
Floor Installation Photos: Wood-Look Porcelain Tile in Levittown
Diana’s 10 – yes, ten! – kitchen floor tile pattern mockups – and the final choice, tweaked some
Related Posts: