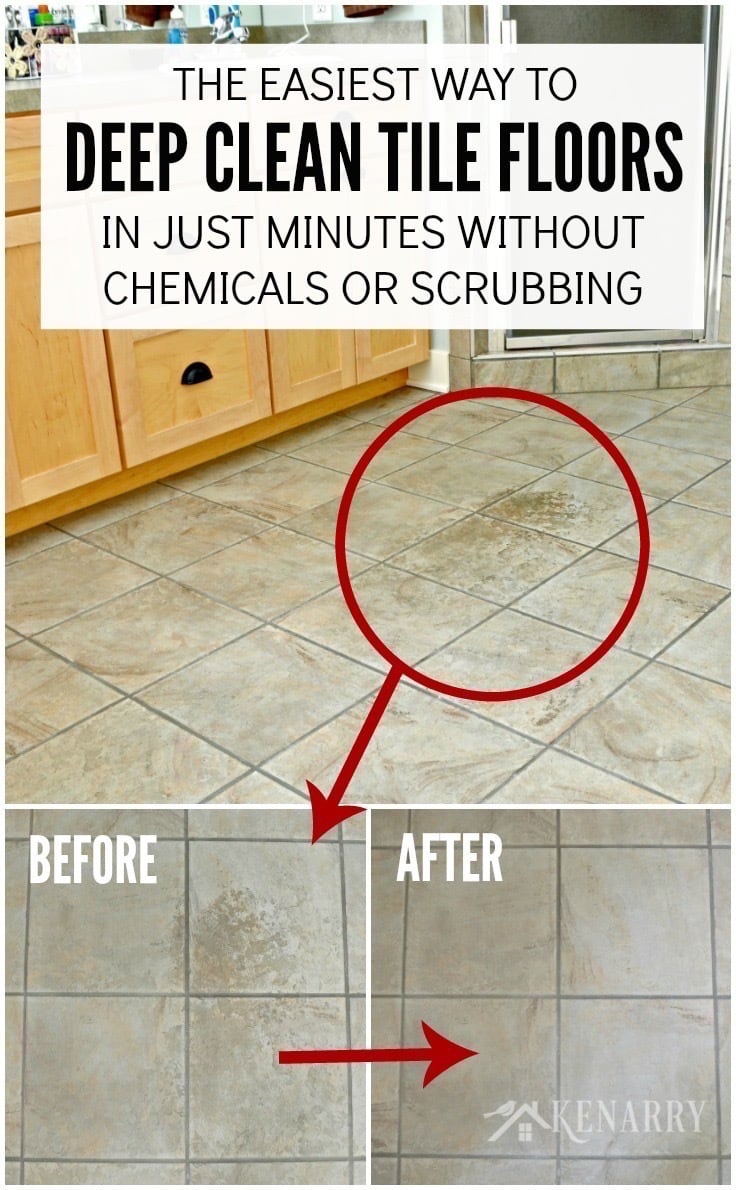
There’s nothing more satisfying than stepping onto freshly cleaned kitchen floor tiles. Over time, grease, grime, and food spills build up, making even the most durable tiles look dull. I’ve spent years experimenting with different cleaning methods, and I’ve found that a deep clean requires more than just a quick mop. The key is breaking down stubborn residue while protecting the tile’s finish. Whether you have ceramic, porcelain, or natural stone tiles, the right approach makes all the difference. A thorough clean not only improves appearance but also extends the life of your flooring.
The first step is always sweeping or vacuuming to remove loose dirt. I used to skip this, thinking mopping alone was enough, but I quickly learned that debris scratches the surface over time. A microfiber dust mop works best for trapping fine particles without spreading dust. For textured tiles, a soft-bristle brush helps dislodge dirt from grout lines. If you have pets, a vacuum with a hard floor attachment is a game-changer. Starting with a debris-free surface ensures your deep clean is more effective. It’s a simple step, but it sets the foundation for a spotless floor.
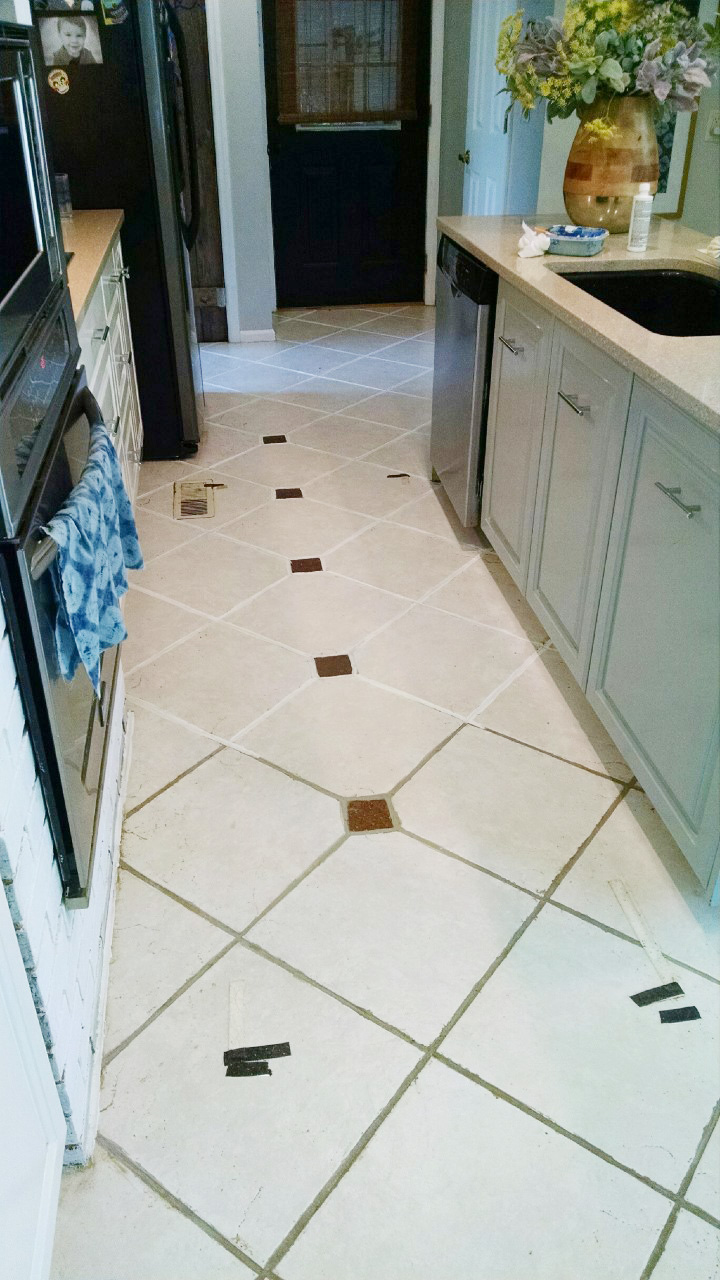
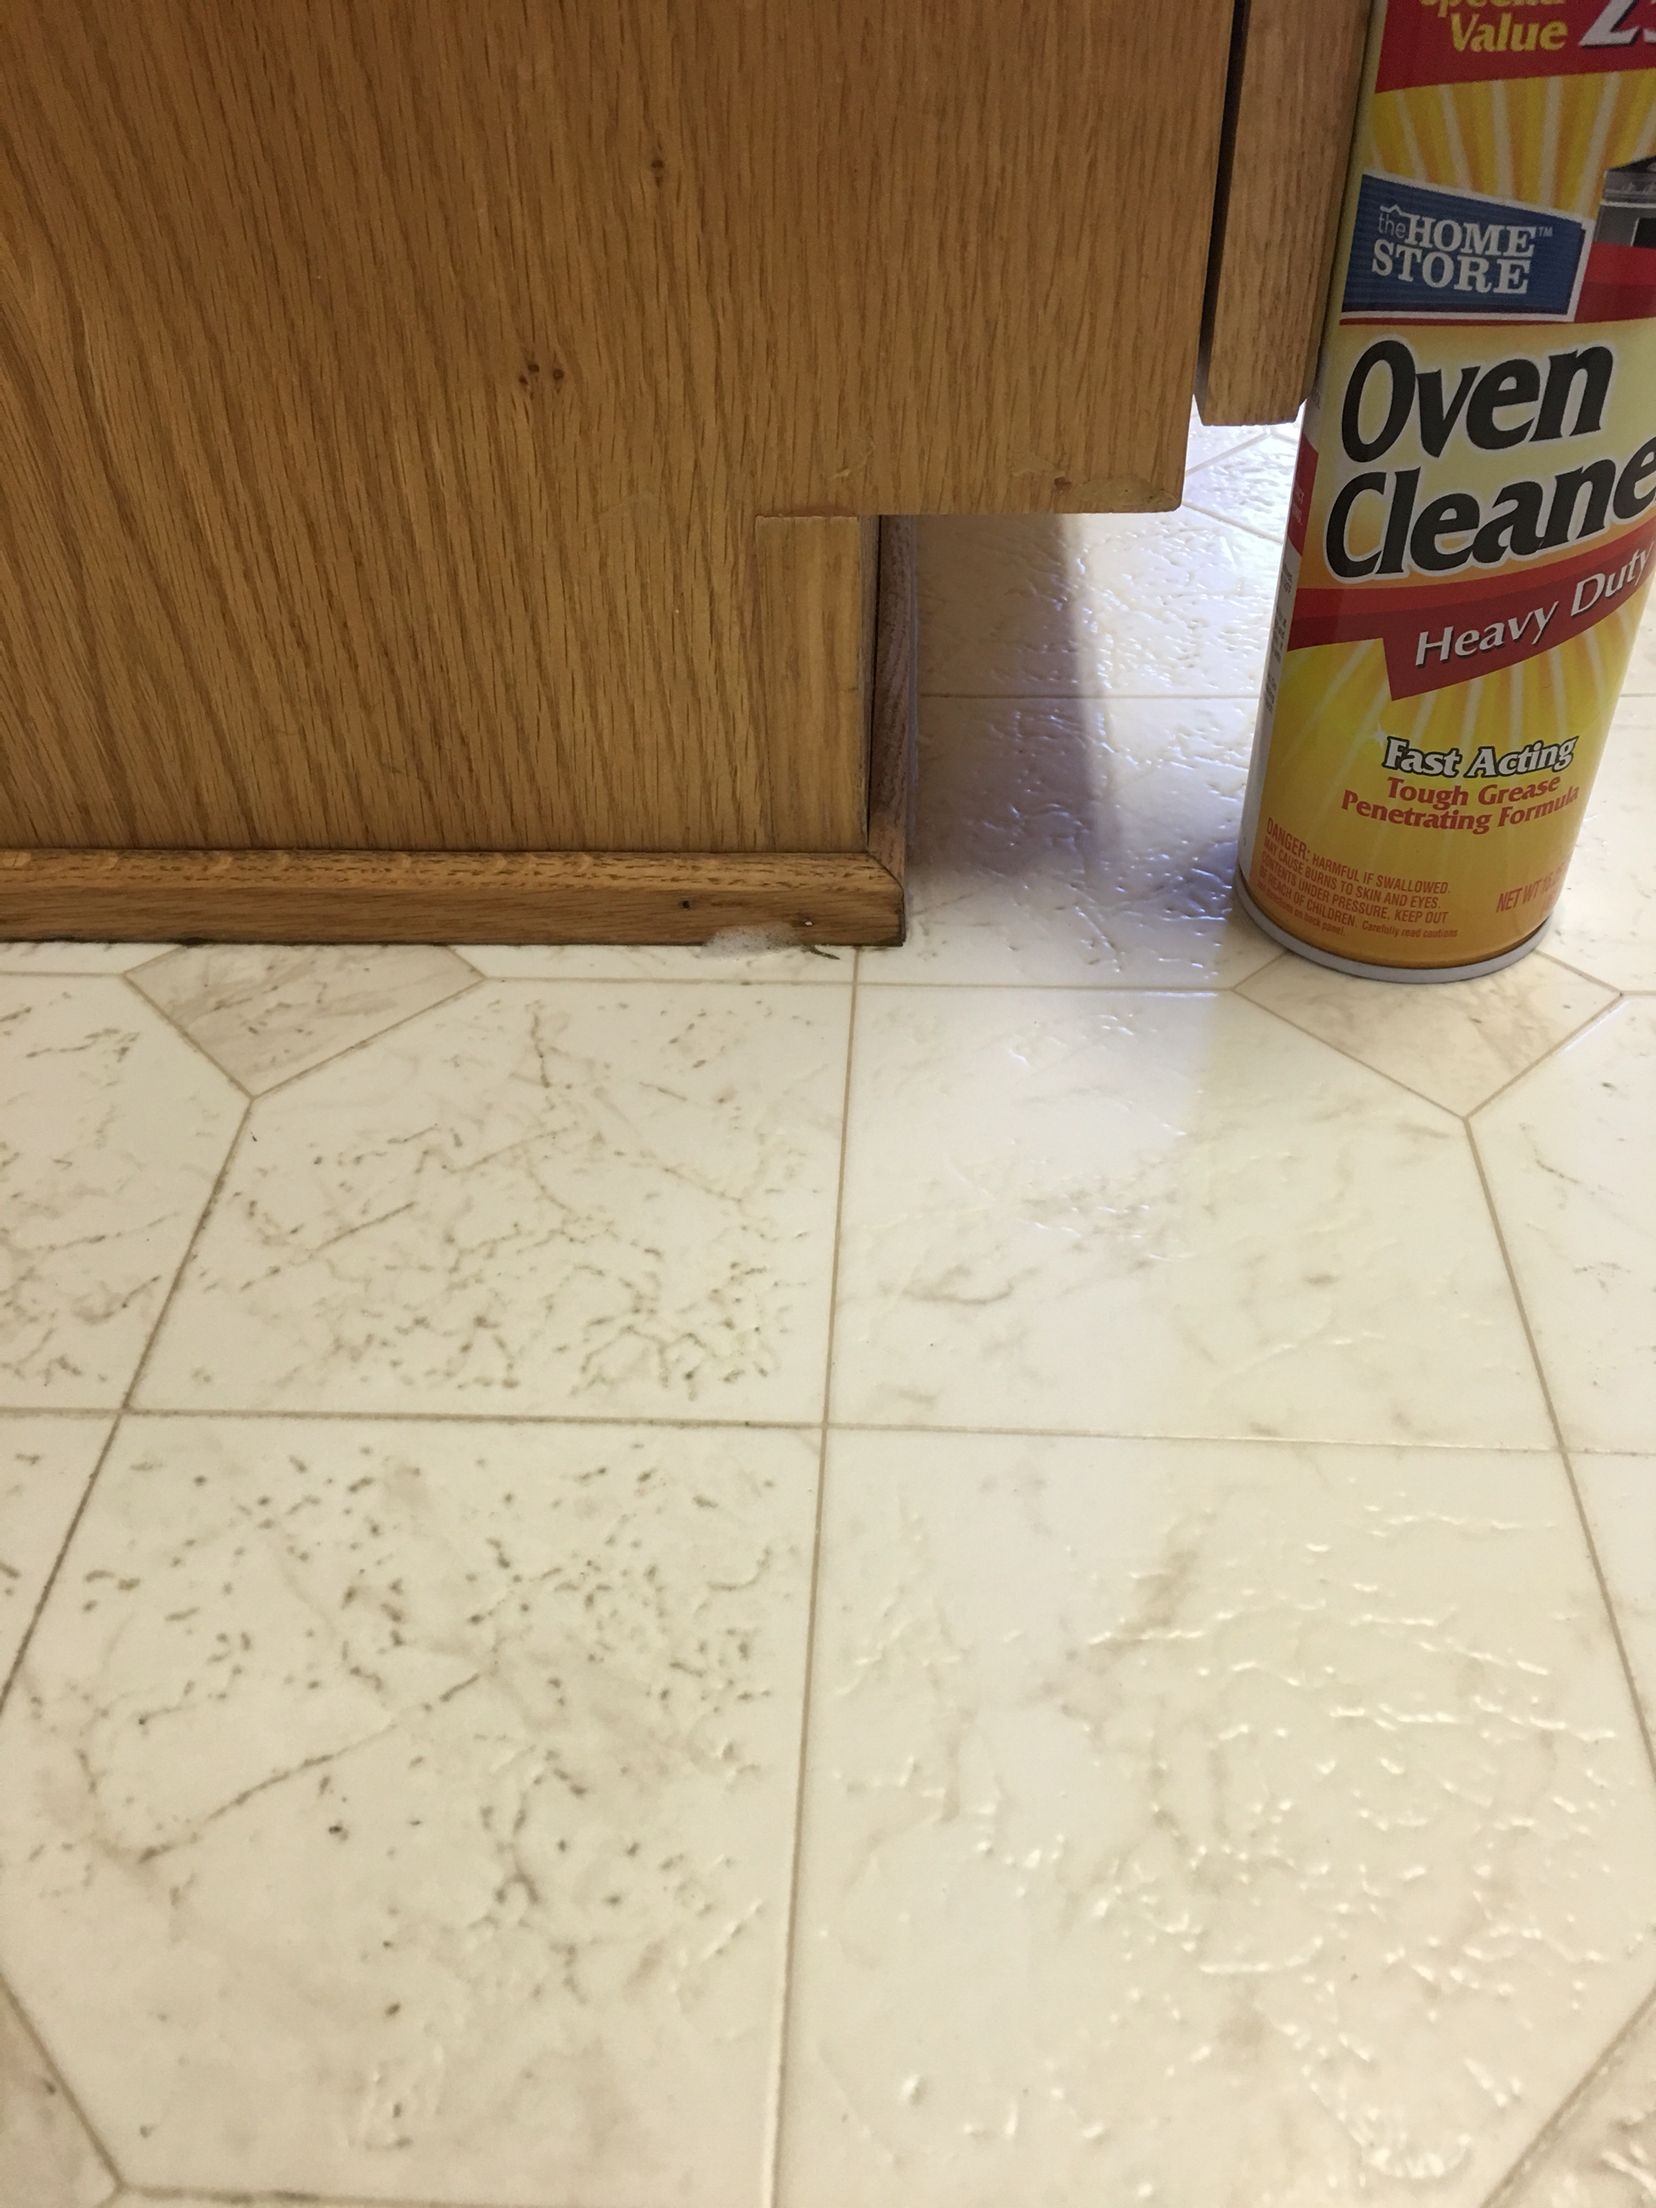
Next, I tackle grease buildup, especially near the stove and sink. Kitchen floors collect oily residue from cooking, which regular cleaners often miss. My go-to solution is a mix of warm water and dish soap—it cuts through grease without harsh chemicals. For tougher stains, I add a splash of white vinegar, but I avoid using it on natural stone since it can etch the surface. I apply the solution with a scrub brush or sponge mop, focusing on problem areas. Letting it sit for a few minutes loosens grime before I rinse with clean water. The difference is immediate—the tiles regain their shine.
Grout lines are the trickiest part of deep cleaning tile floors. Even with regular mopping, they darken over time from dirt and mildew. I’ve tried countless grout cleaners, but a paste of baking soda and water works best for me. I spread it over the grout, scrub with an old toothbrush, and rinse thoroughly. For stubborn stains, hydrogen peroxide brightens without bleaching. Sealing the grout afterward prevents future stains, though I reapply it every few months. Taking the time to clean grout makes the entire floor look brand new. It’s tedious but worth the effort.

For heavily soiled floors, a steam mop is my secret weapon. The high heat sanitizes and lifts dirt without harsh chemicals. I use it after pre-treating tough spots, and the results are impressive. However, I avoid steam on unsealed natural stone or cracked tiles, as moisture can cause damage. The steam mop also dries quickly, reducing slip hazards—a big plus in a busy kitchen. If you don’t own one, renting or borrowing one for a deep clean is a smart move. It’s an investment, but the deep-cleaning power is unmatched.
Preventing future buildup is just as important as cleaning. I’ve adopted habits like wiping spills immediately and using mats near high-traffic areas. A quick daily sweep keeps dirt from embedding in grout. I also switched to a pH-neutral cleaner for regular mopping, which maintains the floor without stripping sealants. Small changes like these reduce how often I need to deep clean. It’s easier to maintain a clean floor than to rescue a neglected one. Consistency is the key to keeping tiles looking their best.
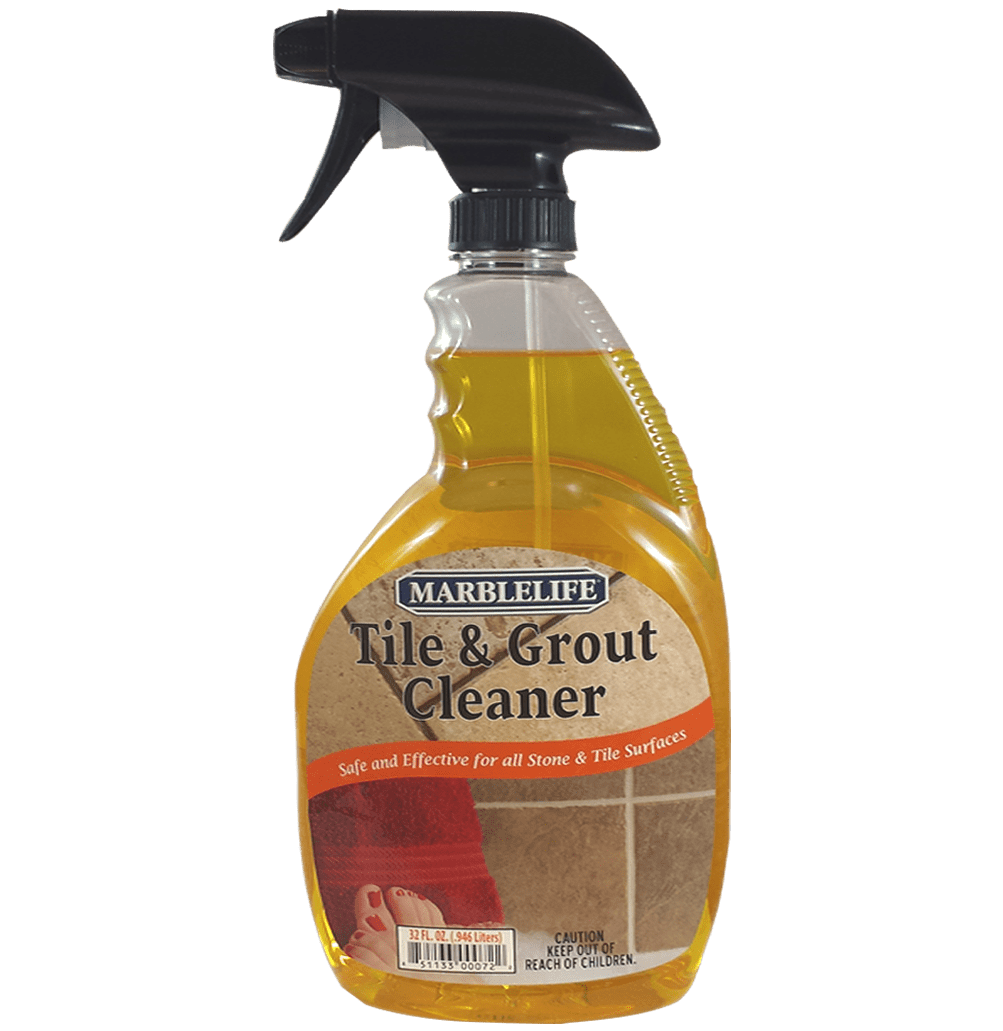
Sometimes, despite my best efforts, I encounter stubborn stains like coffee or wine. For these, I make a paste of baking soda and hydrogen peroxide, apply it directly, and let it sit before scrubbing. If the stain persists, a commercial tile cleaner designed for deep stains does the trick. I always test a small area first to avoid discoloration. Patience is crucial—rushing the process can damage the tile. With the right technique, even set-in stains fade away.
Natural stone tiles require extra care. Harsh cleaners or acidic solutions like vinegar can ruin their finish. Instead, I use a mild stone-specific cleaner and a soft cloth. Sealing stone tiles annually protects them from stains and moisture. I learned this the hard way after accidentally etching my marble tiles with lemon juice. Now, I stick to gentle products and avoid abrasive tools. Stone floors are beautiful but demand a tailored cleaning approach.
After deep cleaning, I always dry the floor thoroughly to prevent water spots and streaks. A microfiber towel works better than air drying, especially on glossy tiles. If I’m in a hurry, I use a dry mop to speed up the process. Proper drying also prevents mold growth in grout lines. It’s the final touch that ensures a flawless finish.
The sense of accomplishment after a deep clean is unbeatable. My kitchen feels fresher, brighter, and more inviting. While it takes effort, the results last for weeks with proper maintenance. A clean floor transforms the entire room, making cooking and entertaining more enjoyable. If you’ve been putting off a deep clean, set aside a weekend and give your tiles the attention they deserve.
How often should I deep clean my kitchen floor tiles?
I deep clean mine every three to four months, but high-traffic kitchens may need it more often. If you cook frequently or have pets, a quarterly deep clean keeps grime under control. Regular sweeping and mopping maintain cleanliness between deep cleans. Pay attention to grout discoloration—when it darkens, it’s time for a thorough scrub. Adjust the schedule based on your household’s needs.
Can I use bleach on tile floors?
Bleach works well for disinfecting and whitening grout, but it can damage colored grout and natural stone. I dilute it (1:10 with water) and use it sparingly. Always rinse thoroughly to avoid residue. For daily cleaning, gentler alternatives like hydrogen peroxide are safer. Test bleach in an inconspicuous area first to check for discoloration.

What’s the best way to clean textured or uneven tiles?
Textured tiles trap dirt, so a soft-bristle brush or an old toothbrush helps reach crevices. I use a mixture of warm water and mild detergent, scrubbing in circular motions. A steam mop with a brush attachment also works well. Avoid abrasive pads that could scratch the surface. Take your time to ensure all dirt is lifted.
How do I prevent grout from getting dirty so quickly?
Sealing grout after cleaning is the best defense against stains. I apply a penetrating sealer every six months. Wiping spills immediately and using rugs in high-splash areas also helps. A pH-neutral cleaner for regular mopping prevents dirt buildup. The more proactive you are, the longer grout stays clean.

Are steam mops safe for all types of tile?
Steam mops are great for ceramic and porcelain tiles but risky for natural stone, unsealed grout, or cracked tiles. The heat and moisture can cause damage over time. I use mine cautiously and avoid prolonged steam exposure. Always check your flooring manufacturer’s recommendations before using one.
What’s the fastest way to deep clean tiles without harsh chemicals?
A mix of baking soda and water works wonders for scrubbing grout and stains. For general cleaning, warm water with a few drops of dish soap lifts grease effectively. A microfiber mop speeds up the process. If you need extra disinfecting, hydrogen peroxide is a natural alternative. Quick, safe, and efficient!

Ways to upgrade your flooring without removing tiles

How to Properly Clean Your Tile Floors and Keep Them Sparkling
/_2a1R6Fg-7b98f1067184426f951d6c1db79d4eb7.jpg)
Kitchen Tile Floor Repair
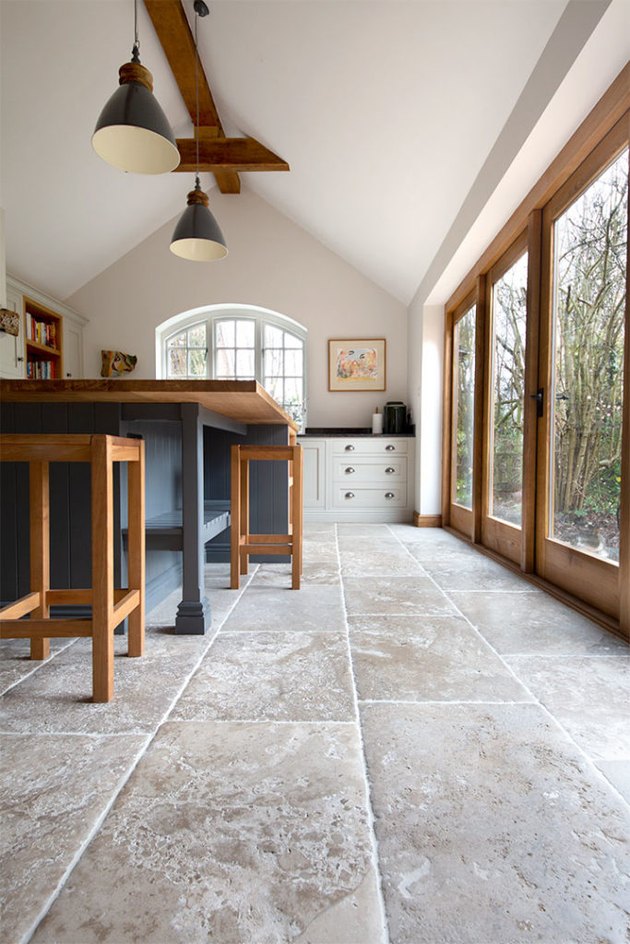
Limestone Kitchen Flooring: Pros & Cons, Cleaning & Maintenance
Rustic White Rustic white, Indoor air quality, Vinyl

Hard Floor Mop Wet mops, Cleaning tile floors, Floor cleaner

Related Posts: