Installing unfinished hardwood flooring yourself can transform your home with timeless beauty while saving money on labor costs. Unlike prefinished planks, unfinished hardwood allows you to customize the stain color and sheen to perfectly match your decor. Oak, maple, and hickory are popular choices, offering durability and classic appeal. While the project requires patience and precision, the results are worth the effort. Proper preparation—including subfloor leveling and moisture testing—ensures a flawless installation. With the right tools and techniques, DIYers can achieve professional-looking results.
One of the biggest advantages of unfinished hardwood is its versatility in finishing options. You can choose from light natural stains, rich dark tones, or even leave the wood bare with just a protective sealant. Sanding between coats creates an ultra-smooth surface that prefinished floors can’t match. This customization lets you create a truly unique floor that complements your home’s style. The ability to repair and refinish the surface multiple times over decades makes it a smart long-term investment. Just remember to finish the flooring after installation but before moving furniture in.

Proper acclimation is crucial for successful unfinished hardwood installation. The planks need to sit in the room where they’ll be installed for 3-5 days, allowing the wood to adjust to the space’s humidity and temperature. This prevents warping or gaps after installation. Keep the flooring stacked flat with spacers between boards for air circulation. Use a moisture meter to verify the wood and subfloor have similar moisture content before beginning. Rushing this step can lead to costly problems later, so patience is key. The ideal relative humidity for installation is between 30-50%.
Installation techniques vary depending on your chosen method. Nail-down installation works best over wood subfloors, requiring a flooring nailer and mallet. Glue-down applications suit concrete slabs but need special adhesive and proper ventilation. Floating installations are easiest for beginners, using a click-lock system that doesn’t require nails or glue. Regardless of method, start along the longest straight wall and use spacers to maintain expansion gaps. Stagger end joints randomly for a natural look and greater stability. Having a helper makes the process smoother, especially for larger rooms.

Sanding unfinished hardwood requires careful attention to detail. Begin with coarse-grit paper to remove imperfections, progressing to finer grits for a polished surface. Always sand with the grain to avoid scratches, and use an edger for areas the drum sander can’t reach. Proper dust control is essential—rent a sander with good vacuum attachment or use plastic sheeting to isolate the work area. The goal is to create a perfectly level surface without dips or waves. Test your sanding progress by wiping the floor with mineral spirits, which reveals any remaining flaws.
Choosing the right finish protects your hard work for years to come. Oil-based polyurethane provides the most durable surface but has strong fumes and long drying times. Water-based polyurethane dries faster with less odor but may require more coats. Hardwax oils penetrate the wood for a natural look while offering good protection. For high-traffic areas, consider aluminum oxide finishes for maximum scratch resistance. Apply thin, even coats using a quality applicator, sanding lightly between coats. Three coats are typically recommended for optimal protection.

Working around obstacles requires special techniques. For vents, carefully measure and cut openings using a jigsaw. Door jambs need undercutting with a handsaw so planks can slide beneath them. Pipes require drilled holes slightly larger than the pipe diameter to allow for expansion. Transition strips create clean edges where the hardwood meets other flooring types. Take time to plan these details before installation—rushing through them can ruin an otherwise perfect floor. Keep extra planks for future repairs, storing them in similar humidity conditions.
The cost savings of DIY unfinished hardwood are significant. While professional installation averages 8−15 per square foot, DIY materials typically cost 3−8 per square foot. Renting equipment for sanding and finishing adds to expenses but still results in substantial savings. Unfinished planks themselves often cost less than prefinished options of equal quality. The ability to refinish rather than replace damaged areas adds to long-term value. For budget-conscious homeowners willing to invest time, it’s an excellent way to get premium flooring at a fraction of the cost.

Common mistakes to avoid include inadequate subfloor preparation, skipping moisture testing, and rushing the acclimation process. Installing over uneven surfaces causes squeaks and gaps. Sanding too aggressively can create uneven spots that show through the finish. Applying finish in poor ventilation or humidity leads to bubbles and poor adhesion. Not allowing proper drying time between coats reduces durability. Following manufacturer instructions precisely and taking your time at each step prevents these issues. Online tutorials and flooring forums offer valuable tips for first-timers.
The finished product offers unmatched satisfaction and beauty. Walking on floors you installed and finished yourself creates a special sense of accomplishment. The rich, customized look enhances your home’s character and value. Unlike manufactured flooring, real hardwood can be refinished multiple times, adapting to changing styles over decades. With proper care—using felt pads under furniture and avoiding excessive moisture—your DIY hardwood floors can last a lifetime. The project might challenge your skills, but the enduring results make it one of the most rewarding home improvements you can undertake.
Distressed Wood Flooring Laminate Wood floors wide plank, Diy flooring, House flooring

Very cool two-tone hardwood floor! Floor design, Hardwood design, Flooring

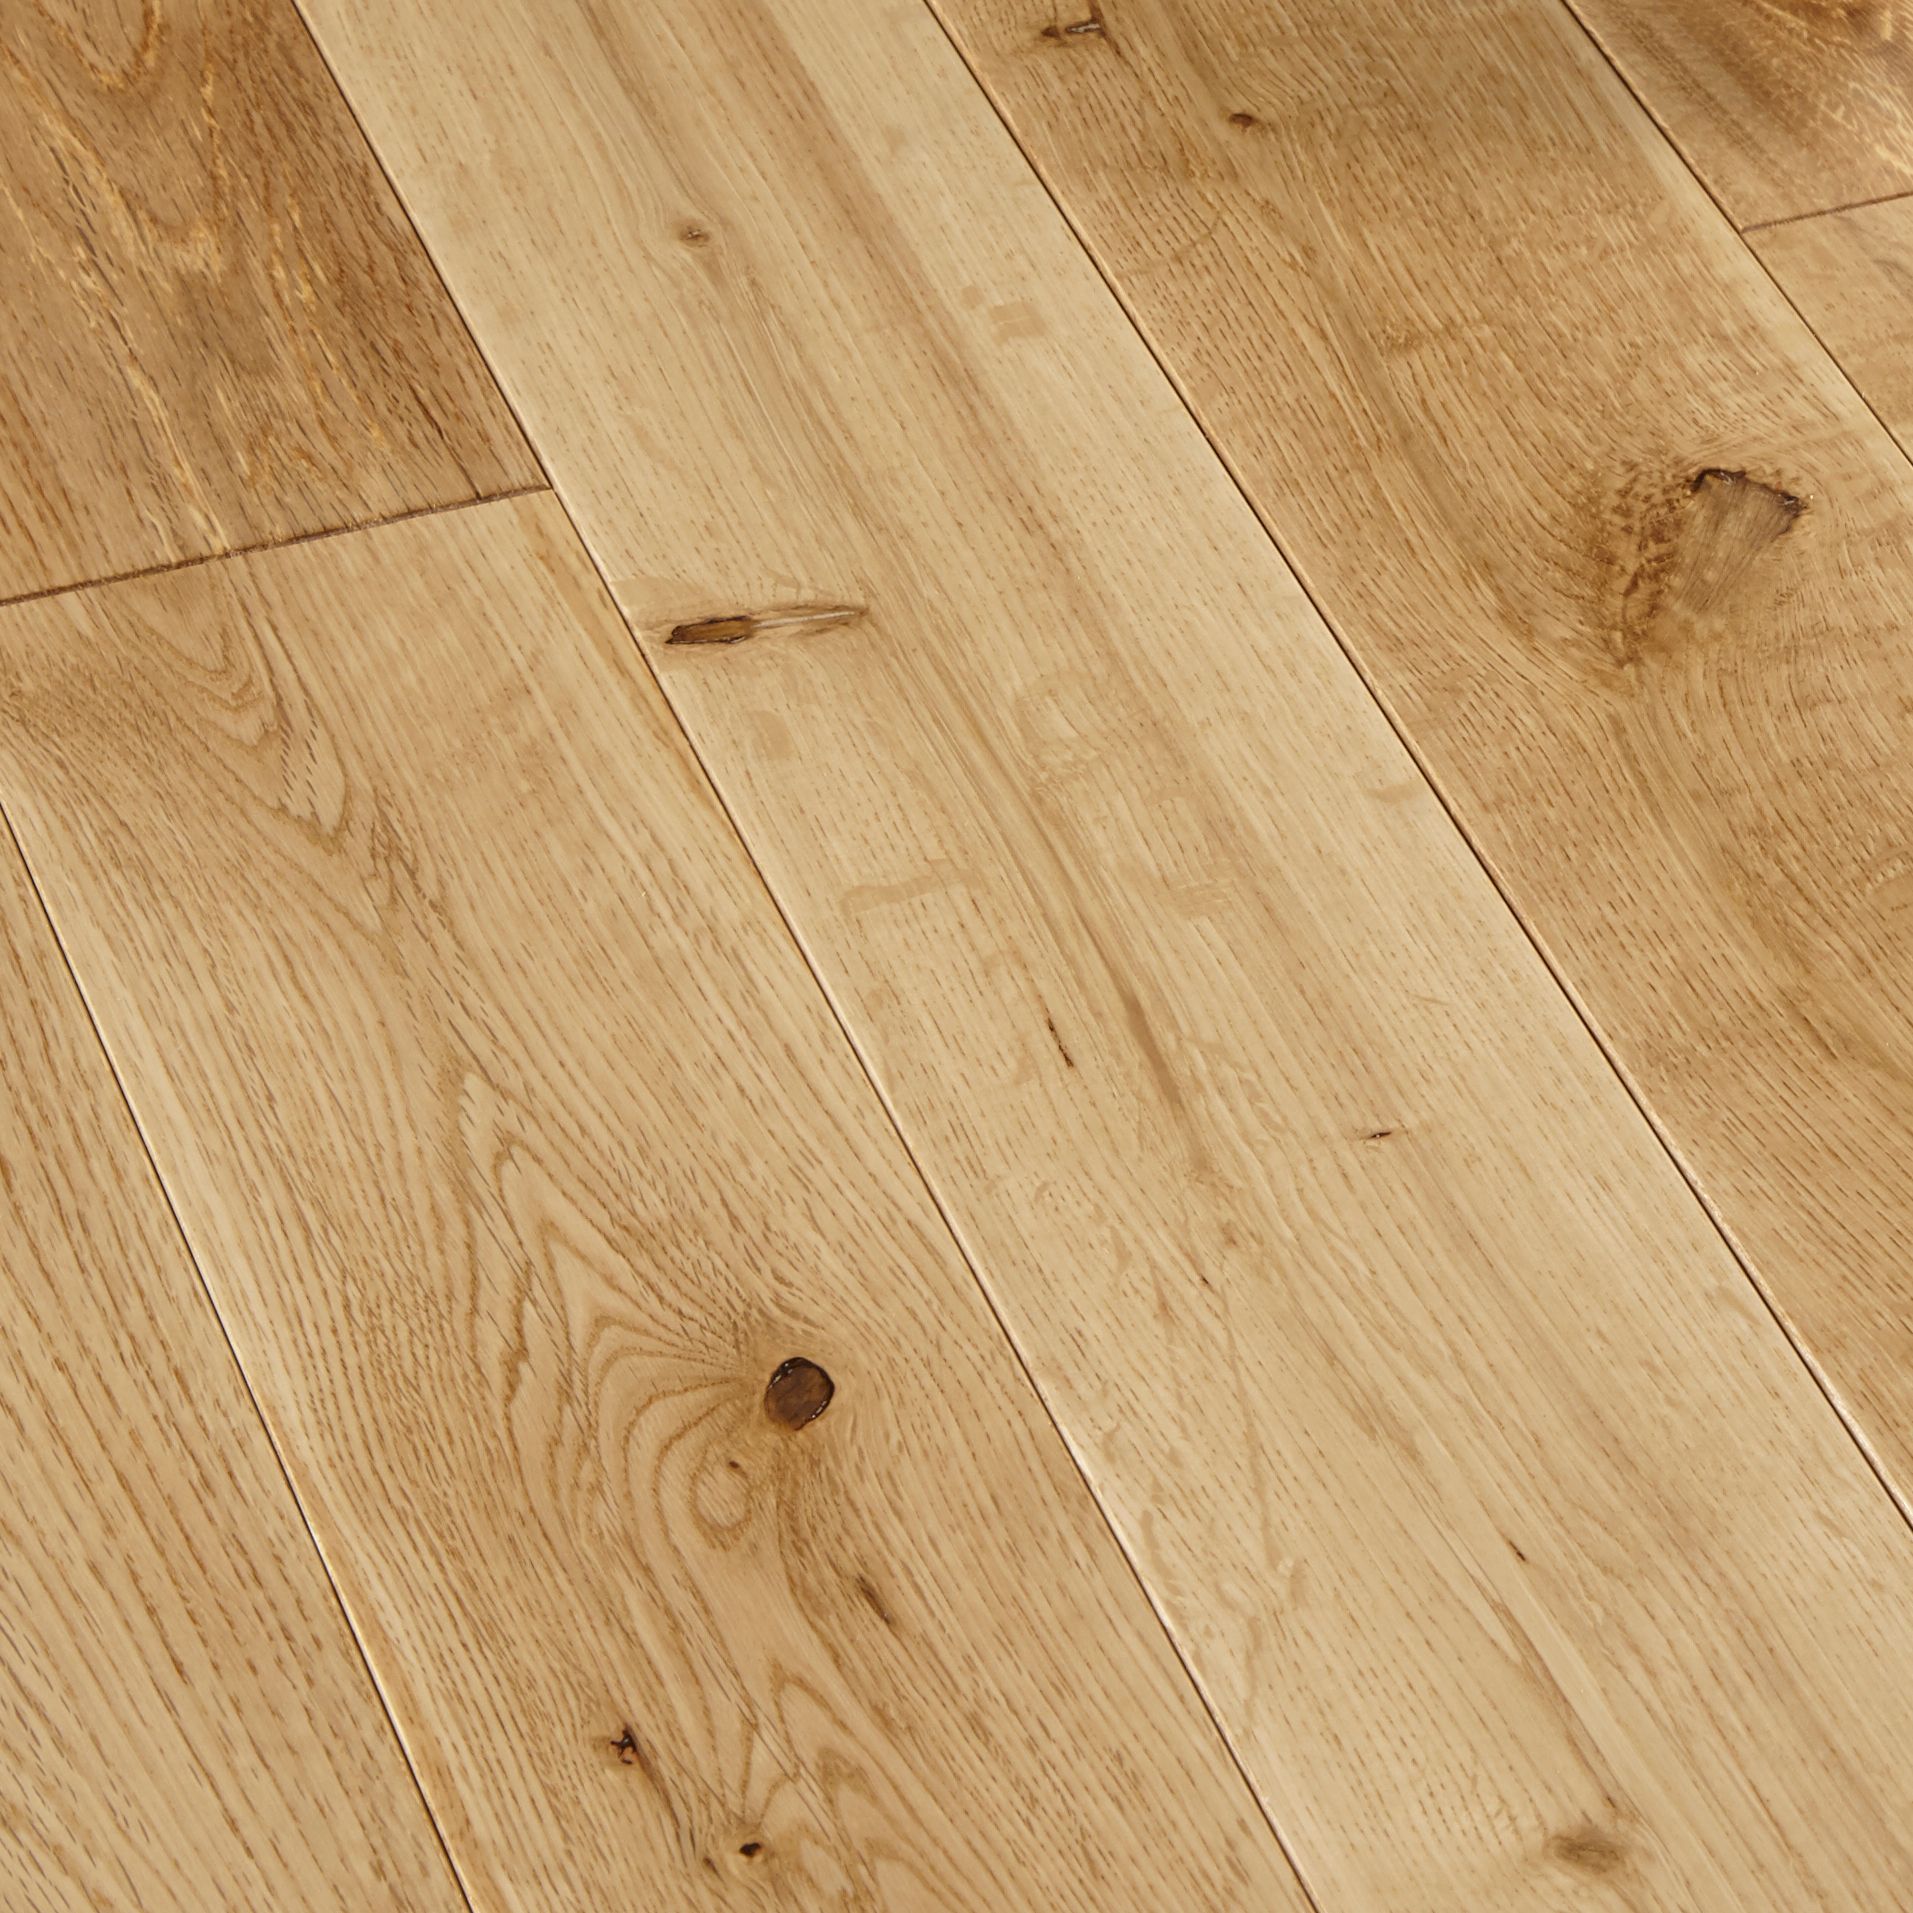
Unfinished White Oak Wood Planks – DIY Wallplanks

Do Your Own Hardwood Flooring : Do It Yourself Floors Decorating Your Small Space : Hardwood

Colours Rondo Natural Solid wood flooring 1.296 m² Departments DIY at B&Q
DIY Home Makeover! on Pinterest Vinyls, Tile and Vinyl planks

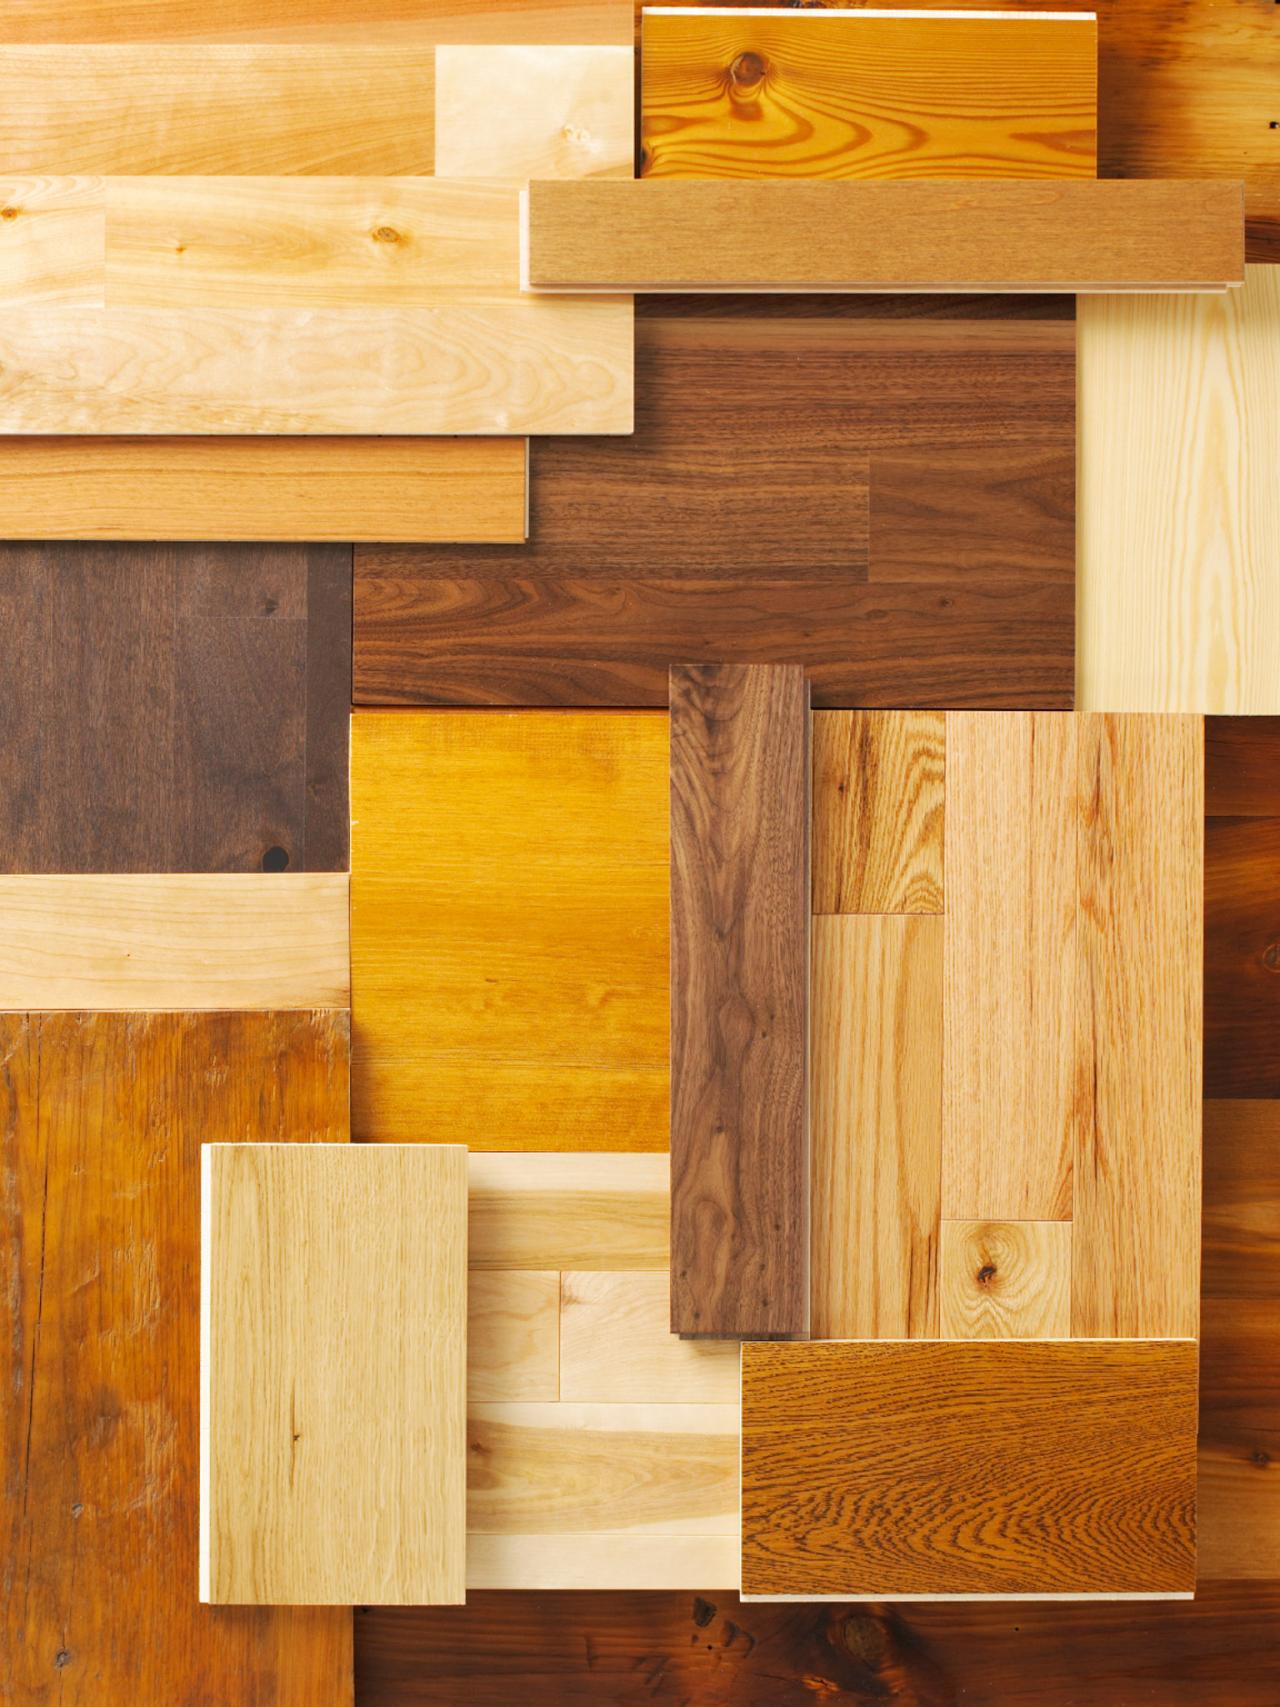
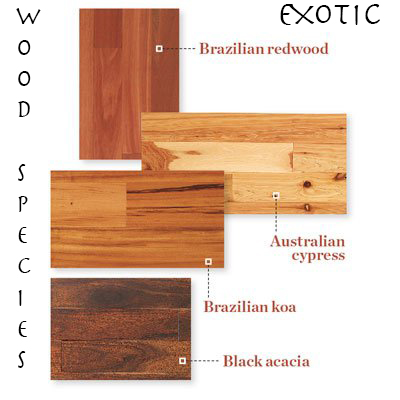
Your Guide to the Different Types of Wood Flooring DIY
Best Of How To Polyurethane Hardwood Floors Water Based And Review in 2020 Flooring, Hardwood

Hardwood Floor Alternatives – Cheap Flooring Ideas

Installation Perfect Hardwood Flooring
Related Posts: