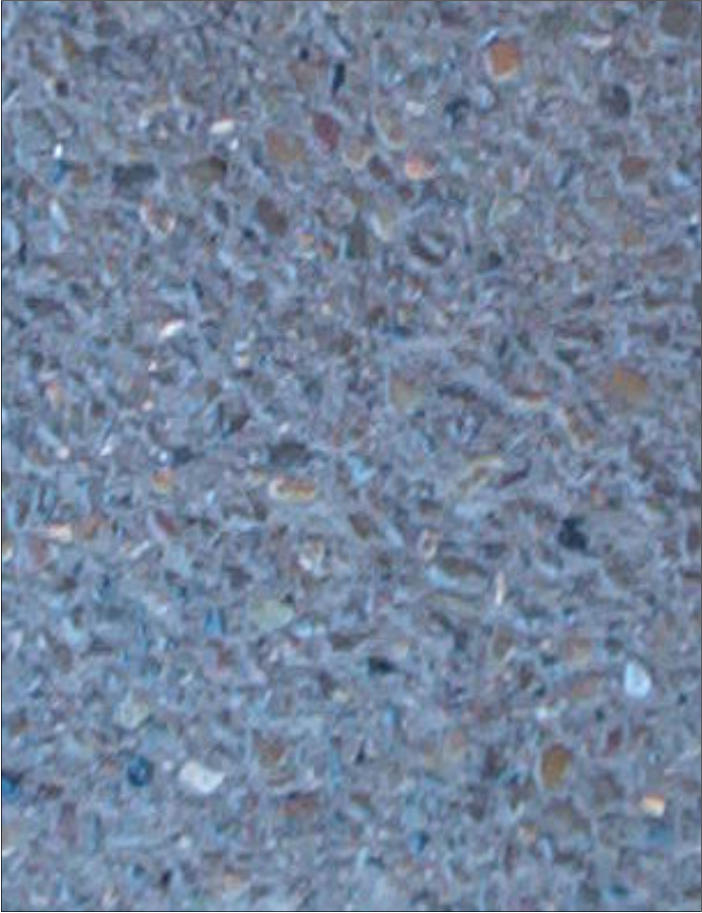
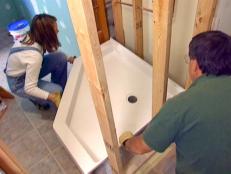
Preparing a concrete floor with proper patching ensures a stable foundation for tile installation. Begin by thoroughly cleaning the surface, removing all dirt, grease, and loose debris with a degreaser and stiff brush. Inspect the floor for cracks, holes, or uneven areas that require attention. Use a chisel and hammer to widen any hairline cracks into V-shaped grooves, allowing the patching material to bond effectively. Vacuum the entire area to eliminate dust that could prevent adhesion. A moisture test is crucial—tape plastic sheeting to the floor for 24 hours to check for condensation, which indicates the need for additional sealing before patching.
Selecting the right patching compound depends on the floor’s condition. For small cracks and holes, a pre-mixed concrete patching compound works well, offering quick application and drying time. Larger uneven areas may require a self-leveling underlayment to create a perfectly flat surface. Epoxy-based fillers provide superior strength for high-traffic areas. Always choose a product compatible with thin-set mortar if tiling directly over the patch. Some compounds require priming the concrete first—follow manufacturer instructions carefully. Mix only as much material as you can apply within the working time to prevent premature hardening. Properly prepared patches should be slightly recessed to allow for final leveling.
Application techniques affect the patch’s durability and smoothness. Dampen the concrete before applying water-based compounds to prevent rapid moisture loss that causes cracking. Press the patching material firmly into voids using a trowel, slightly overfilling to account for shrinkage. For self-leveling products, pour the mixture and spread it with a gauge rake or spiked roller to eliminate air pockets. Feather the edges of each patch to blend seamlessly with the surrounding floor. Check for flatness using a long straightedge, sanding high spots after the patch cures. Allow adequate drying time—typically 24-48 hours—before proceeding with tile installation. Rushing this stage risks tile cracking or loosening later.
Special considerations apply to different concrete conditions. Older floors with multiple cracks may need a crack isolation membrane over the entire surface after patching. For floors with significant height variations, building up low areas in multiple thin layers prevents shrinkage cracks. Hydrostatic pressure in below-grade slabs requires hydraulic cement for effective patching. Outdoor or wet area installations demand waterproof patching compounds. When working around plumbing penetrations, use flexible sealants compatible with the patching material. Mark the locations of patches with chalk if they need identification after drying. These precautions ensure the prepared surface meets tile industry standards for flatness—no more than 1/8 inch deviation over 10 feet.
Final preparation before tiling guarantees long-lasting results. Lightly sand the entire floor to create a slightly rough surface for better mortar adhesion. Apply a concrete primer if recommended by your thin-set manufacturer, especially important over repaired areas. Verify the floor’s flatness again using the straightedge method, making additional corrections if needed. Sweep and vacuum thoroughly, then damp-mop to remove all dust. Allow the floor to dry completely before spreading mortar. Proper patching not only creates an even tiling surface but also prevents future cracks from telegraphing through the tilework. Taking time to perfect this preparatory step pays dividends in the finished installation’s appearance and longevity.
Peel & Seal Tape – Gripset Betta
Concrete Flooring
How to Build a Shower Base and Floor how-tos DIY
Basement flooring demolition – how to remove tile from concrete
Anythingology: More Concrete Floors
ZSEAL Emix
Dap Flexible Floor Patch and Leveler — can be used to correct problems with aging plywood
Related Posts:


