DIY concrete floor etching is a practical and cost-effective way to prepare concrete surfaces for painting, staining, or sealing. Over time, concrete can become smooth and glossy, making it difficult for coatings to adhere properly. Etching involves using an acidic solution to open the pores of the concrete, creating a rough texture that ensures better adhesion. This process is commonly used in garages, basements, and patios to improve the durability and appearance of finished floors. With the right tools and safety precautions, etching can be done by homeowners as a weekend project.

Before starting the etching process, thorough preparation is essential to achieve the best results. Begin by cleaning the concrete surface to remove dirt, oil, and debris. A degreaser or detergent can help eliminate stubborn stains. Repair any cracks or holes in the concrete using a patching compound. Protect surrounding areas, such as walls and furniture, from the acidic etching solution by covering them with plastic sheeting. Wearing protective gear, including gloves, goggles, and a respirator, is crucial to ensure safety during the project. Proper preparation sets the stage for a successful etching job.

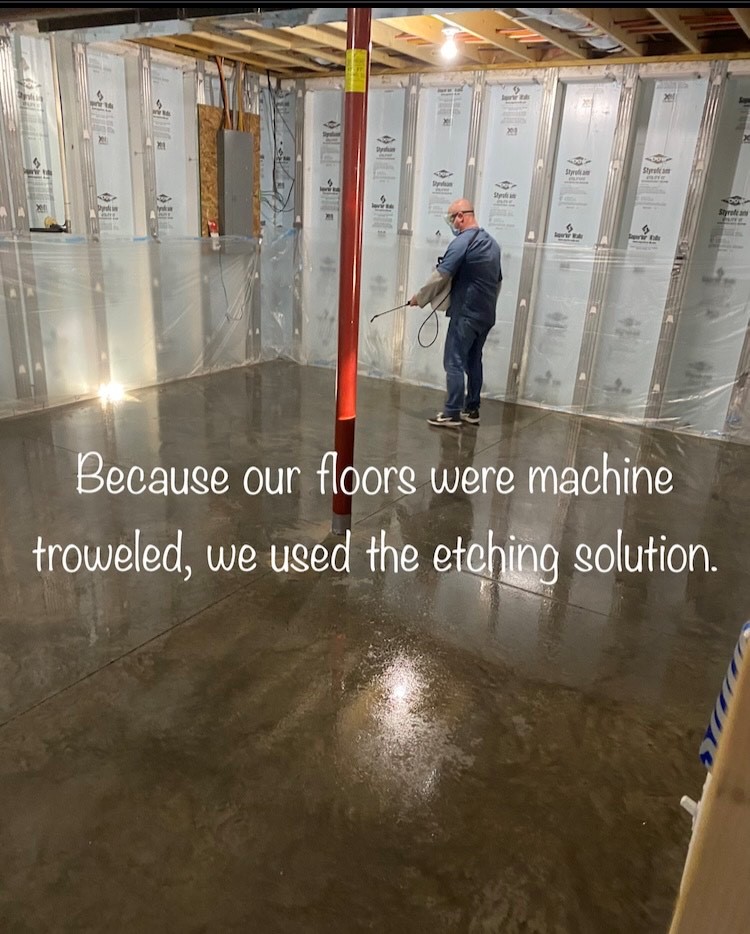
The etching solution, typically a mixture of water and muriatic acid, is applied to the concrete using a plastic watering can or sprayer. The acid reacts with the concrete, creating a frothy texture that indicates the etching process is working. It’s important to follow the manufacturer’s instructions for dilution and application to avoid damaging the concrete. After applying the solution, scrub the surface with a stiff-bristle broom to ensure even coverage. Allow the acid to sit for the recommended time before thoroughly rinsing the area with water. Neutralizing the acid with a baking soda solution can help prevent residue buildup.

Once the etching process is complete, the concrete must dry completely before any coatings are applied. This can take 24 to 48 hours, depending on humidity and temperature. Inspect the surface to ensure it has a uniform, slightly rough texture, which indicates proper etching. If certain areas remain smooth, repeat the process as needed. After drying, the concrete is ready for painting, staining, or sealing, which will enhance its appearance and durability. Properly etched concrete ensures that these finishes adhere well and last longer, making the effort worthwhile.

DIY concrete floor etching is a rewarding project that can significantly improve the functionality and aesthetics of a space. It’s an affordable alternative to professional services, allowing homeowners to take control of their home improvement projects. By following safety guidelines and taking the time to prepare and execute the process correctly, anyone can achieve professional-quality results. Whether refreshing a garage floor or preparing a patio for a new finish, etching is a crucial step that ensures long-lasting, attractive results. With patience and attention to detail, this project can transform any concrete surface.
Behr 1 Part Epoxy Concrete & Garage Floor Paint Garage floor paint, Epoxy floor, Concrete epoxy

DIY Concrete Color Challenge – Direct Colors
Painting A Concrete Floor Before And After Pictures / Concrete Staining, Scoring & Etching! See

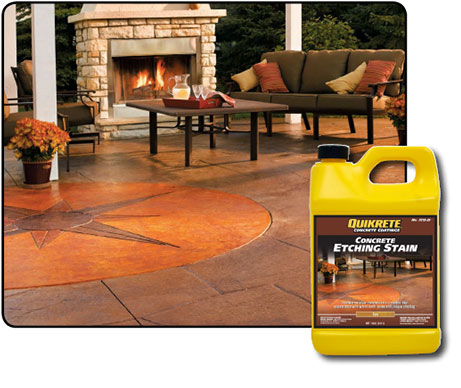
Concrete Etching Stains QUIKRETE: Cement and Concrete Products
Concrete Prep in 2020 Garage floor epoxy, Garage floor coatings, Garage floor paint

Pin by Artistic Concrete Coatings on Concrete Specialists! Concrete, Crafts, Tile floor

How To Finish Concrete Floors MyCoffeepot.Org

Artistic Concrete (engraving,staining,etc.) 410 923-0646

Easy DIY Fix: Concrete Floor Stencils for Painting and Remodeling Royal Design Studio Stencils

Related Posts: