My concrete floor polishing adventure began four years ago when I moved into a 1950s warehouse conversion with original concrete floors that had seen decades of neglect and abuse. The surface was stained, cracked, and covered with layers of paint and adhesive residue from previous flooring installations. Instead of covering them up, I decided to restore these floors to their former glory through polishing. This decision transformed my industrial loft space and taught me valuable lessons about patience, technique, and the hidden beauty that lies beneath damaged surfaces waiting to be revealed.
The assessment phase required careful examination of every square foot to identify cracks, oil stains, and surface irregularities that would affect the polishing process and final appearance. I discovered that most stains were surface-level and could be addressed through grinding, while deeper penetrating stains needed chemical treatment before mechanical work began. Mapping out problem areas helped me plan the sequence of operations and estimate material requirements. Some sections showed excellent aggregate exposure potential, while others required more aggressive grinding to achieve uniform appearance throughout the 2,000-square-foot space.
Equipment selection proved crucial for achieving professional results without breaking my budget or overwhelming my limited experience with concrete restoration techniques and machinery operation. I rented a planetary grinder for major surface preparation and purchased a smaller handheld grinder for detail work around edges and corners. Dust collection systems became essential for maintaining air quality and visibility during extended grinding sessions. The learning curve was steep, but rental center staff provided valuable guidance on proper technique, safety procedures, and realistic expectations for first-time concrete polishing projects.
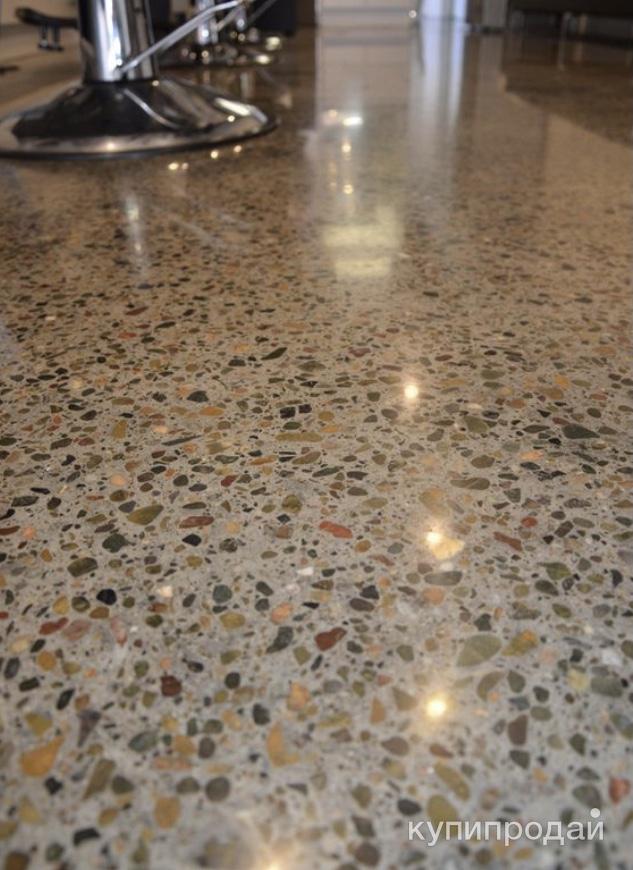
Surface preparation consumed far more time than I anticipated, requiring multiple passes with progressively finer diamond grinding discs to remove decades of accumulated damage and contamination. Starting with 30-grit discs, I methodically worked through 60, 120, and 220-grit stages, each revealing more of the concrete’s natural character and beauty. Paint removal required aggressive grinding, while adhesive residue responded better to chemical strippers followed by mechanical cleaning. This phase tested my patience as progress seemed slow, but each session revealed more of the beautiful aggregate patterns hidden beneath years of neglect.

The grinding sequence taught me that concrete polishing is both science and art, requiring technical precision combined with aesthetic judgment to achieve optimal results throughout the entire floor surface. Each grit level serves specific purposes, from initial surface preparation to final shine development. I learned to recognize when surfaces were ready for the next grit level by examining scratch patterns and aggregate exposure. Rushing between stages produced inferior results, while patience and attention to detail created increasingly lustrous surfaces that exceeded my expectations for beauty and functionality in this industrial space.
Dust management became a constant challenge throughout the grinding process, requiring multiple strategies to maintain air quality and protect surrounding areas from contamination during extended work sessions. Even with professional dust collection equipment, fine concrete dust penetrated everywhere, necessitating plastic sheeting barriers and frequent cleanup. I invested in high-quality respiratory protection and changed filters regularly to prevent health issues. The mess was substantial, but proper preparation and cleanup procedures minimized damage to adjacent areas while ensuring safe working conditions throughout the multi-week polishing process.
Chemical hardening and densification marked the transition from mechanical preparation to chemical enhancement, transforming porous concrete into a dense, durable surface capable of accepting high-gloss finishes. I applied lithium silicate hardener in multiple thin coats, allowing proper penetration and curing between applications. This process chemically reacts with concrete to fill microscopic pores and increase surface density. The transformation was remarkable, changing the concrete from chalky and porous to hard and glass-like. Proper application technique and timing proved critical for achieving uniform results across the entire floor area.
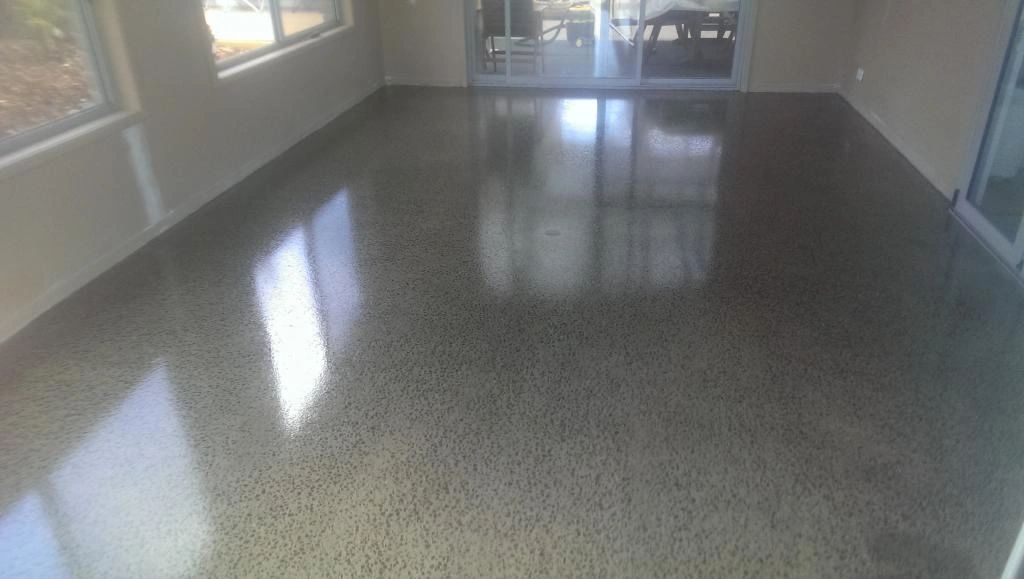
The final polishing stages using progressively finer diamond pads created the mirror-like finish that makes polished concrete so attractive and practical for modern living spaces. Working through 400, 800, 1500, and 3000-grit pads required different techniques and equipment speeds to achieve optimal results at each stage. The transformation during final polishing was dramatic, revealing beautiful aggregate patterns and creating reflective surfaces that brightened the entire space. Patience during these final stages proved essential, as rushing produced swirl marks and uneven gloss levels that detracted from the overall appearance.

Maintenance requirements have proven minimal compared to other flooring options, requiring only regular sweeping and occasional damp mopping to maintain the polished surface’s beauty and functionality. The sealed surface resists stains and moisture penetration while remaining easy to clean with simple equipment and techniques. Periodic reapplication of surface sealers maintains gloss levels and protection, but the underlying polished concrete remains durable for decades. This low-maintenance characteristic makes polished concrete ideal for busy households wanting beautiful floors without constant upkeep requirements that burden other flooring materials.
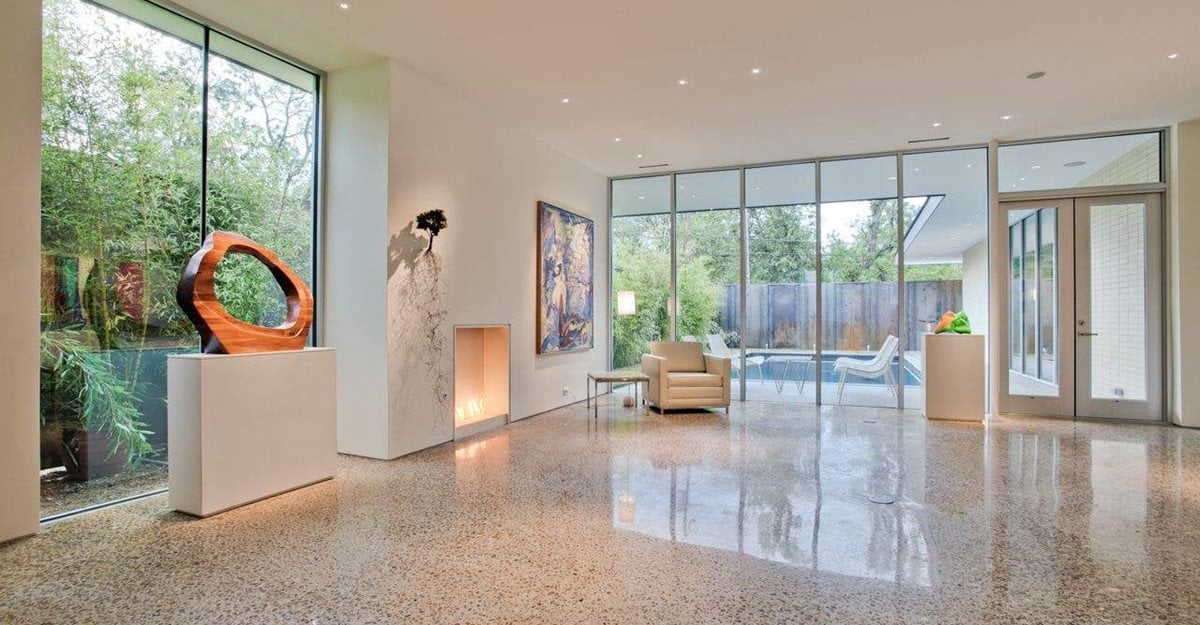
The investment has exceeded my expectations in terms of both aesthetic impact and practical benefits, creating a stunning floor that serves as the foundation for my home’s industrial design theme. The project cost significantly less than installing new flooring materials while creating a unique surface that reflects my personal style and creativity. More importantly, I gained valuable skills and confidence in tackling complex home improvement projects. The polished concrete floors continue to impress visitors and provide daily satisfaction through their beauty, durability, and connection to the building’s industrial heritage and character.
How much does it cost to polish old concrete floors yourself versus hiring professionals?
My DIY project cost approximately $3,500 for a 2,000-square-foot space including equipment rental, diamond grinding discs, chemical hardeners, and sealers. Professional installation would have cost $8,000-12,000 for similar results. Equipment rental consumed the largest expense portion, while consumable materials like diamond discs required careful budgeting. I saved substantially on labor costs but invested significant time learning techniques and completing the work properly. The final results rival professional installations while providing personal satisfaction and valuable skills for future concrete projects.
What condition does existing concrete need to be in for successful polishing?
My floors had numerous stains, cracks, and surface damage that were successfully addressed through proper preparation and grinding techniques. Concrete must be structurally sound without major settling cracks or spalling damage that compromises integrity. Surface contamination, paint, and adhesive residue can be removed through aggressive grinding, though this increases project time and material costs. Age isn’t necessarily problematic, older concrete often polishes beautifully due to complete curing and interesting aggregate exposure. Severe damage may require patching or resurfacing before polishing begins successfully.

How long does the concrete floor polishing process typically take to complete?
My project required six weeks working evenings and weekends, progressing through multiple grinding stages and allowing proper curing time between chemical applications. Full-time professional crews might complete similar projects in 5-7 days depending on floor condition and desired finish level. Surface preparation consumes the majority of project time, while final polishing stages progress more quickly. Weather conditions affect chemical curing rates and may extend timelines. Plan for potential delays due to equipment issues, dust management challenges, or unexpected surface conditions discovered during the grinding process.
What equipment do I need to polish concrete floors myself?
I rented planetary and handheld grinders, dust collection systems, and various diamond grinding discs from 30-grit through 3000-grit for complete surface preparation and polishing. Additional equipment included chemical sprayers, microfiber mops, safety gear, and plastic sheeting for dust containment. Rental costs vary by location and equipment quality, but expect $200-300 daily for professional-grade machinery. Purchase consumable items like diamond discs, hardeners, and sealers based on square footage calculations. Quality safety equipment including respirators, hearing protection, and eye protection are essential for safe operation throughout the project.
How do I maintain polished concrete floors after completion?
I maintain my floors through daily sweeping with microfiber dust mops and weekly damp mopping using pH-neutral cleaners specifically designed for polished concrete surfaces. Avoid acidic or abrasive cleaners that can damage the surface or reduce gloss levels over time. Annual reapplication of penetrating sealers maintains stain resistance and enhances appearance. Address spills immediately to prevent staining, though properly polished and sealed concrete resists most household stains effectively. The low-maintenance nature of polished concrete makes it ideal for busy lifestyles while providing lasting beauty and durability.
Can polished concrete floors be installed in residential settings, or are they only suitable for commercial use?
My residential installation proves that polished concrete works beautifully in home environments, providing unique aesthetics and practical benefits that complement modern design trends. Residential applications require the same techniques and materials as commercial projects but often demand higher finish quality and attention to detail. The industrial appearance suits contemporary, minimalist, and urban design styles particularly well. Proper installation creates comfortable walking surfaces that remain warm in winter when combined with radiant heating systems. Many homeowners appreciate the sustainable aspects and unique character that polished concrete provides.

Coloured Polished concrete floors. Economic Beautiful concrete floors
Polished, Stained, Stamped Concrete Floors Cement Polishing Pittsburgh

Polished Concrete Flooring – How to Polish Concrete

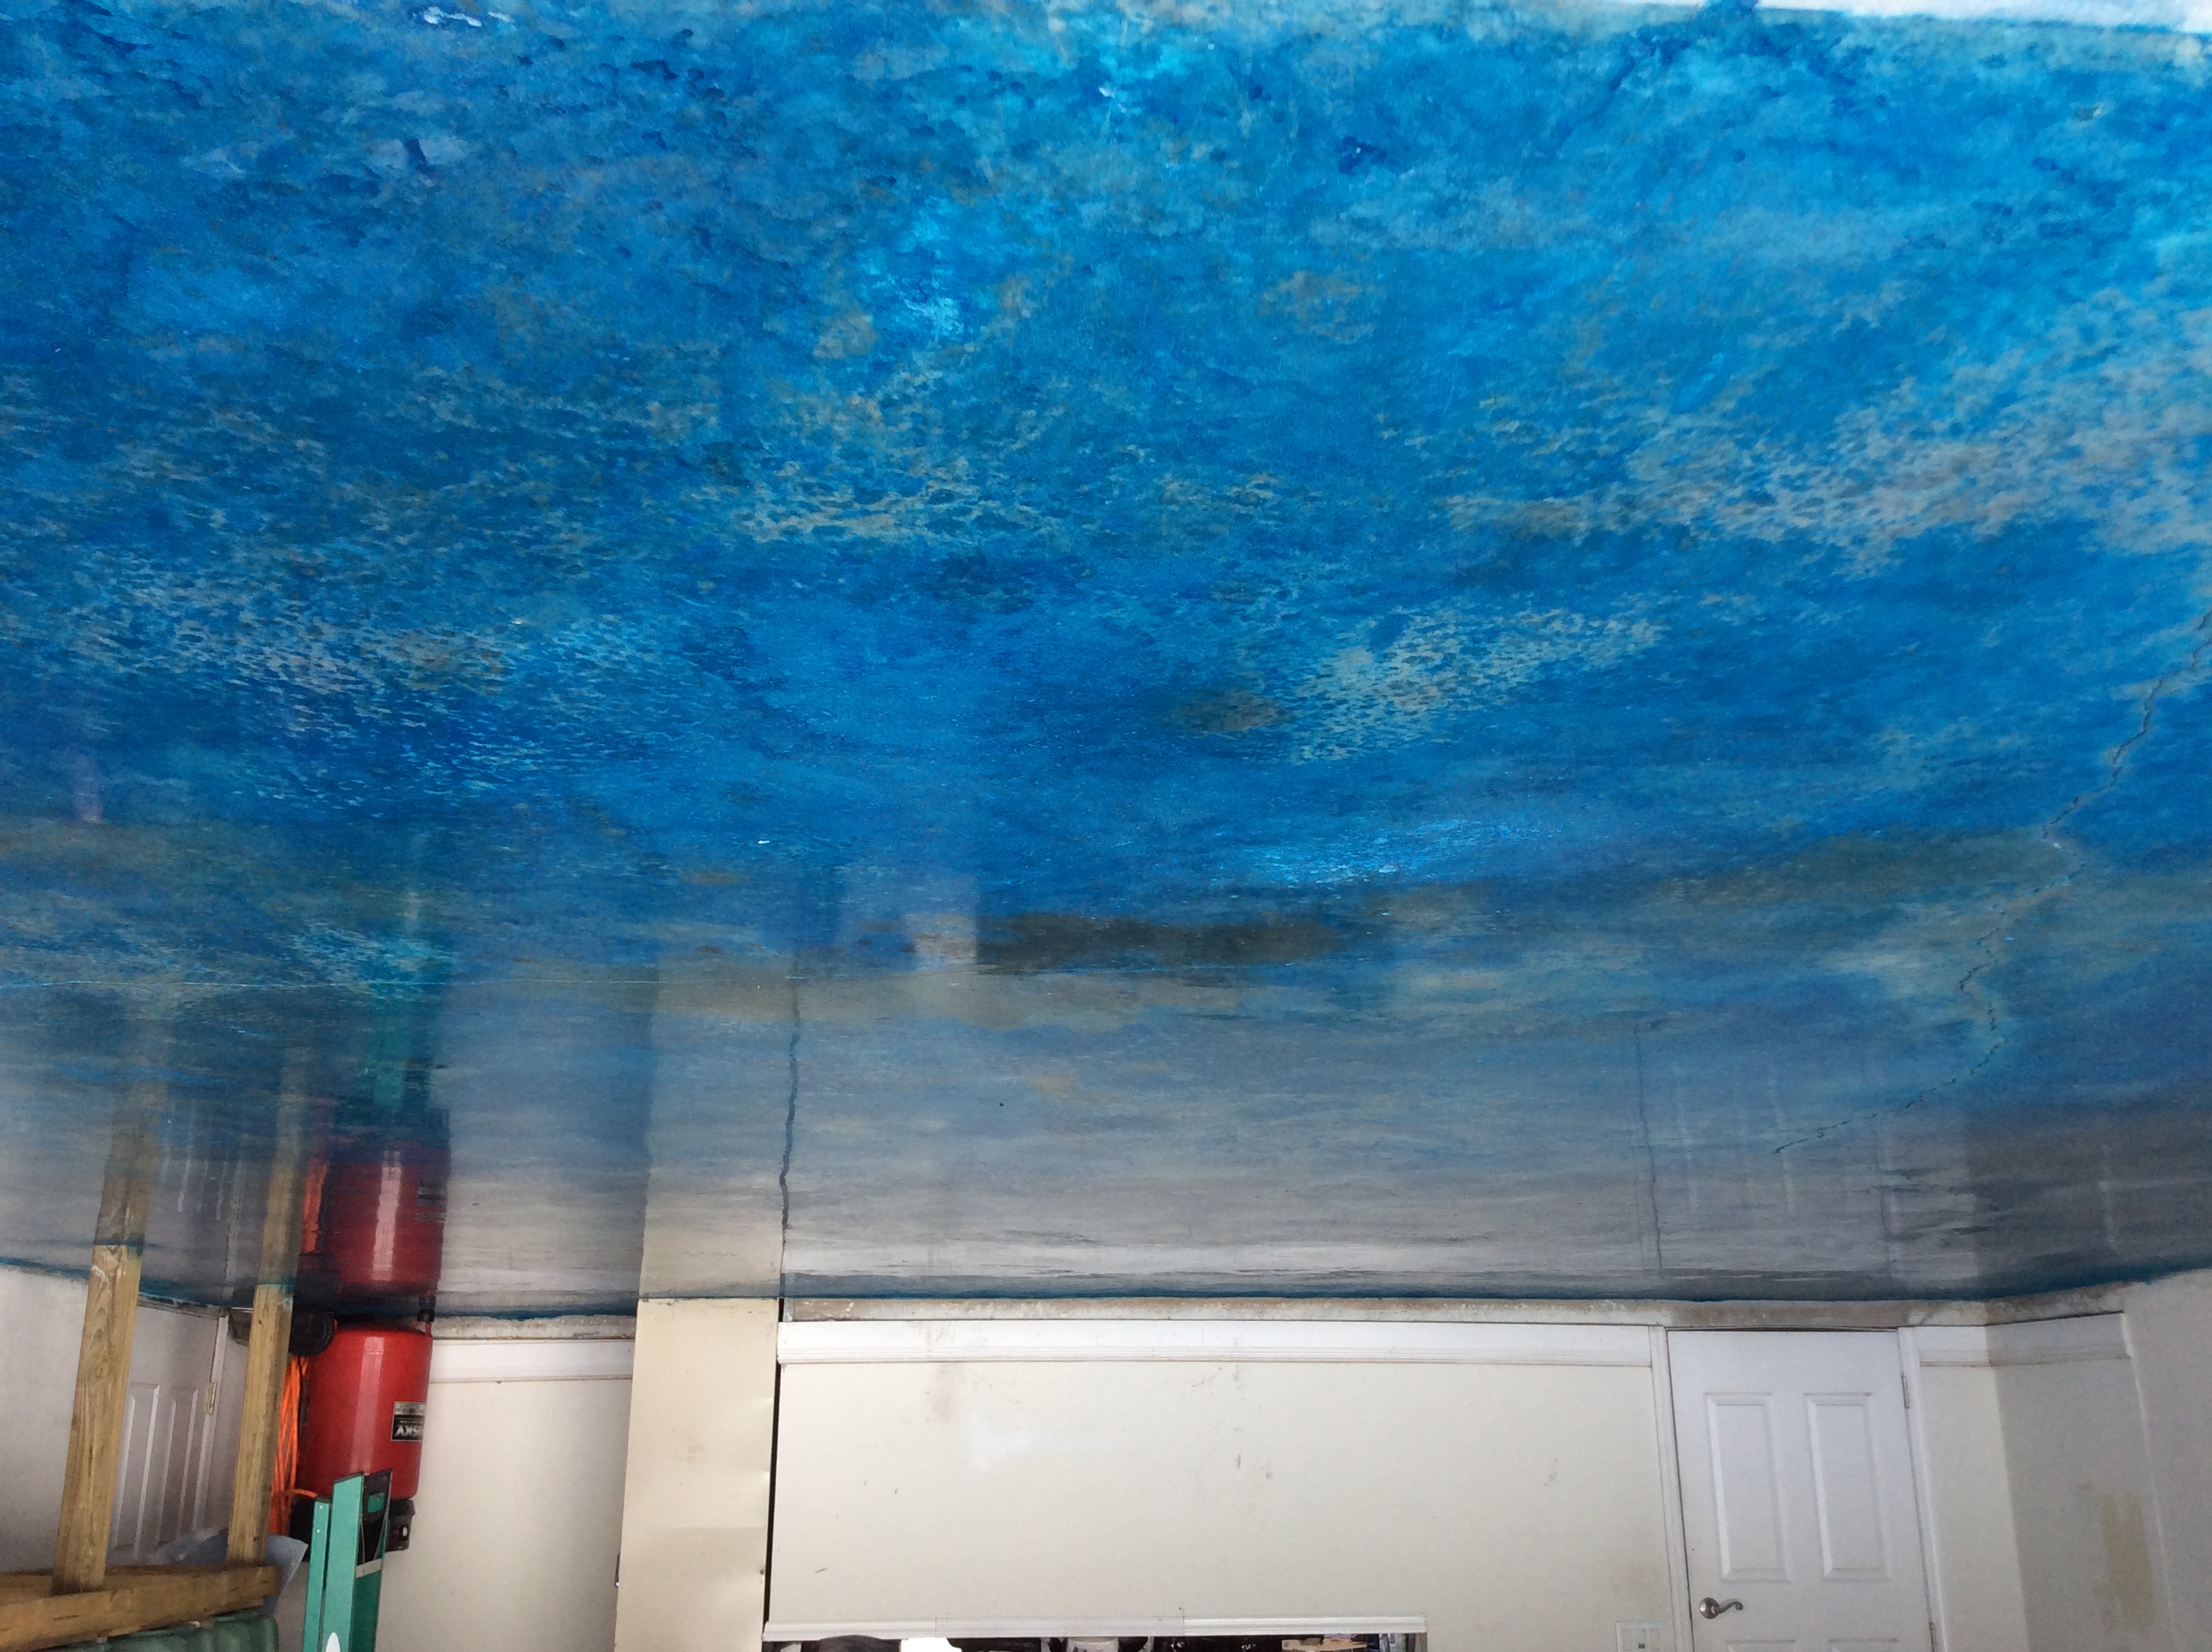
The Truth About Staining Old Concrete Concrete stained floors, Stained concrete, Concrete

Polishing Concrete Floors Life of an Architect

Concrete Floor Polishing

Related Posts: