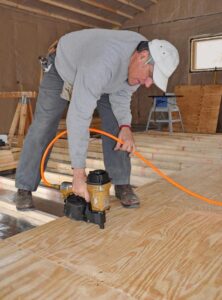
Installing wood flooring requires careful preparation to ensure long-lasting results. Start by acclimating the wood planks to your home’s humidity for at least 48 hours, leaving them in the room where they’ll be installed. Prepare the subfloor by ensuring it’s clean, dry, and level—any imperfections can cause squeaks or uneven wear. For concrete subfloors, install a moisture barrier to prevent warping. Gather all necessary tools, including a saw, nail gun, spacers, and measuring tape. Proper planning prevents mistakes and ensures a smooth installation process.
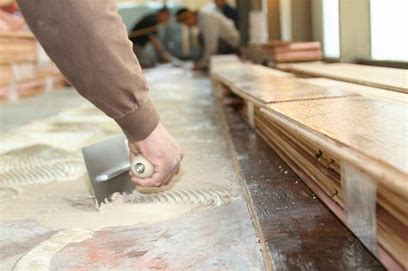
Choose the right installation method based on your wood flooring type. Solid hardwood typically requires nailing or stapling to a wooden subfloor, while engineered wood can be glued, floated, or nailed. Floating floors are easiest for DIYers, as they click together without adhesive. For nail-down installations, rent a flooring nailer for efficient work. Always follow the manufacturer’s instructions for your specific product. Consider the room’s purpose—bathrooms and basements often need moisture-resistant installation techniques. The right approach depends on both the flooring material and room conditions.

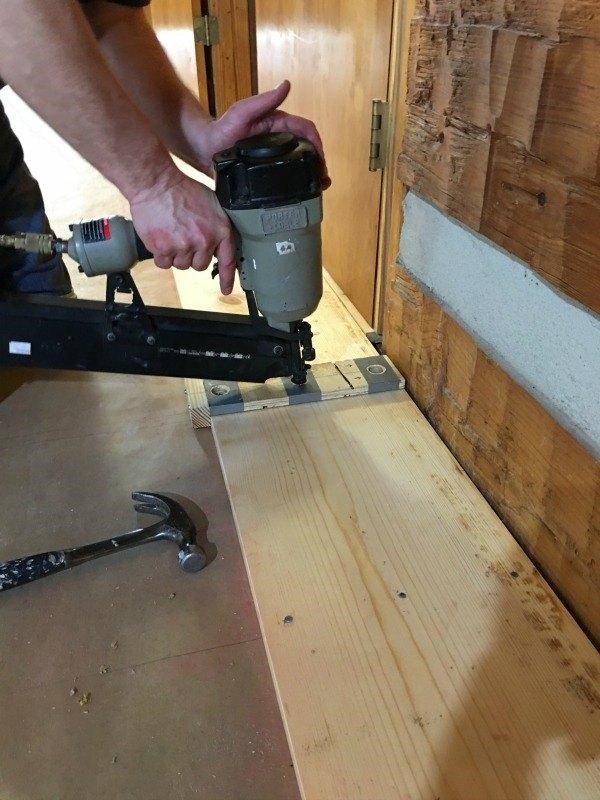
Begin installation by establishing a straight starting line. Measure the room’s width and mark the center point to create balanced plank layouts. Use chalk lines to guide your first row, which must be perfectly straight as it sets the pattern for the entire floor. Place spacers against walls to maintain expansion gaps (typically 1/2 inch) that allow wood to naturally expand and contract. For nail-down floors, face-nail the first row since the nail gun won’t fit. This foundation row determines the quality of the entire installation, so take time to align it properly.
Continue installing planks row by row, staggering end joints for stability. Cut planks to random lengths to avoid repetitive patterns that weaken the floor. Use a tapping block to snugly fit tongue-and-groove edges without damaging them. For nail-down installations, angle the nailer at 45 degrees and strike firmly to secure each plank. Check frequently for gaps or misalignments—correcting issues immediately prevents compounding problems. Work systematically across the room, maintaining consistent spacing and pattern throughout the installation process.

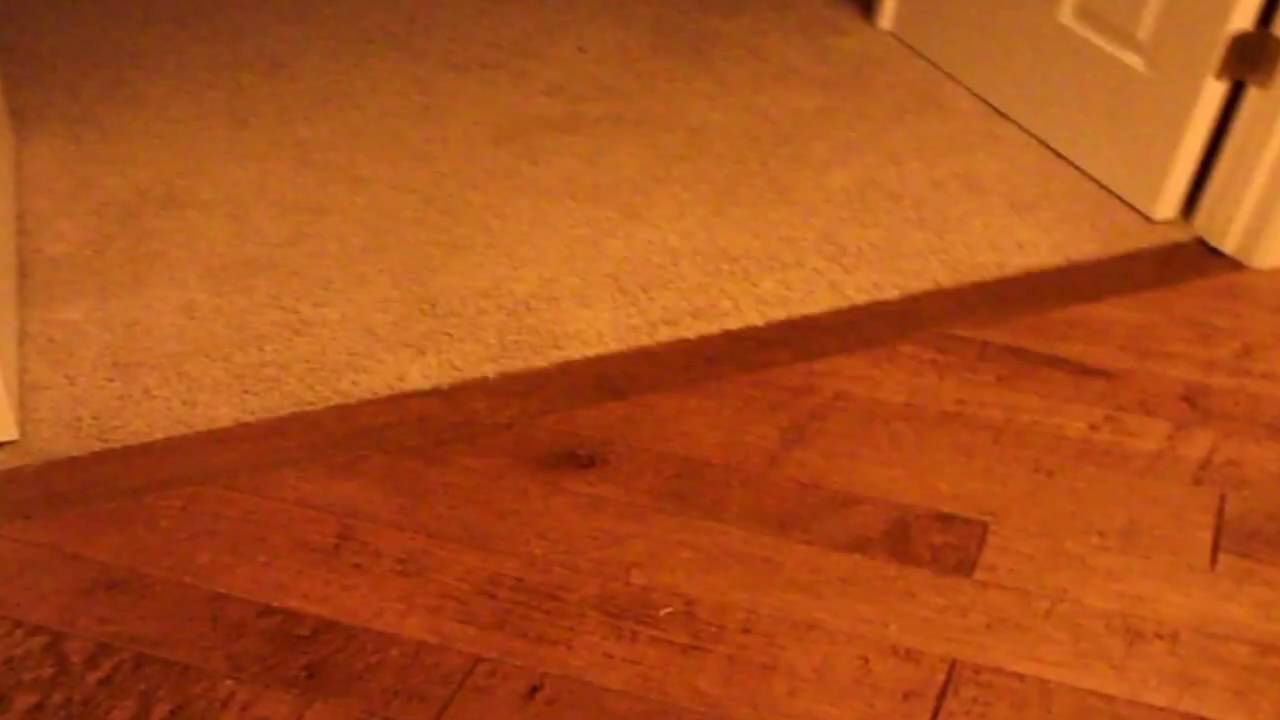
Handle tricky areas like doorways and corners with special techniques. Under-cut door jambs using a handsaw so planks slide neatly underneath for a professional look. For irregular walls, trace the contour onto planks and cut carefully with a jigsaw. Around heating vents, measure and cut precise openings, leaving adequate expansion space. Transition strips create smooth connections between different flooring types or rooms. These details require extra time but significantly improve the finished appearance and functionality of your wood floor.
Complete the installation with proper finishing touches. Remove all spacers once the final row is installed. Install baseboards or quarter-round molding to cover expansion gaps while allowing necessary movement. For floating floors, add weight (like furniture) to help the floor settle evenly. Clean the surface thoroughly, removing any installation debris. Avoid heavy traffic for 24 hours to let adhesives set if used. These final steps protect your investment and prepare the floor for daily use.

Maintain your new wood floor properly after installation. Wait at least 48 hours before placing area rugs or heavy furniture. Use felt pads under furniture legs to prevent scratches. Clean with products specifically designed for wood floors—avoid excessive water or harsh chemicals. Control indoor humidity between 35-55% to minimize expansion and contraction. Regular sweeping and prompt spill cleanup preserve the floor’s appearance. Proper care from day one extends the life and beauty of your installation.
Consider professional help for complex situations. Large open spaces, intricate patterns, or problematic subfloors may require expert skills. Professionals handle tricky transitions, custom cuts, and subfloor corrections efficiently. If installing over radiant heat, consult specialists to prevent damage. While DIY saves money, some scenarios justify professional installation costs. Quality workmanship ensures your wood floor performs well for decades.
Understand common mistakes to avoid during installation. Rushing the acclimation process leads to warped boards. Ignoring subfloor imperfections causes squeaks and uneven wear. Forgetting expansion gaps results in buckling. Using incorrect fasteners or adhesives voids warranties. Poor lighting during installation hides alignment errors. Learning from others’ mistakes helps achieve better results, whether installing yourself or overseeing professionals.
Enjoy your new wood floor’s benefits after proper installation. The natural warmth and beauty of wood enhances any room’s ambiance. Quality installation ensures comfortable underfoot feel and lasting durability. Well-installed wood floors add value to your home and adapt to various decor styles. The satisfaction of completing this project—whether DIY or professional—rewards the effort invested. Properly installed wood flooring provides years of aesthetic pleasure and practical functionality.
The Best How To Put Hardwood Flooring Over Carpet And Review Flooring, Diy flooring, Carpet

Professional Tip: How to level a floor DIY Home Renovating Pinterest Floors and Tips

Carpet to Wood Transitions before and after job
How To Install Hardwood Floors – How Can I Do Things
The Complete List Of DIY Hardwood Floor Installation Tips Hometalk
Mid Century Home Hardwood Flooring Seattle WA Hoffmann Hardwood Floors

How to Install a Hardwood Floor
Exotic Wood Salvaged From Ships Finds New Life as Flooring

DIY Home Decor: How to: Install an Inexpensive Wood Floor

Related Posts: