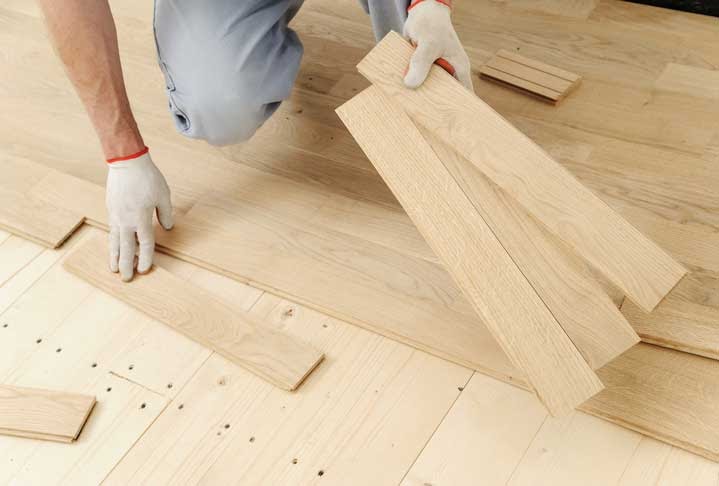
Proper preparation ensures successful wood floor installation, beginning with accurate room measurements and material calculations. Acclimate solid hardwood planks in the installation space for 3-7 days, maintaining consistent humidity levels between 30-50%. Inspect the subfloor for flatness—correct any deviations exceeding 3/16″ over 10 feet using leveling compounds or sanding. Remove baseboards and clean the surface thoroughly, checking for squeaks or loose areas needing reinforcement. Gather essential tools including a moisture meter, flooring nailer, table saw, and tapping block. Planning prevents costly mistakes and ensures smooth installation of beautiful, long-lasting wood floors.
Nail-down installation remains the gold standard for solid hardwood over wooden subfloors. Start by laying rosin paper or foam underlayment to reduce noise and moisture transfer. Establish a straight reference line parallel to the longest wall, allowing 1/2″ expansion gaps at all vertical surfaces. Face-nail the first row through the tongue at a 45-degree angle, then switch to a flooring nailer for subsequent rows. Stagger end joints by at least 6″ for structural integrity and visual appeal. Use a tapping block and pull bar to close gaps without damaging plank edges. This traditional method creates a secure, permanent floor that can be refinished multiple times.

Floating floor installation offers a DIY-friendly approach for engineered wood flooring. Interlocking tongue-and-groove systems require no nails or glue, instead relying on precise fitting and perimeter expansion space. Install high-quality underlayment first to provide cushioning and moisture protection. Begin in a corner, connecting planks end-to-end before clicking rows together. Use spacers along walls to maintain consistent gaps for seasonal expansion. For stability, stagger seams in a random pattern rather than creating predictable “H” joints. This method works well over concrete slabs or existing floors, though it’s less suitable for very wide or long planks that may shift over time.
Glue-down installation provides exceptional stability for engineered wood on concrete subfloors. Use moisture-testing kits to verify slab dryness before applying urethane adhesive with a notched trowel. Work in small sections, pressing planks firmly into the adhesive while maintaining alignment. A heavy roller ensures full contact and eliminates air pockets. This method eliminates squeaks and prevents movement, making it ideal for commercial spaces or radiant heat systems. Allow proper curing time before furniture placement—typically 24 hours for most adhesives. Glue-down floors withstand heavy traffic while allowing for some seasonal movement without buckling.

Radiant heat systems require specific wood floor installation techniques to prevent damage. Choose dimensionally stable engineered wood rated for heated floors, avoiding wide solid planks prone to gapping. Install over approved underlayments that don’t insulate heat transfer. Maintain consistent subfloor temperatures below 85°F during and after installation. Glue-down methods work best for maximizing heat conduction, though some floating systems qualify. Gradually increase heat over several days post-installation to allow slow acclimation. Properly installed wood over radiant heat provides comfortable warmth without compromising floor integrity or appearance.
Stair installation demands precision for both safety and aesthetics. Use a stair gauge to ensure consistent tread overhang (nosing) and riser height. Solid wood treads typically attach with construction adhesive and finish nails, while engineered options may use specialized brackets. Consider bullnose profiles for finished edges that match flooring thickness. For open-riser designs, maintain uniform spacing that meets local building codes. Stair installation often requires custom cutting and fitting—take time to achieve seamless transitions between floors and steps. Properly executed wood stairs enhance both function and visual flow throughout the home.
Transition strips create professional connections between wood floors and other surfaces. T-moldings bridge height differences at doorways between wood and tile or carpet. Reducers provide gradual slopes where wood meets lower flooring materials. End caps finish exposed edges at thresholds or fireplaces. Match transition profiles to the wood floor’s thickness and color for cohesive appearance. Secure metal tracks first when using modular transition systems, ensuring screws don’t interfere with expansion gaps. Well-installed transitions prevent tripping hazards while allowing necessary floor movement throughout seasonal changes.
Finishing touches complete wood floor installation with polished results. Reinstall baseboards or add quarter-round molding to conceal expansion gaps, leaving a slight reveal for cleaning. Fill minor gaps with color-matched wood putty, avoiding excessive application that could crack. For site-finished floors, sand with progressively finer grits before applying protective coatings. Water-based polyurethane dries quickly with low odor, while oil-based versions offer warmer amber tones. Maintain consistent temperature and humidity during the curing process. These final steps protect the investment and showcase the wood’s natural beauty at its best.

Maintenance preserves newly installed wood floors for decades. Place felt pads under furniture legs to prevent scratches and dents. Use area rugs in high-traffic zones, avoiding rubber-backed mats that trap moisture. Clean with pH-neutral wood floor cleaners, never steam mops or excessive water. Control indoor humidity between 35-55% year-round to minimize seasonal expansion and contraction. Address spills immediately to prevent staining or warping. Periodically inspect for loose boards or gaps needing attention. Proper care ensures wood floors maintain their elegance and functionality as long as the home itself.
Professional installation tips solve common wood floor challenges. For irregular rooms, snap chalk lines to maintain straight courses despite angled walls. When encountering obstacles like pipes, drill slightly oversized holes to allow for movement. Use a jamb saw to undercut door casings for clean plank fitment. For tricky transitions, create cardboard templates before cutting expensive planks. Keep planks from multiple boxes mixed during installation to distribute color variations naturally. These techniques separate amateur results from flawless installations that highlight wood flooring’s timeless appeal and value.

In Pine or Hardwood Floors, Wide Planks Are Perfect For Hallways – Carlisle Wide Plank Floors

How to Repair Wood Flooring HomeTips Engineered wood floors, Flooring, Wood floors

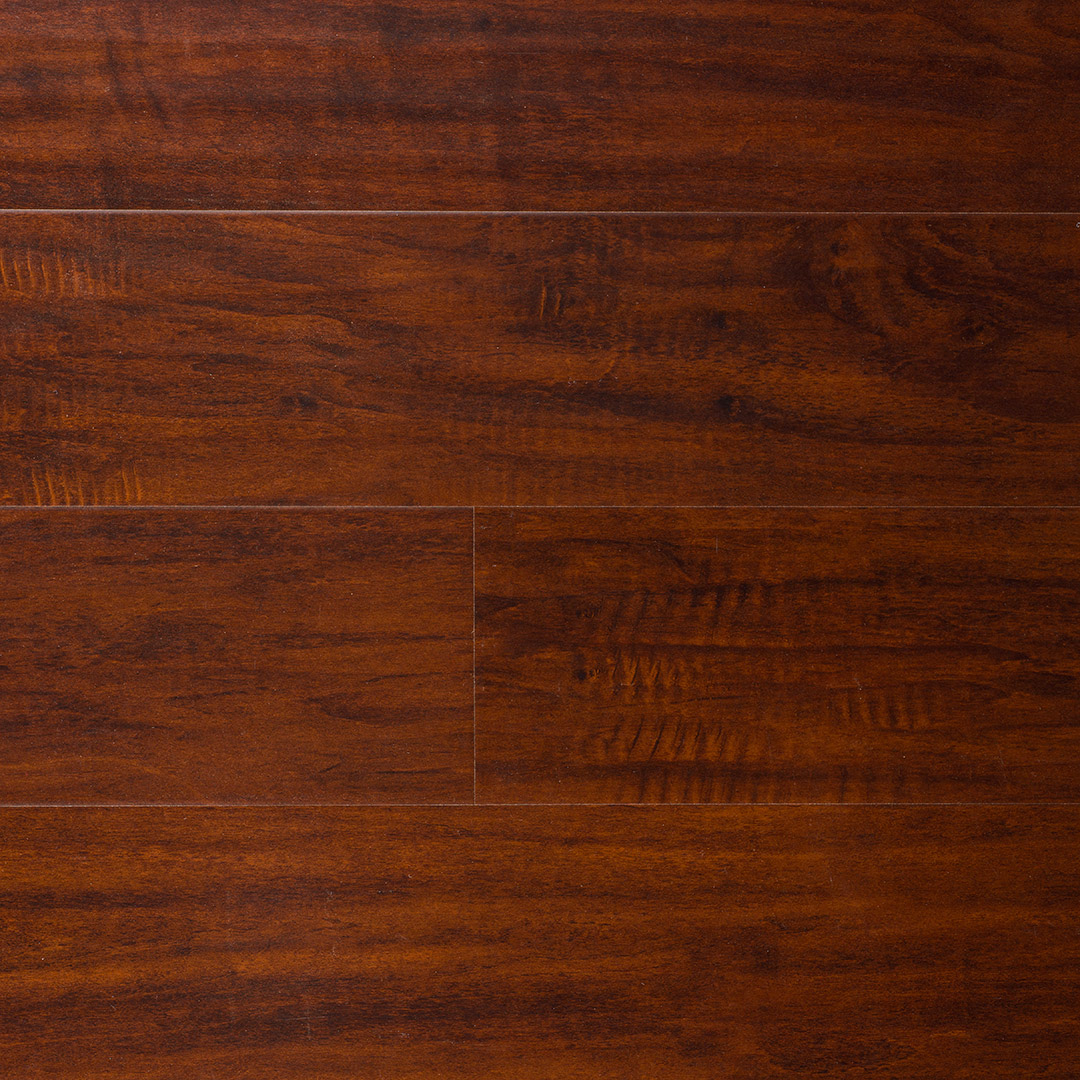
Dark Walnut » Artisan Hardwood Flooring
Boulder Oak Laminate Flooring btw – baths tiles woodfloors

Needham Rug Blog Norfolk Custom Stair Runner The Carpet Workroom

Related Posts: