I learned the importance of proper hardwood floor layout planning the hard way during my first DIY flooring project five years ago. What seemed like a straightforward installation quickly became a complex puzzle of measurements, calculations, and strategic decisions that would affect both the visual appeal and structural integrity of my new floors. The layout determines everything from how the room feels spatially to how the wood performs over time under different environmental conditions. After completing four successful hardwood installations in my own home and helping friends with theirs, I’ve discovered that spending extra time on layout planning prevents costly mistakes and creates stunning results.
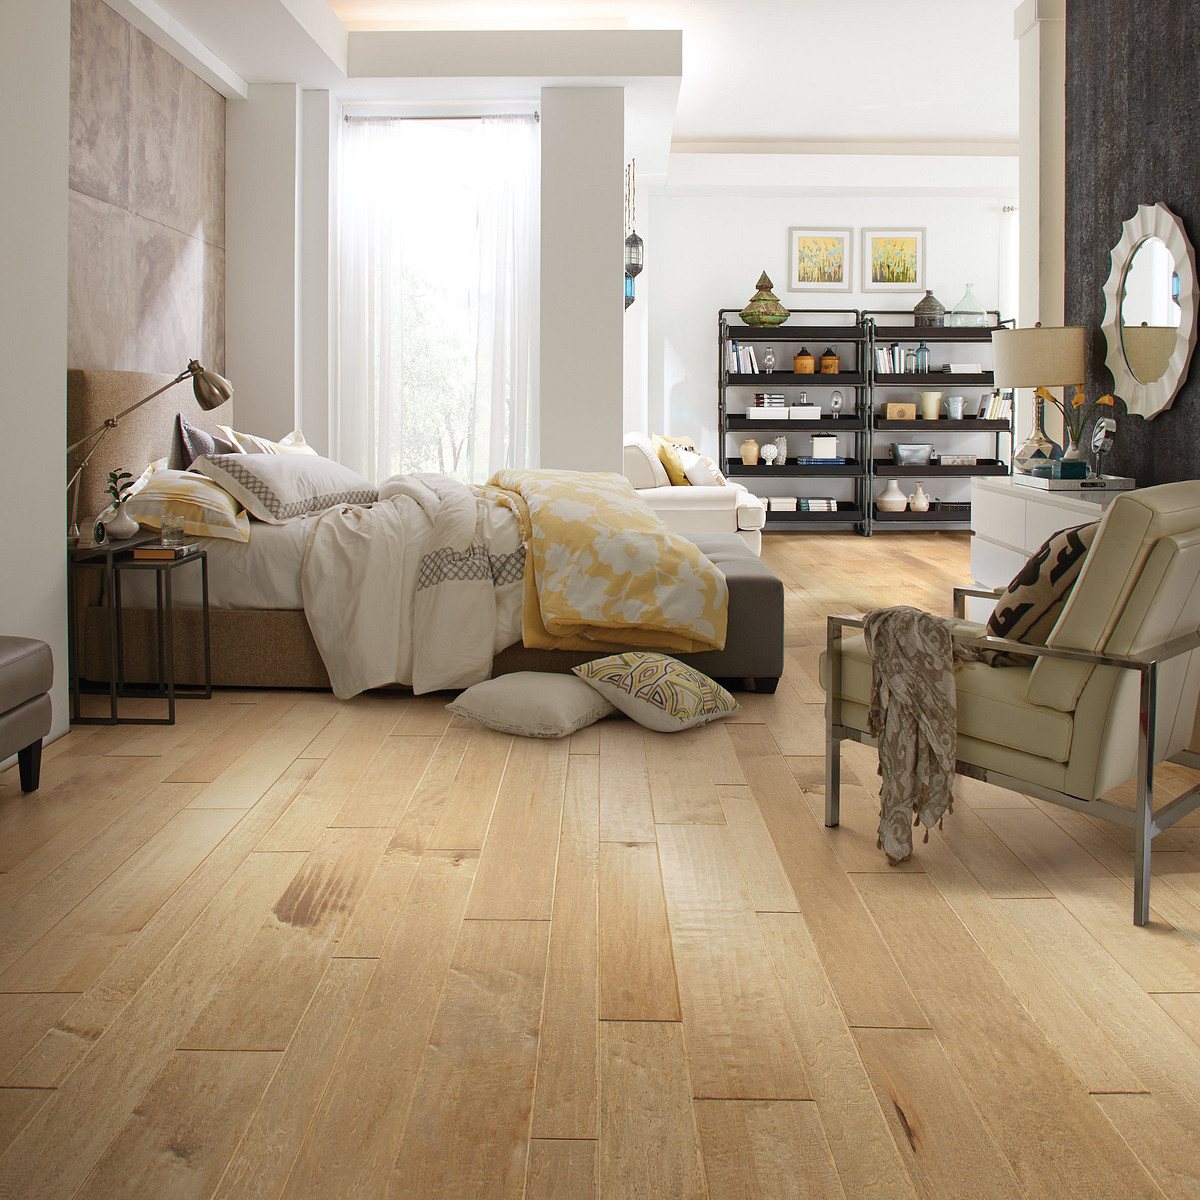
My initial mistake was starting installation without considering the room’s proportions and natural light sources. I began laying planks parallel to the longest wall, thinking this was always correct, but quickly realized this approach made my narrow hallway appear even more cramped. The proper technique involves considering traffic flow, room dimensions, and light direction simultaneously. Natural light from windows should ideally run parallel to the wood grain to minimize the appearance of seams and imperfections. In rooms with multiple light sources or unusual shapes, I now create detailed sketches showing different layout options before making final decisions.
The direction of plank installation has become my most critical layout decision after experiencing both successful and problematic outcomes. Running planks perpendicular to floor joists provides optimal structural support and reduces squeaking, but this isn’t always possible in every room configuration. When structural considerations conflict with aesthetic preferences, I prioritize safety and stability first. However, I’ve learned techniques for reinforcing subfloors that allow more flexibility in plank direction choices. The key is understanding your subfloor construction before finalizing layout plans, something I wish someone had explained during my first project.
Starting point selection can make or break a hardwood floor installation, a lesson I learned after having to restart an entire room halfway through the process. I now always establish a perfectly straight reference line using chalk and measure carefully to ensure the first row will be parallel to the room’s longest wall. The starting wall should be the most visible or structurally sound, not necessarily the most convenient for installation access. I mark the center point of each room and work outward when possible, ensuring equal border widths on opposite sides. This approach creates balanced, professional-looking results that feel intentionally designed rather than haphazardly installed.
Border planning requires mathematical precision that I initially underestimated during my early flooring projects. Nothing looks more amateur than ending up with tiny slivers of wood along one wall because proper calculations weren’t performed beforehand. I now measure room dimensions precisely and calculate how many full planks will fit, then adjust the starting point to ensure border pieces are at least half a plank width on all sides. This sometimes means shifting the entire layout slightly, but the visual improvement is dramatic. I use graph paper to sketch layouts for complex rooms, marking obstacles like heat vents, cabinets, and doorways before beginning installation.
Pattern variations have added sophistication to my more recent hardwood installations as I’ve gained confidence and experience with layout techniques. While straight plank installation remains most common, I’ve experimented with herringbone, chevron, and diagonal patterns that create stunning visual interest. These advanced patterns require significantly more planning and waste more material, but the results justify the extra effort in special spaces like entryways or dining rooms. Each pattern has specific layout requirements and starting points that differ from traditional straight installations. I recommend mastering basic layouts before attempting these more complex arrangements.

Transition planning between rooms has become one of my specialized skills after dealing with multiple challenging floor plan configurations. Doorways require careful consideration of plank direction changes, threshold placement, and height differences between adjacent flooring materials. I create detailed transition plans showing exactly where direction changes will occur and how they’ll be concealed or highlighted depending on the design intent. Hardwood flowing continuously between rooms creates seamless elegance, while intentional direction changes can define separate spaces effectively. The key is making these decisions deliberately rather than by accident during installation.
Subfloor preparation directly impacts layout success, something I learned after experiencing movement and squeaking in my first installation. Proper subfloor inspection reveals areas requiring additional support or leveling that influence plank direction choices. I now check for squeaks, loose boards, and level variations exceeding manufacturer specifications before planning layouts. Correcting subfloor issues early prevents problems that could require complete reinstallation later. Understanding your subfloor construction, whether plywood, OSB, or concrete, helps determine optimal layout directions and installation techniques. This foundational work isn’t glamorous, but it’s essential for long-term performance.

Room shape considerations have challenged my layout skills in older homes with irregular dimensions and multiple angles. Perfectly rectangular rooms allow straightforward layout planning, but real homes often feature bay windows, angled walls, and architectural details that complicate installation. I’ve learned to embrace these challenges as opportunities for creative solutions rather than obstacles. Sometimes irregular shapes require custom cutting and careful planning to maintain consistent reveals and professional appearance. I now measure all angles carefully and create templates for complex cuts before installing expensive hardwood materials.
My hardwood floor layout philosophy emphasizes patience, precision, and proper planning over speed and convenience. The time invested in careful layout planning pays dividends in both appearance and performance throughout the floor’s lifetime. Every room presents unique challenges and opportunities that require thoughtful consideration of multiple factors simultaneously. Whether you’re installing your first hardwood floor or your tenth, taking time to plan layouts thoroughly will result in floors you’re proud to show off. The satisfaction of seeing perfectly planned layouts come together during installation makes all the preliminary work worthwhile, creating beautiful, durable floors that enhance your home’s value and appeal.

Which direction should I run my hardwood floor planks?
Plank direction depends on multiple factors, including room dimensions, natural light, structural considerations, and aesthetic preferences that must be balanced carefully. Generally, running planks perpendicular to floor joists provides optimal structural support and reduces squeaking over time. For visual appeal, planks should run parallel to the room’s longest dimension to make spaces appear larger. Natural light from windows should ideally flow parallel to the wood grain to minimize seam visibility. In narrow hallways, running planks lengthwise creates the illusion of greater width. Consider traffic flow patterns and how people will move through the space when making final decisions.
How do I calculate the starting point for my hardwood floor layout?
Calculating proper starting points requires precise measurements and mathematical planning to ensure balanced borders and a professional appearance throughout the installation. Measure room length and width accurately, then divide by plank width to determine how many full planks will fit in each direction. Adjust the starting position to ensure border pieces are at least half a plank width on opposite walls. Mark the room’s center point and work outward when possible for balanced results. Use chalk lines to establish perfectly straight reference lines parallel to your chosen starting wall. Always perform these calculations before purchasing materials to avoid shortages.

What’s the best way to plan hardwood layouts for multiple connected rooms?
Planning layouts for connected rooms requires considering sight lines, traffic flow, and transition points to create cohesive, professional results throughout your home. Determine the primary direction for main living areas first, then plan how adjacent rooms will connect logically. Continuous plank direction between rooms creates seamless flow, while intentional direction changes can define separate spaces effectively. Plan doorway transitions carefully, considering threshold placement and height differences. Create detailed drawings showing plank direction changes and transition locations before beginning installation. Focus on the most visible areas first, then accommodate less prominent spaces around your primary layout decisions.
How much extra hardwood should I order for waste and layout adjustments?
Waste calculations depend on room complexity, chosen layout pattern, and your skill level, but I recommend ordering 10-15% extra material for straight installations. Complex patterns like herringbone or diagonal layouts require 15-20% additional material due to increased cutting waste. Irregular room shapes with many angles or obstacles also increase waste percentages significantly. Consider your experience level honestly; beginners typically waste more material than experienced installers. Order extra material from the same production lot to ensure consistent color and grain matching. It’s better to return unused material than halt installation waiting for additional supplies that might not match perfectly.

Should I hire a professional or attempt DIY hardwood floor layout and installation?
This decision depends on your skill level, available time, tool access, and budget constraints, but layout planning is crucial regardless of who performs the installation. DIY installation can save significant money if you have woodworking experience and proper tools, but mistakes can be extremely costly to correct. Professional installers bring expertise in layout planning, subfloor preparation, and complex cuts that ensure optimal results. If attempting DIY, invest heavily in layout planning and consider hiring professionals for complex rooms or pattern installations. Many homeowners successfully install straight plank layouts themselves, but hire professionals for intricate patterns or structural concerns.
What tools do I need for proper hardwood floor layout planning?
Essential layout tools include measuring tapes, chalk line boxes, squares, levels, and graph paper for planning complex installations effectively. A laser level helps establish straight reference lines across large rooms with greater accuracy than traditional methods. Quality measuring tapes, preferably 25-foot length minimum, are crucial for precise room measurements. Chalk line boxes create perfectly straight guidelines for first row installation. Large squares ensure perpendicular cuts and corners. Graph paper allows detailed layout sketching before installation begins. Consider renting specialized tools like laser levels if purchasing isn’t cost-effective. Having proper tools prevents costly mistakes and ensures professional-quality results throughout your installation process.

Rooms The Flooring Group

Our new plywood “hardwood” floors stained in a mix of minwax’s gunstock and jacobean stains

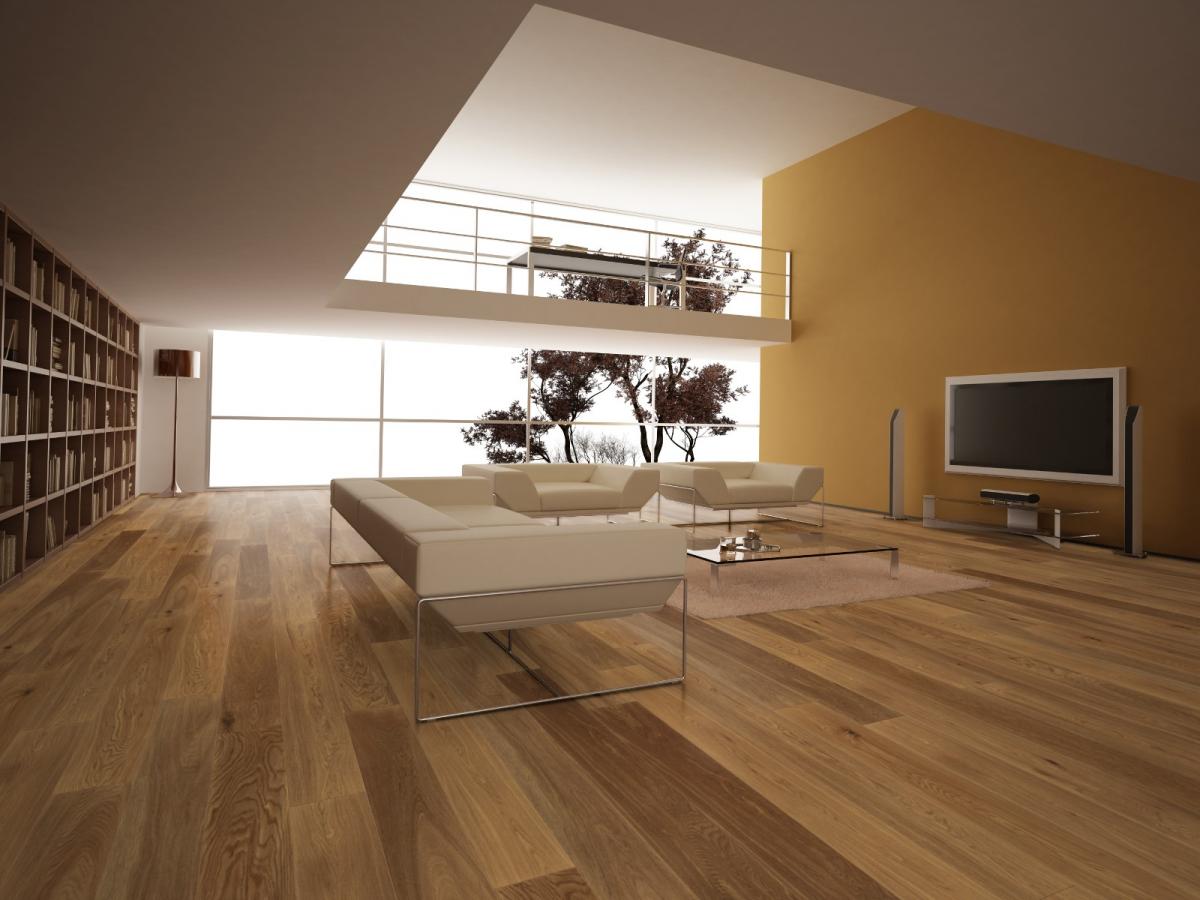
Hardwood Floors Throughout Open Floor Plan

Wood flooring installed around a corner hallway Decor ideas -Floors Flooring, Foyer flooring

Hardwood kitchen floor layout

Hill Country Design Ideas, Pictures, Remodel and Decor Kitchen flooring, Trendy kitchen tile
![]()
Related Posts: