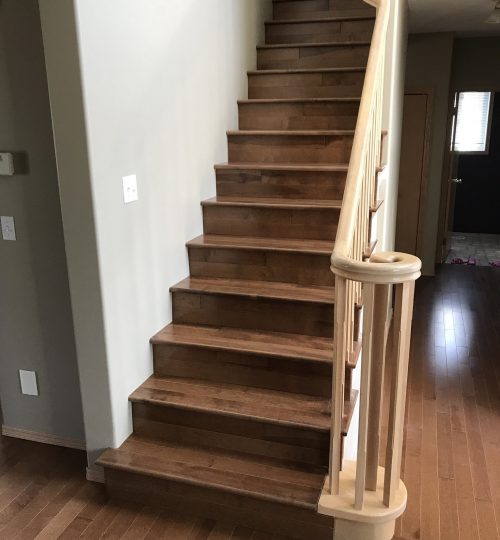
Installing DIY hardwood flooring on stairs is a rewarding yet challenging home improvement project that significantly enhances the beauty, durability, and value of your interior. Stairs receive high traffic, and upgrading them with hardwood not only improves their aesthetic appeal but also ensures long-lasting wear. Hardwood stairs blend seamlessly with existing hardwood flooring and provide a cohesive design throughout the home. While hiring professionals is often the default choice for stair remodeling, many homeowners with basic carpentry skills, patience, and attention to detail can tackle the project themselves. With proper preparation, tools, and materials, DIY hardwood stair installation can be both cost-effective and personally satisfying.

The first and most crucial step in the process is planning and preparation. Before installing hardwood on stairs, it’s important to evaluate the existing stair structure, which often involves removing carpet, laminate, or worn-out treads. Inspect each step for damage or unevenness, and ensure that the stringers (the structural sides of the staircase) are solid and level. Accurate measurement is essential—each stair tread and riser should be individually measured because stair dimensions can vary slightly. Once dimensions are recorded, you’ll need to purchase hardwood treads (the horizontal part of the step) and risers (the vertical face) in either solid hardwood or engineered wood, depending on your preference and budget. Pre-finished treads simplify the project, as they eliminate the need for sanding and staining on-site.

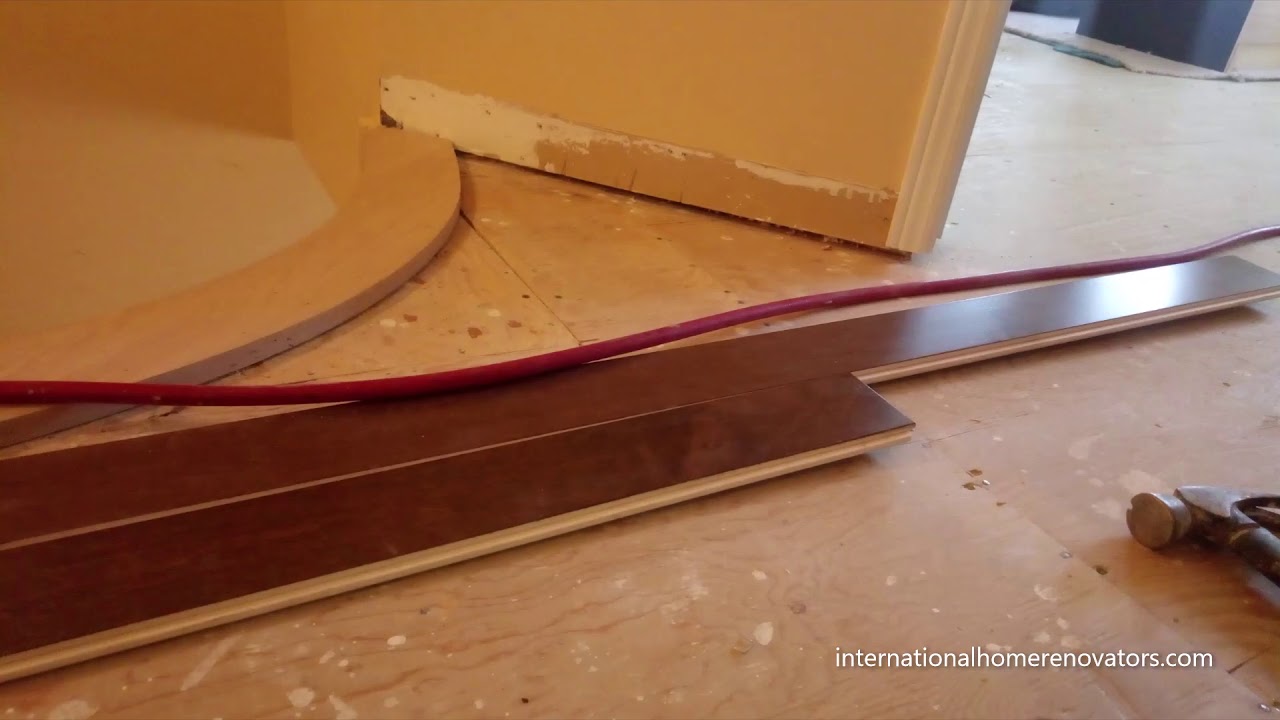
Cutting and fitting hardwood pieces is where precision plays a key role. Each tread and riser must be cut to match its corresponding stair, taking into account any imperfections or variances. A miter saw is typically used for cutting treads to length, while a jigsaw may be required for detailed cuts around stair noses or balusters. Dry-fitting each piece before securing it is essential to ensure a snug, gap-free installation. In many cases, the use of stair tread templates can help ensure accurate cutting, especially on staircases where angles and lengths vary. Once the treads and risers are cut and aligned, a strong adhesive combined with finishing nails or screws (countersunk and filled for a clean look) will provide a solid and stable fit.
Installing nosing and trim is an important finishing touch in any stair project. Stair nosing refers to the rounded front edge of a stair tread, and in many hardwood kits, it is built into the tread itself. However, separate nosing pieces may be required for certain staircases or design preferences. Nosing improves safety by providing a visible edge and helps to prevent wear on the stairs’ front edges. Additionally, base molding or cove trim can be installed along the sides of the stairs or between the tread and riser for a more polished look. These finishing elements not only add detail and visual appeal but also conceal any minor gaps or imperfections that might arise during installation.
Lastly, proper sealing, cleaning, and ongoing maintenance are key to preserving your newly installed hardwood stairs. If you’ve chosen unfinished treads and applied your own stain or finish, ensure that several coats of polyurethane or other durable sealant are used to protect against wear, moisture, and dirt. Regular cleaning with a soft broom or vacuum and occasional damp mopping with wood-safe cleaners will help maintain the beauty of the wood. It’s also wise to use stair runners or anti-slip treads if slipperiness is a concern. When done correctly, a DIY hardwood flooring stair installation can rival professional results—transforming your staircase into a stylish, durable centerpiece in your home.
Hardwood Flooring & Stairs – RENEW Complete Home Services
Pin on Laminate flooring

Installing Engineered Hardwood Flooring On Stairs

Hardwood flooring as treads Staircase Pinterest Floors, Stairs and Wood planks

Pin by Kimberlees Korner on home decor Hallway flooring, Carpet stairs, Carpet staircase

For more comfy floor covering, set up some vinyl tiles or planks which could lik… Laminate

Stairs Floor installation, Flooring, Hardwood

How to easily use Gel Stain on existing stained wood! Staining wood floors, Staining wood

Help! Hardwood And Particle Board Mix Stairs Under Carpet – Flooring – DIY Chatroom Home

Related Posts: