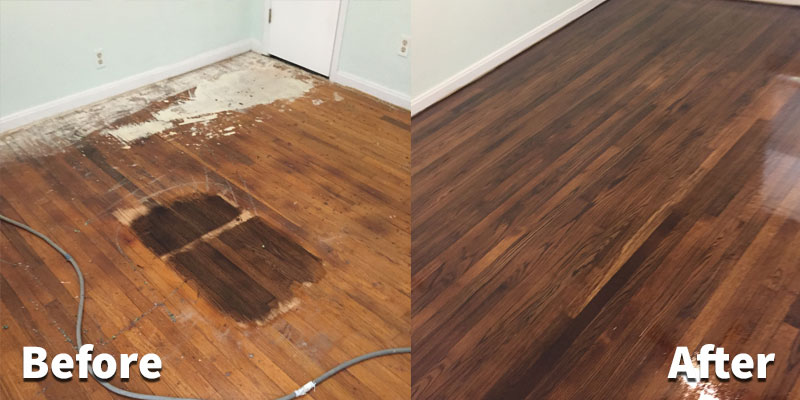
Hardwood floors add timeless beauty to any home, but over time, they can show signs of wear, including scratches, dullness, and discoloration. Refinishing restores their original luster and extends their lifespan. The process involves sanding away the old finish, repairing imperfections, and applying new stain and sealant. Proper refinishing can make decades-old floors look brand new. Before starting, assess the floor’s condition—deep gouges or warped boards may require replacement. Refinishing is labor-intensive but cost-effective compared to full replacement.
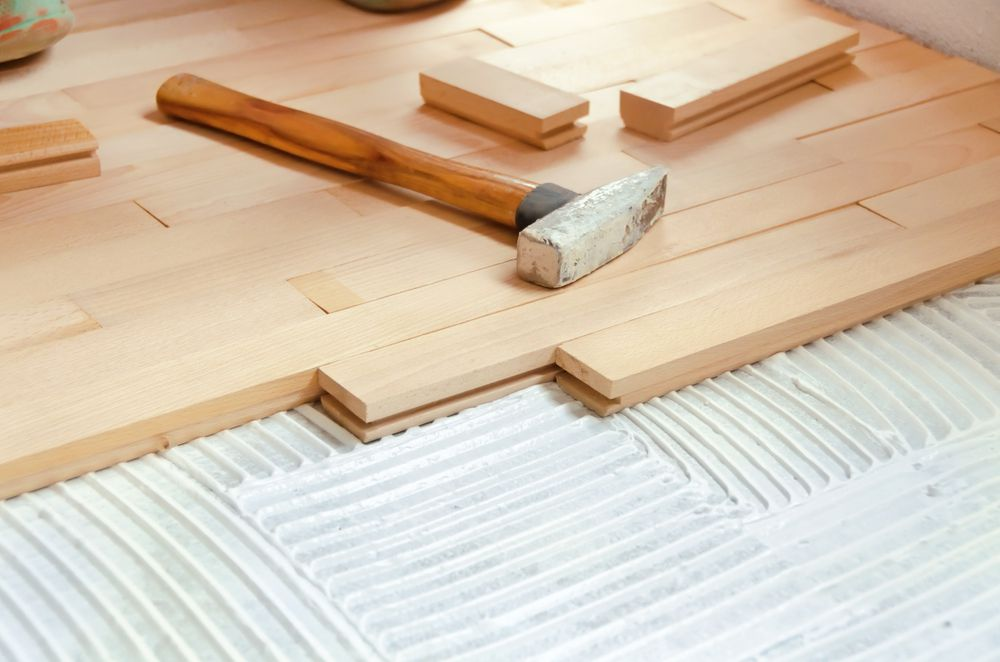
Preparation is key to a successful refinishing project. Remove all furniture, rugs, and obstacles from the room. Cover vents and doorways to contain dust. Inspect the floor for protruding nails or staples and hammer them down. Sweep and vacuum thoroughly to eliminate debris that could interfere with sanding. If the floor has wax or polish buildup, use a wax remover to ensure proper adhesion of the new finish. Proper prep work minimizes complications during sanding and finishing, leading to smoother results.
Sanding is the most critical step in refinishing. Start with coarse-grit sandpaper (36–40 grit) to remove old finish and level imperfections. Progress to medium grit (60–80) for smoothing, then finish with fine grit (100–120) for a polished surface. Always sand with the wood grain to avoid swirl marks. Use an edge sander for corners and tight spaces. Dust collection systems or frequent vacuuming reduce airborne particles. Over-sanding can damage the wood, so monitor progress carefully. A well-sanded floor ensures an even stain application.
After sanding, inspect the floor for gaps, cracks, or holes. Use wood filler to repair minor imperfections, matching the color to your hardwood. Allow it to dry completely before light sanding again for a smooth surface. Remove all dust with a tack cloth or vacuum. Skipping this step can trap particles under the finish, creating a rough texture. For larger damage, consider replacing individual boards. Proper repairs ensure a flawless final appearance and prevent future issues.

Choosing the right stain is crucial for achieving the desired look. Test stains on a small, inconspicuous area to see how they interact with your wood species. Dark stains hide imperfections but show dust more easily, while light stains create an airy feel but reveal scratches. Water-based stains dry quickly and emit fewer fumes, while oil-based options penetrate deeper for richer color. If you prefer the wood’s natural tone, skip staining and apply a clear finish instead. The right choice depends on your aesthetic preferences and maintenance tolerance.
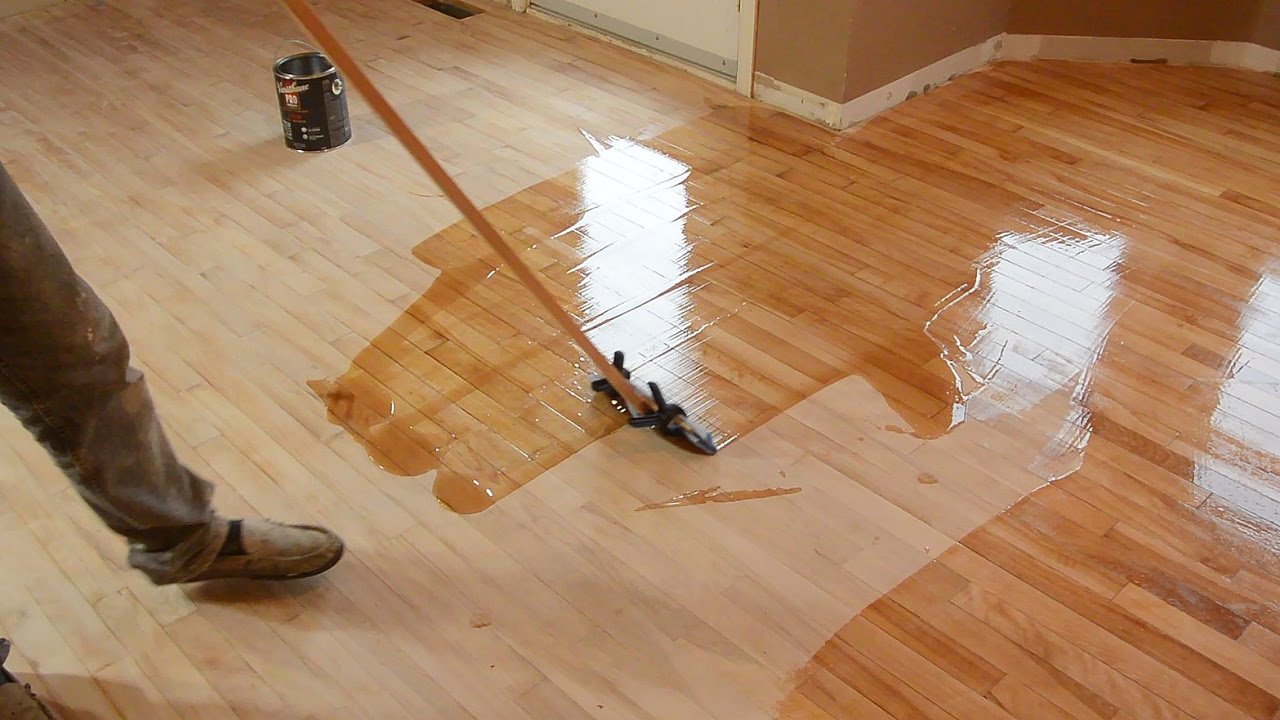
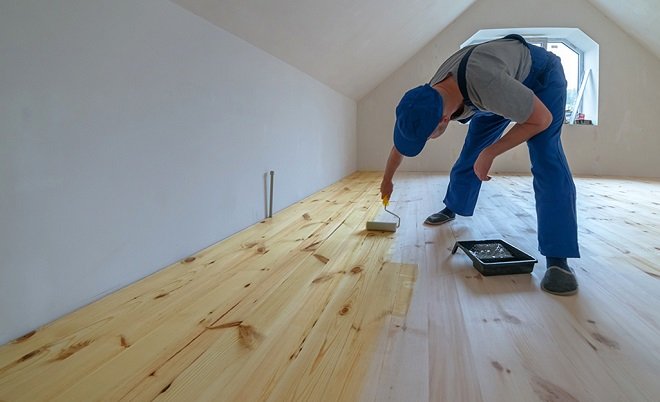
Applying the finish protects and enhances the wood. Polyurethane is the most popular choice due to its durability and variety of sheens (matte, satin, semi-gloss, gloss). Water-based polyurethane dries fast and has low odor but may require more coats. Oil-based polyurethane yellows over time but offers superior scratch resistance. Use a high-quality brush, roller, or lambswool applicator for even coverage. Work in small sections, maintaining a wet edge to prevent lap marks. Proper ventilation speeds drying and reduces fumes.
Allow each coat to dry fully before applying the next—typically 24 hours for oil-based and 4–6 hours for water-based finishes. Lightly sand between coats with 220-grit sandpaper to remove imperfections and improve adhesion. Wipe away dust with a tack cloth before recoating. Most floors need 2–3 coats for optimal protection. Rushing this step can result in bubbles, streaks, or uneven wear. Patience ensures a smooth, professional-quality finish that lasts for years.
After the final coat, wait at least 24–48 hours before light foot traffic and 72 hours before moving furniture back. Use felt pads under furniture legs to prevent scratches. Avoid rugs for at least two weeks to let the finish cure completely. High humidity or cold temperatures can extend drying times. Proper curing ensures maximum durability and prevents premature damage. Refinished floors need gentle cleaning with pH-neutral products—avoid steam mops or harsh chemicals that degrade the finish.

Regular maintenance preserves refinished floors. Sweep or vacuum frequently to remove abrasive dirt. Use mats at entryways to trap grit. Wipe spills immediately to prevent water damage. Recoating high-traffic areas every 3–5 years refreshes protection without full refinishing. Avoid high heels or pet nails that can dent the surface. With proper care, refinished hardwood floors retain their beauty for decades, adding value to your home.
For extensive damage or intricate inlays, hiring a professional ensures superior results. Experts have industrial sanders, dust containment systems, and experience with tricky grain patterns. They can also match historic finishes or exotic woods. While DIY refinishing saves money, professionals deliver flawless finishes with less hassle. Get multiple quotes and check reviews before selecting a contractor. Quality workmanship guarantees long-lasting, stunning floors.
How do I know if my hardwood floors need refinishing?
Signs include deep scratches, dullness, discoloration, or worn-through finish. The “water test” can help—sprinkle a few drops on the floor. If it absorbs quickly, the finish is gone. Cupping or gaps may indicate moisture damage requiring repair before refinishing. Floors typically need refinishing every 7–10 years, depending on wear. Addressing issues early prevents further damage and costly replacements.
Can all hardwood floors be refinished?
Solid hardwood can be refinished multiple times (depending on thickness). Engineered hardwood has a thin veneer, allowing only 1–2 refinishes. Laminate or vinyl cannot be refinished. Check your floor type before starting. Sanding too aggressively on engineered wood can expose the sublayer, ruining the floor. Consult a professional if unsure about your floor’s refinishing potential.

How long does the refinishing process take?
A typical 3-step process (sanding, staining, finishing) takes 3–5 days, including drying time. Larger rooms or intricate layouts may take longer. Humidity and temperature affect drying—allow extra time in cold or damp conditions. Rushing can lead to poor adhesion or bubbles. Plan to stay elsewhere during heavy sanding due to dust and fumes.
What’s the difference between water-based and oil-based polyurethane?
Water-based poly dries faster (2–4 hours), has low odor, and stays clear over time but requires more coats. Oil-based poly offers superior durability and richer warmth but yellows with age and takes 24 hours to dry. Water-based is eco-friendlier, while oil-based resists scratches better. Choose based on your priorities for appearance, dry time, and maintenance.

Can I change the color of my hardwood floors when refinishing?
Yes, sanding removes the old stain, allowing a new color choice. Dark stains hide imperfections but show dust, while light stains brighten spaces but reveal scratches. Test stains on scrap wood or hidden areas first. Some woods (like pine) blotch unevenly, requiring pre-stain conditioners. Professional help ensures consistent results with drastic color changes.
How do I maintain refinished hardwood floors?
Use soft brooms or vacuums without beater bars. Clean with pH-neutral hardwood cleaners—avoid water excess. Place rugs in high-traffic zones and felt pads under furniture. Trim pet nails and avoid high heels. Recoat every few years in busy areas. Proper care prevents premature wear, keeping floors beautiful for decades.

Hardwood Floor Refinishing in Dallas – Fort Worth Free Quotes
Best Of Minwax Driftwood Stain On Red Oak Floors And Review Red oak floors, Oak wood floors

Related Posts: