Tackling the demolition of a bathroom tile floor can be a rewarding DIY project. Begin by gathering the necessary tools: safety goggles, gloves, a hammer, a chisel, a pry bar, and a floor scraper. Ensure the workspace is well-ventilated and free of any personal items or obstacles. Start by removing any baseboards or trim around the floor, using the pry bar to gently lift them off. This preparation step creates a clean slate for the demolition process and helps prevent damage to surrounding areas.

Next, focus on removing the tiles. Use a hammer and chisel to break up the first tile, starting at a corner or edge. Once you have loosened the initial tile, slide the chisel or pry bar under the remaining tiles to lift and remove them. Work in small sections, being cautious not to damage the subfloor. For stubborn tiles, use the floor scraper to help lift them. This method ensures that you can effectively remove the tiles without causing unnecessary damage to the underlying structure.

After all the tiles have been removed, it’s time to address the adhesive or mortar left on the subfloor. Use the floor scraper or a hammer and chisel to remove the remaining material. For thicker layers, consider using an angle grinder with a masonry wheel attachment. This step is crucial for preparing the subfloor for any new flooring installation. A clean and smooth surface ensures that the new tiles or flooring will adhere properly and provide a level finish.

Throughout the demolition process, prioritize safety. Wear protective gear, including safety goggles and gloves, to shield yourself from flying debris and sharp edges. Take breaks as needed to avoid fatigue, and make sure the area is well-lit to prevent accidents. Proper disposal of the removed tiles and debris is also essential. Use heavy-duty trash bags or a rented dumpster to dispose of the materials responsibly. By following these safety guidelines, you can complete the project efficiently and safely.

Finally, inspect the subfloor for any damage or needed repairs before proceeding with new flooring installation. Check for signs of water damage, rot, or weakened areas and address these issues promptly. Repairing and reinforcing the subfloor ensures a stable foundation for your new bathroom floor. By taking these steps, you can successfully demo your bathroom tile floor, creating a fresh and clean slate for your next renovation project. This thorough approach guarantees a smooth transition to your new, updated bathroom space.
What Kind of Tile Is Good for a Bathroom Floor? HomeSteady
Beige Bathroom Tiles Ideas – Beige Tile Bathroom Ideas New Creamy Beige with Warm Brown

tile floor installation of the BATHROOMS tile floor installation of new and exciting

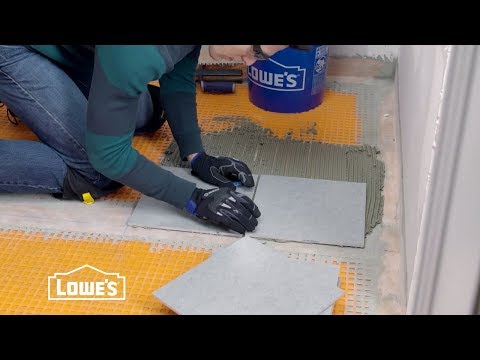
How to Tile a Bathroom Floor Bathroom flooring, Tile floor diy, Home repairs

Get Creative With Your Bathroom Floor Tile

Stella Remodel: In the powder room we would like to remove this false wall on the shower and

How To Tile a Bathroom Floor – YouTube
Bathroom Makeover – How to Paint Shower Tile (with VIDEO) — Farmhouse Living

Installing a Marble Threshold and Painting Window Trim merrypad

Related Posts: