When I first moved into my mobile home three years ago, the worn carpeting made me cringe every morning. The stains, odors, and general deterioration pushed me toward a complete flooring overhaul. After researching countless options, I settled on tile flooring. This decision transformed not just my living space but my entire perspective on mobile home improvements. The journey taught me valuable lessons about subflooring, moisture control, and the unique challenges that come with manufactured housing structures.
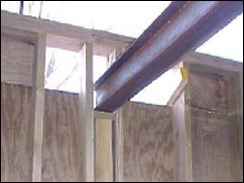
Installing tile in a mobile home requires understanding the fundamental differences between traditional and manufactured construction. My home’s subfloor consisted of particle board over floor joists spaced wider than conventional homes. This meant additional reinforcement was necessary before any tile installation could begin. I learned that mobile homes flex more than site-built houses, requiring flexible adhesives and grout to prevent cracking. The process took longer than expected, but the structural considerations couldn’t be ignored.
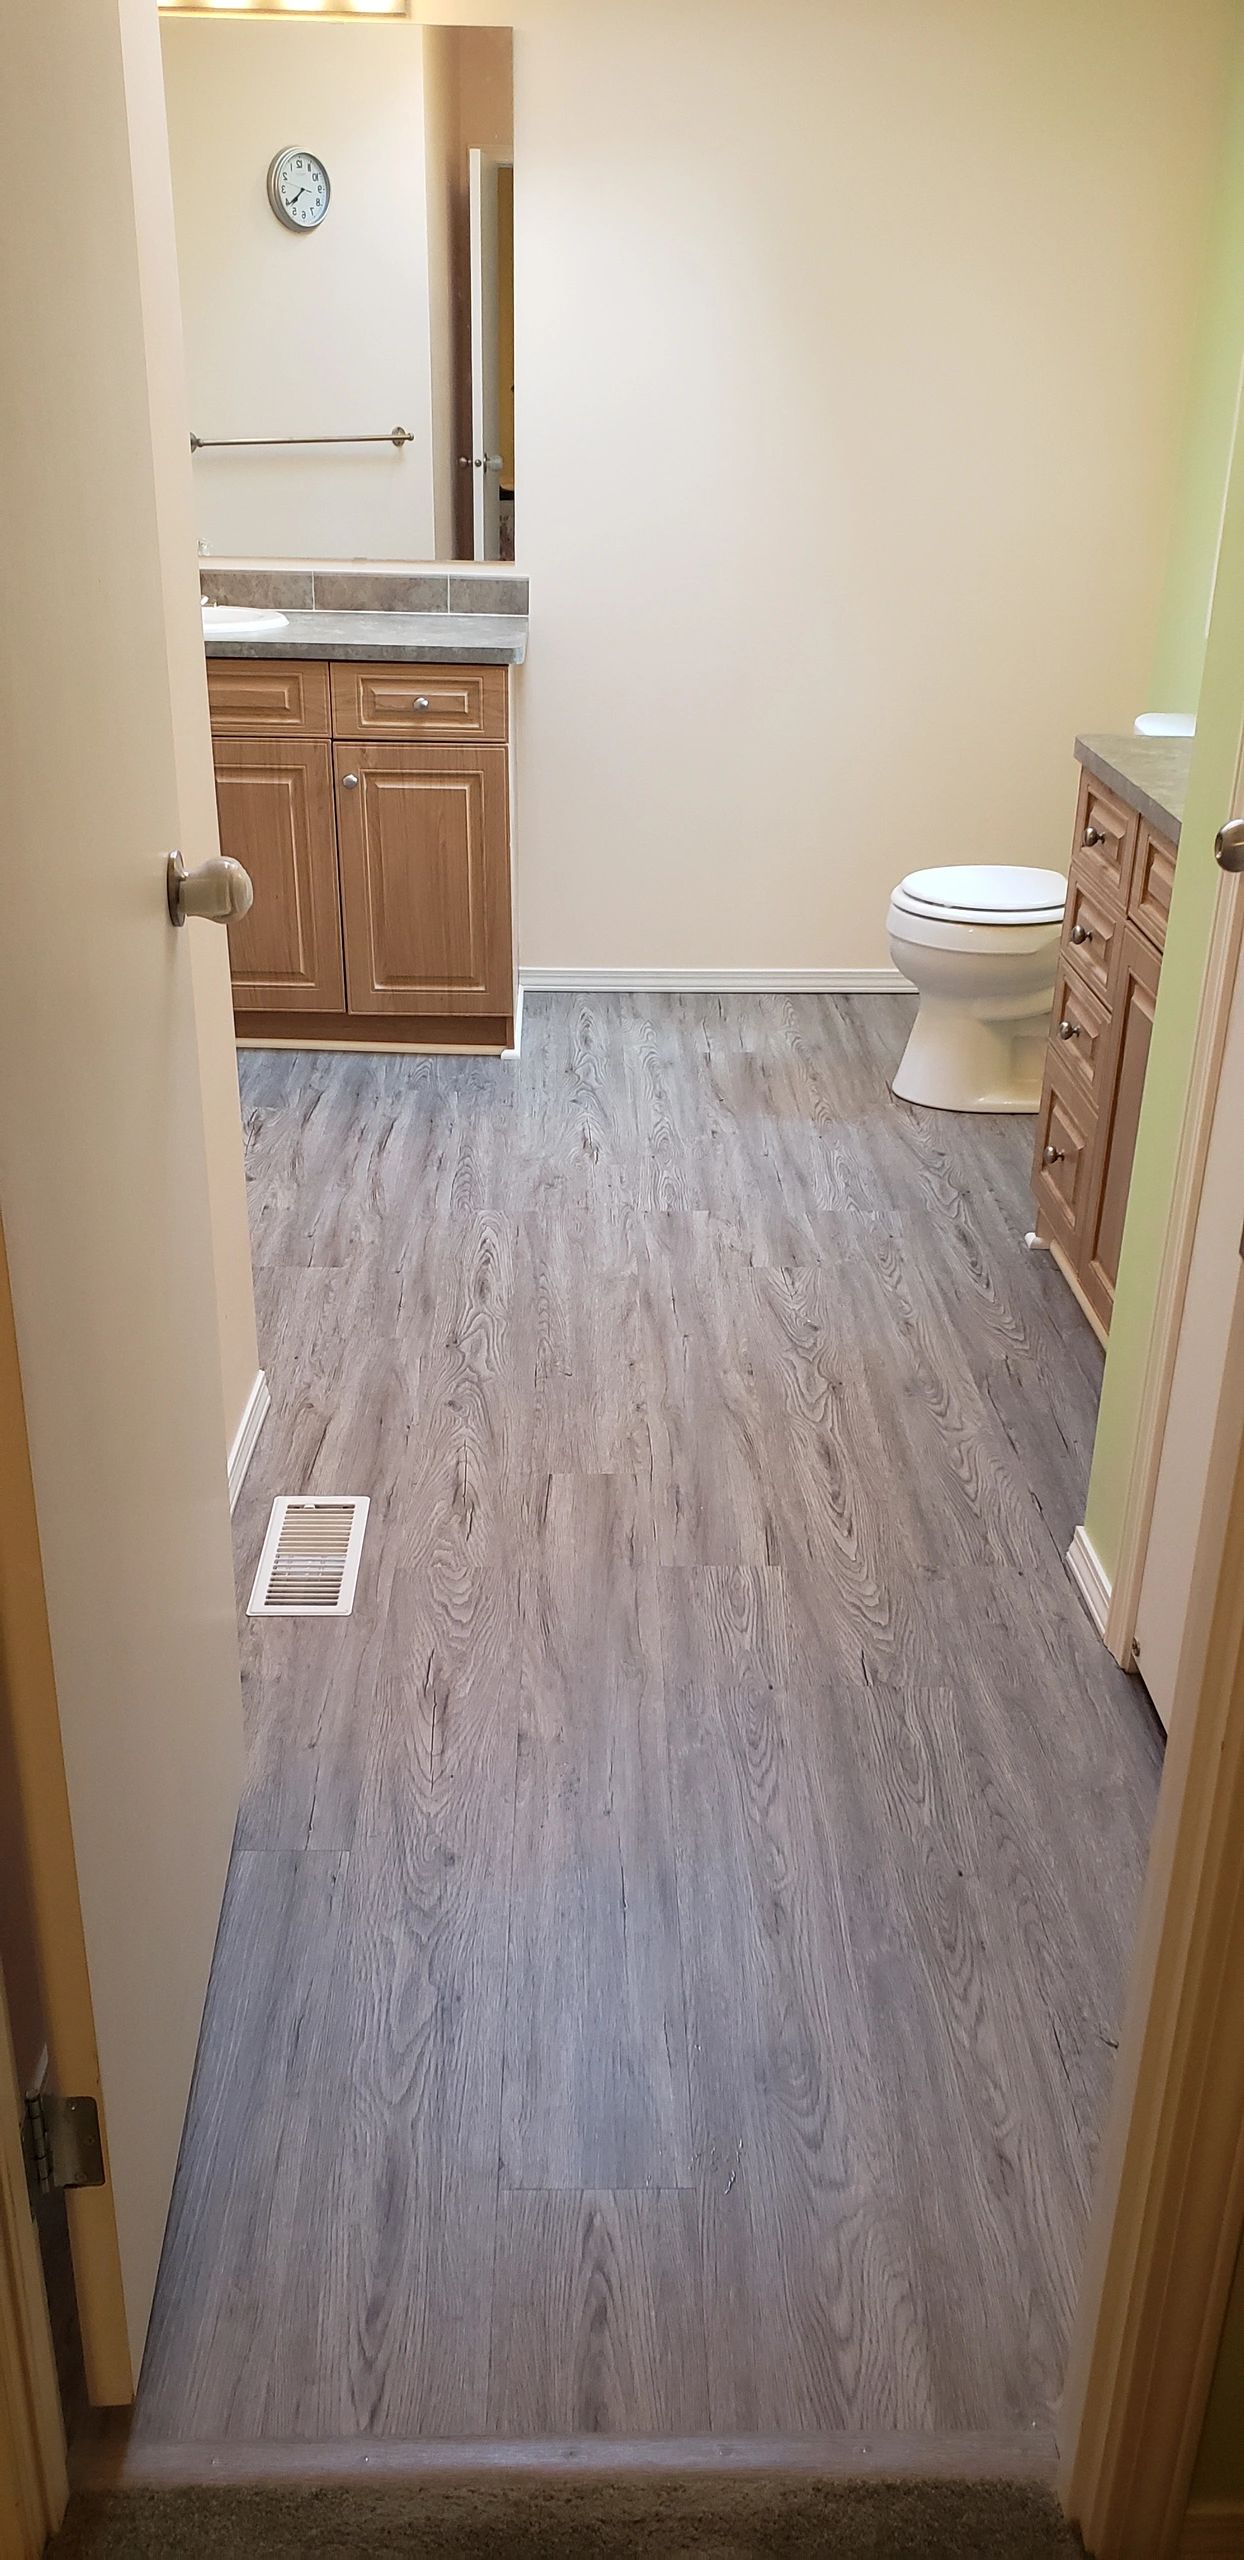
Choosing the right tile became an adventure in itself. I visited dozens of showrooms, comparing porcelain, ceramic, and natural stone options. Weight considerations ruled out many beautiful marble and granite choices since mobile home floors have load limitations. Eventually, I selected large format porcelain tiles that mimicked hardwood. These offered durability, easy maintenance, and visual appeal while staying within acceptable weight parameters. The wood-look design complemented my rustic decor perfectly.
Subfloor preparation consumed more time and energy than the actual tile installation. I removed all existing flooring, inspected every joist for damage or sagging, and added plywood underlayment for stability. Several areas required additional blocking between joists to eliminate bounce and flex. Moisture barriers became crucial since mobile homes are closer to ground level. I installed vapor barriers and ensured proper ventilation to prevent future problems. This foundation work proved essential for long-term success.

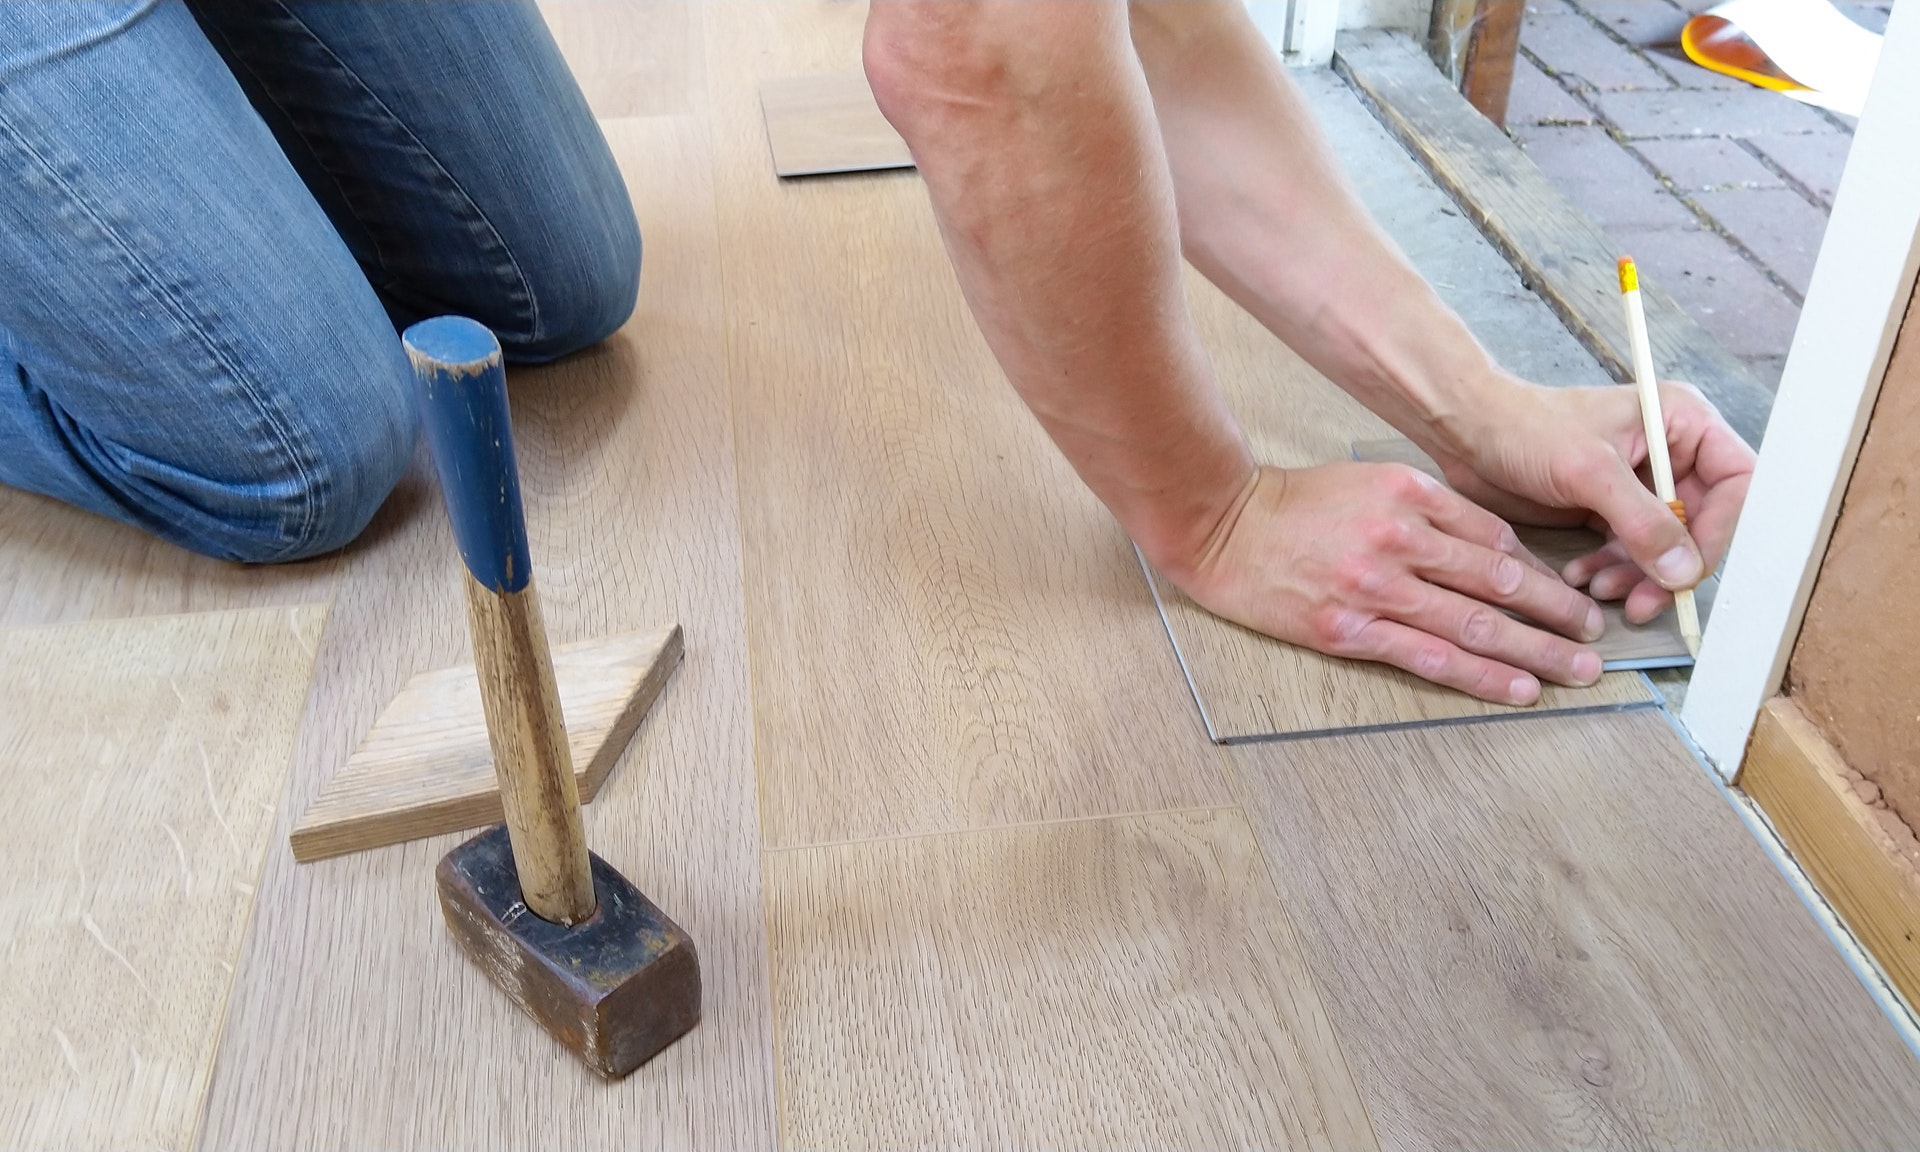
The installation process tested my patience and skills repeatedly. Working alone, I started in the center of each room, establishing reference lines for perfect alignment. Cutting tiles around obstacles like heating vents and doorways required precision and multiple attempts. My wet saw became my best friend, though the noise annoyed neighbors. Mixing adhesive in small batches prevented waste and ensured proper working time. Each tile required careful placement and immediate adjustment for level surfaces throughout the project.
Grouting presented unexpected challenges that nearly broke my spirit. The wide spacing between joists caused slight movement, creating hairline cracks in my initial grout lines. I researched flexible grout options and reapplied sections using modified polymers. The second attempt held perfectly. Sealing the grout became an annual maintenance task, but one I gladly accepted for the beautiful results. Cleaning techniques evolved as I learned which products worked best without damaging the surface or causing discoloration.

Cost considerations influenced every decision throughout this project. Quality tile, adhesives, and tools required significant upfront investment. However, I calculated long-term savings from eliminated carpet replacement cycles and reduced cleaning expenses. Shopping sales events and clearance sections helped stretch my budget. Professional installation quotes exceeded my financial comfort zone, making DIY the only viable option. The learning curve was steep, but YouTube tutorials and online forums provided invaluable guidance when problems arose.
Temperature fluctuations in mobile homes create unique expansion and contraction cycles. My tile installation had to accommodate these movements without cracking or separating. Expansion joints around perimeters and transition strips between rooms became essential elements. I learned about different adhesive types and selected products specifically designed for flexible substrates. Seasonal changes still cause minor settling, but proper installation techniques prevent major problems. Regular inspections help identify potential issues before they become expensive repairs.
Maintenance routines developed naturally as I lived with my new tile floors. Daily sweeping prevents scratches from tracked-in debris. Weekly mopping with pH-neutral cleaners maintains appearance without damaging grout or tile surfaces. Quarterly deep cleaning includes grout line attention and resealing as needed. Annual inspections check for loose tiles, damaged grout, or developing cracks. This proactive approach extends floor life significantly and prevents small problems from becoming major headaches requiring professional intervention.
Three years later, I remain thrilled with my tile flooring decision. The transformation exceeded my expectations in durability, appearance, and ease of maintenance. Guests frequently compliment the professional appearance, never suspecting the installation was DIY. Property value increased substantially, making this one of my best home improvement investments. Future mobile home purchases will definitely include tile flooring considerations. The experience taught me that manufactured housing can achieve the same quality finishes as traditional construction with proper planning and execution.

Can any type of tile be installed in mobile homes?
Not all tiles work well in mobile homes due to weight and flexibility constraints. I discovered that heavy natural stones like marble or thick granite can exceed floor load capacities. Porcelain and ceramic tiles work best, especially larger formats that require fewer grout lines. The key is selecting tiles rated for flexible substrates and using appropriate adhesives. I recommend consulting with flooring professionals about weight limitations specific to your mobile home model before making final selections.
How much does mobile home tile installation typically cost?
My project cost approximately $4,500 for 1,200 square feet, including materials and tools. Professional installation would have doubled this expense. Tile prices ranged from $2-8 per square foot, with adhesives, grout, and supplies adding another $1-2 per square foot. Subfloor reinforcement materials cost an additional $800. Tool purchases including wet saw, trowels, and spacers totaled $600. Shopping sales and choosing mid-range products helped control costs while maintaining quality standards throughout the installation process.

What are the biggest challenges when installing tile in mobile homes?
Subfloor flexibility presents the greatest challenge since mobile homes move more than traditional houses. I had to reinforce joists, add underlayment, and use flexible adhesives to prevent cracking. Moisture control required extra attention due to lower elevation and different ventilation systems. Limited access underneath the home complicated some repairs. Weight distribution became crucial to avoid overloading specific areas. Planning electrical and plumbing modifications around existing systems required careful coordination and sometimes professional assistance.
How long does mobile home tile installation take?
My complete installation took six weeks working evenings and weekends. Subfloor preparation consumed two weeks, including joist reinforcement and underlayment installation. Tile setting took another two weeks, working room by room to maintain living space access. Grouting and finishing required one week, allowing proper curing time between steps. Weather delays and learning curves extended the timeline beyond initial estimates. Professional crews could complete similar projects in 1-2 weeks, but costs increase significantly for expedited timelines.

Do mobile home tile floors require special maintenance?
Maintenance differs slightly from traditional installations due to increased movement and flexibility requirements. I use pH-neutral cleaners to protect grout and avoid harsh chemicals that might damage flexible compounds. Expansion joints require annual inspection and occasional recaulking. Grout sealing becomes more critical due to moisture concerns in mobile home environments. Regular inspections help identify movement-related issues early. Overall maintenance remains manageable with proper product selection and installation techniques designed for manufactured housing applications.
Will tile flooring increase my mobile home’s value?
Tile installation significantly increased my home’s appraised value and marketability. The improvement added approximately $8,000 to the property value, nearly doubling my investment. Potential buyers consistently comment positively on the flooring during showings. Quality tile floors help mobile homes compete with site-built properties in the same price range. The durability and low maintenance appeal to buyers concerned about ongoing costs. Professional-looking installations demonstrate overall property care and attention to detail, influencing buyer perceptions positively throughout the sales process.

How to Choose the Best Flooring for your Modular Home

How to Build a Mobile Home Basement
Floor Tiles

floor plan stone tile symbol Wall exterior, How to

Related Posts: