I never imagined installing cork flooring would become one of my most rewarding home improvement projects. When I first considered this eco-friendly option, I was intimidated by the installation process. However, after completing my kitchen and living room, I can confidently say it’s achievable for most DIY enthusiasts. The natural warmth, comfort underfoot, and sound-dampening qualities make cork an exceptional choice. My journey taught me valuable lessons about preparation, patience, and the importance of following proper techniques for lasting results.
Choosing the right cork flooring type was my first major decision. I discovered three main options: glue-down planks, floating click-lock systems, and cork tiles. After researching extensively, I selected click-lock planks for their ease of installation and ability to be removed if needed. The thickness varied from 4mm to 12mm, and I chose 8mm for optimal durability. Quality matters significantly with cork, so I invested in reputable brands despite higher costs. This decision paid off in both installation ease and long-term performance.
Proper subfloor preparation proved crucial for my project’s success. I spent considerable time ensuring my concrete subfloor was completely level, clean, and moisture-free. Any bumps or dips would telegraph through the cork, creating an uneven surface. I used a self-leveling compound in problem areas and thoroughly vacuumed all debris. Installing a moisture barrier was essential, especially over concrete. This preparation phase took longer than expected but prevented future problems that could have compromised the entire installation.
Acclimating the cork flooring in my home environment was a step I initially wanted to skip but learned was absolutely necessary. I stored the unopened boxes in the installation room for 48 hours, maintaining consistent temperature and humidity. Cork is a natural material that expands and contracts with environmental changes. Rushing this process could result in gaps or buckling after installation. I used this waiting time to gather tools and double-check measurements, making the actual installation day much more efficient and organized.
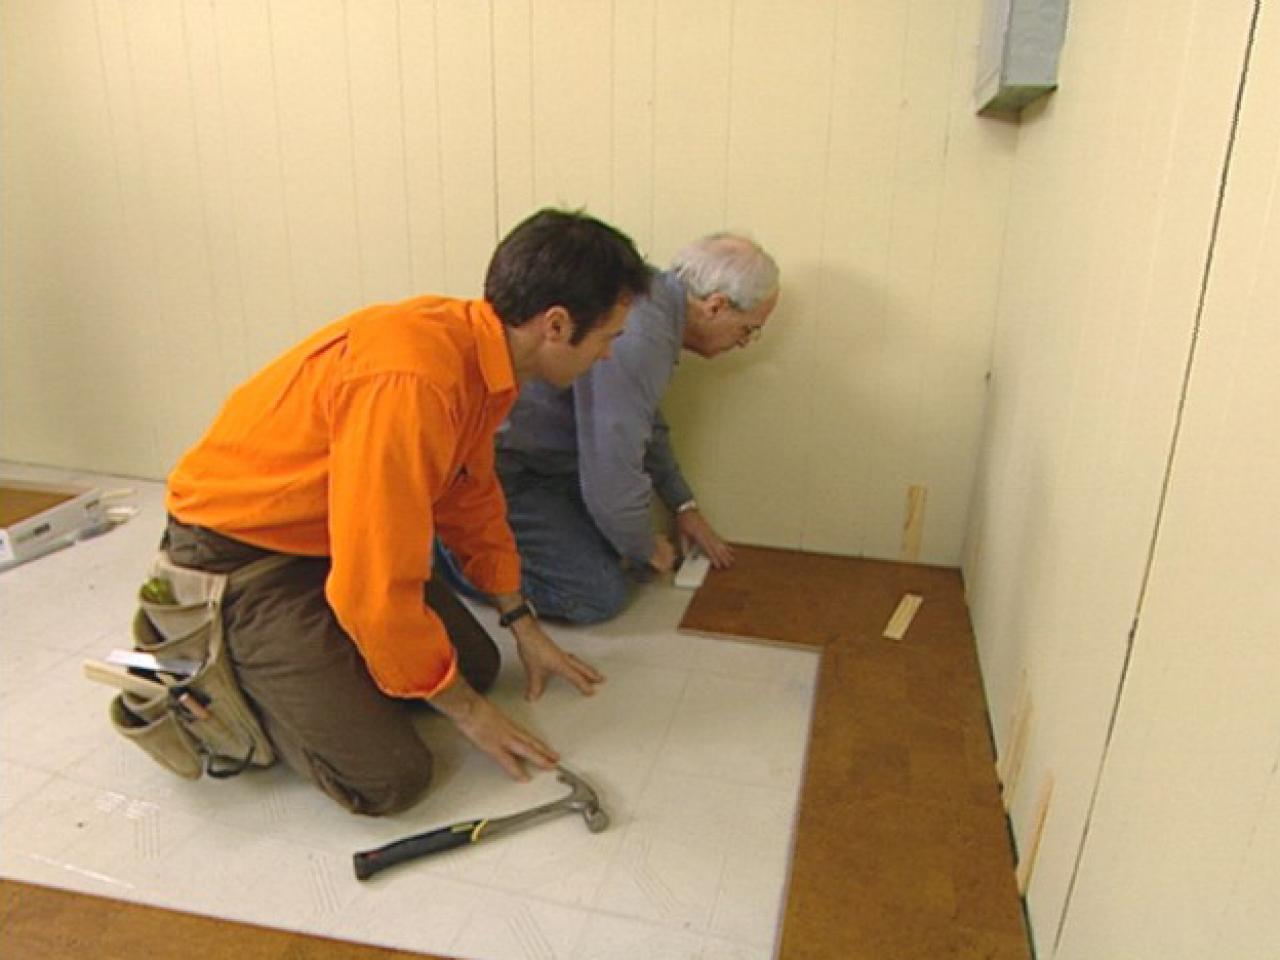
Measuring and planning my layout required careful consideration of room dimensions and natural light sources. I started from the longest, straightest wall and worked outward. Creating a detailed floor plan helped me calculate exactly how many planks I needed and where cuts would occur. I planned to stagger joints by at least 6 inches for structural integrity and visual appeal. Corner pieces and doorway transitions needed special attention. This planning phase prevented waste and ensured professional-looking results throughout the installation process.
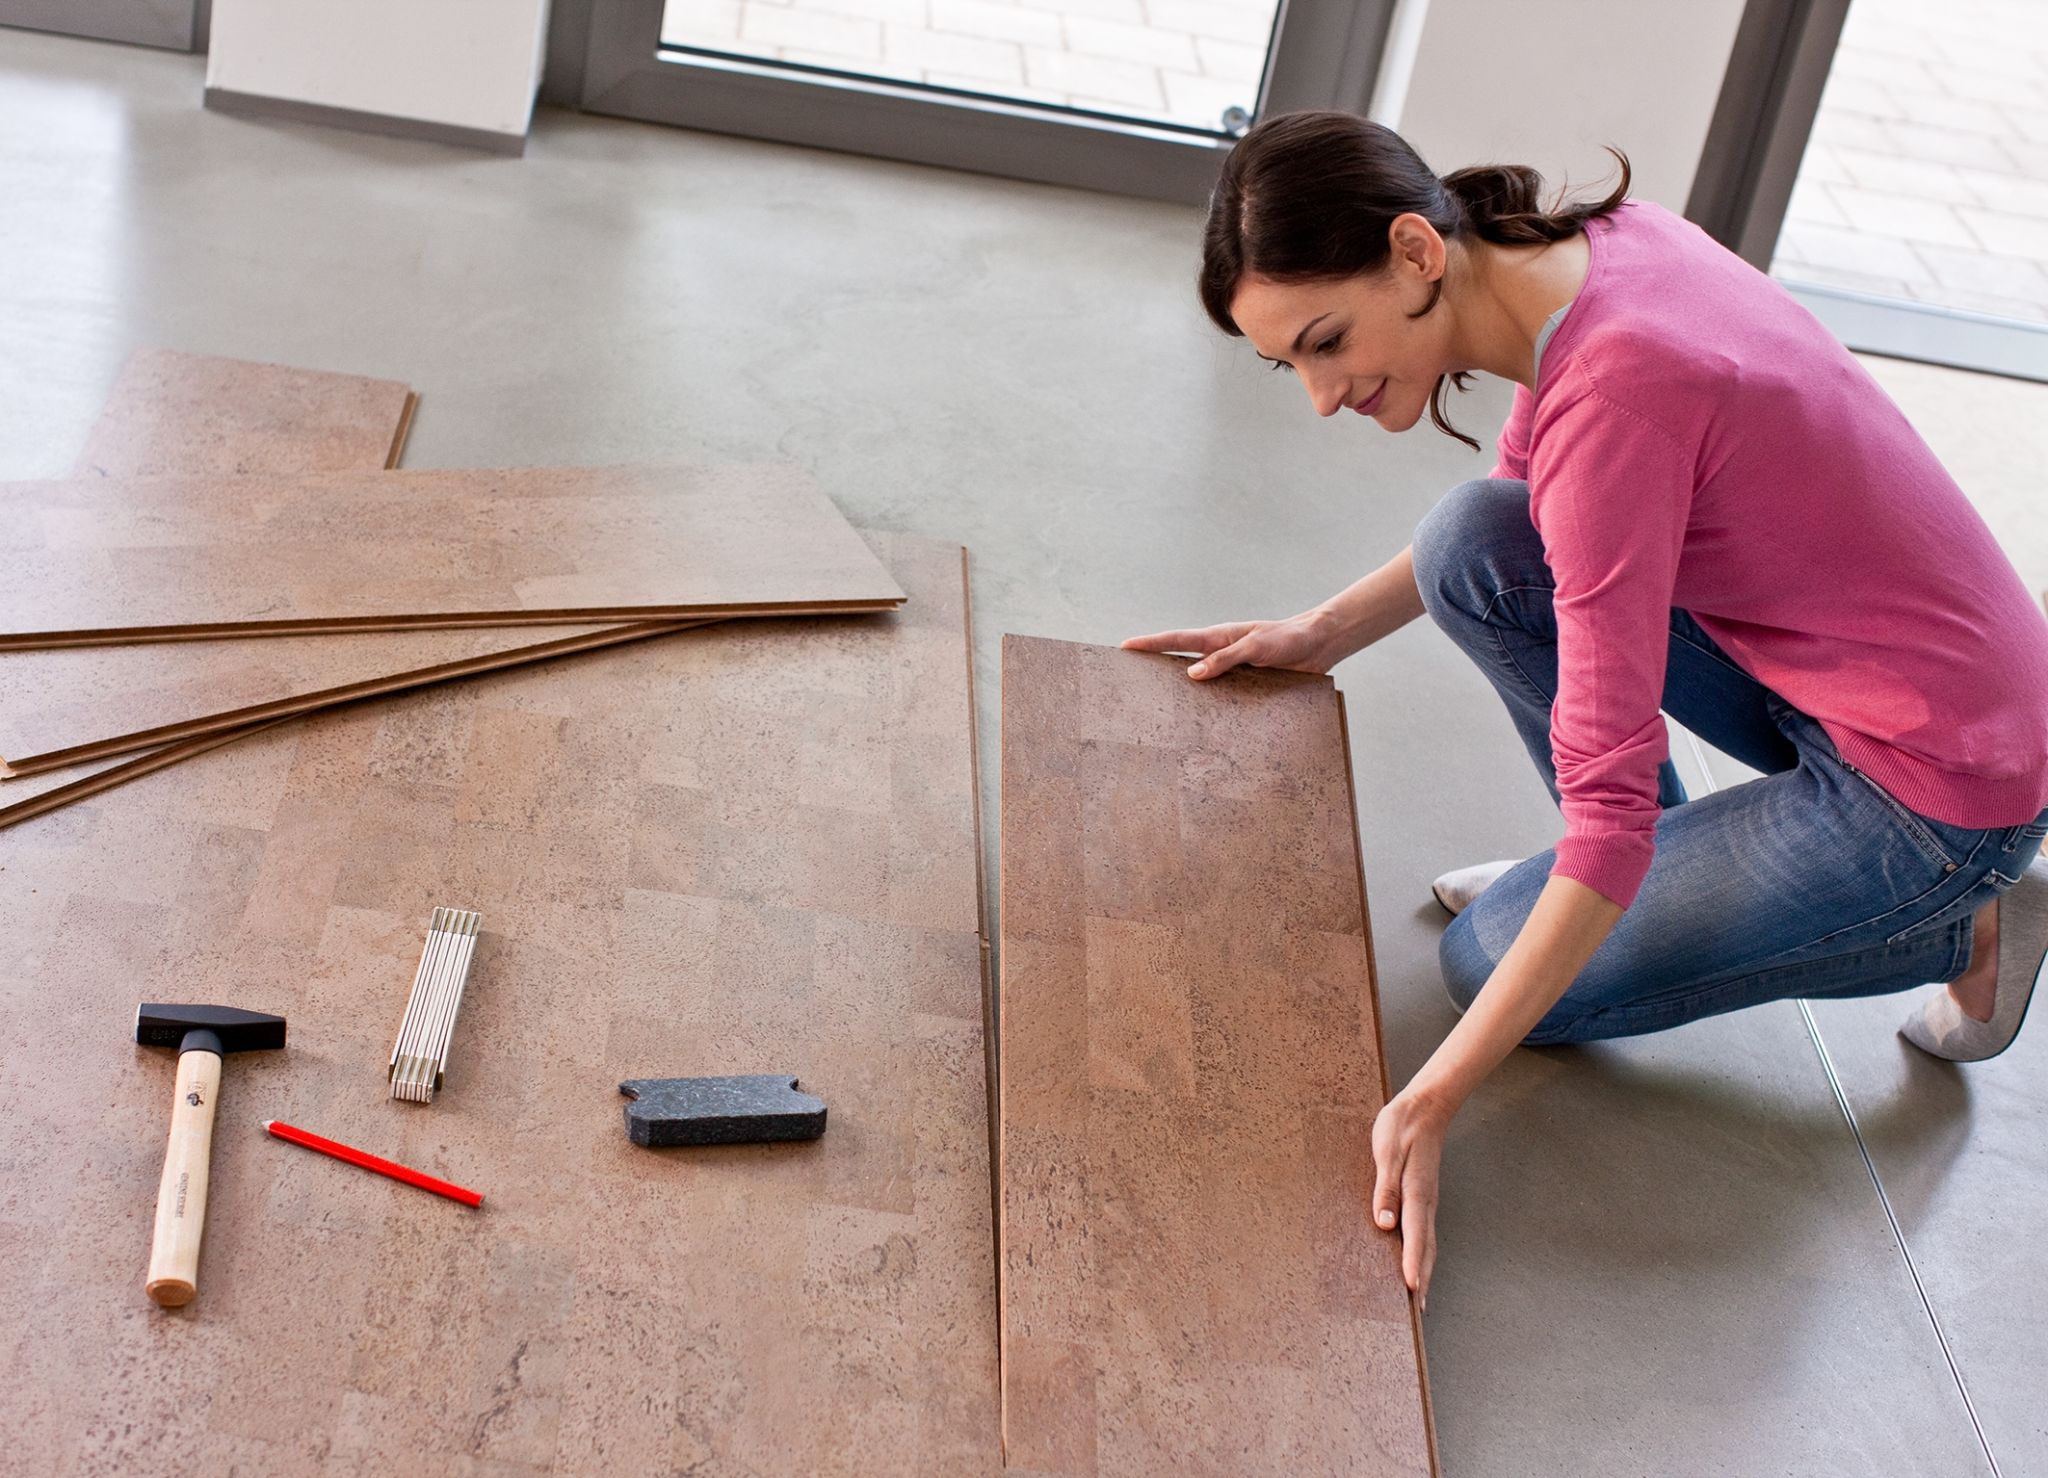
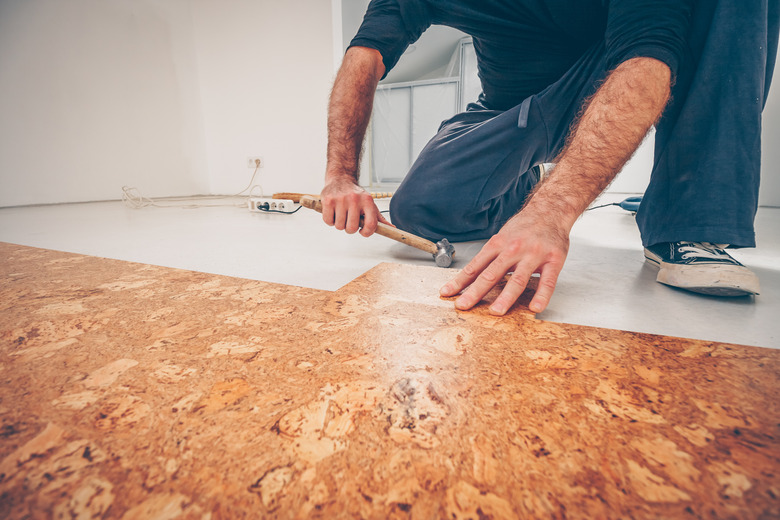
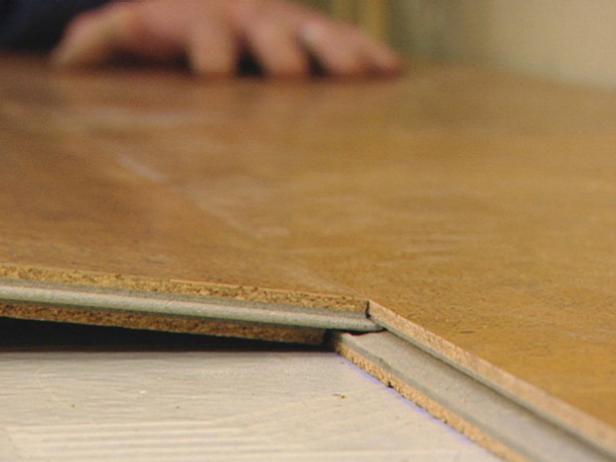
Installing the first few rows challenged my patience and precision skills. I learned that maintaining straight, parallel lines from the beginning was absolutely critical. Using spacers along walls ensured proper expansion gaps, typically 1/4 inch around the perimeter. The click-lock mechanism required gentle but firm pressure to engage properly without damaging the cork surface. I discovered that tapping with a rubber mallet and pull bar helped achieve tight joints. These initial rows set the foundation for the entire floor’s appearance and structural integrity.

Cutting cork planks required specific techniques and tools for clean, accurate results. I found that a fine-toothed saw blade minimized chipping and tear-out on the cork surface. Scoring with a sharp utility knife worked well for straight cuts on thinner planks. For intricate cuts around obstacles like pipes or irregular shapes, I used a jigsaw with a fine blade. Taking time to measure twice and cut once prevented costly mistakes. Sharp tools were essential for achieving professional results without damaging the natural cork material.
Navigating doorways and transitions presented unique challenges that required creative solutions. I purchased matching transition strips for areas where cork met other flooring types. Under-cutting door jambs allowed planks to slide underneath for a seamless appearance. Room-to-room transitions needed careful planning to maintain consistent plank direction and joint patterns. I learned to work systematically, completing one area entirely before moving to adjacent spaces. This methodical approach prevented installation errors and maintained visual continuity throughout connected rooms.

Managing expansion gaps and installing baseboards required attention to detail and finishing techniques. The 1/4-inch gaps around the perimeter needed to remain uncompressed to allow natural expansion. I carefully removed spacers after installation and covered gaps with baseboards or quarter-round molding. Caulking between flooring and trim created a finished appearance while maintaining flexibility. Color-matching caulk helped achieve seamless transitions. These finishing touches transformed my DIY installation into a professional-looking floor that enhanced my home’s overall appearance.
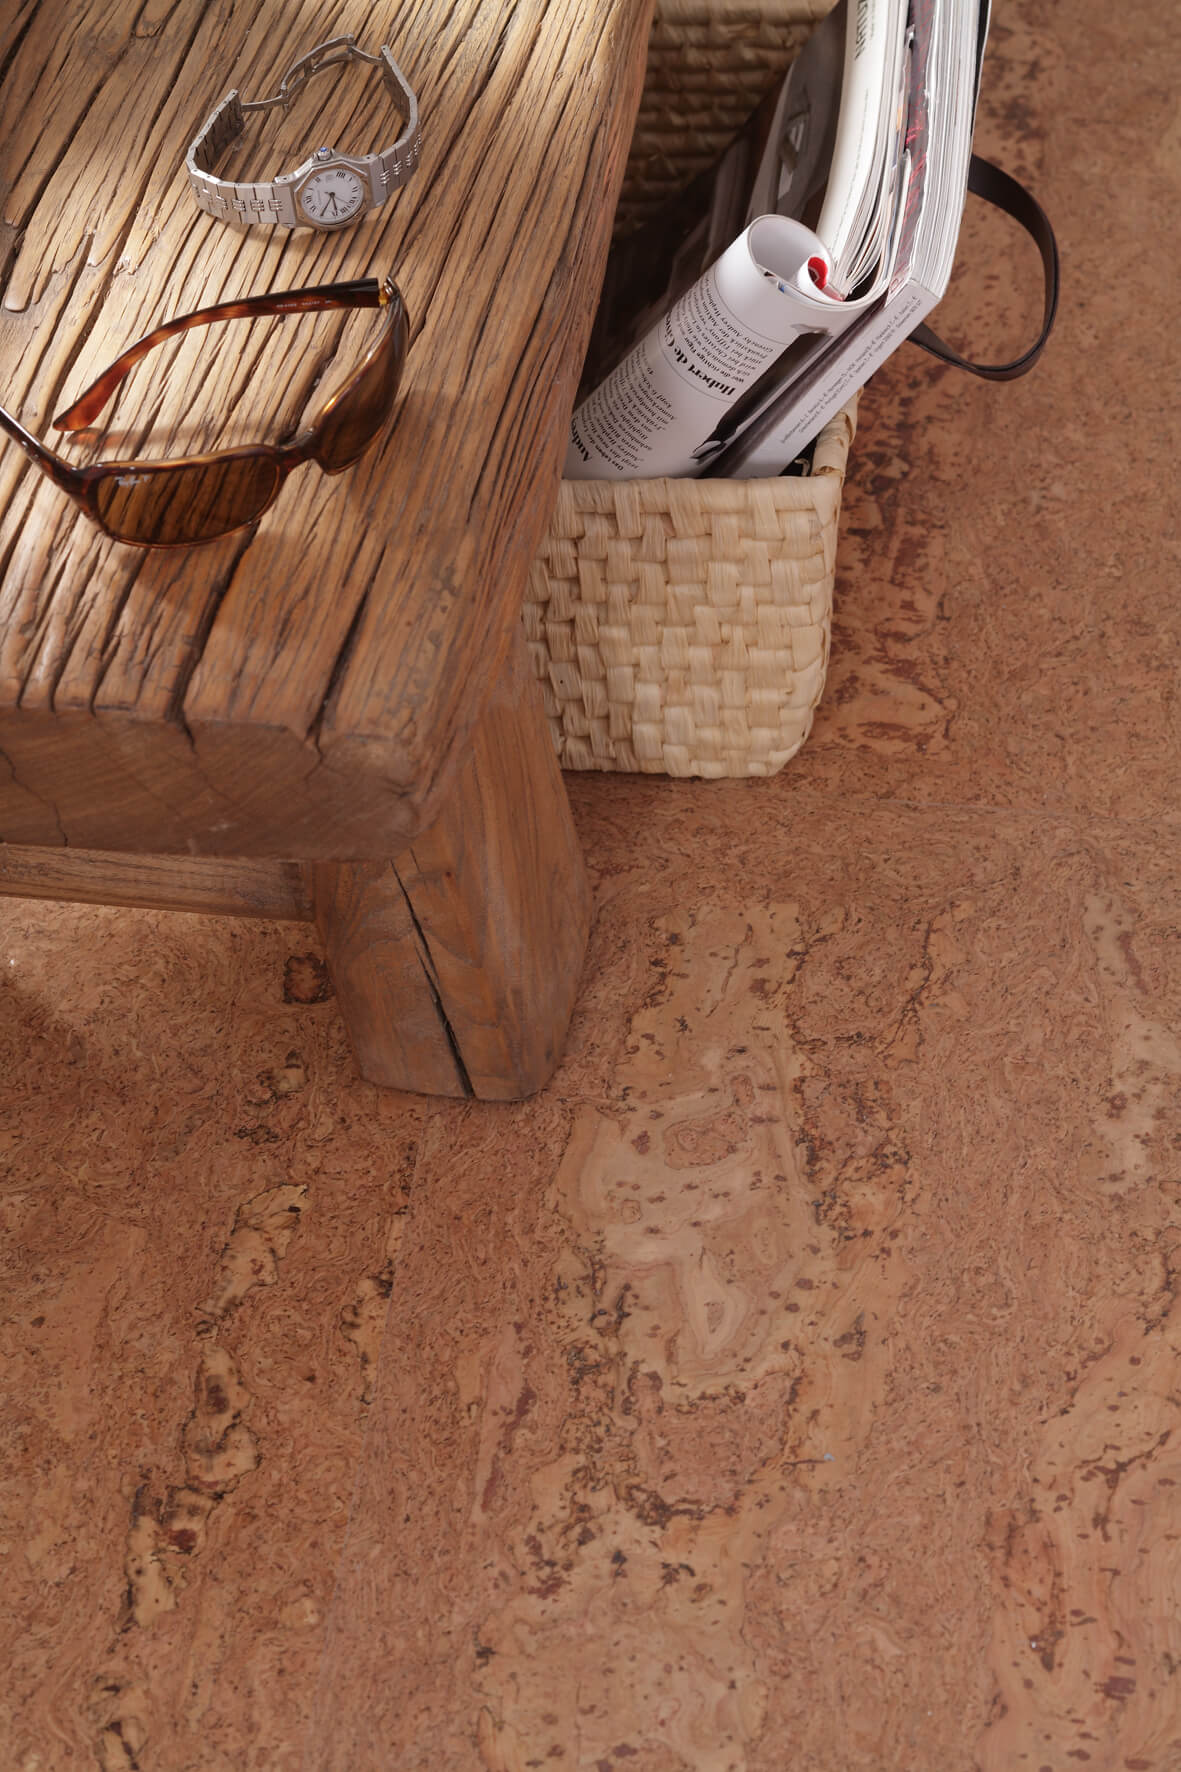
Maintaining newly installed cork flooring has been surprisingly straightforward with proper care techniques. I learned to clean regularly with manufacturer-recommended products and avoid excessive moisture. Placing mats at entrances reduced tracked-in dirt and debris. Furniture pads prevented scratches and dents from heavy items. The natural properties of cork make it resistant to mold and mildew, but proper humidity control helps maintain stability. Following these maintenance practices has kept my cork floors looking beautiful and performing well months after installation.

What tools do I need for cork flooring installation?
My essential tool list included a rubber mallet, pull bar, spacers, measuring tape, level, and fine-toothed saw. I also needed a utility knife, jigsaw for intricate cuts, and safety equipment like knee pads and dust masks. A moisture meter helped verify subfloor conditions. Quality tools made the installation process smoother and more precise. Renting specialized tools like a pneumatic nailer for glue-down installations can be cost-effective for larger projects requiring professional-grade equipment.
How long does cork flooring installation typically take?
My 300 square foot kitchen took three full days, including preparation and finishing work. Experienced installers might complete the same area faster, but I took time ensuring accuracy. Subfloor preparation consumed nearly a full day. Acclimation time adds 48 hours before actual installation begins. Complex layouts with many cuts extend the timeline. Planning for longer than estimated prevents rushing and potential mistakes. Most DIY installations require 2-4 days depending on room size and complexity.
Can I install cork flooring over existing floors?
I successfully installed cork over my existing vinyl flooring after ensuring it was firmly adhered and level. The surface must be completely flat, clean, and structurally sound. Carpet and loose materials require removal. Some installations over ceramic tile work if grout lines are filled and leveled. Height transitions become important considerations when installing over existing floors. Always check manufacturer recommendations, as warranty requirements vary. Professional assessment helps determine feasibility for challenging existing floor conditions.
What are the biggest mistakes to avoid during installation?
Skipping acclimation time was my first near-mistake that could have caused major problems later. Not maintaining consistent expansion gaps around perimeters often leads to buckling. Rushing the subfloor preparation phase creates long-term issues with uneven surfaces. Forgetting to stagger joints properly compromises structural integrity and visual appeal. Using incorrect adhesives or installation methods voids warranties. Taking shortcuts on moisture barriers over concrete causes future problems. Patience and following manufacturer guidelines prevent most common installation errors.
How do I handle moisture concerns with cork flooring?
I installed moisture barriers over concrete subfloors and tested moisture levels before beginning installation. Cork naturally resists moisture better than many materials, but excessive water can cause damage. Proper ventilation and humidity control maintain stability. I clean spills immediately and avoid soaking the floor during maintenance. Bathrooms and basements require extra moisture protection measures. Engineered cork products offer enhanced moisture resistance compared to solid cork. Understanding your environment helps determine appropriate moisture protection strategies.
Is cork flooring installation suitable for beginners?
My first cork installation taught me that beginners can achieve excellent results with patience and proper preparation. Click-lock systems are more forgiving than glue-down installations for DIY projects. Starting with smaller, simpler rooms builds confidence and skills. Watching installation videos and reading manufacturer instructions thoroughly helps prevent mistakes. Having helper assistance makes the process easier and more enjoyable. While challenging, the project is manageable for most homeowners willing to invest time in learning proper techniques and following detailed guidelines carefully.

How to Install Natural Cork Flooring how-tos DIY
Our 5 Favorite Flooring Trends that are Blowing up on the Design Scene

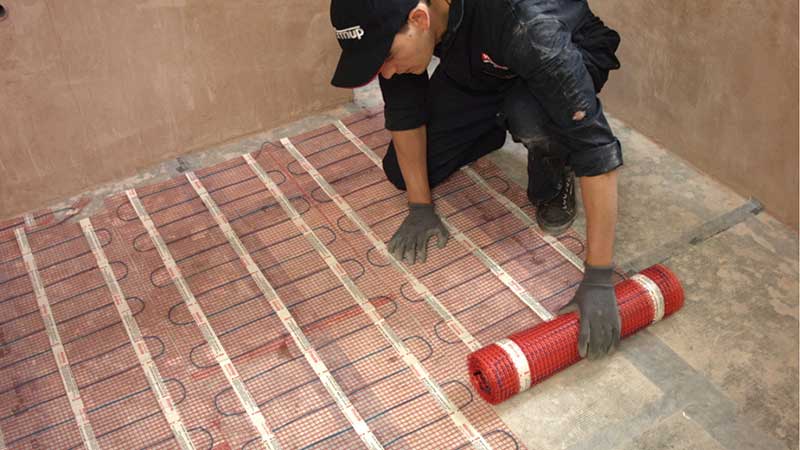
Underfloor Heating for Tiles Under Tile Heating Warmup
Related Posts: