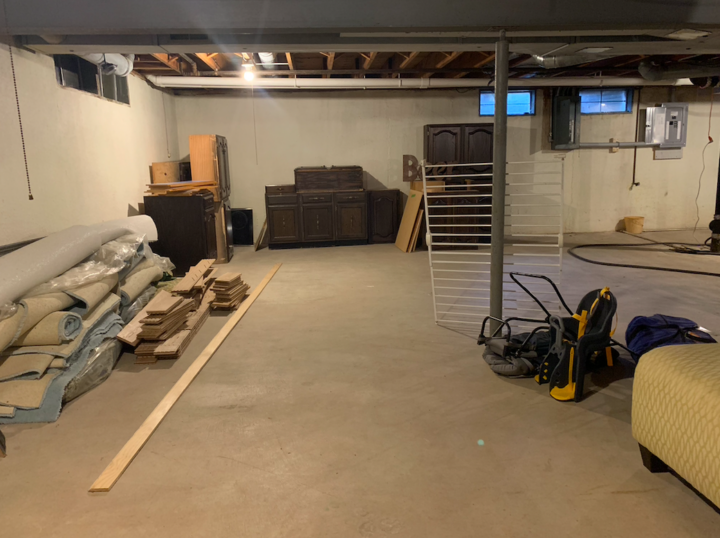
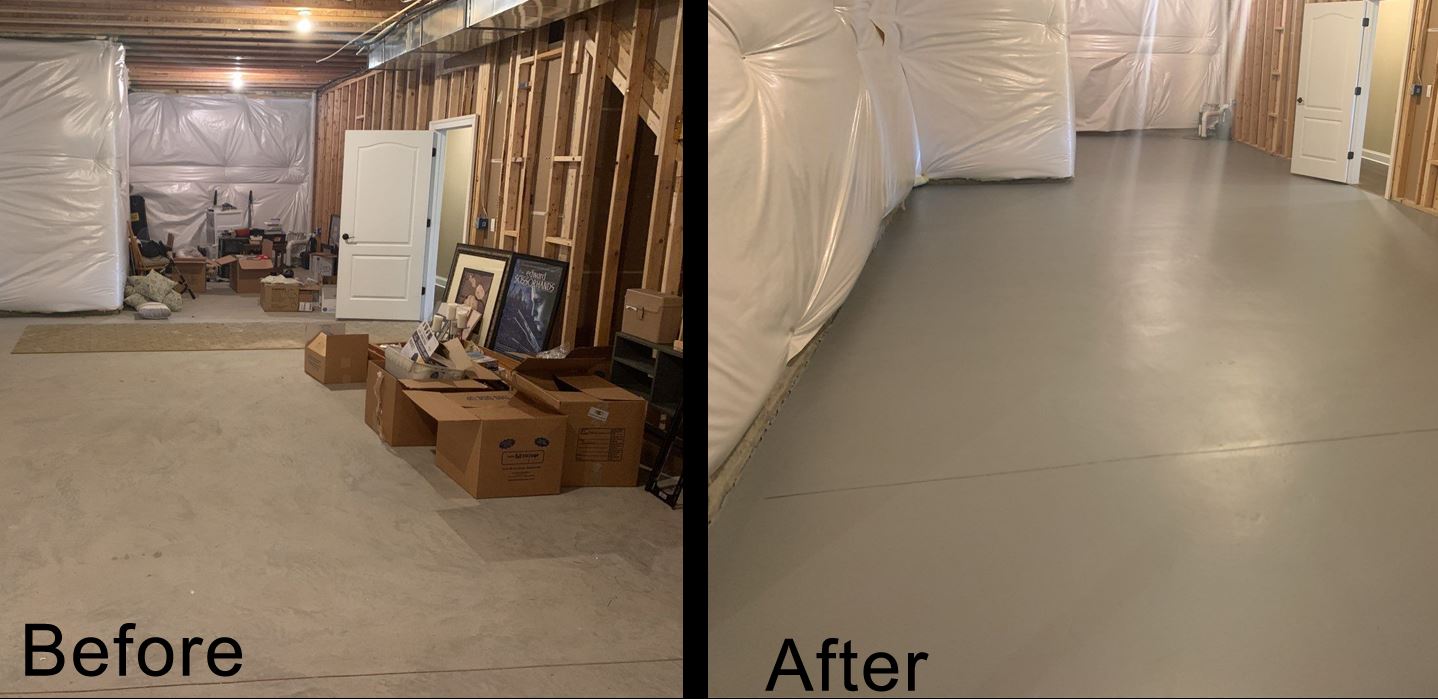
I remember staring at my basement floor three years ago, disgusted by the stained concrete that made the entire space feel unwelcoming. The previous homeowner had neglected it, leaving behind oil stains, water marks, and patches where old adhesive had been scraped away. That moment sparked my journey into basement floor painting, a project that completely transformed not just the appearance of my basement, but how I felt about using the space for storage and occasional gatherings with friends.
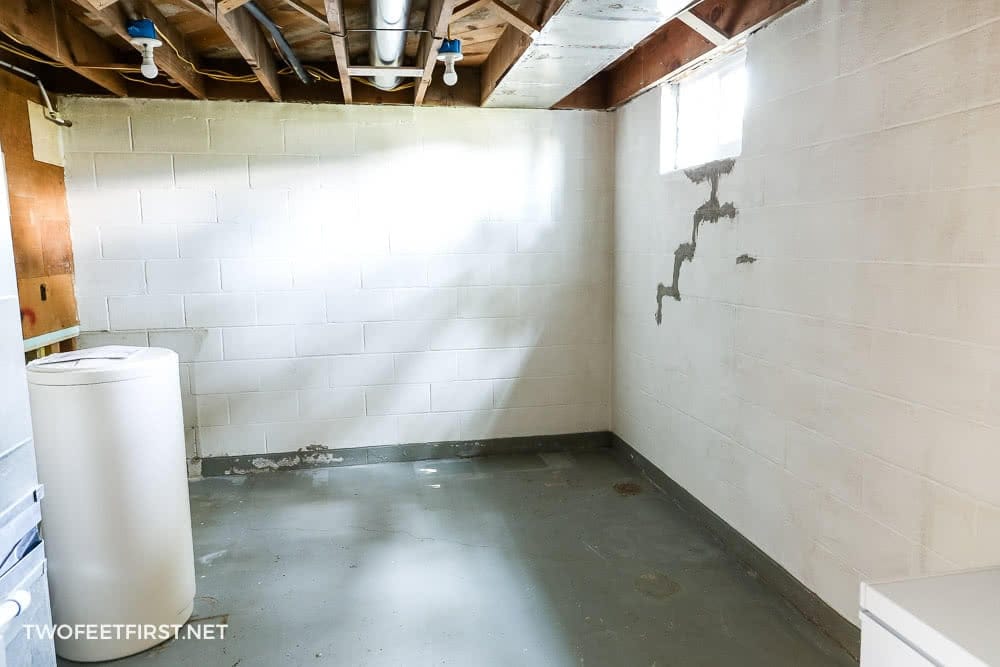
The first step I learned was assessing the current condition of my basement floor. I spent an entire weekend examining every square inch, looking for cracks, moisture issues, and structural problems that needed addressing before any paint could be applied. Moisture was my biggest concern, as basements naturally tend to be damp environments. I used a simple plastic sheet test, taping squares of plastic to various spots and checking for condensation after 24 hours to identify problem areas.
Choosing the right type of paint became my next major decision point. After extensive research and conversations with hardware store professionals, I discovered that epoxy paint offers superior durability and moisture resistance compared to regular floor paint. Epoxy creates a hard, glossy surface that can withstand foot traffic, moisture, and cleaning chemicals. I selected a two-part epoxy system that required mixing components together, though single-part epoxy options are available for less demanding applications.
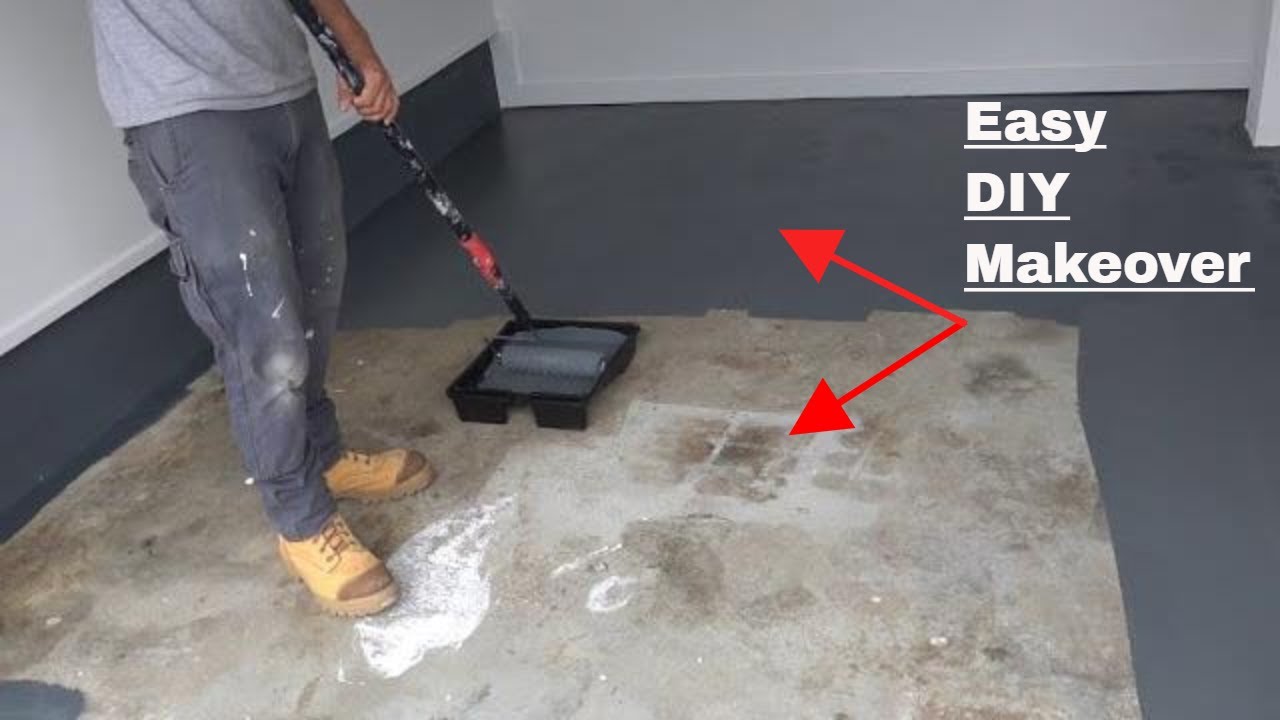
Preparation work consumed far more time than I initially anticipated, but I quickly understood why it was so critical. I rented a concrete grinder to remove old paint, stains, and create the proper surface texture for paint adhesion. The grinding process was messy and loud, requiring proper ventilation and protective equipment including dust masks, safety glasses, and ear protection. I also filled several small cracks with concrete filler and allowed them to cure completely before proceeding.

Cleaning the floor thoroughly proved to be another essential yet time-consuming step. I used a degreasing solution to remove oil stains, followed by muriatic acid to etch the concrete surface and ensure proper paint adhesion. The acid etching process required extreme caution, proper ventilation, and protective gear. After the acid treatment, I neutralized the surface with a baking soda solution and allowed the floor to dry completely for several days before applying any paint.
Temperature and humidity control became crucial factors I hadn’t initially considered. Basement environments can fluctuate dramatically, and paint application requires specific conditions for optimal results. I installed a dehumidifier and space heater to maintain consistent temperature and humidity levels during the painting process. The ideal conditions were 65-75 degrees Fahrenheit with humidity below 50 percent, which took several days to achieve in my naturally damp basement environment.
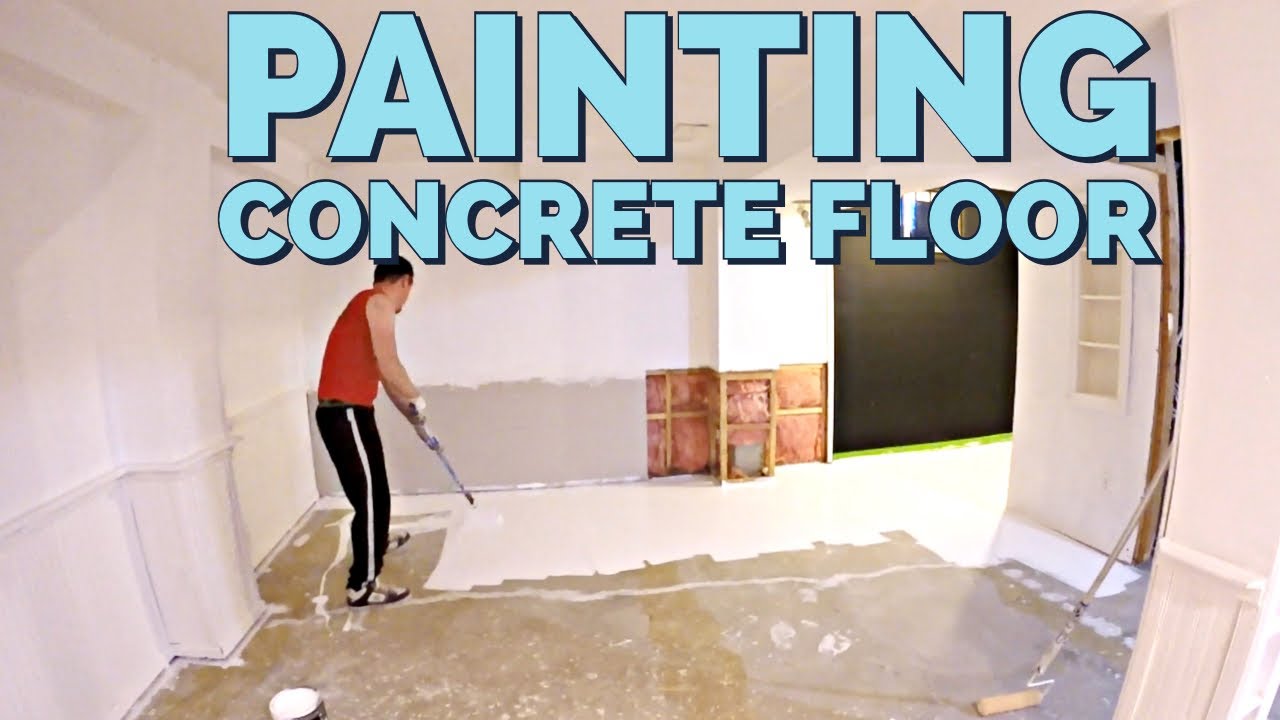
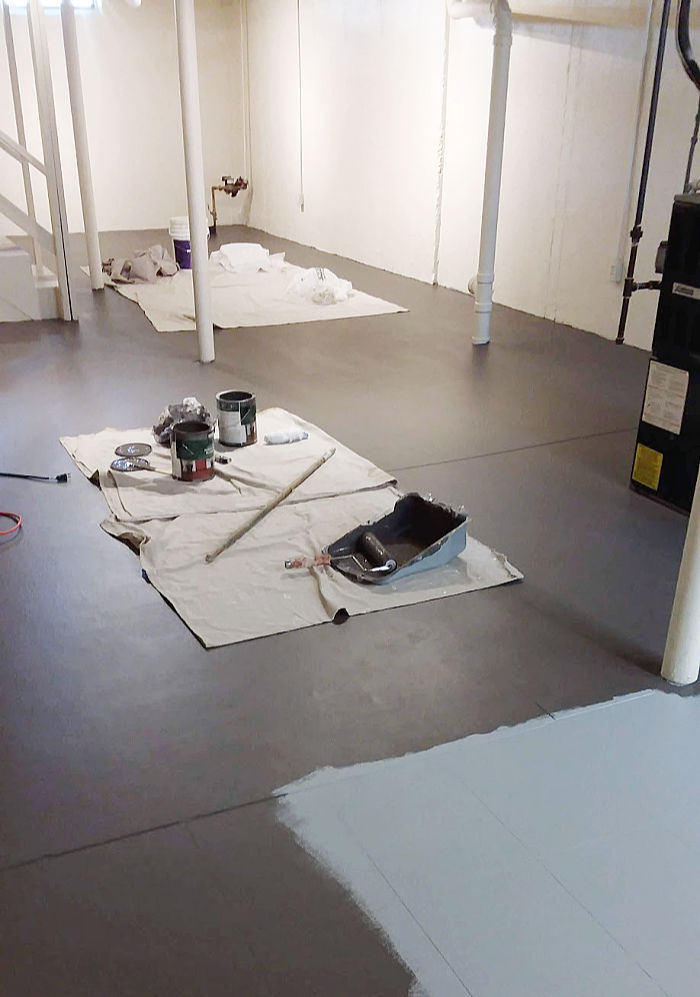
Applying the primer coat required patience and attention to detail that tested my resolve. I used a high-quality brush to cut in around the edges and a roller with an extension handle for the main floor area. Working in small sections, I maintained a wet edge to avoid lap marks and ensured even coverage throughout. The primer needed to cure for the recommended time before I could apply the topcoat, which meant waiting another full day despite my eagerness to see the finished results.
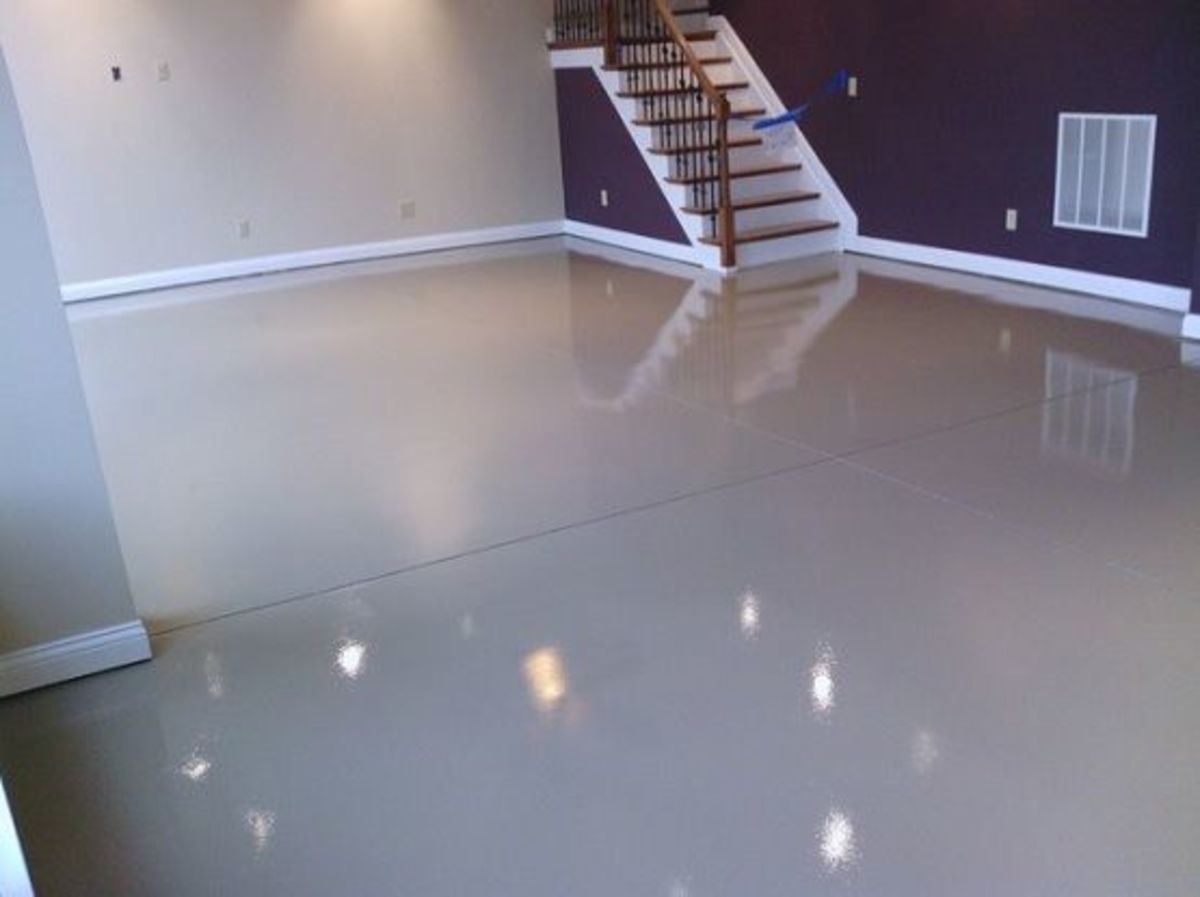
The topcoat application was where I finally saw my vision coming to life. I mixed the two-part epoxy according to the manufacturer’s instructions, being careful to achieve a uniform consistency. The working time was limited once mixed, so I had to work efficiently but carefully. I applied thin, even coats using the same brush and roller technique, maintaining consistent pressure and overlap patterns. The transformation was immediately apparent as the dull, stained concrete disappeared under the glossy new surface.
Curing time required more patience than I expected, as the floor needed to remain untouched for several days. I resisted the temptation to walk on it or place items back in the basement too early, understanding that premature use could damage the finish. During this waiting period, I maintained proper ventilation and temperature control to ensure optimal curing conditions. The chemical smell gradually dissipated, and the surface hardened to create the durable finish I had been working toward.
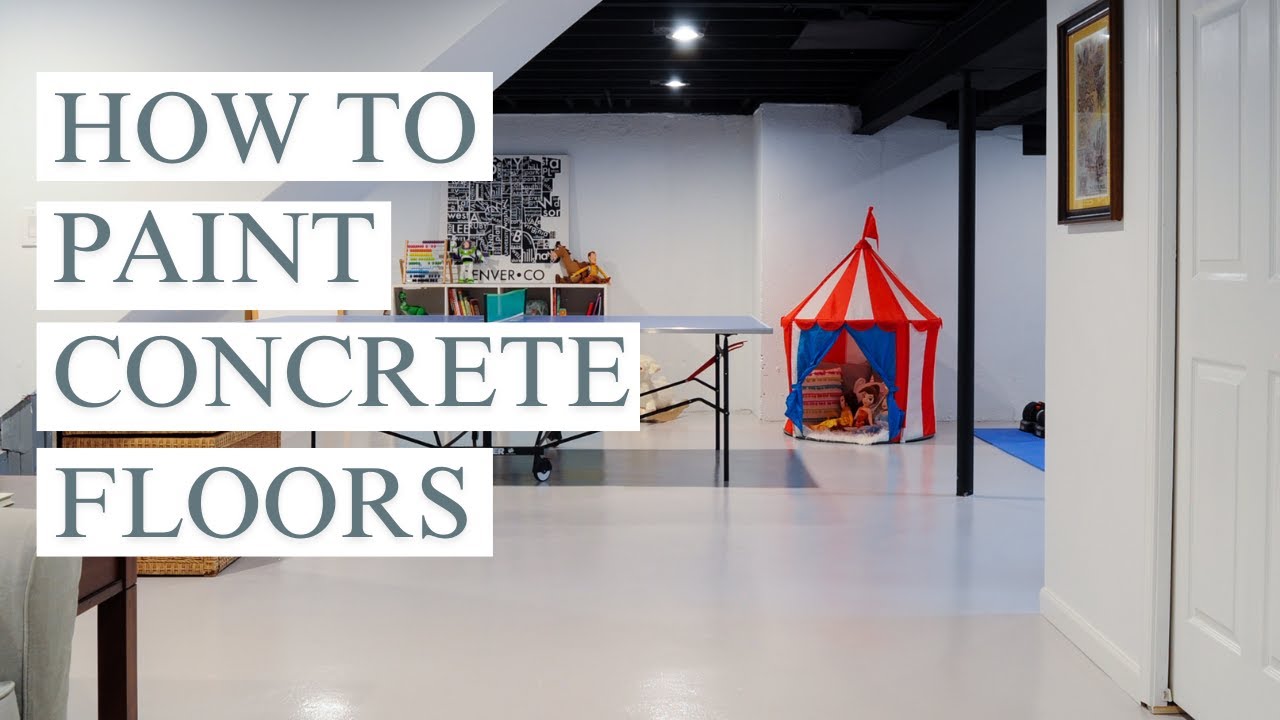
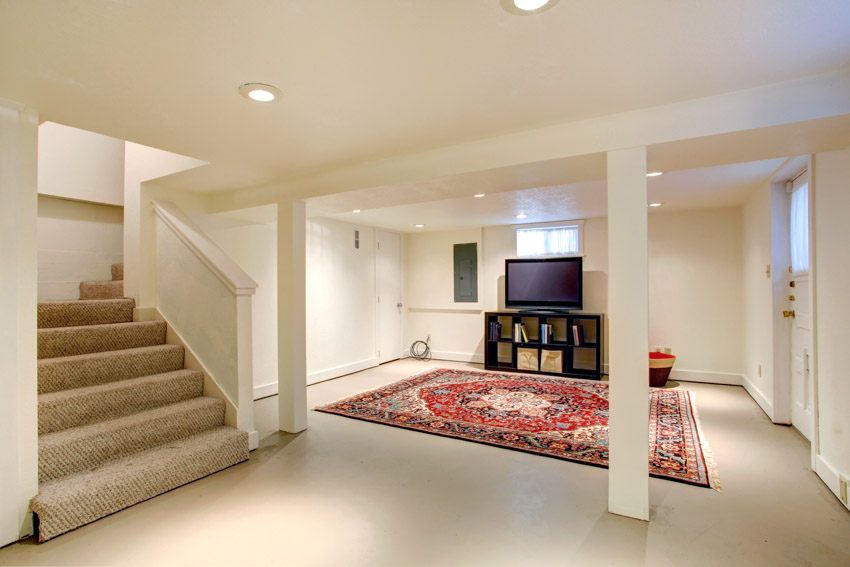
The final results exceeded my expectations and completely transformed how I viewed and used my basement space. The glossy, uniform surface made the area feel cleaner, brighter, and more finished. Maintenance became significantly easier, as spills and dirt could be easily mopped away without staining the concrete. Three years later, the floor still looks excellent with only minor touch-ups needed in high-traffic areas, proving that the time and effort invested in proper preparation and application were worthwhile.
How long does basement floor paint typically last before needing to be redone?
From my experience and research, a properly applied epoxy floor coating should last 7-10 years in residential basement applications. The longevity depends heavily on preparation quality, traffic levels, and maintenance practices. High-traffic areas may show wear sooner, but touch-ups can extend the overall lifespan. Regular cleaning and avoiding harsh chemicals will maximize durability. I’ve found that investing in quality materials and thorough preparation significantly extends the coating’s life compared to rushed jobs using cheaper products.
What’s the biggest mistake people make when painting basement floors?
The most common error I’ve observed and experienced myself is inadequate surface preparation. Many people skip the grinding, cleaning, or etching steps to save time, but this invariably leads to poor adhesion and premature failure. Moisture issues are another major pitfall, painting over damp concrete traps moisture and causes the coating to bubble or peel. Rushing the curing process between coats also compromises the final result. Taking time for proper preparation and following manufacturer’s timing recommendations is essential for success.
Can I paint over existing basement floor paint or do I need to remove it completely?
You’ll need to assess the existing paint’s condition before deciding. If it’s well-adhered and compatible with your new coating, you might be able to paint over it after proper cleaning and light sanding. However, I’ve found that complete removal usually provides better results, especially if the existing paint is peeling, incompatible, or unknown type. Oil-based paints particularly don’t play well with water-based coatings. When in doubt, I recommend removing the old coating completely to ensure proper adhesion and longevity.
What tools and equipment do I absolutely need for this project?
Essential equipment includes a concrete grinder or floor buffer, shop vacuum, dehumidifier, brushes, rollers with extension handles, mixing buckets, and safety gear including respirator, safety glasses, and gloves. You’ll also need cleaning supplies like degreaser and potentially muriatic acid for etching. Renting professional equipment like grinders is usually more cost-effective than purchasing. Don’t skimp on safety equipment, especially when working with acids and solvents in enclosed spaces. Proper ventilation equipment is crucial for both safety and coating performance.
How do I handle moisture issues before painting my basement floor?
Moisture management is critical for success. I always start with plastic sheet testing to identify problem areas, then address the source, whether it’s poor drainage, foundation issues, or high humidity. Installing a dehumidifier and improving ventilation helps control ambient moisture. For persistent moisture problems, I recommend consulting a foundation specialist before painting. Moisture-blocking primers can help with minor issues, but major moisture problems will cause any coating to fail. Never paint over visibly damp concrete or during humid weather conditions.
What’s the total cost range I should expect for a DIY basement floor painting project?
Costs vary significantly based on basement size, current condition, and material choices. For a typical 500 square foot basement, expect $300-800 in materials, including primer, paint, cleaning supplies, and tool rentals. Epoxy coatings cost more upfront but provide better durability than standard floor paint. Additional costs might include moisture remediation, crack repair, or professional consultation. While hiring professionals costs $3-8 per square foot, the DIY approach saves labor costs but requires a significant time investment and learning curve for best results.
Painting A Basement Floor Pros And Cons – Designing Idea
Practical Tiips for a Painted Vinyl Basement Floor
Why And How We Painted Our Basement Floor – The Blue Door u0026 More

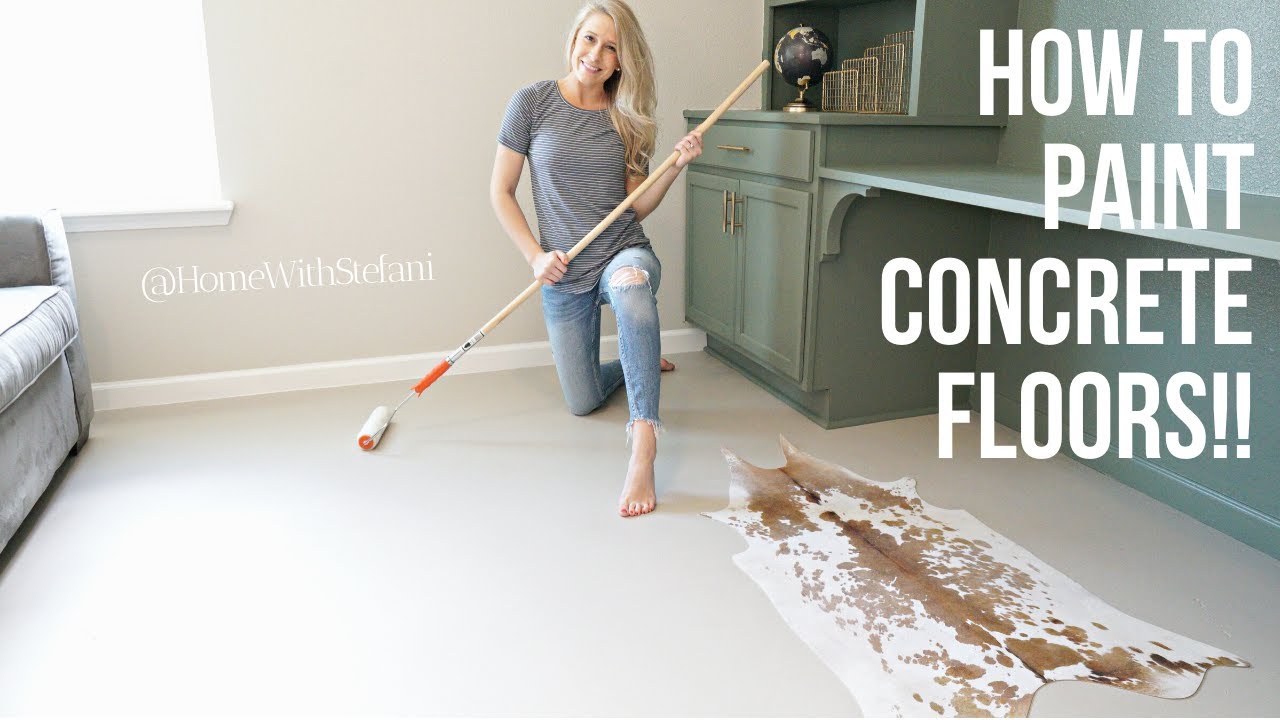
How To Paint Concrete Floors

How to Paint Concrete Floors
Basement Floor Paint Options
Related Posts: