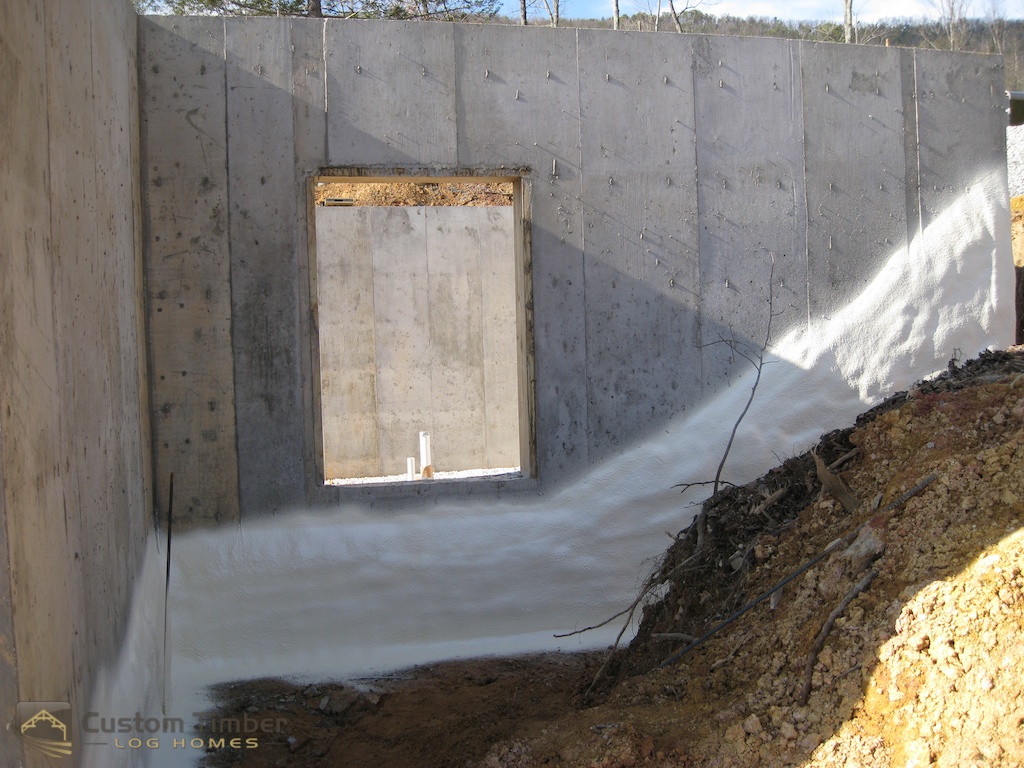
I inherited a basement with a concrete floor that had seen better days, probably sometime during the Eisenhower administration. The surface was pitted, stained, and covered with decades of mysterious residue that defied identification. Paint peeled in patches, revealing the original gray concrete underneath like a sad archaeological dig. My family avoided the basement entirely, using it only for storage we hoped never to retrieve. Something had to be done, but I wasn’t sure where to start with such an intimidating project that seemed to grow more complex with each inspection.
Assessing the damage required careful examination of every square inch to understand what I was truly facing in this restoration challenge. I found oil stains from long forgotten machinery, water damage from past flooding, and efflorescence that painted white streaks across large sections. Some areas had worn completely smooth from foot traffic, while others remained rough and uneven from the original pour. Cracks spider webbed through several sections, some hairline and others wide enough to lose coins. This inventory helped me prioritize repairs and estimate the scope of work needed for a complete transformation.

Researching restoration options revealed surprising possibilities for breathing new life into old concrete that most people would consider beyond salvation. Professional grinding could remove surface imperfections and old coatings, though the dust and expense seemed daunting for a DIY approach. Chemical strippers promised to remove paint and stains but required careful ventilation and disposal considerations. Overlay systems could cover existing problems with new surfaces, though they added height that might create clearance issues. I needed solutions that balanced effectiveness with my available time, budget, and skill level for this ambitious undertaking.
Starting with thorough cleaning revealed the true condition of the concrete beneath years of accumulated grime and neglect that had hidden both problems and potential. I rented a pressure washer and spent an entire weekend removing dirt, oil, and loose paint from every surface. Degreasing agents tackled stubborn stains that had penetrated deep into the porous concrete. The cleaning process was messy and exhausting, but gradually revealed sections of decent concrete that could be salvaged. This phase taught me that sometimes the foundation is better than it appears under layers of accumulated damage and neglect.

Crack repair became a critical step that would determine the longevity of any surface treatment I applied over the restored base. I cleaned out loose debris from each crack, then filled them with hydraulic cement that expands as it cures. Smaller cracks received concrete caulk that flexes with seasonal movement, while larger ones needed actual patching compound. Some areas required multiple applications as the filler settled into voids I hadn’t noticed initially. This tedious work paid dividends later when the sealed cracks didn’t telegraph through my chosen floor covering, creating a stable foundation for the next phases.
Addressing moisture issues proved essential before applying any permanent floor treatments that could trap water and create bigger problems. I tested for moisture using plastic sheets taped to various areas, checking for condensation after 24 hours. Several spots showed significant moisture that would have caused adhesion problems with most floor coverings. I applied penetrating sealers to reduce moisture transmission and installed a dehumidifier to control ambient humidity levels. Solving moisture problems first prevents costly failures later when floor treatments fail due to water vapor transmission through the concrete slab from below.
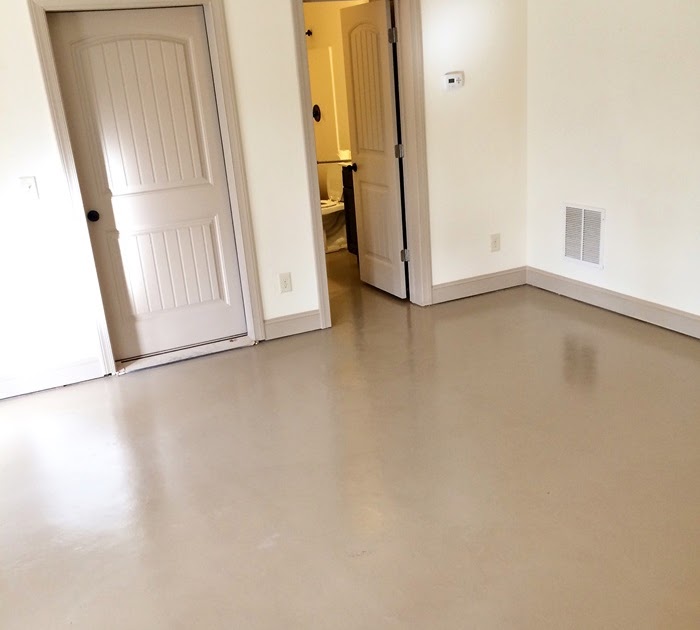
Choosing the right floor treatment required balancing my budget constraints with durability expectations for a high traffic basement environment. Paint offered the least expensive option but wouldn’t hide surface imperfections or provide long term durability I needed. Epoxy systems cost more but promised better performance and appearance that would justify the investment. Staining appealed to me aesthetically but wouldn’t work over the existing paint residue. I ultimately selected a two part epoxy system that could handle the moisture and wear while providing the clean appearance I wanted for the renovated space.
Application day tested every preparation step I had completed over the previous weeks, as epoxy forgives no shortcuts or oversights. I mixed components carefully according to instructions, working in manageable sections to avoid waste from exceeded pot life. The roller technique took practice to achieve even coverage without creating bubbles or streaks in the finish. Back rolling eliminated most imperfections while ensuring proper thickness throughout each section. Temperature and humidity had to be monitored constantly, as conditions outside the recommended range would compromise curing and final properties of the coating system I had invested in.
Adding decorative elements transformed the functional floor into something genuinely attractive that made the basement feel like living space rather than utility area. I broadcast colored flakes while the base coat remained tacky, creating visual interest that also helped hide minor imperfections in the concrete surface. A clear topcoat sealed everything permanently while adding gloss that brightened the traditionally dark basement environment. Simple details like clean edges and consistent coverage made the difference between obvious DIY work and results that looked professionally installed, proving that patience and attention to detail matter more than expensive tools.
Three years later, my basement floor continues to exceed expectations despite heavy use from workshop activities and storage needs that would challenge any flooring system. The epoxy has held up remarkably well, showing only minor wear in high traffic areas that could easily be touched up if needed. Family members now actually enjoy spending time in the basement, using it for exercise, hobbies, and entertainment rather than avoiding it entirely. The transformation cost less than $800 in materials but added significant value to our home while creating usable space we had essentially written off as hopeless before starting this challenging but rewarding project.

How can I tell if my old concrete basement floor is worth restoring or should be replaced entirely?
Surface damage like stains, minor cracks, and worn areas can usually be repaired successfully with proper techniques and materials. Structural problems like major settling, extensive cracking, or significant height variations may require professional evaluation. I found that most cosmetic issues could be addressed with cleaning, crack filling, and appropriate floor treatments. If the concrete is sound structurally, restoration almost always costs less than replacement. However, severe moisture problems or foundation issues might make replacement more practical long term.
What’s the most effective way to remove old paint and stains from concrete basement floors?
Chemical strippers work well for paint removal but require careful ventilation and disposal of hazardous waste materials generated. I had good success with pressure washing combined with degreasing agents for most stains and loose paint. Mechanical grinding removes everything but creates significant dust that requires proper containment and respiratory protection. For stubborn stains, I used concrete etching products that open the surface pores and lighten discoloration. The key is matching the removal method to the specific type of contamination while considering safety and disposal requirements.

How do I address moisture problems in my basement before applying floor treatments that could trap water?
Test for moisture by taping plastic sheets to the floor and checking for condensation after 24 hours of coverage. Significant moisture requires addressing the source, whether from poor drainage, foundation leaks, or high humidity levels. I applied penetrating concrete sealers to reduce vapor transmission and installed proper ventilation to control ambient moisture. Some floor treatments handle moisture better than others, so choose systems rated for your specific conditions. Never ignore moisture issues, as they cause most floor treatment failures in basement applications over time.
What floor treatment options work best for old concrete basement floors with various surface imperfections?
Epoxy systems offer excellent durability and can bridge minor surface imperfections while providing chemical resistance needed in basement environments. Concrete stains work well if you can remove all existing coatings but won’t hide surface damage. Paint is inexpensive but may not last long on problematic surfaces or high traffic areas. Self leveling overlays can address significant surface irregularities but add height and cost. I chose epoxy because it balanced durability, appearance, and ability to handle the mixed conditions in my basement restoration project.
How much should I budget for restoring an old concrete basement floor myself versus hiring professionals?
DIY restoration typically costs $2 to $5 per square foot for materials, depending on chosen treatment and extent of prep work needed. Professional installation ranges from $6 to $15 per square foot for similar results, though they handle all preparation and application work. My 800 square foot basement cost about $800 in materials but required several weekends of labor. Factor in tool rental, disposal fees, and potential mistakes when budgeting. Professional work includes warranties and expertise but costs significantly more than DIY approaches when you have adequate time and patience.
What maintenance routine should I follow to keep my restored basement floor looking good for years?
Regular sweeping prevents abrasive dirt from dulling the surface finish, while prompt cleanup of spills prevents staining or chemical damage. I mop monthly with mild detergent, avoiding harsh cleaners that could damage the floor coating over time. Inspect for any developing cracks or wear spots that should be addressed before they become major problems. Reapply topcoats every few years depending on traffic and wear patterns observed. Maintain proper humidity levels to prevent concrete movement that could stress the floor treatment. These simple steps preserve your investment and keep the floor looking professionally maintained.

Related Posts: