My first brush with laminate floor water damage occurred on a Tuesday morning, when I discovered that my kitchen dishwasher had spilled overnight, resulting in a large puddle that soaked into my lovely laminate flooring. The initial panic gave way to a thorough assessment as I grasped the depth of the damage and began exploring repair possibilities right away. What began as a simple appliance problem turned into a thorough education on laminate flooring risks, moisture damage patterns, and various restoration options. This unanticipated disaster taught me important lessons regarding prevention, quick reaction protocols, and the true limitations of various restoration methods for water-damaged laminate surfaces.
Water damage assessment became my top concern, necessitating a thorough evaluation of impacted areas to identify the scope and severity before undertaking any restoration methods. I utilized a moisture meter to detect all areas where water had entered beneath the surface, and I discovered that the damage spread much beyond the initially evident damp spots. Swollen edges, bent boards, and mushy patches suggested that the particleboard core had absorbed moisture and began to degrade. Some planks showed visible buckling, while others appeared normal despite underlying moisture absorption, which would cause difficulties later if adequate intervention and drying processes were not followed.

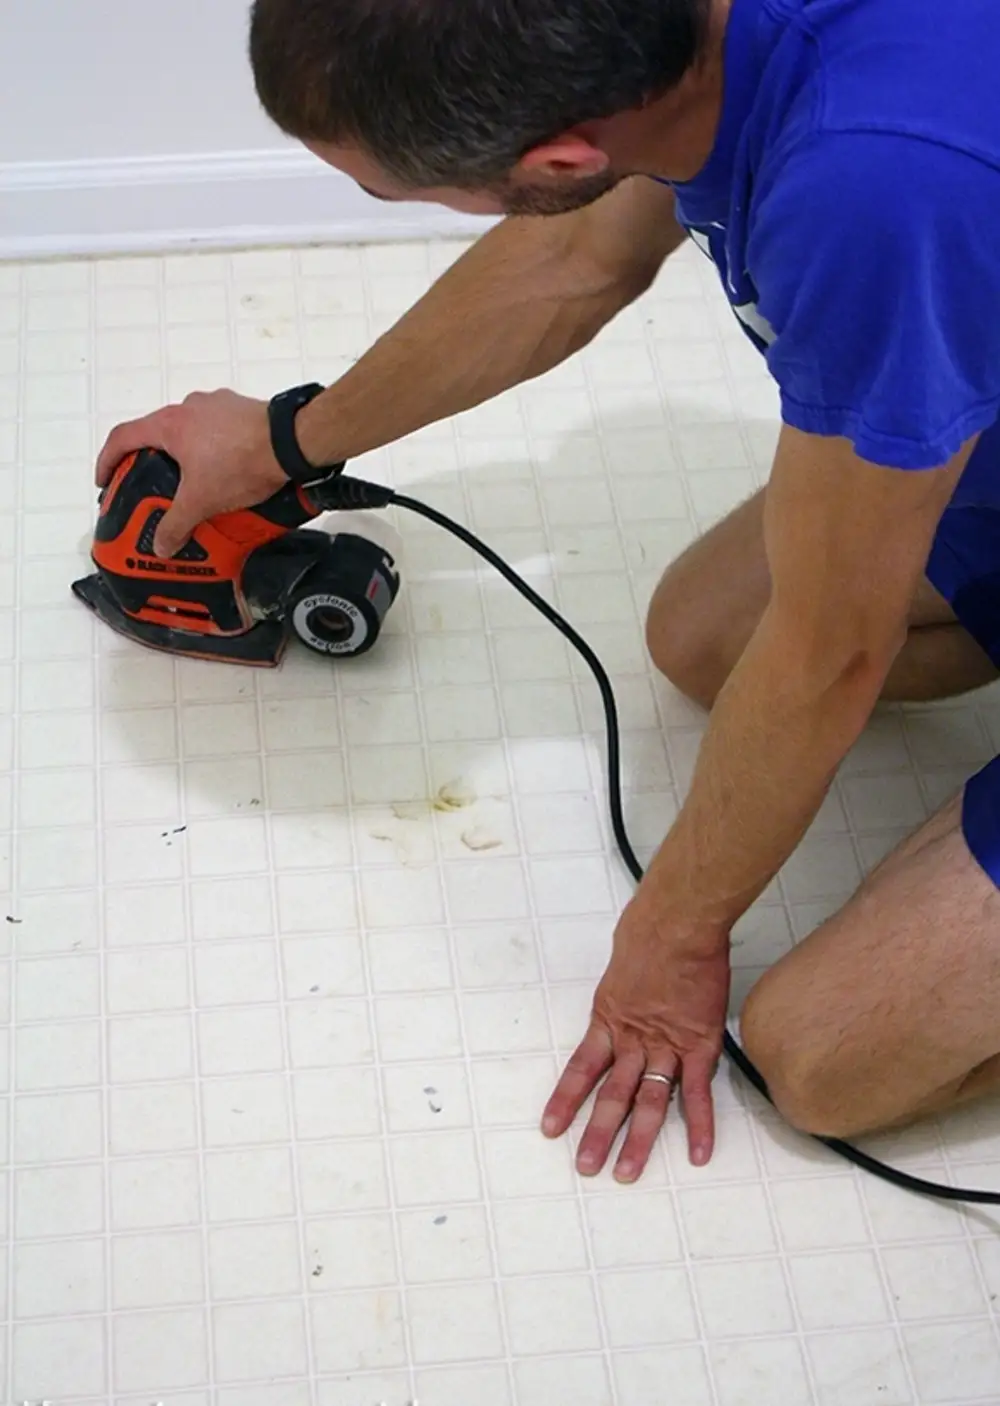
Immediate response efforts were critical in reducing long-term damage, commencing with total water extraction and rigorous drying techniques throughout the damaged kitchen area. I removed all furniture and appliances from the damp zone and used fans, dehumidifiers, and space heaters to speed up moisture evaporation from the surface and underfloor areas. Time became important, as water damage to laminate flooring is permanent within 24-48 hours of exposure. Despite my prompt response, numerous planks had already begun swelling and separating at the joints, suggesting that replacement was required for those portions regardless of drying attempts.
The level of damage assessment revealed a mixed condition that necessitated both partial replacement and extensive moisture cleanup before any repair work could commence properly. Approximately 30% of the afflicted boards exhibited serious warping or core degeneration, necessitating complete removal and replacement with matched materials. Another 40% showed moderate edema, which may be treated with suitable drying and edge trimming techniques. The remaining pieces appeared to be uninjured, but they needed to be monitored for any delayed moisture impacts. This assessment informed my repair strategy and helped me set realistic expectations for the final restoration results and expenses.

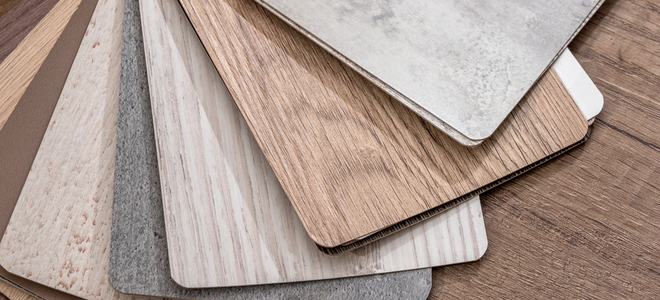
Matching replacement planks was the first major problem, as my original flooring had been laid three years ago and the precise pattern was no longer available from local merchants. When I contacted the original manufacturer, I discovered that they still produced the same collection, but the batch variances resulted in small color deviations that would be visible in excellent lighting. After much hunting, I discovered a flooring source with older inventory that roughly matched my current planks. This experience taught me the value of acquiring additional materials during the initial installation to cover future maintenance needs and potential matching issues.
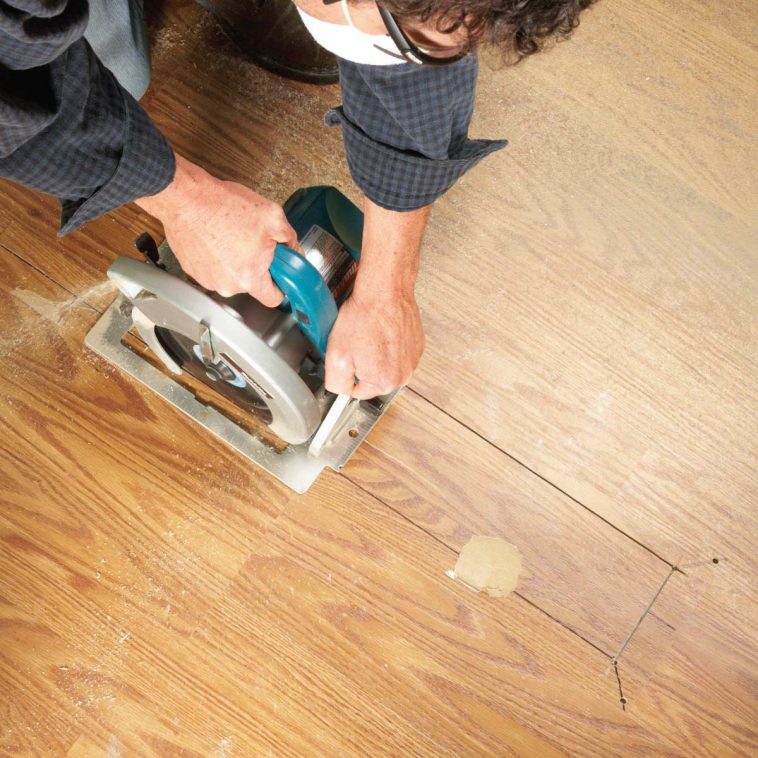
The removal method necessitated careful caution to avoid injuring adjacent intact planks while retrieving the water-damaged pieces for replacement. I used a circular saw to cut broken boards free from their locking mechanisms, then pried them up with tools that would not harm or dent neighboring flooring. The subfloor underneath needs a thorough evaluation and remediation for moisture damage, mold development, and structural deterioration. Some locations required additional drying time, while others necessitated subfloor repairs before new laminate installation could be completed safely and effectively, meeting long-term performance standards.

Installation of replacement boards required precision and care to ensure seamless integration with existing flooring while retaining adequate locking mechanisms and visual continuity. Each new plank required precise alignment and gentle tapping to activate the click-lock system without damaging the edges. Color matching was difficult in natural light, necessitating judicious placement of slightly mismatched pieces in less visible spots. I employed transition strips where color differences were most noticeable, resulting in purposeful design elements that concealed the repair work while preserving overall visual appeal throughout the kitchen.
When I found intricate repairs involving room transitions and spots where water damage had spread behind cupboards and appliances, professional consultation proved invaluable. An expert flooring contractor advised on subfloor moisture treatment, adequate ventilation requirements, and methods for creating invisible repair seams. Their experience was especially useful in tackling situations where ordinary DIY tactics would not produce professional-quality outcomes. The cost of limited professional assistance was worthwhile for assuring thorough moisture cleanup and avoiding future difficulties in difficult places.

Prevention tactics emerged as equally essential lessons from this water damage incident, motivating me to establish extensive moisture monitoring and protection measures throughout my home. I installed water leak detectors near all appliances and plumbing fixtures, upgraded to braided supply lines on washing machine and dishwasher connections, and set up regular inspection schedules. In addition, I purchased extra laminate planks from the same production batch for future repairs and stored them in climate-controlled settings. These preemptive steps provide peace of mind and prepare for probable future incidents.
After completing the repair process and living with the results for eighteen months, I can confidently state that with careful planning and execution, laminate floor water damage repairs can produce great long-term results. The mended parts are still sturdy and outwardly good, but careful scrutiny reveals subtle changes in gloss and color that remind me of the original occurrence. Most importantly, no new moisture problems have arisen, demonstrating that complete drying and correct installation practices prevented long-term concerns. This experience underlined the necessity of early response, appropriate assessment, and reasonable expectations when dealing with water damage to laminate flooring.
How quickly should I respond to water damage on laminate floors to avoid irreversible damage?
You have approximately 24-48 hours to respond properly before the water damage to your laminate floor is irrevocable and demands complete plank replacement. I discovered that immediate water extraction and rigorous drying during the first 6-12 hours gave the best possibility of saving damaged planks. When moisture penetrates the particleboard core, it swells rapidly, resulting in permanent warping and delamination that cannot be rectified by drying alone. Quick intervention with fans, dehumidifiers, and heat sources can salvage planks that look to be damaged, but delays of more than 48 hours usually demand complete replacement of problematic parts.
Can I repair water-damaged laminate floors myself, or do I require expert assistance?
Most laminate floor water damage repairs can be completed as a DIY project with the right materials, patience, and reasonable expectations regarding the end outcome. I successfully performed my repairs with basic tools found at hardware stores such as circular saws, pry bars, and moisture meters. However, major damage affecting vast areas, underfloor moisture issues, or difficult transitions may necessitate professional assistance. The trick is to be honest about your skills and the amount of the damage. Simple plank replacement is simple, but comprehensive moisture cleanup and smooth repairs in exposed locations may require professional assistance.

How can I locate matching replacement planks for older laminate flooring installations?
Finding matching replacement planks takes patience and imagination, as manufacturers periodically abandon patterns and batch variances cause color discrepancies over time. I first contacted my original maker, then looked for specialty flooring wholesalers who offer older inventory from multiple producers. Online marketplaces, flooring liquidators, and contractors that have completed similar installs may have leftover materials available. Purchasing more planks at the original installation eliminates this issue completely. When precise matches are not available, smart placement in less obvious areas and the imaginative use of transition strips can effectively mask minor color variances.
What are the symptoms that laminate planks are beyond repair and need to be replaced?
Visible warping, core swelling that precludes normal locking mechanisms, delamination (where top layers split), and soft areas indicating core degeneration are all symptoms of irreversible damage. I learned to recognize planks that were still spongy after thorough drying, edges that no longer aligned properly with adjacent boards, and surface bubbling or peeling. Any plank exhibiting these symptoms should be replaced, as trying repairs will result in poor performance and noticeable faults. Planks with moderate swelling but intact locking systems and solid cores can occasionally be saved with edge cutting and meticulous drying operations.
How can I avoid future water damage to my laminate floors after repairs are completed?
Installing water leak detectors near appliances, updating to braided supply lines on washing machines and dishwashers, and creating regular inspection routines for probable leak sources are all examples of prevention techniques. I installed moisture barriers around toilets and sinks, increased airflow in humid spots, and acquired additional matching planks for future repairs. Most water damage events can be avoided with prompt spill cleanup, adequate humidity levels, and fast attention to plumbing concerns. These preventative procedures are significantly less expensive than major repairs and provide peace of mind for maintaining your flooring investment in the long term.
What are the expected repair expenses for laminate floor water damage?
Repair costs vary greatly depending on the extent of the damage, material matching issues, and whether you employ specialists or do the work yourself. My DIY repair cost around $300 for replacement boards, tools, and drying equipment for a 100-square-foot impacted area. Professional repairs typically cost between $5 and $15 per square foot, including materials and labor, with matching difficulty and flooring issues raising expenses significantly. Extensive damage that necessitates entire room replacement might cost $3-8 per square foot for new laminate installation. The goal is to respond quickly in order to reduce the extent of the damage and the accompanying restoration costs.

Laminate Floor Water Damage Repair Guide
Can You Put Laminate in the Bathroom? 7 Tips & Tricks – Carpet Captain

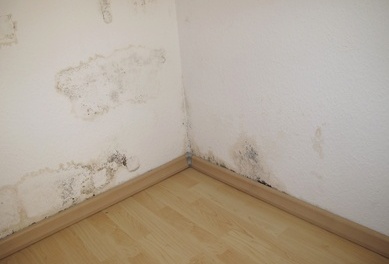
Black Mold Under Laminate Flooring – LAMINATE FLOORING
What’s the Best Way to Clean Laminate Floor After a Flood

How to Repair a Rotten Wood Floor in an RV eHow

Floor Damage & Defects Diagnosis Guide
Related Posts: