When I chose to replace my floors with laminate, I found layout design involved more than just matching up planks. I had to consider direction, beginning point, and how the pattern would flow across rooms. I discovered early on that the arrangement impacts how natural and spacious a place feels. The proper layout made my area feel longer, cleaner, and more inviting. It was the first step in creating a more coherent interior.
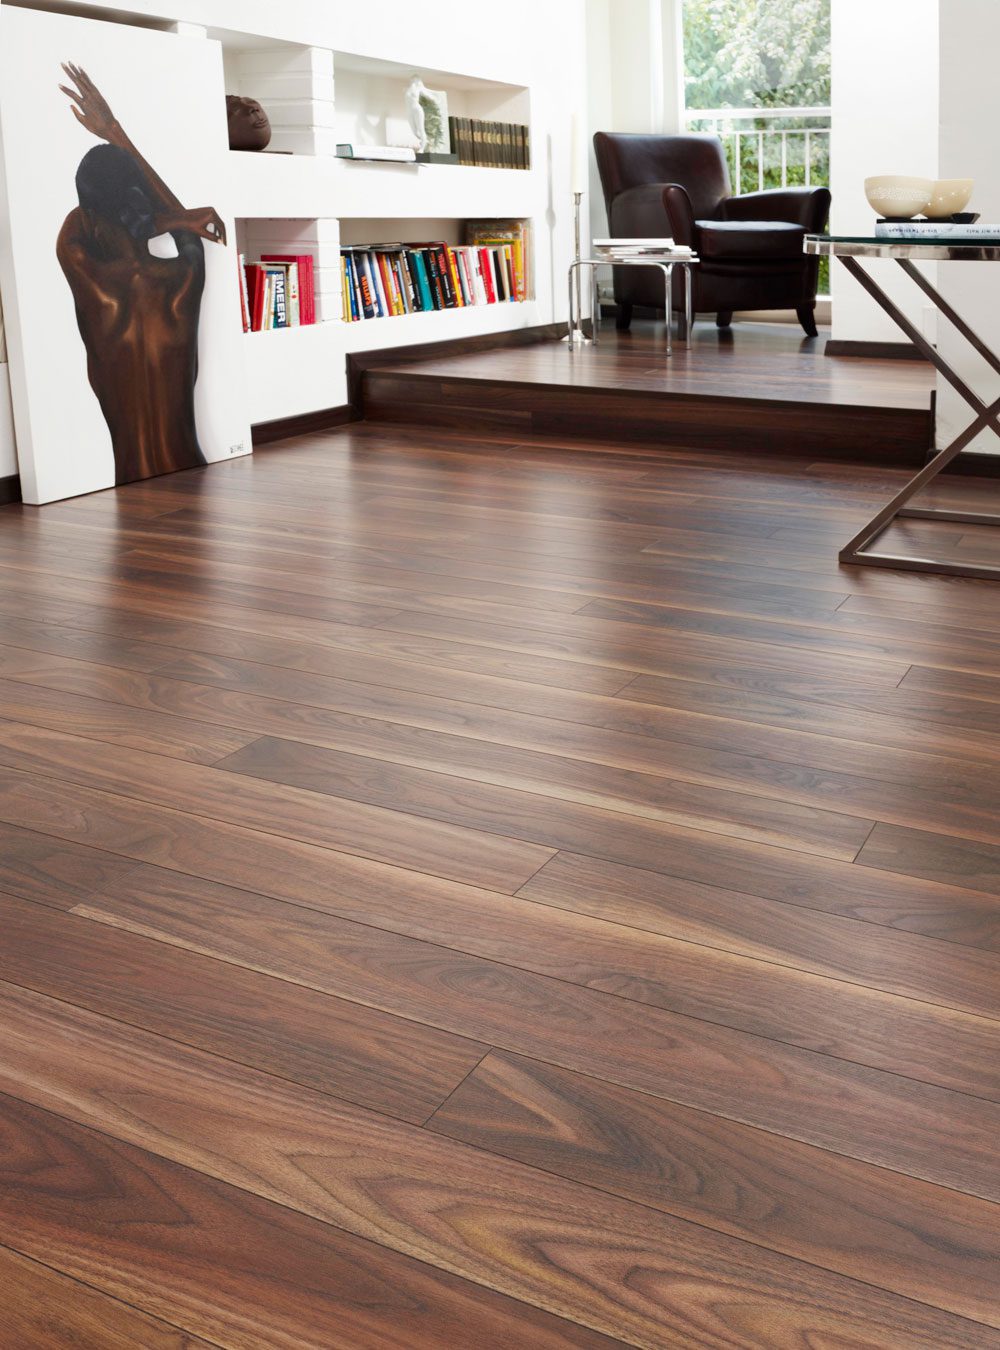
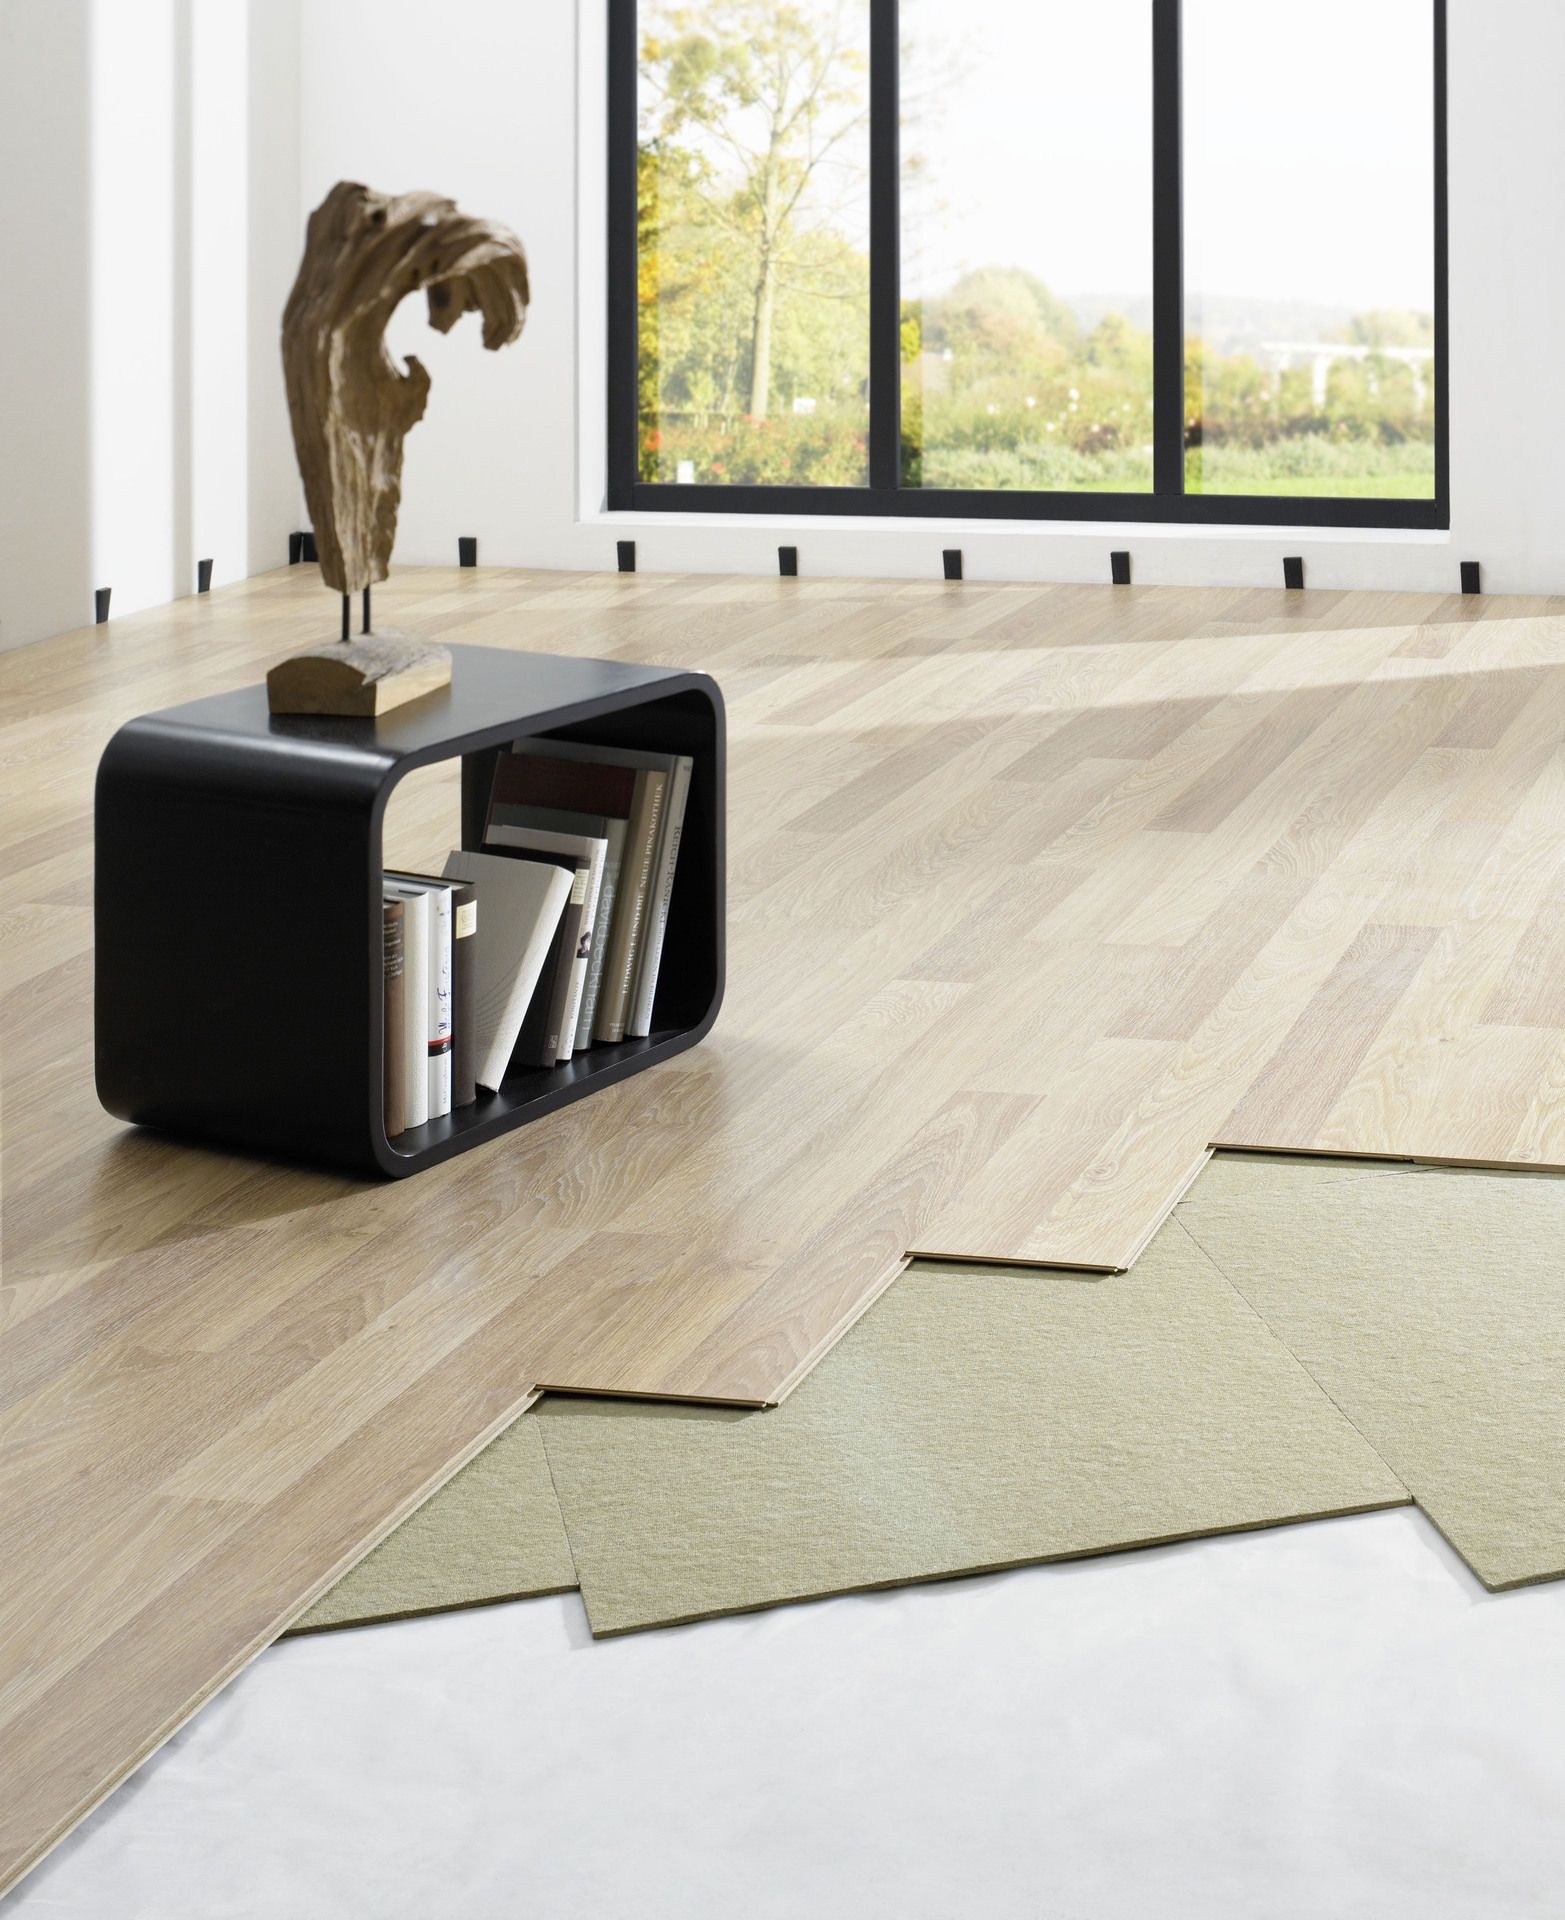
My first major decision was which way the laminate boards should face. I read that arranging them parallel to the longest wall frequently gives the impression of additional space. In my living room, this entailed running the planks longitudinally from the entryway to the windows. It immediately made the space feel larger. In the hallways, I followed the flow of traffic. It seemed reasonable, and the lines guided the eye through the house in a natural flow.
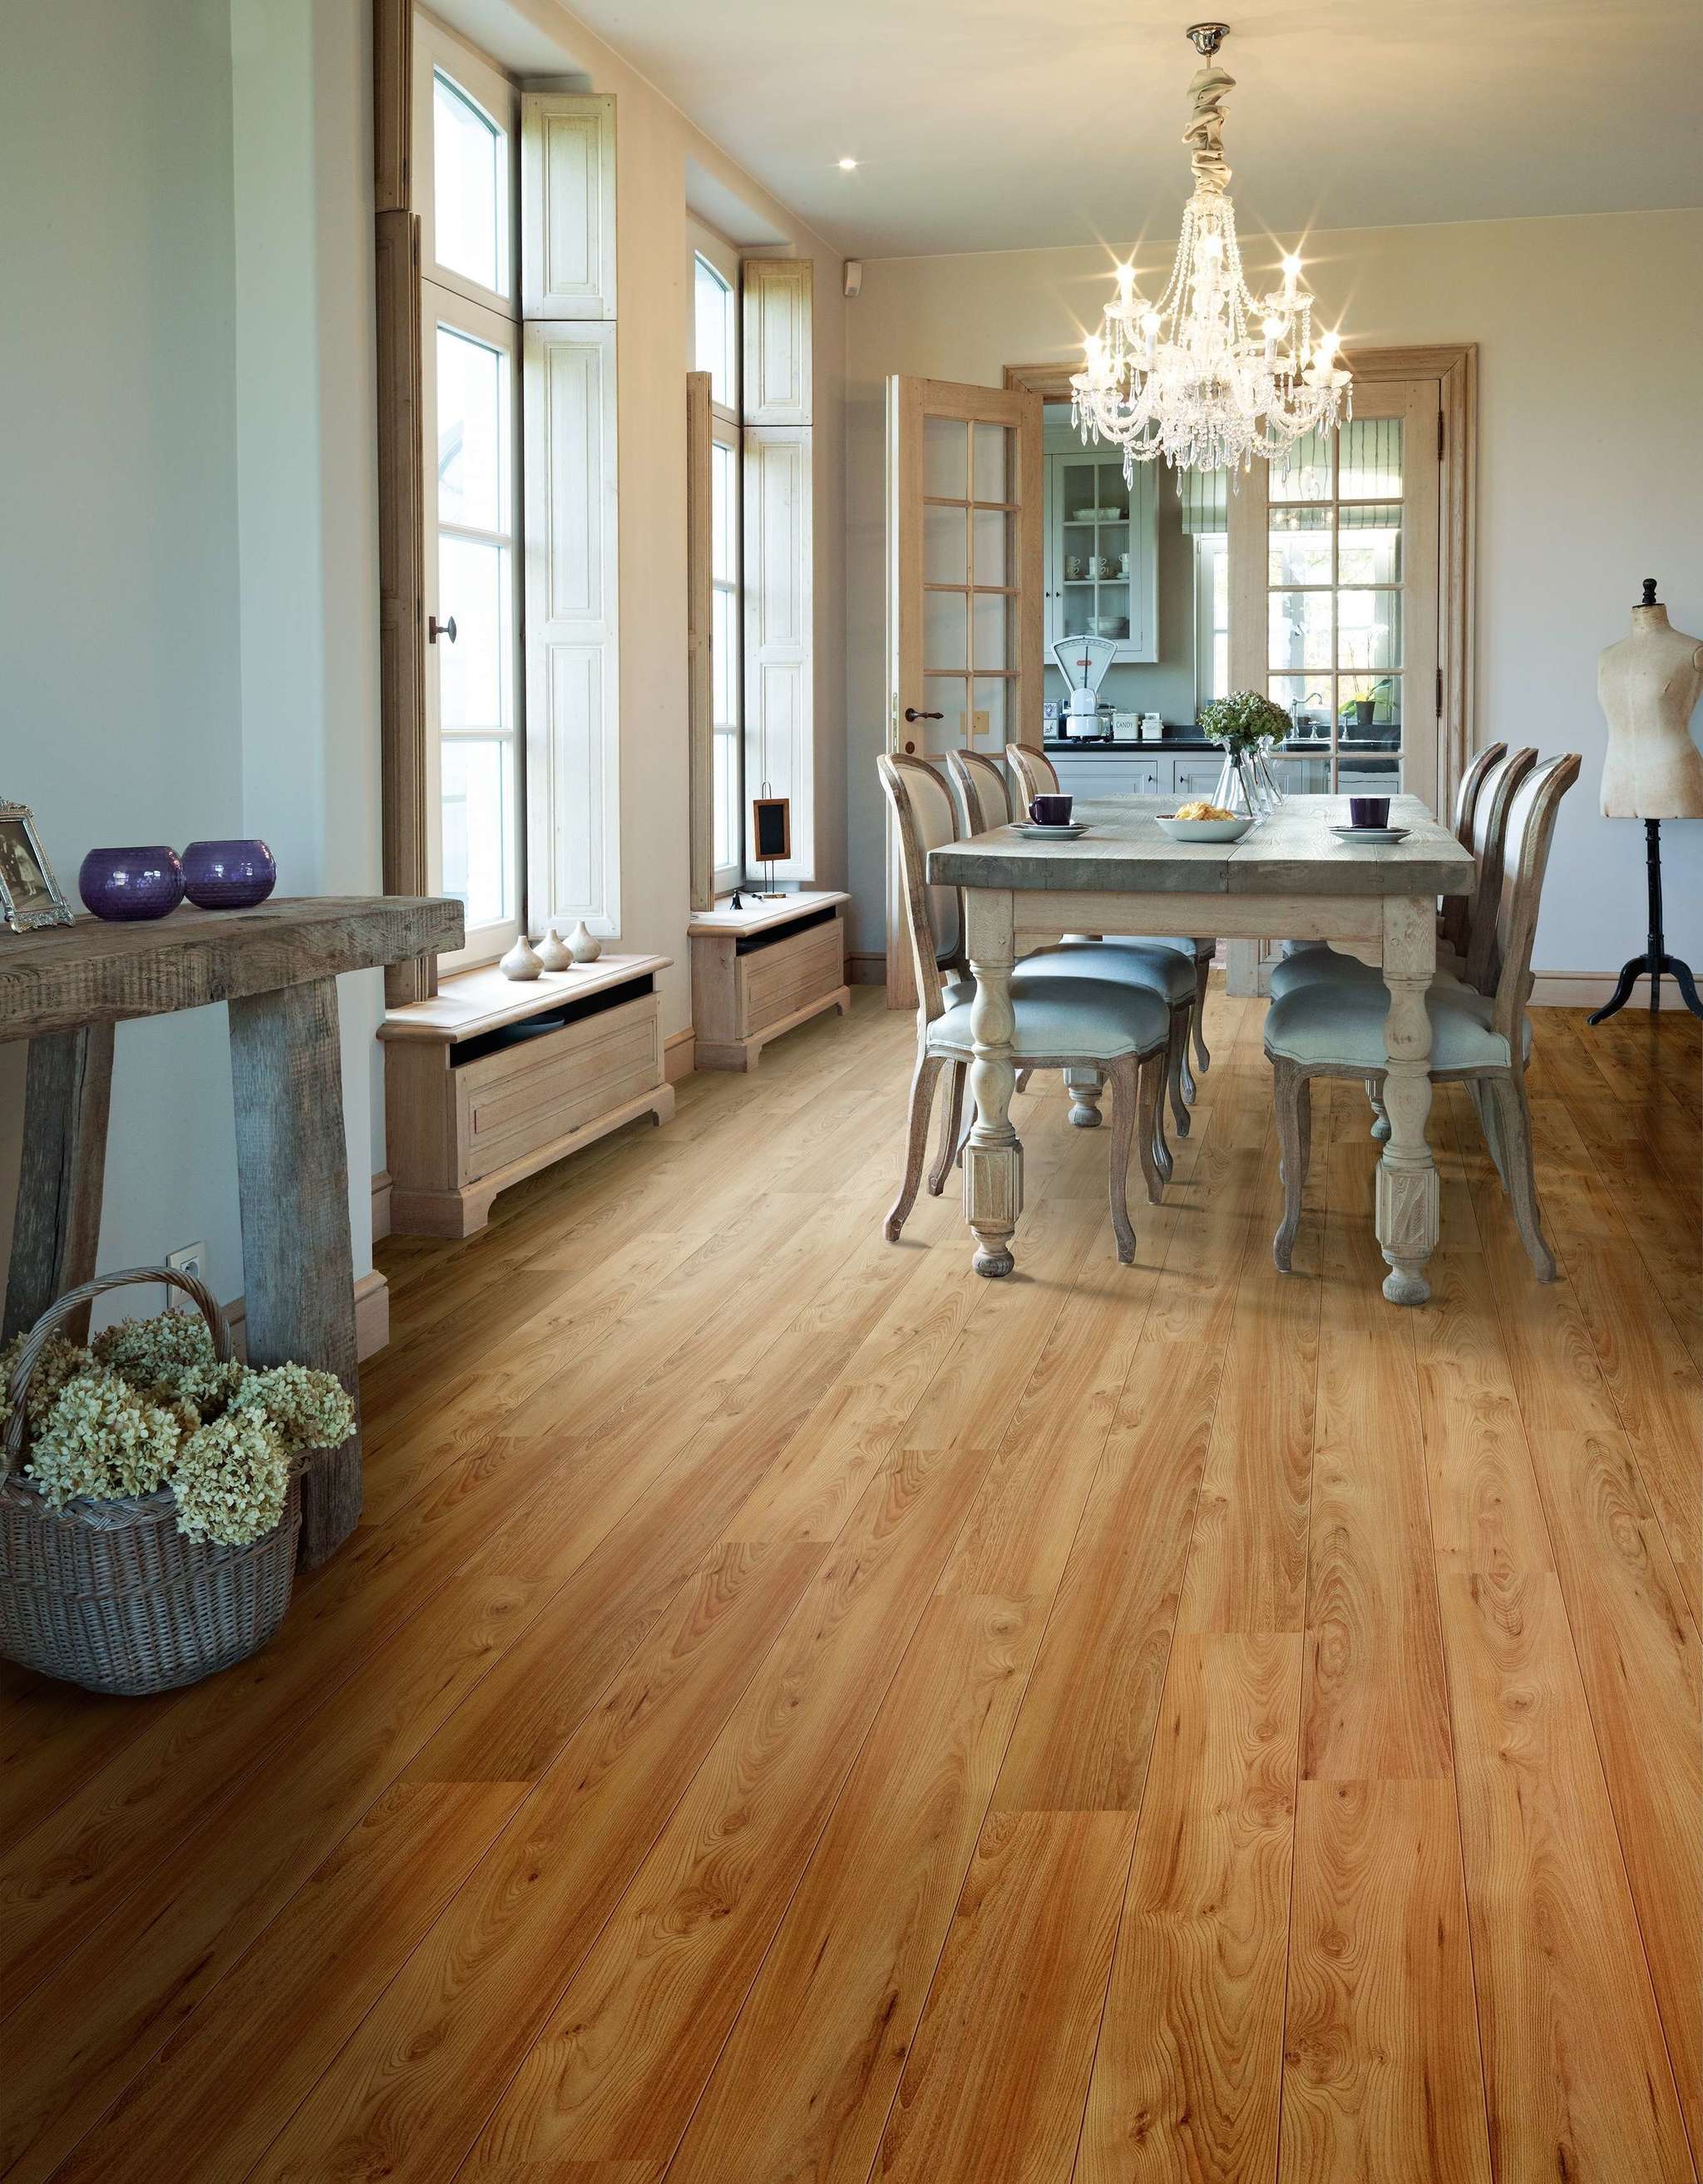
I also had to pay attention to light sources. Planks put in the direction of the sun cover seams better and give a smoother appearance. My bedroom has wide windows, so I made sure the planks faced the same direction as the sun. That manner, light falls down the boards, reducing glare and shadows. It provides a softer, more uniform appearance throughout the day. It created a significant visual change.
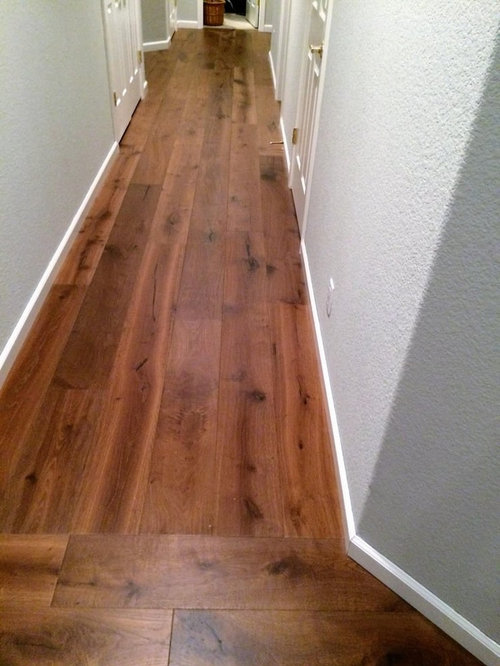
Transitioning between rooms required some planning. I didn’t want the rooms to look disjointed. So, where possible, I installed the flooring without utilizing thresholds. It took longer to line things up, but it made the area feel more continuous. Where transitions were required, I chose coordinating trims. This helps to create a seamless transition from room to room. I believe it gave my home a more considered finish.

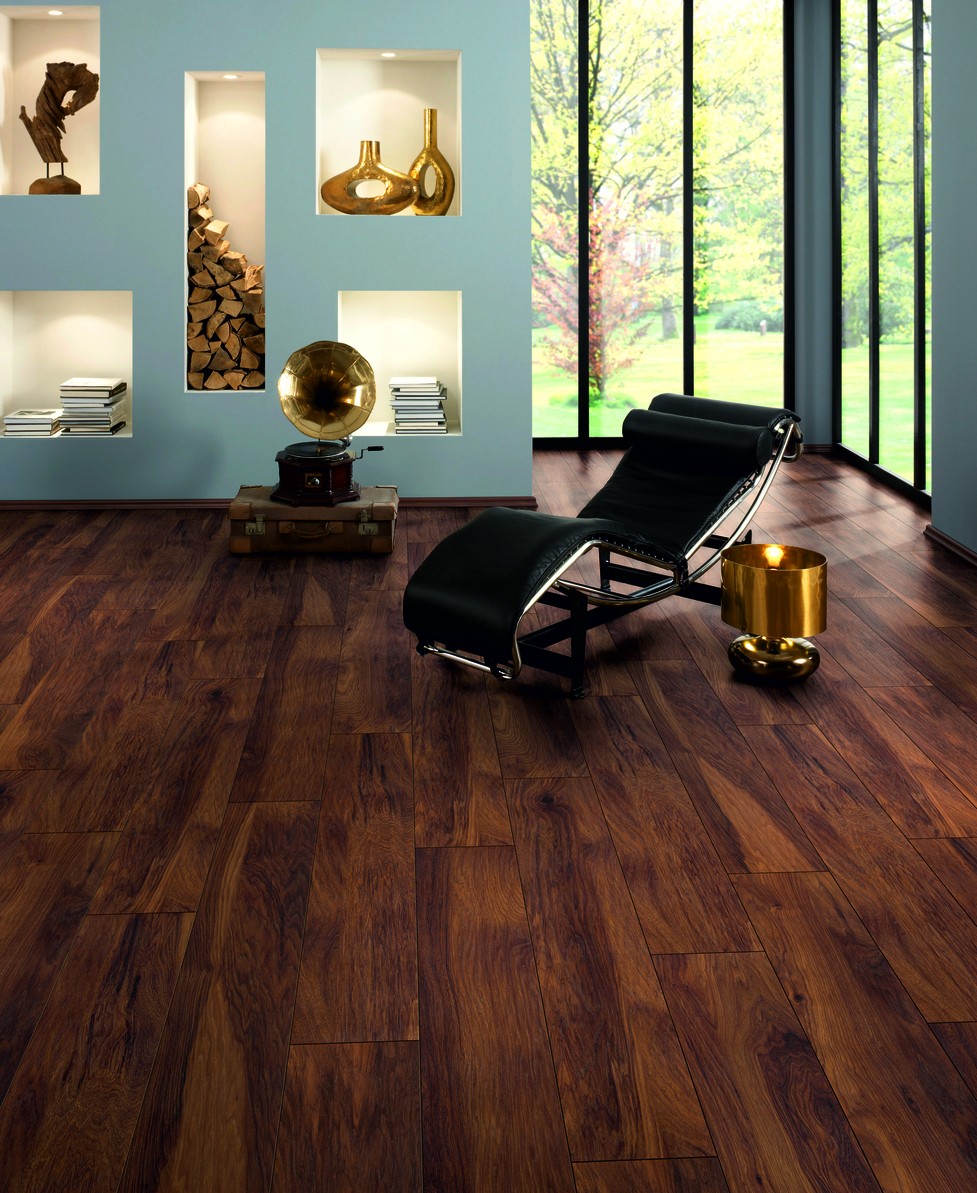
The disjointed design of the joints was another important piece of the puzzle. I did not want the seams to appear repetitious. I took a random staggered approach, leaving at least a 12-inch spacing between seams on neighboring rows. It required some trial and error, but it was worthwhile. The finished look is more reminiscent of real hardwood. I also avoided short planks at the beginning and end of a row, which might disrupt the visual rhythm of the floor.
When I began laying the first row, I realized how important this step was. I double-checked the measurements, placed spacers near the wall, and ensured that the line was precisely straight. Any mistakes here would have an impact on the entire installation. I took my time to make it correctly. After securing the base row, the remainder of the arrangement fell into place more simply. It was like establishing the tone for the entire project.
I also had to work around corners, closets, and irregularly shaped places. Prior to cutting the planks, I traced the shapes using paper templates. This helped to avoid wasted parts and ensured a tight fit. In tight spaces, such as beneath doorframes, I undercut the trim and slid the boards underneath. This resulted in a far cleaner finish than cutting boards around impediments. A little extra work yielded a far more professional result.
I did not want to disregard the importance of maintaining expansion gaps around the perimeter. Laminate expands and contracts with humidity. I left roughly a quarter-inch between the floor and the walls. I later covered these with baseboards and quarter rounds. This enabled the flooring to shift slightly without buckling or warping. Ignoring this step would have wrecked all of my hard work on the design.

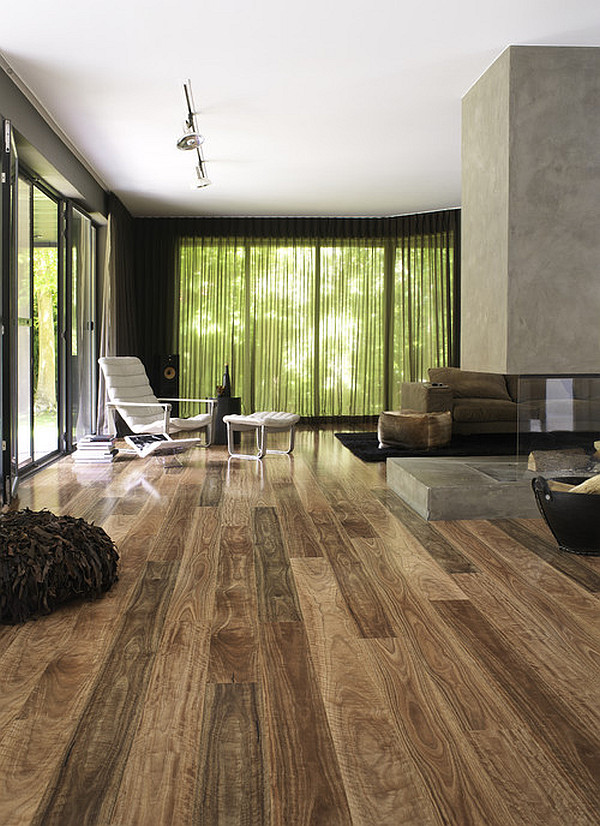
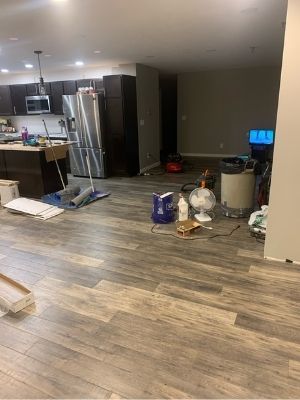
In open concept areas, I had to consider how furniture would fit on the arrangement. I wanted the design to flow without being interrupted by rugs or chairs. So I planned out the furniture location ahead of time. This allowed me to eliminate unsightly seams and transitions where couches or tables would go. It improved the layout’s general functionality and balance. It also helps with determining where to begin and end rows.
Now that the flooring is installed, I appreciate the effort I spent arranging the layout. Every move, from direction to staggering, paid off. The rooms appear more coordinated and elegant. Guests frequently comment on how neatly the planks are aligned and how natural everything looks. It’s more than just putting down boards; it’s about establishing a cohesive look throughout the house. This project was transformed into a long-term improvement thanks to careful planning.
What is the best way to put laminate flooring?
In my experience, installing laminate parallel to the longest wall makes a space appear larger. If there is natural light coming in, I try to align with it to reduce glare and hide seams. In hallways or confined rooms, I typically follow the flow of foot traffic. Choosing the proper orientation enhances both the appearance and functioning of the area. It is the first and most crucial design decision.
How do I handle flooring transitions between rooms?
When I travel from one room to another, I try to follow a consistent pattern whenever possible. If transitions are required, I use matching trim or transition strips to keep the flow consistent. I plan ahead to ensure that the planks align at doors. This prevents awkward cuts and seams. A careful transition makes the entire floor appear deliberate rather than put together. It enhances the overall design harmony.
Should Laminate Flooring Be Staggered?
Yes, staggering the boards is critical. I avoid using a consistent design that repeats every few rows since it appears weird. I normally stagger the seams randomly, leaving at least 12 inches between them. This provides the floor a more realistic and attractive appearance. It also enhances the flooring’s structure, increasing its durability over time. It’s one of those minor elements that has a significant impact.
How do I work around corners and doorways?
For corners and doorways, I first create paper templates that match the shape. Then I transfer the outlines to the laminate boards before cutting. It saves time and lowers waste. Under doorframes, I like to undercut the trim and slide the planks underneath. This helps the finish appear cleaner. It takes more time, but the end result is flawless and professional. Planning these cuts ahead of time can be really beneficial.

Is an expansion gap actually necessary?
Absolutely. Laminate expands and contracts in response to temperature and humidity variations. I always leave a quarter-inch margin around the boundaries of the room. This enables the floor to shift without buckling. I eventually fill in the gaps with baseboards or quarter-round molding. Skipping this step may result in major problems such as warping or floor separation. It’s a straightforward precaution that safeguards the entire arrangement.
May I install laminate flooring myself?
Yes, I installed mine as a DIY effort, but it took careful preparation. I watched videos, read directions, and took my time on each step. The most difficult element was getting the arrangement right and making proper cuts. If you’re patient and have the necessary tools, it’s quite possible. However, I would recommend hiring assistance for large or complex rooms. Whether you go it alone or with aid, layout design should be your primary emphasis.
How To Layout & Install Laminate Flooring On Concrete – DIY With Christine
Hardwood laying direction
Related Posts: