Re-tiling a kitchen floor breathes new life into the space while improving functionality. Start by removing old tiles completely, including any residual adhesive, to create a smooth surface. Inspect the subfloor for damage, repairing cracks or uneven areas with leveling compound. Choose durable tiles suited for kitchens—porcelain and ceramic withstand heavy traffic and spills best. Consider slip-resistant finishes, especially near sinks and appliances. Proper preparation ensures your new tiles adhere well and last for years without cracking or loosening.

Selecting the right tile size and layout impacts both aesthetics and installation. Large-format tiles minimize grout lines, creating a seamless look and easier cleaning. Diagonal or herringbone patterns add visual interest but require more cutting and precision. Purchase 10-15% extra tiles to account for breakage and future repairs. Darker grout hides stains better in high-traffic kitchens, while matching grout creates a uniform appearance. Lay out tiles dry before adhesive application to confirm the pattern works and make adjustments.

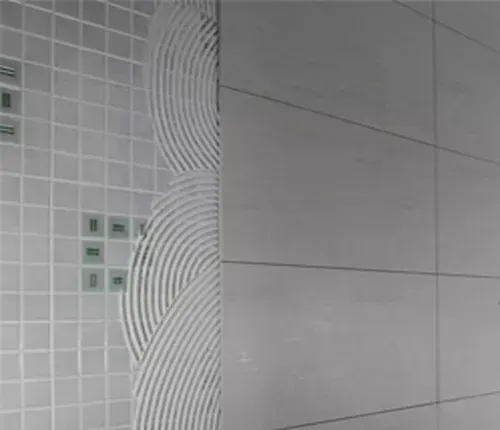
Proper installation techniques prevent common tile problems. Use a notched trowel to spread thin-set adhesive evenly, working in manageable sections. Place tile spacers to maintain consistent gaps for grout lines. Cut tiles carefully with a wet saw for clean edges around cabinets and appliances. Check frequently with a level to ensure even surfaces, especially near doorways. Allow adhesive to cure fully before grouting—typically 24-48 hours. Rushing this step can lead to tiles shifting or uneven surfaces.

Grouting completes the project with both functional and decorative benefits. Choose sanded grout for wider joints (over 1/8 inch) as it resists cracking better. Work the grout thoroughly into joints using a rubber float, then wipe away excess with a damp sponge. After initial drying, polish tiles with a dry cloth to remove haze. Apply grout sealer after full curing to protect against stains and moisture. Proper grout application prevents crumbling and maintains the floor’s appearance over time.

Final touches protect your investment and enhance usability. Install transition strips where the tile meets other flooring materials. Add silicone caulk along baseboards and cabinet toes for a clean finish. Place felt pads under furniture legs to prevent scratching. Regular sweeping and damp mopping with pH-neutral cleaners preserve the tiles’ finish. Avoid harsh chemicals that can degrade grout or tile surfaces. With proper materials and installation, your re-tiled kitchen floor will combine practicality and style for years.
Installing Tile over Tile: Pros and Cons Tile Wizards
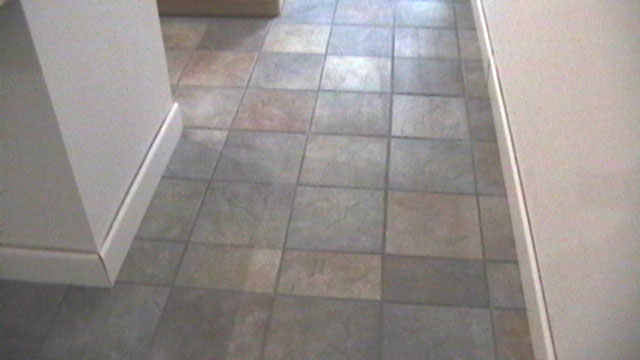
Tiled floor just in kitchen area Kitchen, New homes, Kitchen area

Installing Tile Floor In Kitchen

Tiled kitchen floor – YouTube

copper metallic porcelain citizen: color palette Pinterest Porcelain, Kitchens and House

Bathroom Floor retile
Peel And Stick Vinyl Floor Tile Lowes / Floorpops 20 Piece 12 In X 12 In Multicolor Peel And

34 Kitchens with Dark Wood Floors (Pictures)

Home Improvement Archives Full bathroom designs, Stone shower floor, Herringbone tile floors

Related Posts: