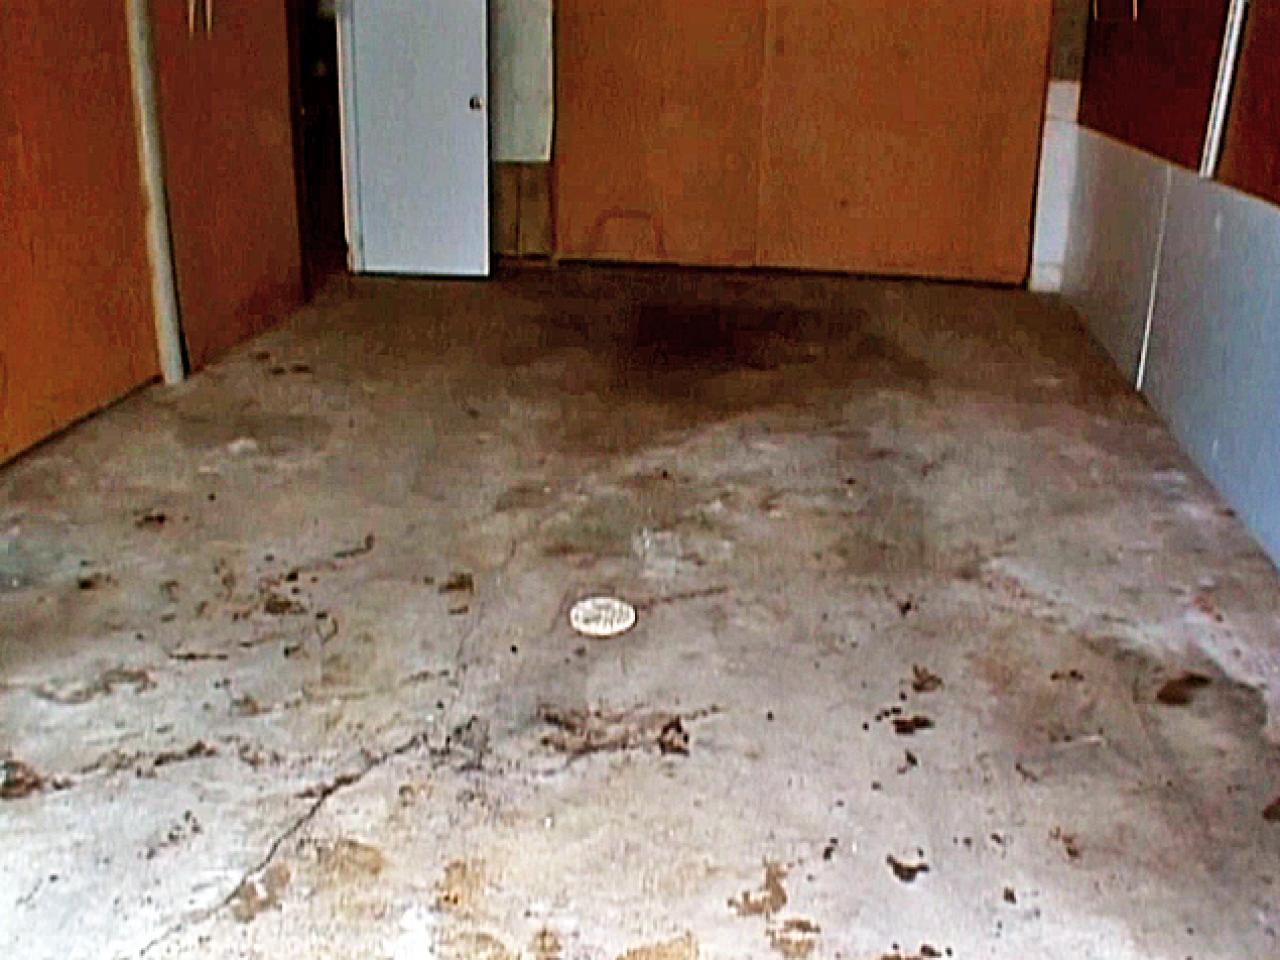
Three summers ago, my garage floor was the neighborhood embarrassment. Decades of oil stains, concrete dust, and general neglect had turned what should have been a functional workspace into something that looked more like an abandoned warehouse floor. Every time I opened the garage door, I cringed at the stained, dusty mess that greeted me. After years of putting it off, I finally decided to tackle a DIY garage floor paint project myself. What started as a weekend warrior mission turned into a month-long learning experience that completely transformed not just my garage, but my confidence in taking on seemingly intimidating home improvement projects.
My research phase consumed weeks of evening browsing through forums, YouTube videos, and product reviews. The options seemed endless: basic latex paint, specialized garage floor paint, single-part epoxy, two-part epoxy systems, and polyurethane coatings. Each product claimed to be the ultimate solution, but reading between the marketing hype and actual user experiences revealed significant differences in durability, application difficulty, and long-term performance. I ultimately settled on a high-quality single-part epoxy garage floor paint that promised easier application than two-part systems while still providing superior durability compared to regular paint.

Preparation day arrived with a reality check about what “surface prep” actually involves. I had naively assumed a pressure wash and some basic cleaning would suffice, but proper garage floor painting requires much more intensive preparation. Oil stains need to be degreased with TSP cleaner, followed by scrubbing with wire brushes to remove embedded dirt. The concrete had to be etched with muriatic acid to open the pores for proper paint adhesion. This process was messy, smelly, and time-consuming, but I learned that shortcuts during preparation inevitably lead to premature paint failure.
The actual painting process challenged my DIY confidence more than I expected. Unlike wall painting, where mistakes can be easily touched up, garage floor paint requires working quickly and methodically to maintain wet edges and avoid roller marks. I started early on a cool morning to maximize working time before the paint began setting up. Using a high-quality roller with an extension handle, I worked in 4×4-foot sections, paying careful attention to overlap patterns and maintaining consistent coverage thickness throughout the entire 600 square foot space.
Weather timing proved more critical than any tutorial had emphasized. My first attempt coincided with an unexpected humidity spike that caused the paint to remain tacky much longer than anticipated. This extended drying time attracted dust, leaves, and even a few unfortunate insects that became permanently embedded in my freshly painted floor. I learned to check three-day weather forecasts and plan around stable, dry conditions with moderate temperatures between 60-80 degrees for optimal application and curing results.
The decorative color flakes application required coordination that tested my multitasking abilities. While the base coat remained wet and tacky, I had to broadcast the vinyl flakes evenly across the surface to create the textured, speckled appearance I wanted. Too few flakes looked sparse and amateur, while too many clumped together and created uneven texture. I practiced the broadcasting technique on cardboard scraps until I developed a consistent rhythm and coverage pattern that produced professional-looking results.
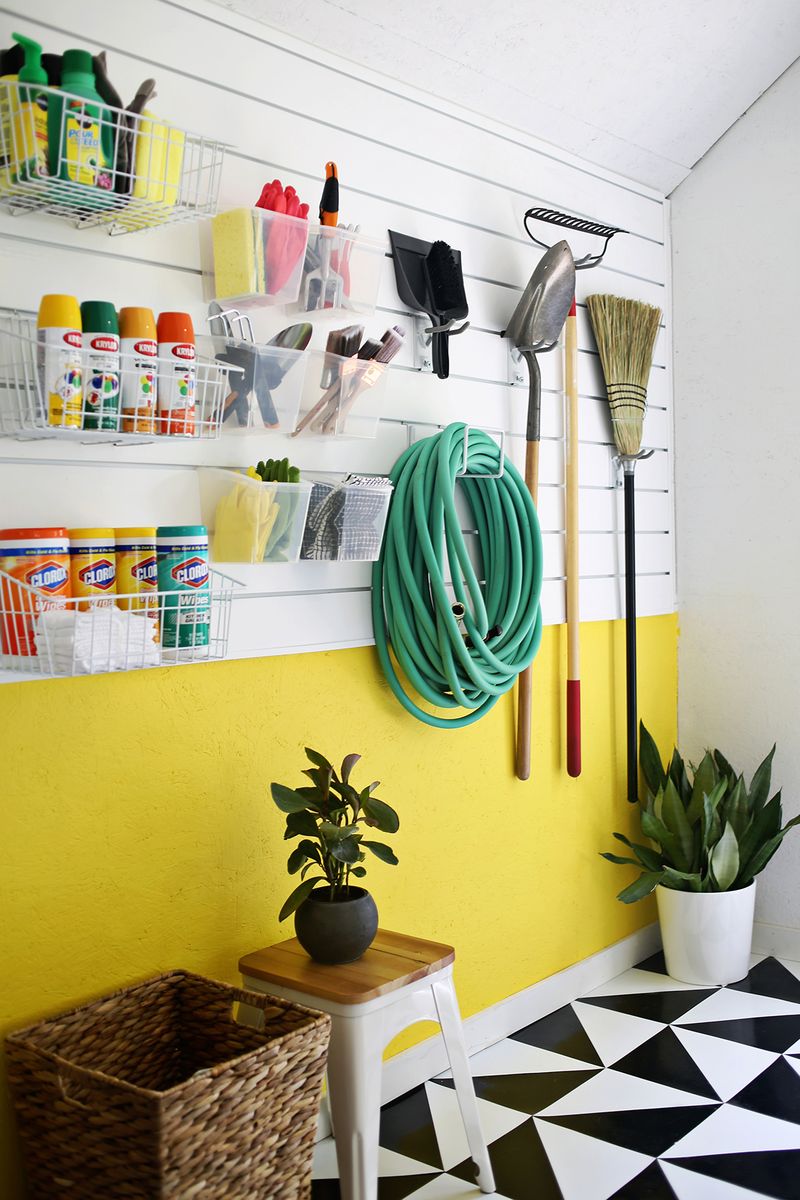
Curing time demanded patience I didn’t know I possessed. While the floor appeared dry after 24 hours, full cure required 72 hours before light foot traffic and a full week before parking vehicles on the surface. During this waiting period, I had to resist the temptation to walk on it unnecessarily or place any equipment on the fresh finish. I used this forced downtime to organize my garage storage and plan the layout for when I could finally use the space normally again.
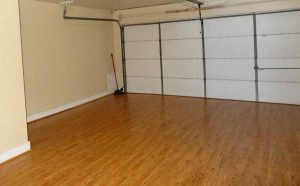
The transformation exceeded my expectations in ways I hadn’t anticipated. Beyond the obvious visual improvement, the sealed surface made routine cleaning effortless compared to bare concrete. Oil drips from my lawnmower now wipe up with a paper towel instead of becoming permanent stains. The semi-gloss finish reflects overhead lighting better, making the entire space brighter and more pleasant to work in. Even the acoustics improved, with less echo and a more finished feel that made the garage feel like an extension of my home rather than just utilitarian storage.

Two years later, my DIY garage floor paint continues to perform admirably despite regular abuse from two vehicles, workshop activities, and seasonal storage rotation. The finish shows minimal wear in high-traffic areas, and the decorative flakes help camouflage minor scratches and scuff marks that would be obvious on solid colors. Regular sweeping and occasional mopping with mild detergent keeps the surface looking fresh. Small chips or scratches are easily touched up with leftover paint, making maintenance simple and cost-effective.
Looking back on my DIY garage floor painting experience, I’m grateful I took the time to research proper techniques and invest in quality materials rather than rushing with cheap shortcuts. The key to success was accepting that proper preparation couldn’t be rushed and that weather conditions matter more than convenience timing. While the project required more time and effort than initially anticipated, the professional-looking results and ongoing satisfaction make it one of my most successful DIY ventures. The garage has become a source of pride rather than embarrassment, proving that sometimes the best approach is simply committing to doing things right the first time.
How long does DIY garage floor paint actually last with regular vehicle use?
Based on my two-year experience and research from other DIYers, quality single-part epoxy garage floor paint should last 3-5 years with normal residential use. My floor still looks excellent after two years of daily vehicle traffic, oil changes, and workshop activities. Durability depends heavily on surface preparation quality and product selection. Basic latex paints might only last 1-2 years, while two-part epoxy systems can exceed 5-7 years. Proper prep work is more important than paint type for longevity.
What’s the real difference between single-part and two-part epoxy for garage floors?
I chose single-part epoxy for easier application and forgiving working time. Two-part systems are more durable and chemical-resistant but require precise mixing ratios and have shorter pot life, making application more challenging for beginners. Single-part epoxy provides excellent performance for typical residential use while being much more DIY-friendly. The durability difference may not justify the added complexity unless you have heavy commercial use or frequent chemical exposure in your garage.

Can I really paint over existing oil stains, or do they need complete removal?
Oil stains absolutely must be thoroughly cleaned or they’ll cause paint adhesion failure. I learned this lesson when a few spots I thought were clean enough started showing bleed-through after six months. Use TSP degreaser, scrub aggressively with wire brushes, and consider concrete etching for stubborn stains. Some people have success with specialized oil stain removers, but mechanical scrubbing combined with degreasing works best. It’s better to over-prep than risk having to repaint sections later.
How much should I budget for a quality DIY garage floor paint project?
My 600 square foot garage cost about $200 total: $120 for quality single-part epoxy paint, $40 for decorative flakes, $25 for surface prep chemicals, and $15 for brushes and rollers. Add equipment rental if you need pressure washer or floor buffer. Two-part epoxy systems cost more, typically $250-350 for the same area. Professional installation runs $3-6 per square foot, so DIY saves significant money. Factor in your time investment, mine required about 20 hours spread over several days.

What’s the most common mistake that causes DIY garage floor paint to fail?
Inadequate surface preparation causes most DIY paint failures in my experience and research. Rushing the cleaning, skipping oil stain removal, not etching the concrete, or painting over dusty surfaces will result in poor adhesion and eventual peeling. My neighbor tried to shortcut the prep work and had paint peeling within six months. The second most common mistake is painting in poor weather conditions, humidity and temperature extremes can prevent proper curing and adhesion.
Do I really need to stay off the floor for a full week after painting?
Yes, patience during curing is crucial for long-term durability. While the surface feels dry after 24 hours, the chemical cure continues for days. Walking too soon can leave footprints, and parking vehicles prematurely can cause permanent tire marks or coating damage. I violated this rule once by parking too early and left subtle tire marks that are still visible two years later. Use the waiting time productively for garage organization, but resist the temptation to rush the curing process.

DIY Garage Floor Paint Tutorial Garage floor, Garage floor coatings

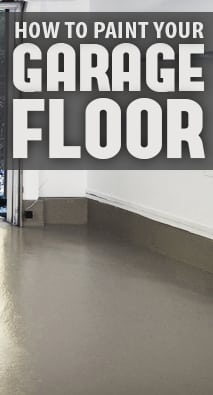
Thinking of Painting Your Garage Floor? Check This Out First

paint doesn’t last unless floor is really clean. Garage floor

Brilliant DIY Garage Organization Ideas
How to Paint Your Garage Floor Easy DIY Tutorial – Amanda Seghetti
Rust-Oleum RockSolid 70 oz. Metallic Cherry Bomb Garage Floor Kit-286896 – The Home Depot

Home Gym Ideas Garage Home gym mirrors, Workout room home, Home gym design

Related Posts: