Restoring a garage floor can completely change how the space looks and functions. Over time, most garage floors start to show signs of wear—oil stains, cracks, and spalling are all common. If your floor has started looking more like a parking lot than part of your home, it might be time to give it some attention. I decided to restore mine after noticing not just cosmetic issues, but structural ones. A garage floor takes a lot of abuse, so investing in proper restoration doesn’t just make it look better—it helps it last.
The first step in the process is assessing the damage. I started by taking a close look at the entire surface, checking for deep cracks, moisture spots, and uneven areas. It’s important to understand what you’re dealing with before choosing a solution. Minor surface stains and chips are relatively easy to fix, while large cracks or sinking sections may need more intensive work. Skipping this evaluation step can lead to unnecessary expenses or repeat repairs down the line.

Cleaning the surface thoroughly comes next. I can’t stress this enough—restoration won’t work on a dirty floor. I rented a pressure washer and used a degreaser to tackle years of grime, oil, and tire residue. This step is labor-intensive, but absolutely essential. Any coating or repair material needs to adhere directly to the concrete. Leftover dirt or oils will stop even the best products from bonding. Think of this as giving your floor a blank slate to work with.
For cracks and holes, I used a concrete patching compound. These are widely available at home improvement stores and fairly easy to apply. I used a trowel to work the compound into the cracks and smoothed it out as evenly as possible. It’s key to let these patches cure fully, which can take a couple of days depending on the product and conditions. Rushing the drying process often leads to re-cracking or unevenness, so patience here pays off in the long run.

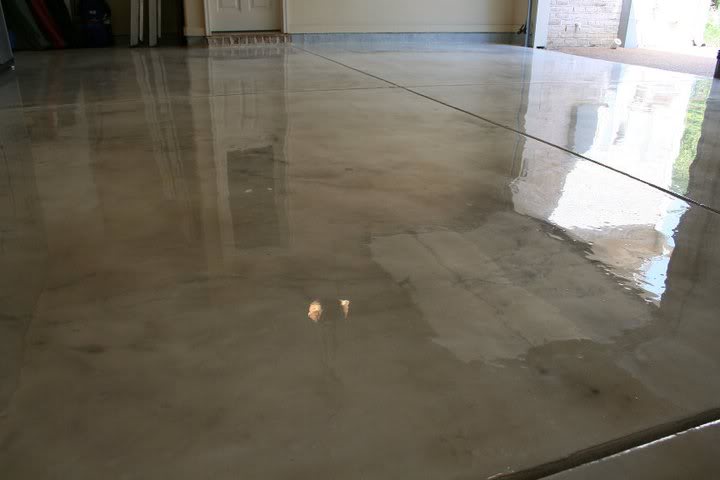
Once the surface was repaired, I had to consider leveling. My garage floor had a few low spots that collected water, which caused long-term damage. I used a self-leveling concrete compound to even out those problem areas. Mixing and pouring this type of material requires attention to detail and quick work since it sets fast. This step helped ensure a flat surface for the finish coat, making it look more professional and preventing future drainage problems.
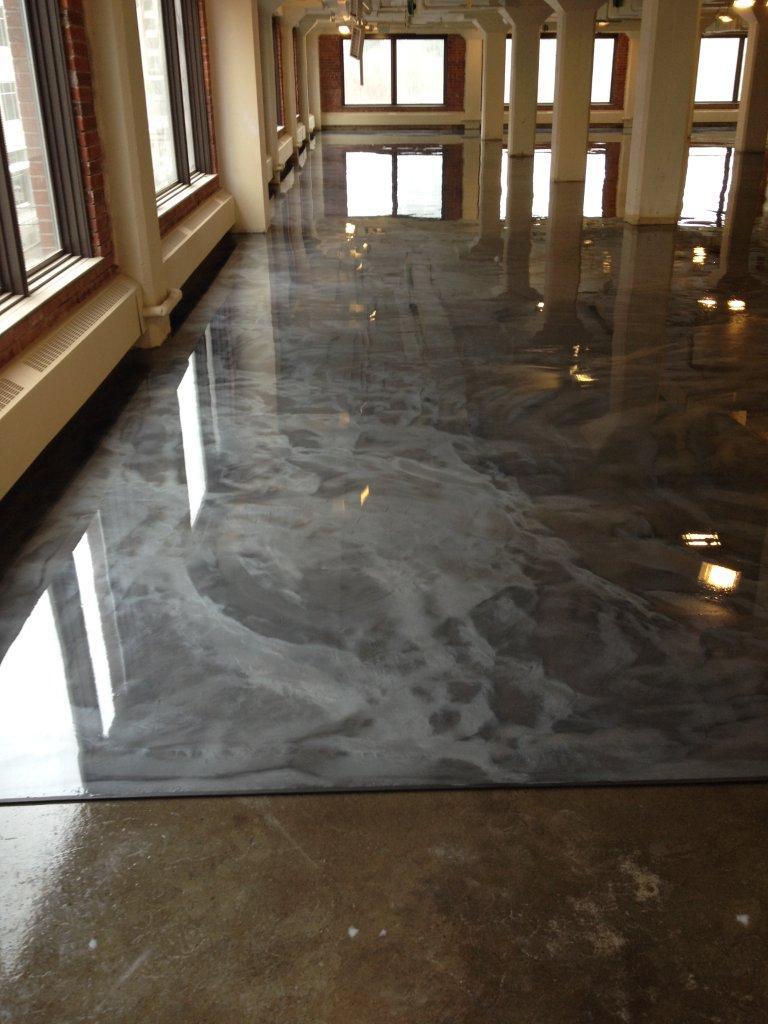
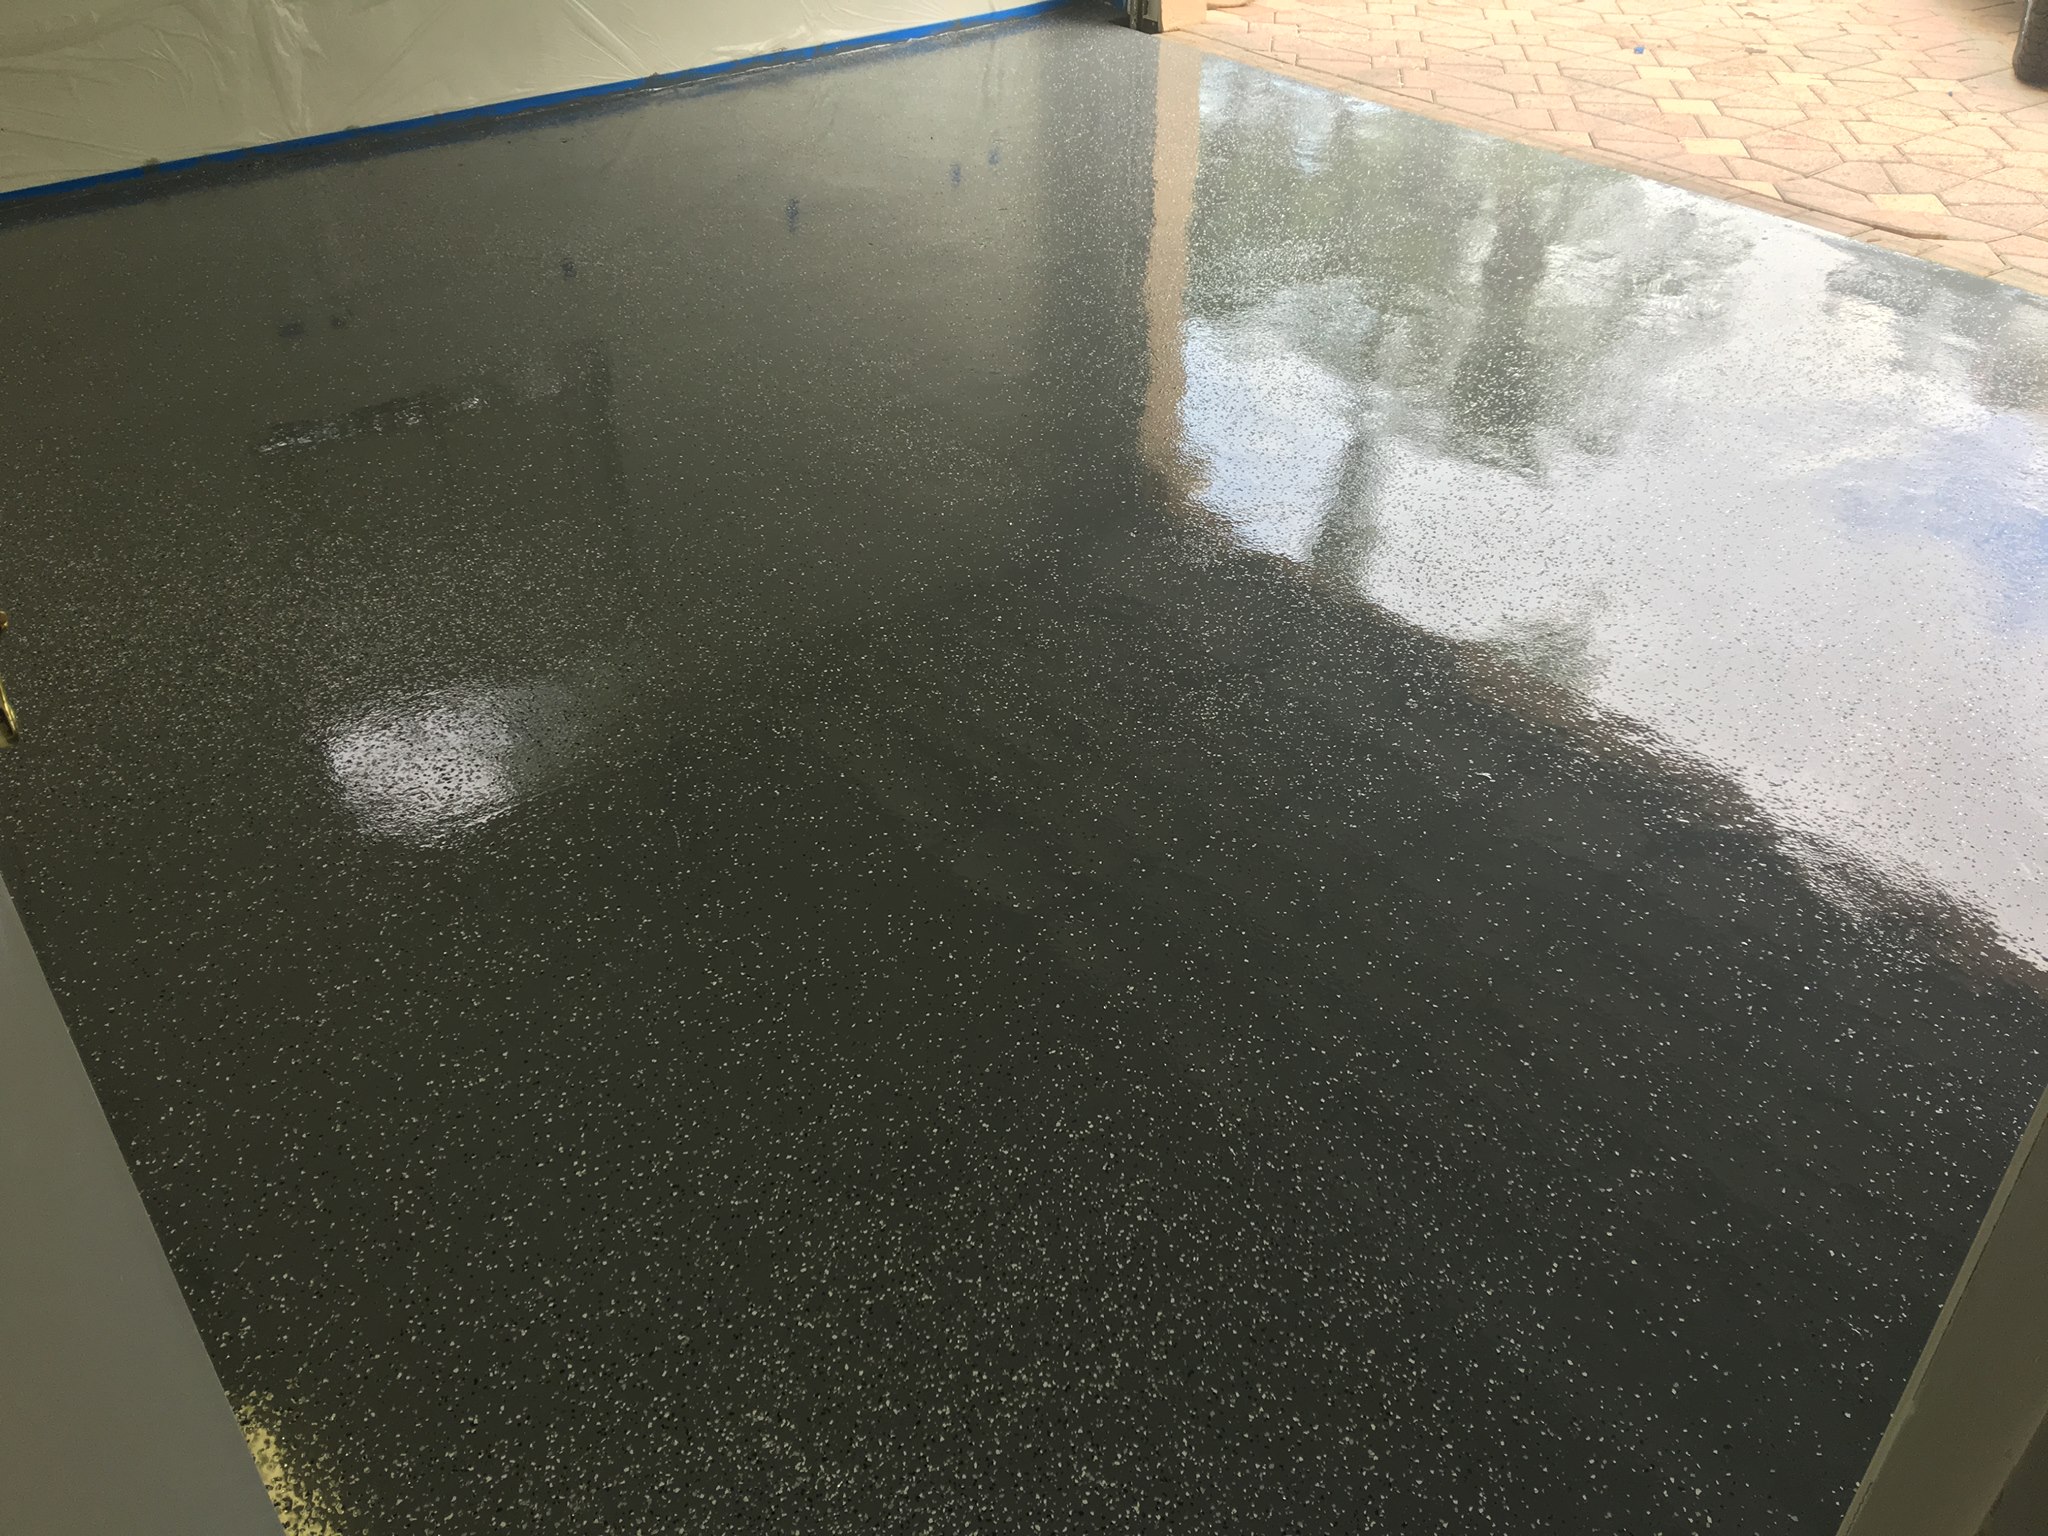
Next came the decision of how to coat the floor. I weighed several options—epoxy, polyurea, paint, or even polished concrete. I eventually settled on an epoxy coating because it offers durability and a clean look. Application involved rolling it on like paint, but with extra care to avoid bubbles and roller lines. The kit I used came with decorative flakes, which gave the floor texture and helped hide imperfections. Epoxy can be slippery when wet, so texture matters.

Proper curing is critical once the coating is applied. It might be tempting to move everything back in immediately, but resisting that urge is worth it. I waited the full recommended 72 hours before walking on it and a full week before parking cars. This let the material harden fully, preventing damage from tires and foot traffic. Many garage floor issues come from rushing this final stage, so I treated it as a long-term investment rather than a weekend project.
One of the best parts of this restoration was organizing the space afterward. With the floor looking brand new, I took the opportunity to install shelving and hooks for tools. A clean, restored floor makes the entire garage feel different—more like an extension of the house than a dumping ground. The change inspired me to be more thoughtful about storage, keeping clutter off the floor to maintain that fresh appearance as long as possible.

Maintenance is easier now, too. Before restoring the floor, cleaning it felt pointless—dirt and oil just became part of the surface. Now, I sweep regularly and mop up spills before they soak in. The epoxy coating makes it much more resistant to staining, and I no longer worry about oil ruining the concrete. A little upkeep goes a long way when you’ve put in the effort to restore something properly. It’s not just about aesthetics; it’s about preserving your work.
Looking back, restoring my garage floor was one of the most rewarding DIY projects I’ve taken on. It took some time, effort, and planning, but the result was worth it. The garage no longer feels like an afterthought—it’s functional, clean, and even kind of stylish. If your floor is cracked, dirty, or just plain ugly, don’t assume you need to live with it. With the right tools and materials, anyone can bring their garage floor back to life and add real value to their home.
How do I know if my garage floor needs restoration?
If you notice visible cracks, crumbling spots, or areas where water pools, it’s a good sign your floor needs work. Other indicators include oil stains that won’t come out or flaking concrete. Even if the surface seems solid, ongoing moisture problems can cause hidden damage. Catching these issues early can prevent more serious repairs later and extend the life of your garage floor significantly.
What’s the difference between epoxy and polyurea coatings?
Epoxy is a thicker, more traditional garage coating that offers good durability and a glossy finish. It takes longer to cure and can yellow over time if exposed to sunlight. Polyurea is more flexible, cures faster, and resists UV damage better. However, it’s usually more expensive and requires a more precise application. Both are excellent choices, depending on your needs and budget.
Can I restore my garage floor myself or should I hire a professional?
Many homeowners successfully restore their garage floors on their own, especially if the damage is cosmetic. DIY kits are available for patching and coating. However, for structural issues, significant cracks, or moisture problems, hiring a professional might be the safer route. It depends on your comfort level with tools and whether you want a quick fix or a long-lasting solution.
How long does a garage floor restoration take from start to finish?
A full restoration usually takes three to seven days, depending on the extent of repairs and the type of coating used. Cleaning and patching might take a day or two, leveling can add another, and coatings require their own drying times. Rushing the process can lead to subpar results, so it’s better to spread the work over several days and follow product recommendations carefully.

Is it necessary to remove old coatings before applying a new one?
Yes, removing old paint or damaged coatings is important for new products to adhere properly. Failing to remove them can result in peeling, bubbling, or uneven finishes. A floor grinder or chemical stripper can help remove previous layers. Once stripped, the surface should be thoroughly cleaned and etched or roughed up to improve bonding with the new material.
How do I maintain my garage floor after restoration?
Keep the surface clean by sweeping regularly and mopping when needed. Promptly clean up oil spills or chemical drips to prevent staining. Avoid dragging heavy objects that might scratch the coating, and consider using floor mats under tires or workbenches. Routine maintenance doesn’t require much effort but will go a long way in keeping the floor looking fresh for years.

Garage new build – Page 6 – Detailing World

E100-PT1™ Clear Epoxy & 100% Solid Resin Floor Coating
Decorative Concrete Mural On A Concrete Sidewalk
Related Posts: