When I initially looked at my damaged and stained basement floor, I realized I’d have to resurface it to make it functional. The old concrete had been worn for decades, with uneven areas and moisture issues that made it ugly and impracticable. After studying options, I realized that current resurfacing processes may transform the surface without requiring complete replacement. The technique included cleaning, mending, and adding a polymer-modified overlay that bonded permanently to the old slab. My basement floor now appears brand new, with a smooth, long-lasting coating that repels moisture and conceals tiny flaws. What was previously an eyesore has now become one of my home’s most practical areas.
The success of my resurfacing project was completely dependent on correctly preparing the concrete surface. I began by pressure washing to remove years of grime and loose particles, then etched with a weak acid solution to open up the pores. All cracks were cleaned and repaired with a flexible concrete patching material. Grind the most uneven spots to provide a flat surface for the new overlay. I used a bonding primer to ensure adequate adherence of the old and new materials. These stages took all weekend but provided the perfect foundation for a long-lasting resurfacing project. Skipping any of them might have resulted in peeling or cracking down the road.

Choosing the appropriate resurfacing product necessitated careful consideration of my basement’s specific requirements. I chose a polymer-modified cementitious overlay that could be applied thinly (approximately 1/8 inch) while maintaining strength. The product included fibers for fracture resistance and could be colored to my desired color. For high-moisture locations near foundation walls, I chose a mix that includes waterproofing qualities. Testing samples in a corner allowed me to see the final texture and color before committing to the entire floor. The installer described how different additives could give additional slide resistance or faster cure periods according on my objectives.
The application process astounded me with its revolutionary potential. The crew mixed the overlay material on-site, resulting in a pancake-batter consistency that ran nicely across the floor. Using specialized trowels, they achieved a perfectly flat surface that concealed all past flaws. I observed as stains, fissures, and uneven patches disappeared beneath the new coat. The substance has self-leveling qualities, eliminating the need for lengthy human smoothing. The surface hardened enough to walk on in hours, but complete curing required many days. Seeing my broken old floor turn uniform and new-looking was nothing short of magical.
Moisture management became an important part of my basement floor resurfacing job. Before beginning, I performed a plastic sheet test to check for excessive vapor emission from the slab. The results indicated considerable dampness, so we applied a penetrating sealant first to avoid future problems. The overlay itself had moisture-resistant qualities, but careful preparation guaranteed long-term effectiveness. In locations with previous water infiltration, I built perimeter drainage channels beneath the new surface. These procedures have maintained my refinished floor entirely dry over several wet seasons, with no bubbling or delamination of the overlay.
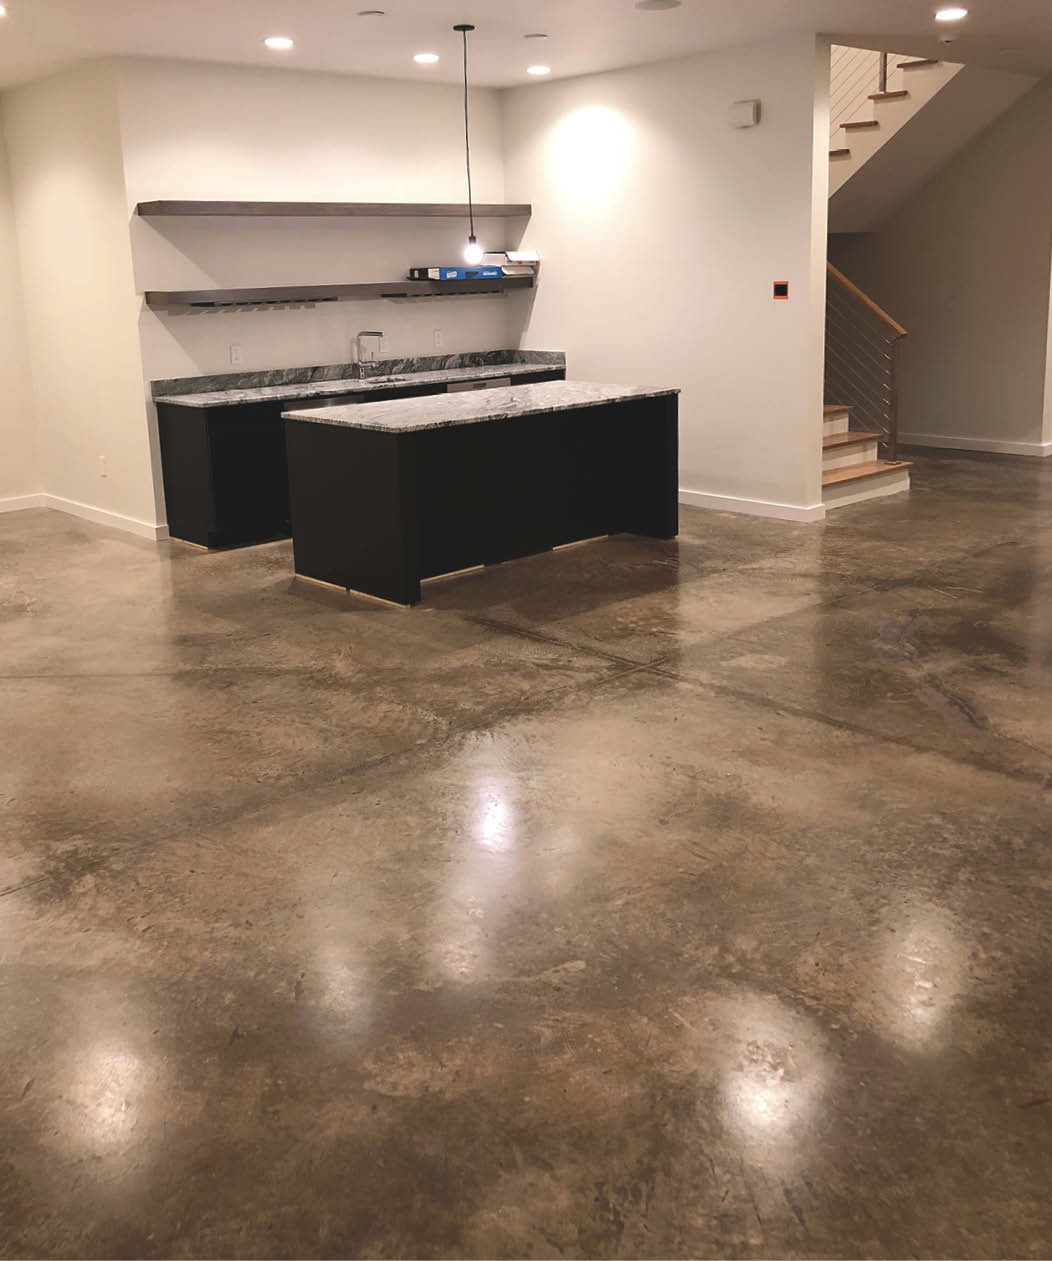
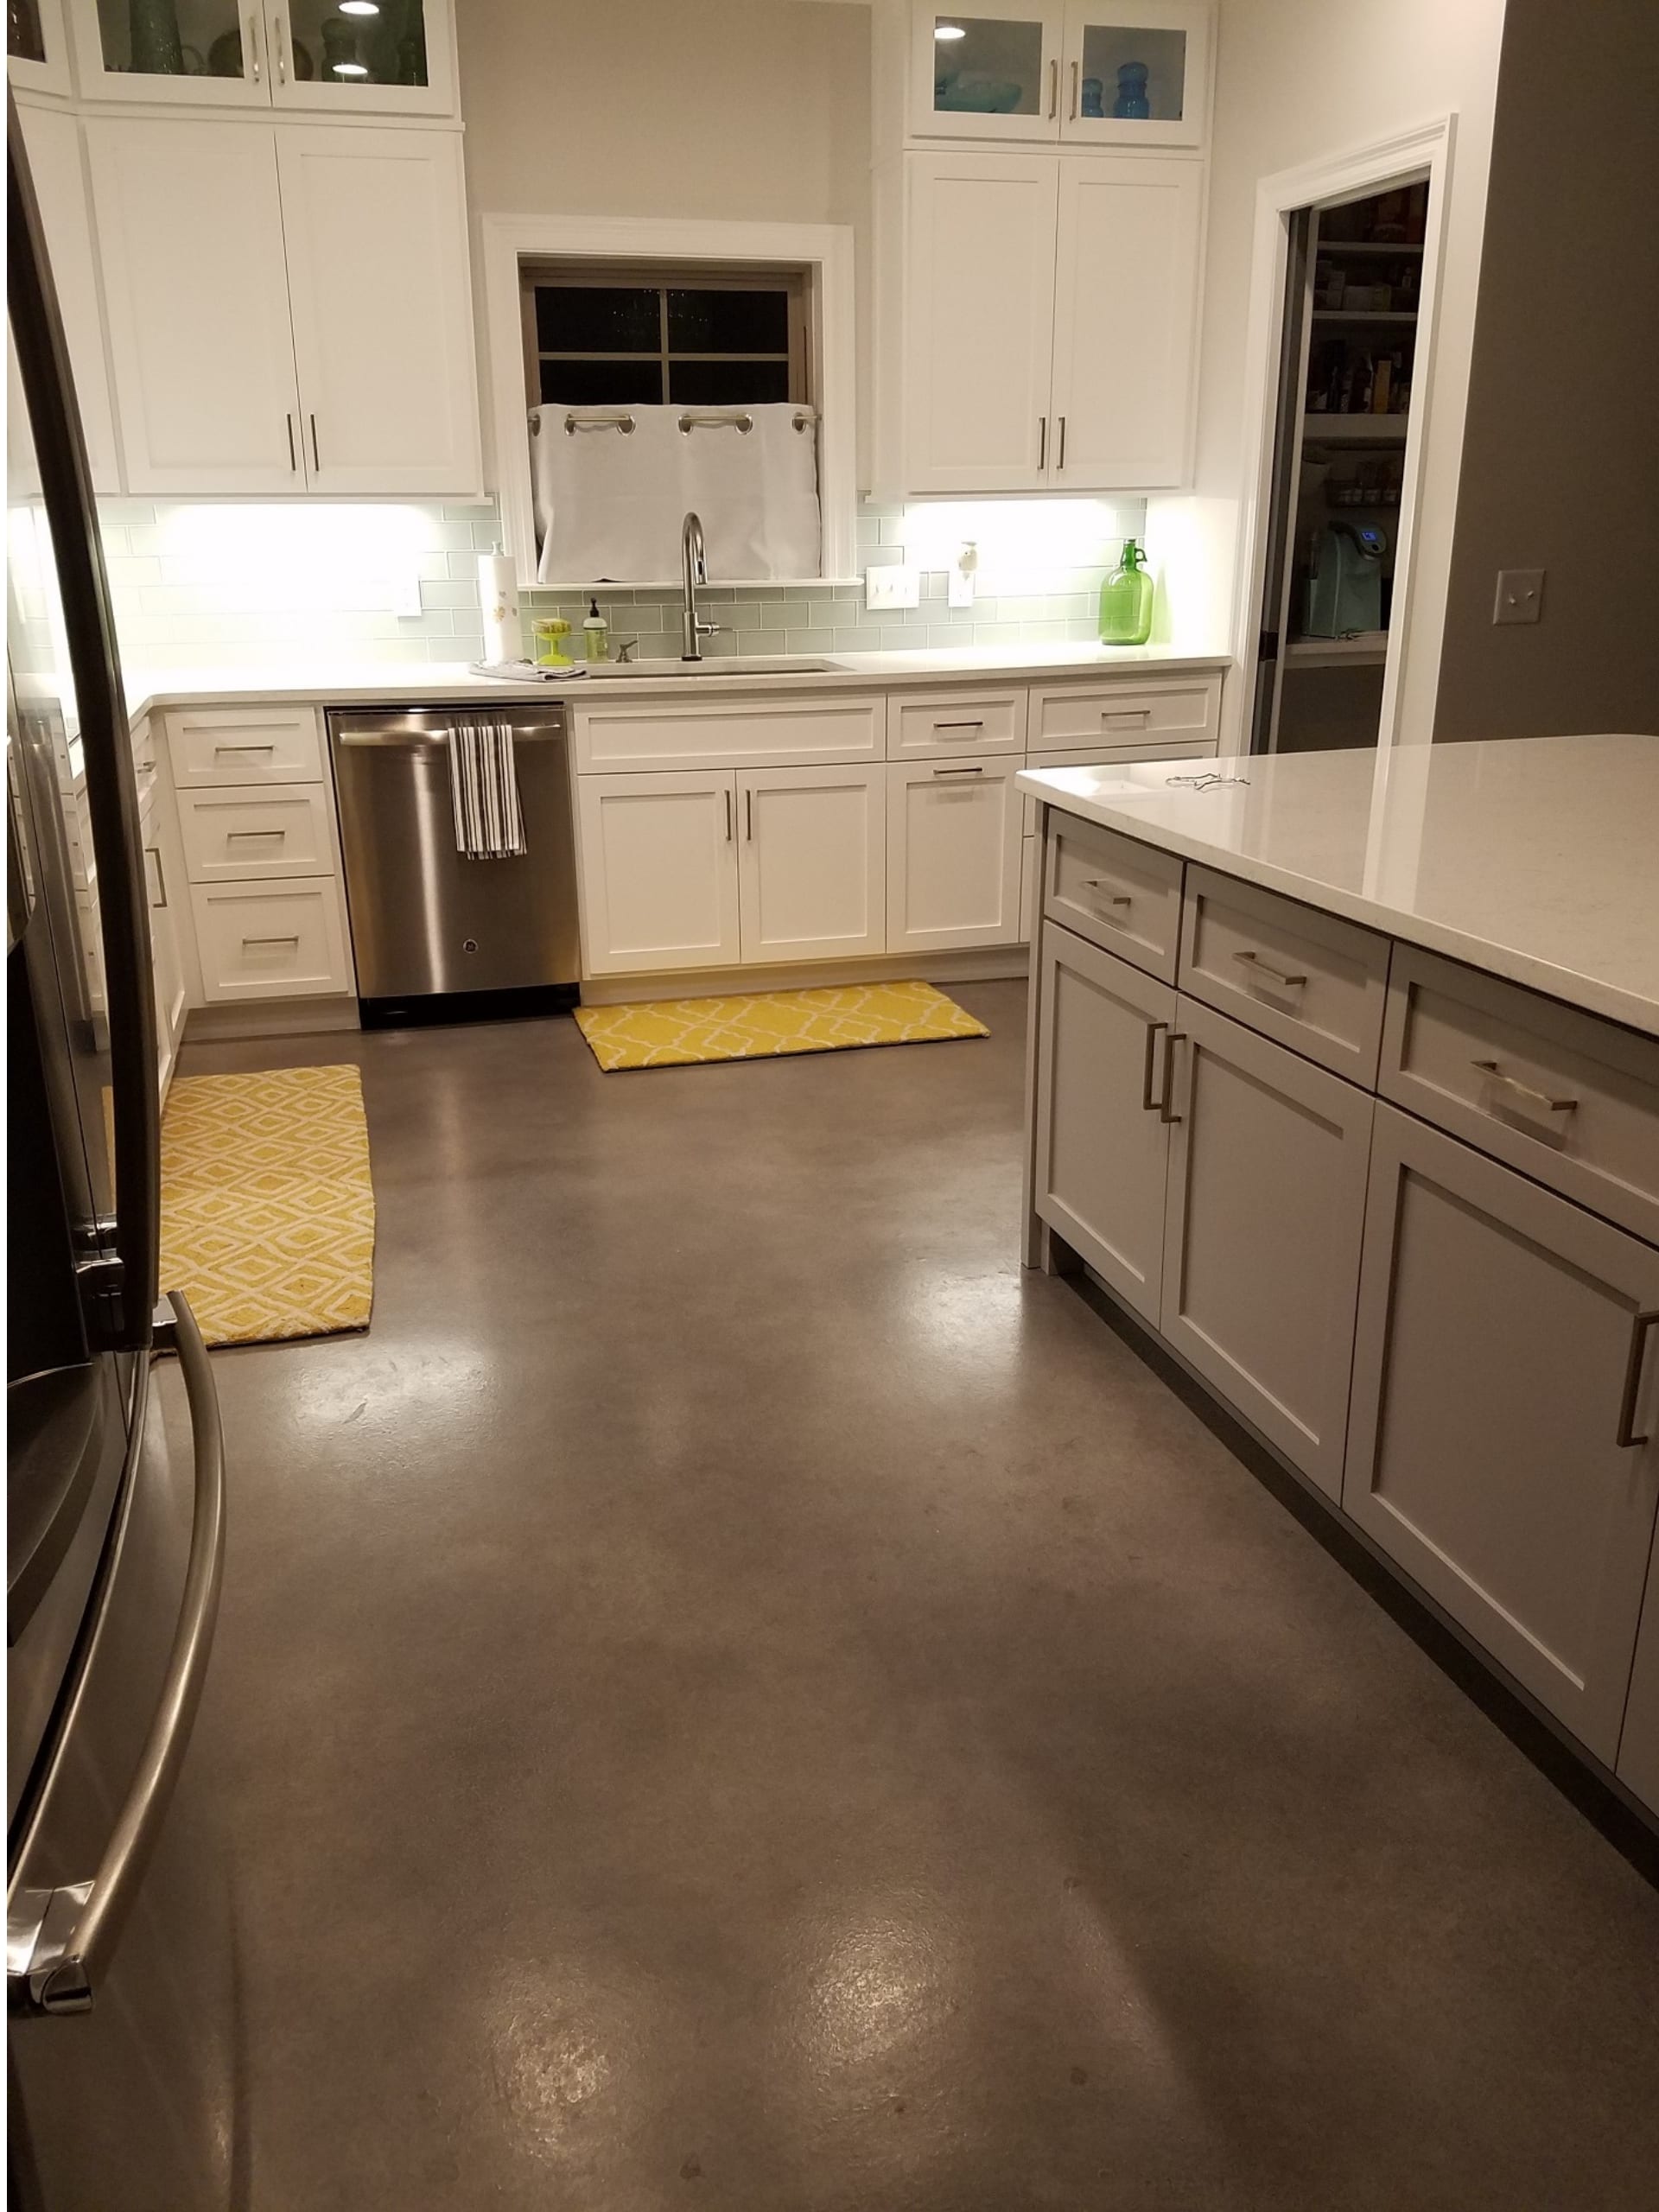
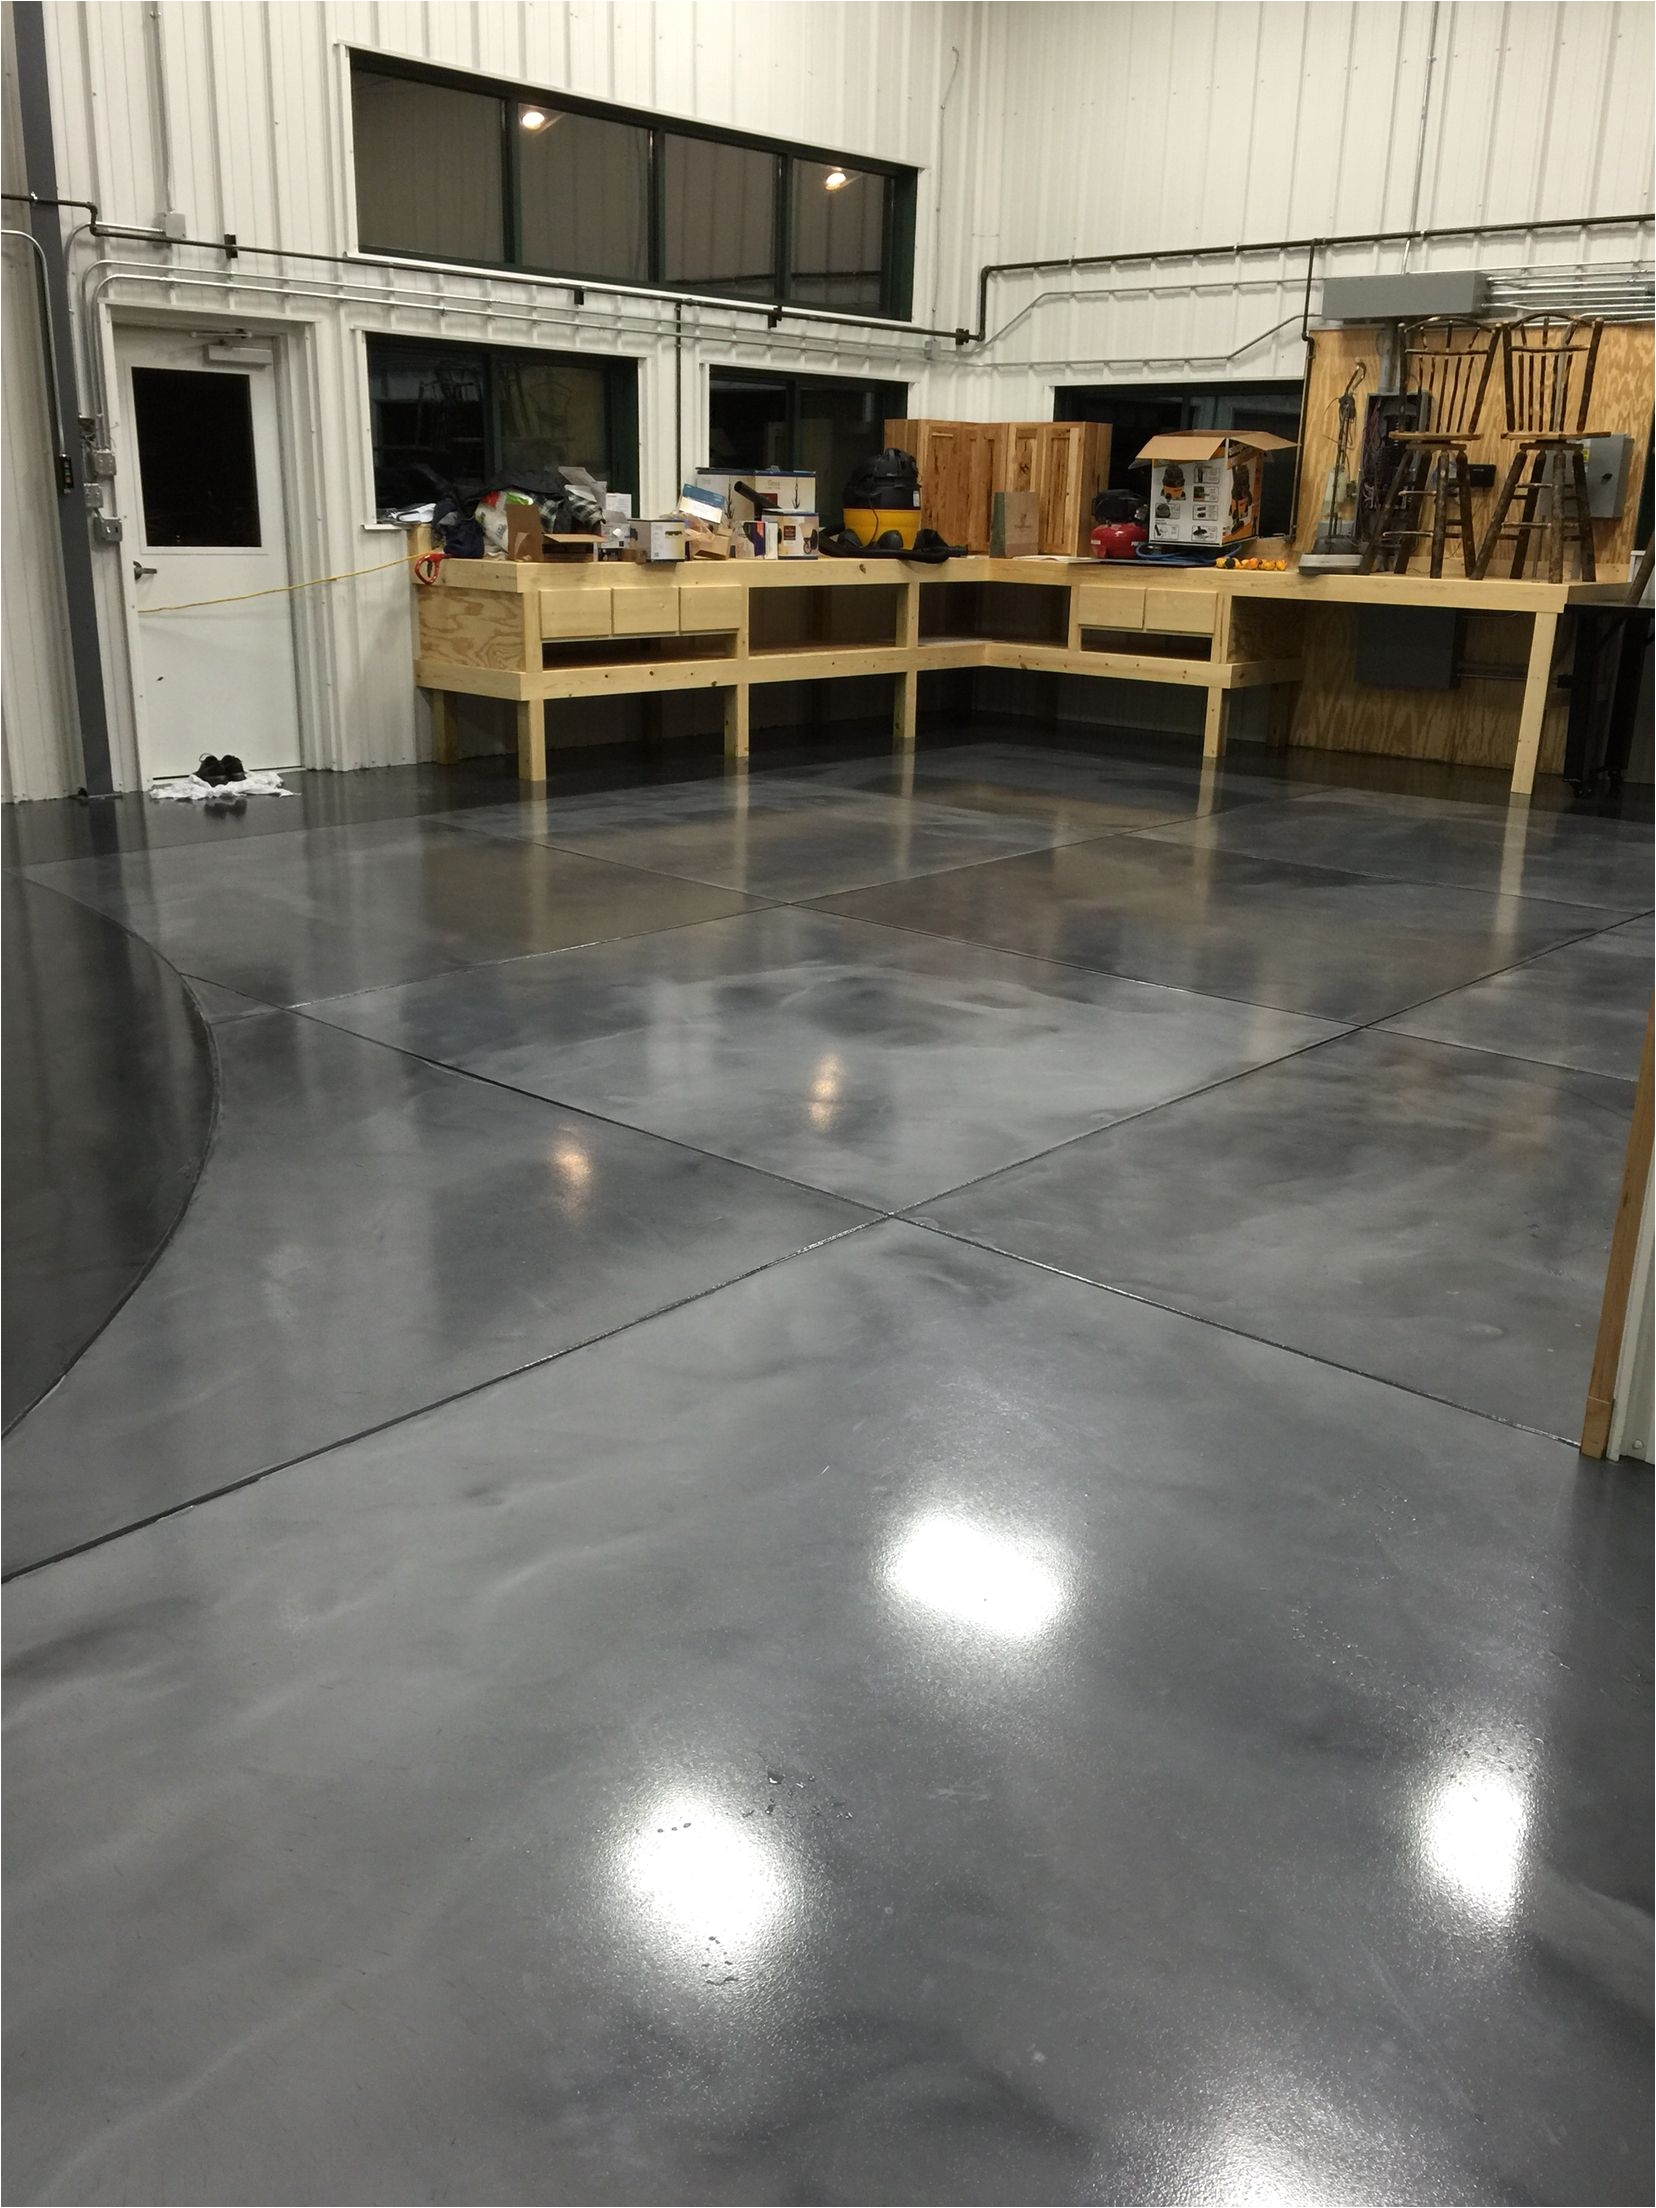
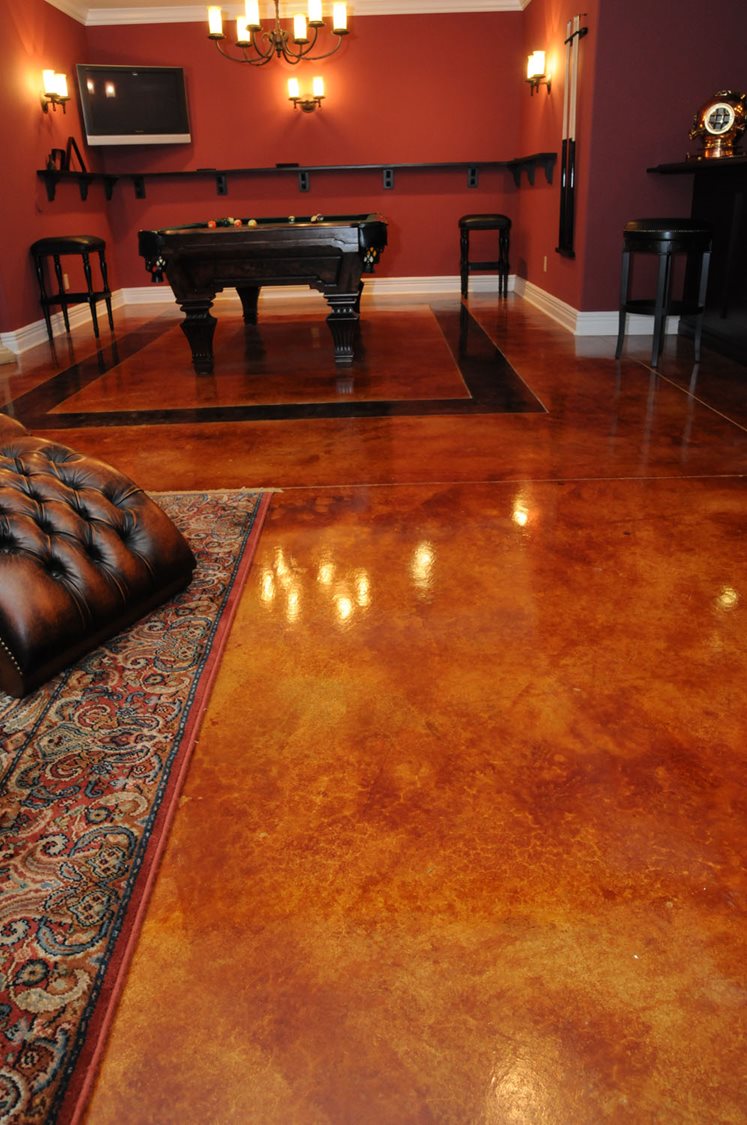
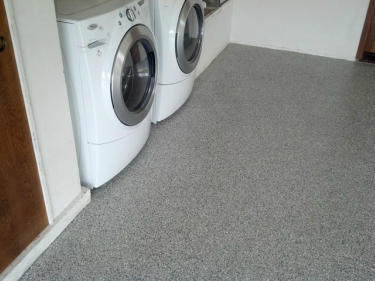
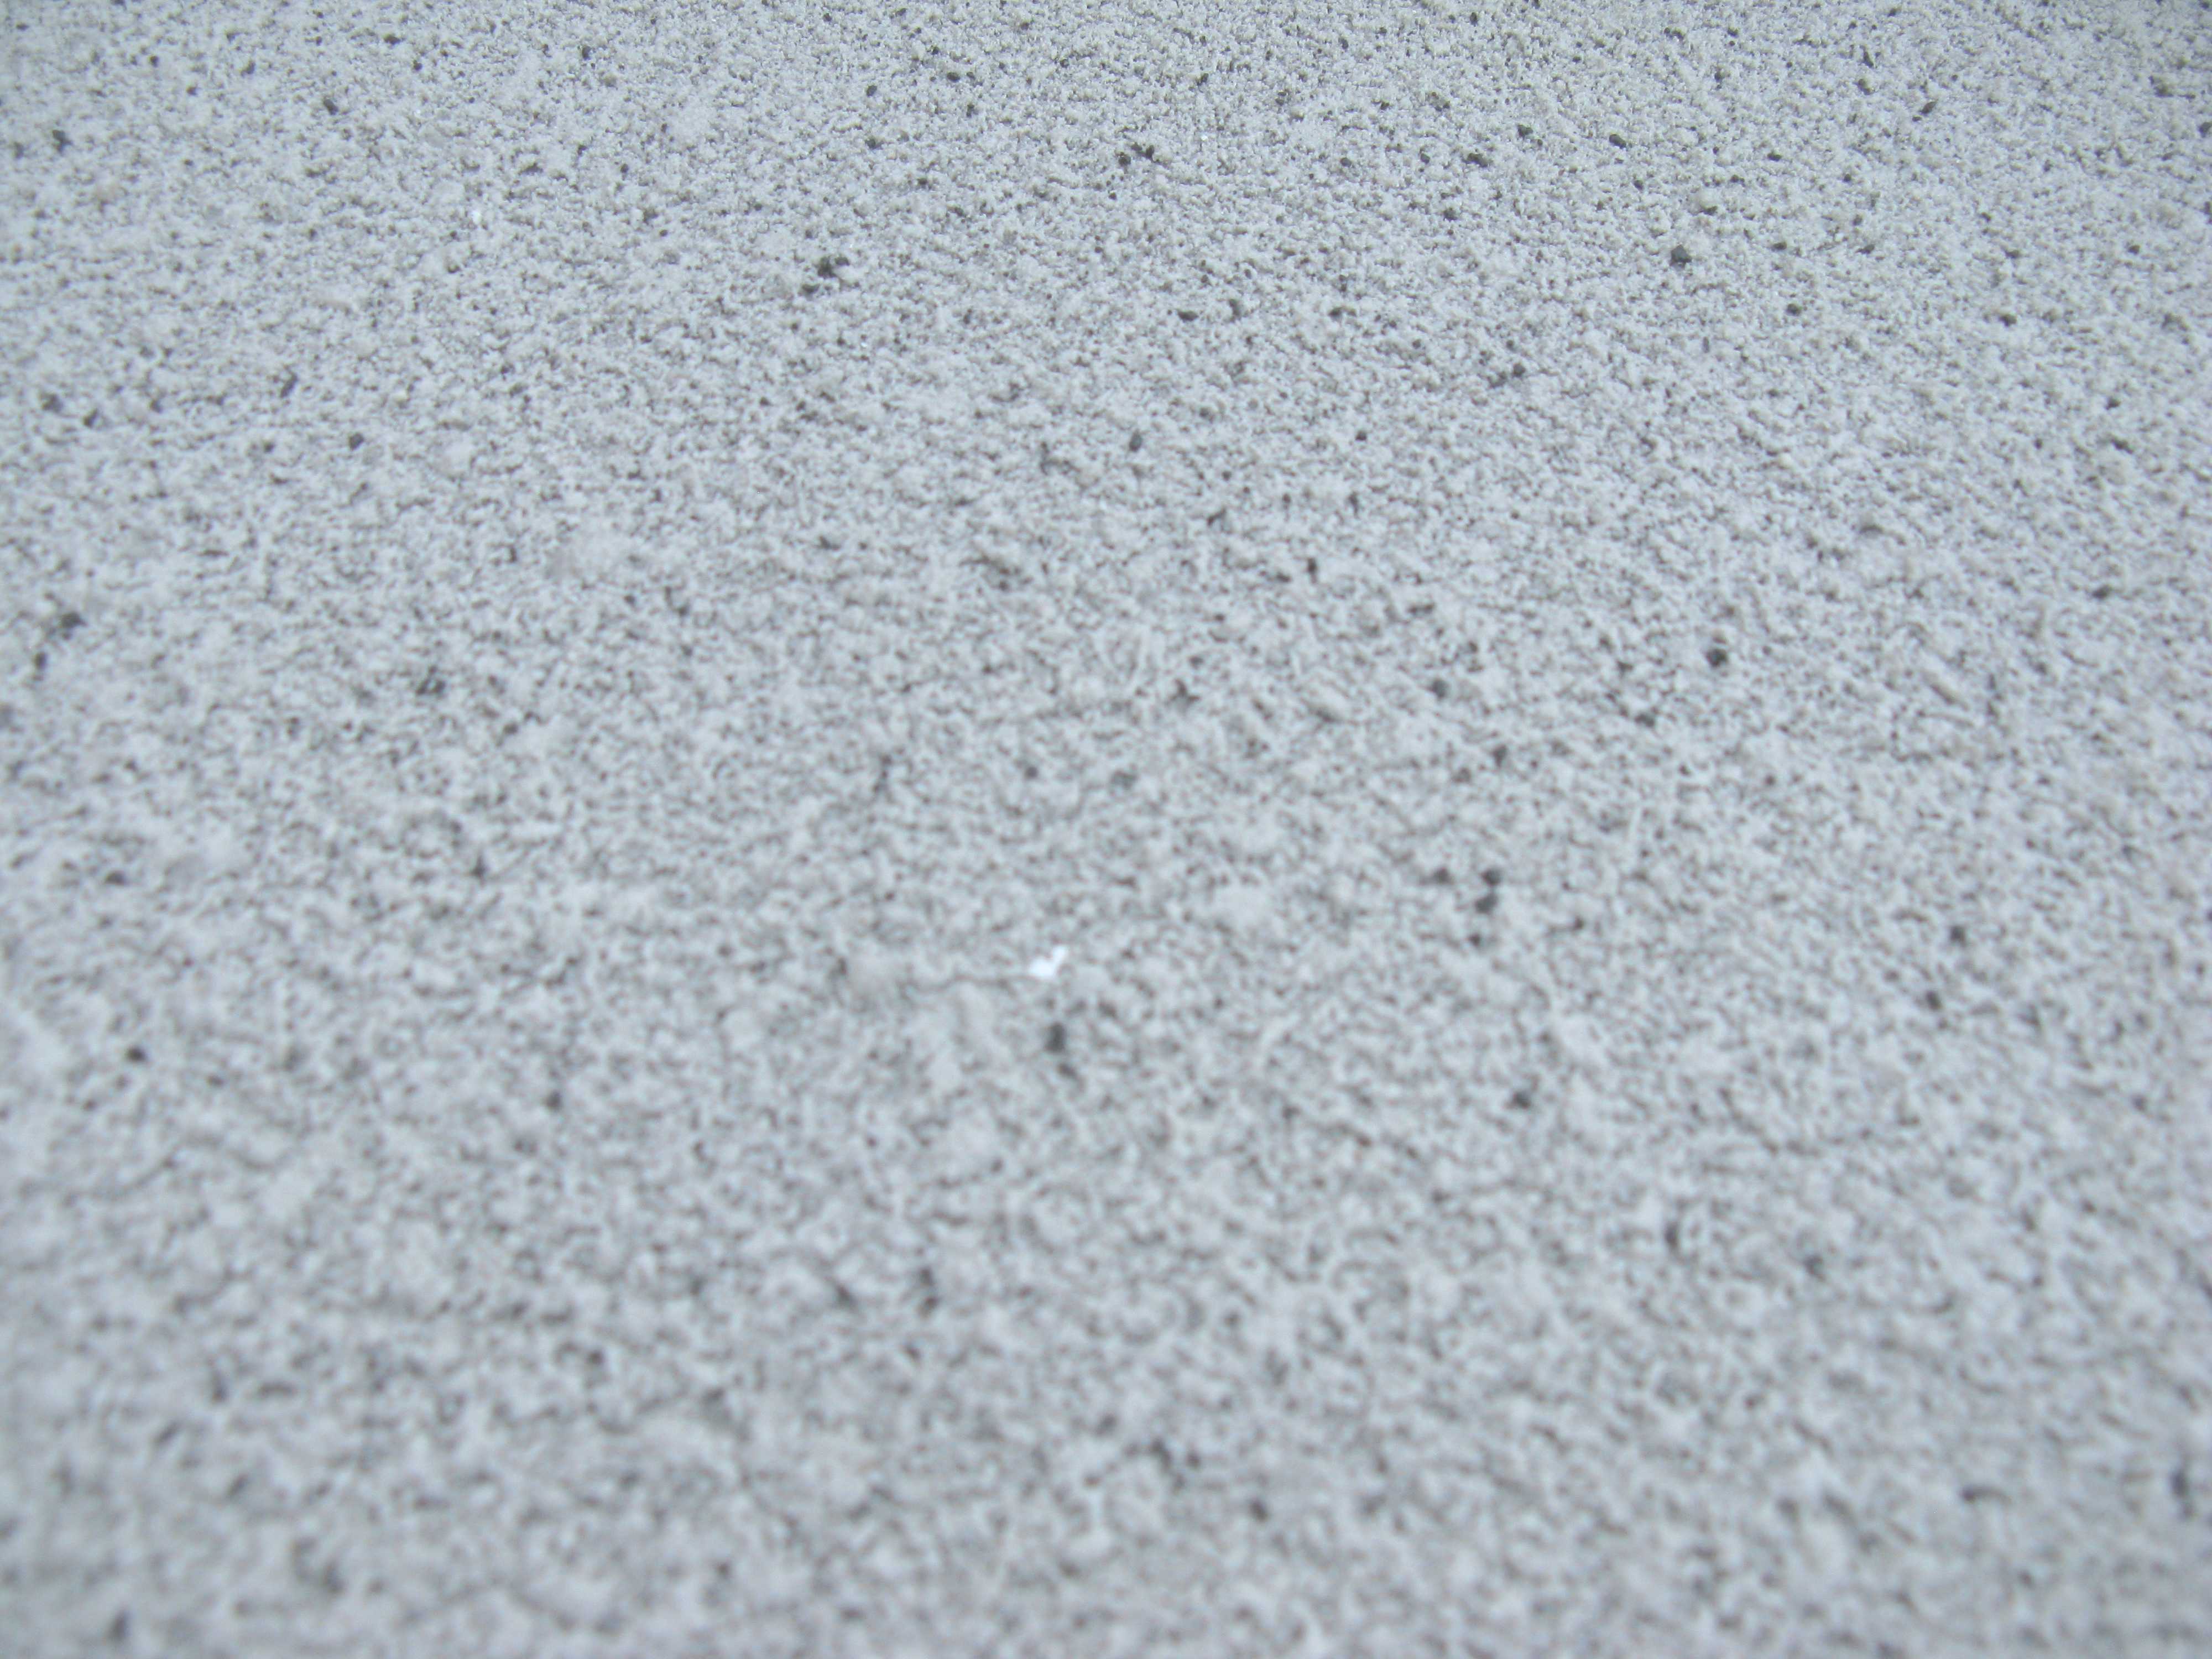
Design options for refinished concrete flooring were more creative than I anticipated. After the basic layer had hardened, I could apply decorative stains, scoring patterns, or even polished finishes. I went with a simple integral color with a light broom finish for slight texture. Friends have used stencils to make imitation tile patterns or decorative chips for visual interest. If you prefer a more industrial look, the smooth surface is ideal for epoxy coatings. These finishing touches allowed me to personalize the floor’s appearance while still reaping the practical benefits of the resurfacing method.

Living with a refinished basement floor has significantly improved my home’s usefulness. The smooth surface makes cleaning simple, requiring only an occasional damp mop. Heavy storage items no longer snag on uneven sections, and rolling tool chests go easily across the surface. The light gray tone illuminates the space dramatically, decreasing the need for extra lighting. I’ve found that the floor stays warmer in the winter than the original bare concrete, making the basement more suitable for exercise and hobbies. What was formerly unused space has now become an extension of our living area.
Maintenance has been surprisingly straightforward when compared to other flooring options I considered. The strong overlay protects against stains from oil, paint, and other common basement substances. I reapply the sealer every two years to preserve water resistance; it’s a straightforward process that requires little preparation. Small scratches from moving furniture blend into the textured finish, while major damage can be spot-repaired with ease. Unlike carpet or laminate, which require full replacement if broken, my refinished concrete can be mended indefinitely. This endurance makes it perfect for use in active workshops and storage facilities.

Concrete resurfacing emerged as a cost-effective middle ground solution. The project cost around one-third as much as a full slab replacement and caused significantly less disturbance. Compared to putting finished flooring over the damaged concrete, resurfacing offered improved moisture protection and durability. The two-day installation resulted in minimum disruption for our basement storage and equipment. When considering the years of service ahead, the annual cost makes resurfacing one of my most cost-effective house renovations. When you consider the extra usable square footage, the value becomes even evident.
After three years with my refinished basement floor, I am more certain than ever of its advantages. Heavy equipment, seasonal humidity variations, and frequent foot traffic have all left no traces of wear on the surface. Moisture concerns that had plagued the room have vanished entirely. I’ve changed parts of the basement into a home gym, workshop, and entertainment area that would have been impossible previously. For homeowners who have unattractive or broken concrete flooring, professional resurfacing is an economical, long-lasting option that allows your basement to reach its full potential.
How long does concrete resurfacing in basements last?
In residential basements, properly completed concrete resurfacing lasts about 10-15 years. My three-year-old floor exhibits no indications of deterioration despite heavy use. Surface preparation, product quality, and maintenance are all factors that influence durability. High-traffic areas may require occasional touch-ups, but unlike coatings, the bonded overlay will not peel or chip. To extend the life of your furniture, avoid using metal legs and dragging sharp things. Annual inspections aid in detecting minor flaws before they become major fixes.
Can you resurface a basement floor that has active moisture issues?
For long-term outcomes, resurfacing must begin with treating moisture issues. Before beginning work, my contractor conducted moisture tests to identify potential problems. We constructed perimeter drains and used waterproofing sealers as needed. For serious water penetration, outside drainage solutions may be required prior to floor repair. The resurfacing products are moisture resistant, but they cannot compensate for major leaks or floods. Proper preparation provides a dry base for the new surface.

Is the resurfaced concrete slippery when wet?
Texture selections allow you to customize your slide resistance. I opted for a light broom finish that provides traction even when damp. Some products can include anti-slip chemicals during the mixing process to increase safety. Avoid polished finishes in moisture-prone basement areas. Area rugs placed near laundry equipment or water heaters provide additional slide protection as needed. The somewhat rough surface remains safer than slick epoxy finishes.
How does resurfacing compare to epoxy floor coatings?
Resurfacing, as opposed to coating, builds up the surface with new material. My polymer-modified overlay is thicker and stronger than epoxy alone. Both techniques are moisture resistant, but resurfacing hides unevenness and cracks more well. Epoxy provides more ornamental options, but it displays wear patterns sooner. Resurfacing gives a more sturdy foundation for basements that have sustained considerable damage before any ornamental treatments are applied.
Can flooring be installed over resurfaced concrete later?
Resurfaced floors make an excellent substrate for alternative flooring, if needed. My smooth, level surface might support vinyl planks, carpet, or tile with little preparation. The moisture-resistant characteristics safeguard whatever flooring is installed on top. Many homeowners resurface first to fix structural issues, then install finished flooring afterward. This two-step strategy is frequently less expensive than attempting to fix problems while laying new floors.
What is the best method for cleaning resurfaced concrete floors?
Regular sweeping removes abrasive dirt that may scratch the surface. I mop every month with a neutral pH cleanser and warm water, avoiding harsh chemicals. Stain removal is easier than on porous concrete since most spills are wiped up before they penetrate. A gentle detergent with gently brushing removes difficult stains without damaging the finish. Reapplying sealer every few years improves stain resistance and makes cleaning easier.
Garage Floor Resurfacing: Fix a Pitted Garage Floor The Family Handyman

Top Epoxy Flooring for Laundry Rooms in Rochester – Rochester Epoxy Flooring
Spray Texture Overlays – Diamond Kote Decorative Concrete Resurfacing and Epoxy Floors
Our New Home Construction Update Blog

Related Posts: