Tiling a bathroom floor on a concrete base can transform your space and ensure long-lasting durability. Begin by thoroughly cleaning the concrete surface to remove any dirt, dust, or debris. This step is crucial for ensuring proper adhesion of the tiles. Use a concrete cleaner and a stiff brush to scrub the floor, and let it dry completely. Once clean, inspect the concrete for any cracks or uneven areas. Fill any cracks with a concrete patching compound and level out any uneven spots with a self-leveling underlayment to create a smooth surface.
Next, it’s time to plan the layout of your tiles. Start by dry-fitting the tiles to determine the best arrangement and minimize awkward cuts. Use a chalk line to mark the center of the room, creating a cross that divides the floor into four sections. Begin laying the tiles from the center point, working your way outwards. This method ensures a symmetrical layout and reduces the chances of ending up with narrow, uneven tiles along the edges. Consider using tile spacers to maintain consistent gaps for grout lines, ensuring a professional finish.

After planning the layout, mix the thin-set mortar according to the manufacturer’s instructions. Apply the mortar to a small section of the floor using a notched trowel, holding it at a 45-degree angle to create uniform ridges. Press the first tile into the mortar, gently twisting it to ensure proper adhesion. Continue laying tiles, working in small sections and using spacers to maintain even gaps. Periodically check the level of the tiles with a spirit level to ensure they are even and adjust as necessary.

Once all the tiles are laid and the mortar has cured, it’s time to apply the grout. Mix the grout according to the package instructions and use a rubber float to spread it over the tiles, pressing it into the gaps. Work in small sections and remove any excess grout with the float held at a 45-degree angle. Allow the grout to set for the recommended time, then use a damp sponge to wipe away any grout residue from the surface of the tiles. Rinse the sponge frequently and avoid using too much water to prevent weakening the grout.

Finally, after the grout has fully cured, apply a grout sealer to protect it from stains and moisture. Follow the manufacturer’s instructions for application and drying times. Regular maintenance, such as sweeping and mopping, will keep your tiled bathroom floor looking its best. By following these steps, you can achieve a beautiful and durable tiled floor that enhances the functionality and aesthetic of your bathroom. With careful planning and execution, tiling a bathroom floor on concrete is a rewarding DIY project.
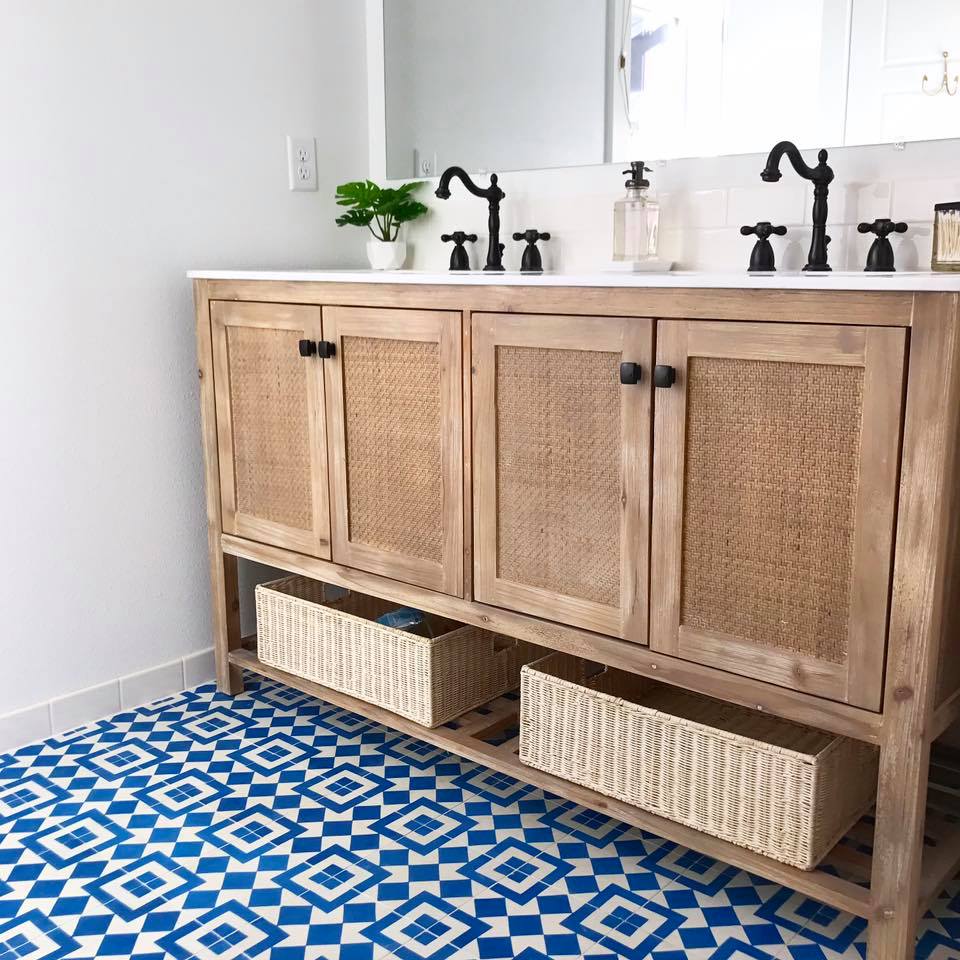
Cement Tile Floor Bathroom Ideas
How to Use Icon Tiles to Create Contemporary Spaces Arizona Tile
![]()
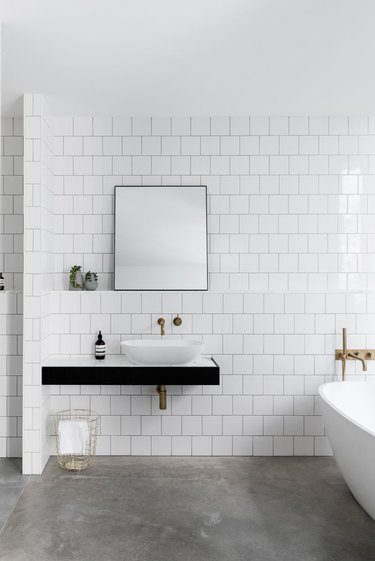
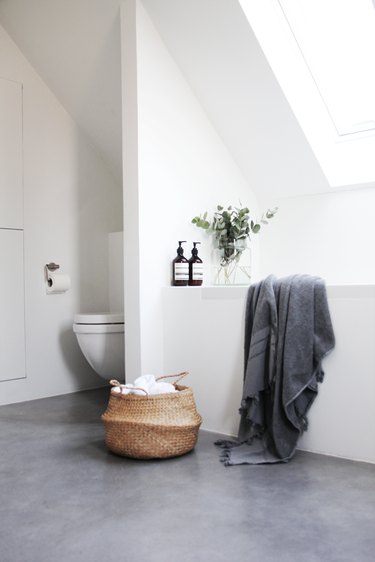
Photos That Will Convince You to Get a Concrete Bathroom Floor
Concrete Shower Floor (Pros and Cons u0026 Design Guide) – Designing Idea
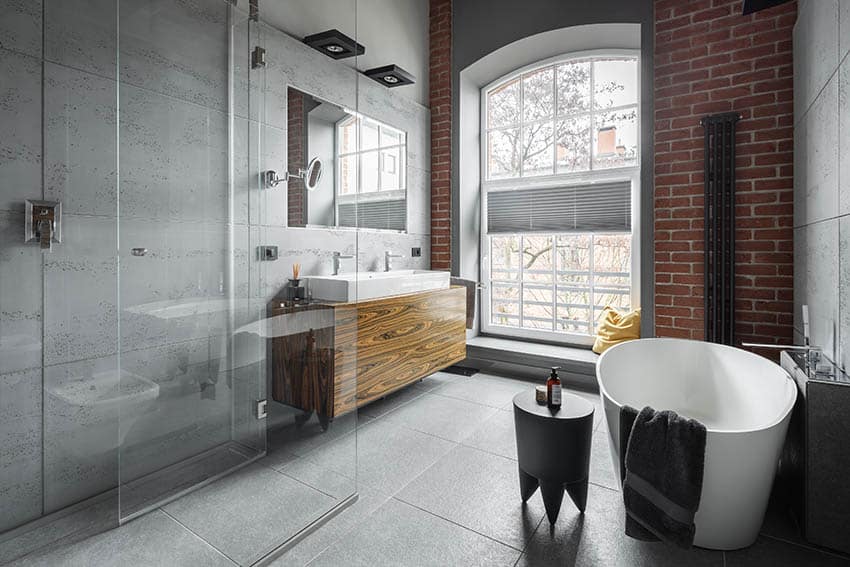
Reasons Modern Design Lovers Choose Concrete Lookalike Porcelain
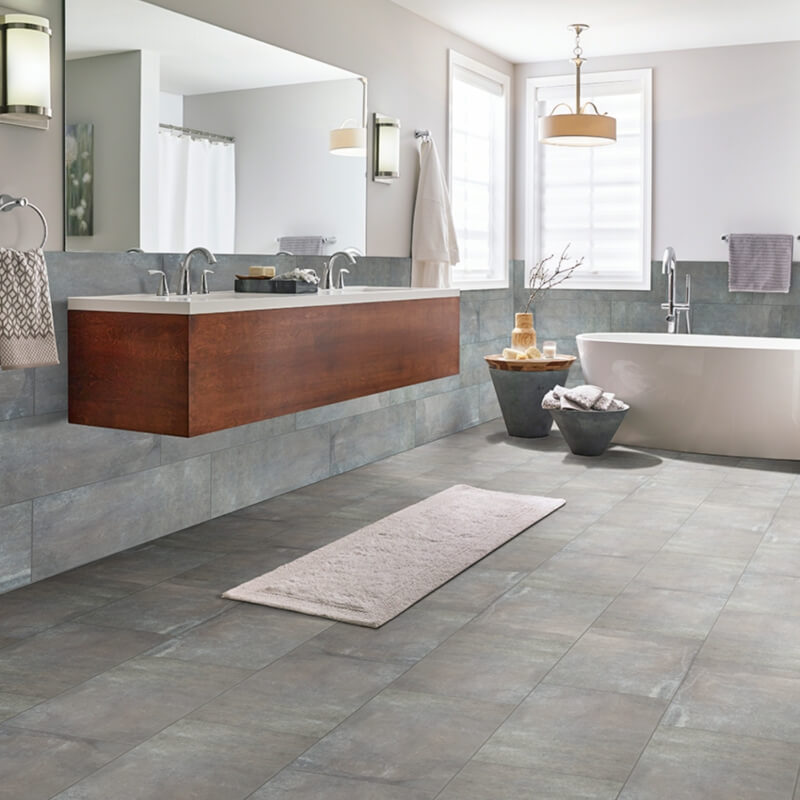
Choose Concrete Tiles for Your Bathroom Floor
Contemporary Concrete Look Bathroom Best bathroom flooring

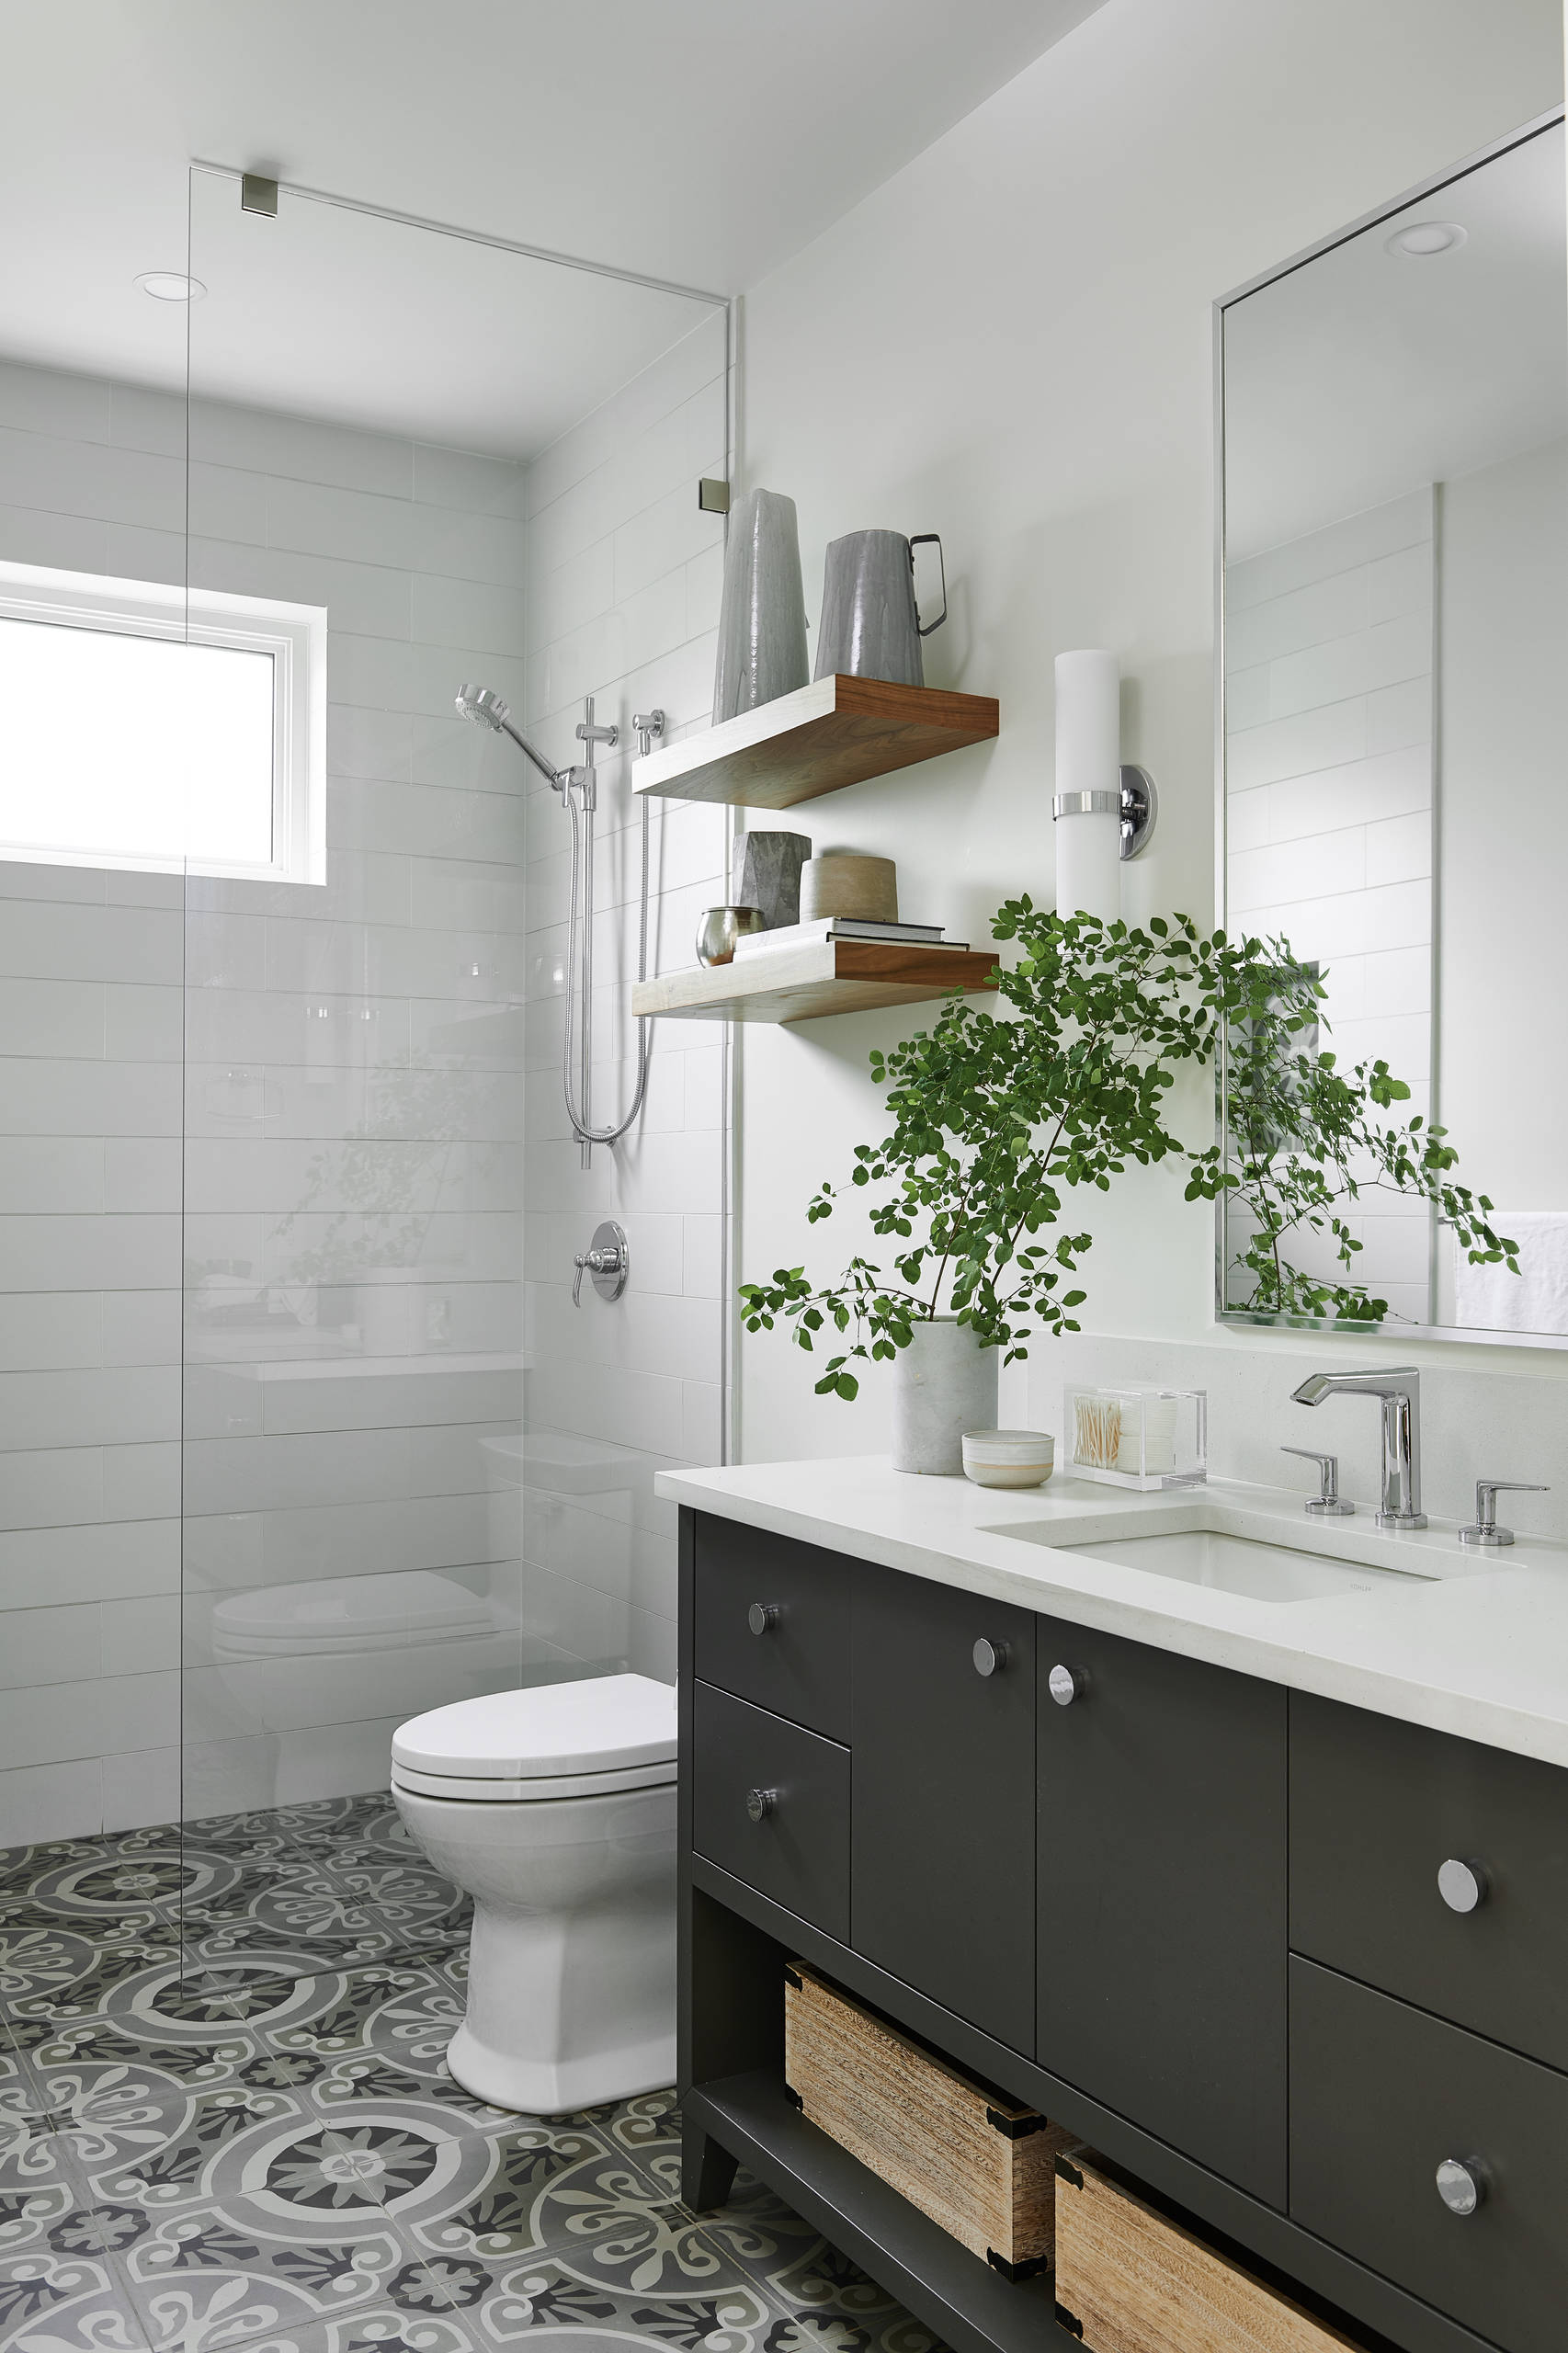
Bathroom Subway Tile Walls Concrete Floors Design Photos and Ideas

FunStick 30 Pack Grey Slate Tile Flooring Peel and Stick Waterproof Floor Tile 12x12In Concrete Vinyl Flooring Peel and Stick Tiles for Floor Bathroom

Livelynine Peel and Stick Floor Tile 12X12 Inch Grey Concrete Vinyl Flooring Peel and Stick Tile for Kitchen Flooring Bathroom Lamiante Flooring

Related Posts: