Standing in my old home with worn carpet that had seen better days, I faced a flooring decision that would impact my daily life for years. The original hardwood floors lay buried beneath layers of outdated materials, and restoration seemed too costly and time-consuming. After researching various options, wood laminate flooring emerged as the perfect solution for my budget and lifestyle needs. This choice would prove transformative, offering the beauty of natural wood without the hefty price tag. My journey with laminate flooring taught me valuable lessons about modern materials, installation techniques, and the importance of quality underlayment for long-term satisfaction.
My research phase consumed weeks as I compared different brands, thicknesses, and installation methods available in today’s competitive market. I discovered that modern laminate flooring bears little resemblance to the plastic-looking products of decades past. Today’s options feature incredibly realistic wood grain patterns, varied plank widths, and sophisticated locking systems that create seamless installations. I learned about AC ratings, which measure durability and wear resistance for different traffic levels. The moisture resistance of quality laminate impressed me, making it suitable for kitchens and bathrooms where traditional hardwood might fail. This knowledge empowered me to make informed decisions based on facts rather than assumptions.

Selecting the perfect laminate required balancing aesthetics with practical considerations, leading me through countless showroom visits and sample comparisons. I gravitated toward a medium oak finish with subtle grain variations that would complement my existing furniture and natural lighting. The 8mm thickness provided excellent stability while keeping costs reasonable, and the click-lock installation system promised a straightforward DIY project. I chose products with attached padding to simplify installation and improve comfort underfoot. The beveled edges would create authentic plank separation lines, enhancing the realistic wood appearance. Color consistency across boxes became crucial, so I ordered from the same production lot to avoid noticeable variations.
Preparation work proved more extensive than anticipated, requiring careful attention to subfloor conditions and moisture levels throughout the installation area. I removed all existing flooring down to the original subflooring, discovering minor squeaks and loose boards that needed immediate attention. Using a moisture meter, I tested various spots to ensure readings stayed below manufacturer specifications. Any high spots required sanding, while low areas needed leveling compound for perfectly flat surfaces. I installed a vapor barrier over the concrete areas and ensured proper expansion gaps around the room perimeter. This groundwork took longer than expected but created the foundation necessary for a professional-looking installation that would last for decades.

The installation process challenged my patience but rewarded me with newfound confidence in my DIY abilities and problem-solving skills. Starting with the longest, straightest wall, I carefully measured and cut the first row, ensuring proper expansion gaps along all edges. The click-lock system worked beautifully once I mastered the technique of angling planks correctly before lowering them into place. Each row required staggered joints for structural integrity and visual appeal, which meant careful planning to minimize waste. Doorways and transitions presented the biggest challenges, requiring precise measurements and steady hands with the jigsaw. The satisfaction of seeing each row lock perfectly into place made the effort worthwhile.
Cutting laminate planks required the right tools and techniques to achieve clean, professional edges without chipping the decorative surface layer. I invested in a fine-tooth circular saw blade specifically designed for laminate materials, which produced smooth cuts with minimal tear-out. For more intricate cuts around vents and door frames, a jigsaw with a laminate blade proved invaluable. I always cut from the back side to prevent surface damage and used painter’s tape over cut lines for extra protection. Measuring twice and cutting once became my mantra, as mistakes could be costly. A miter saw handled crosscuts beautifully, while a table saw managed rip cuts for width adjustments around room perimeters.
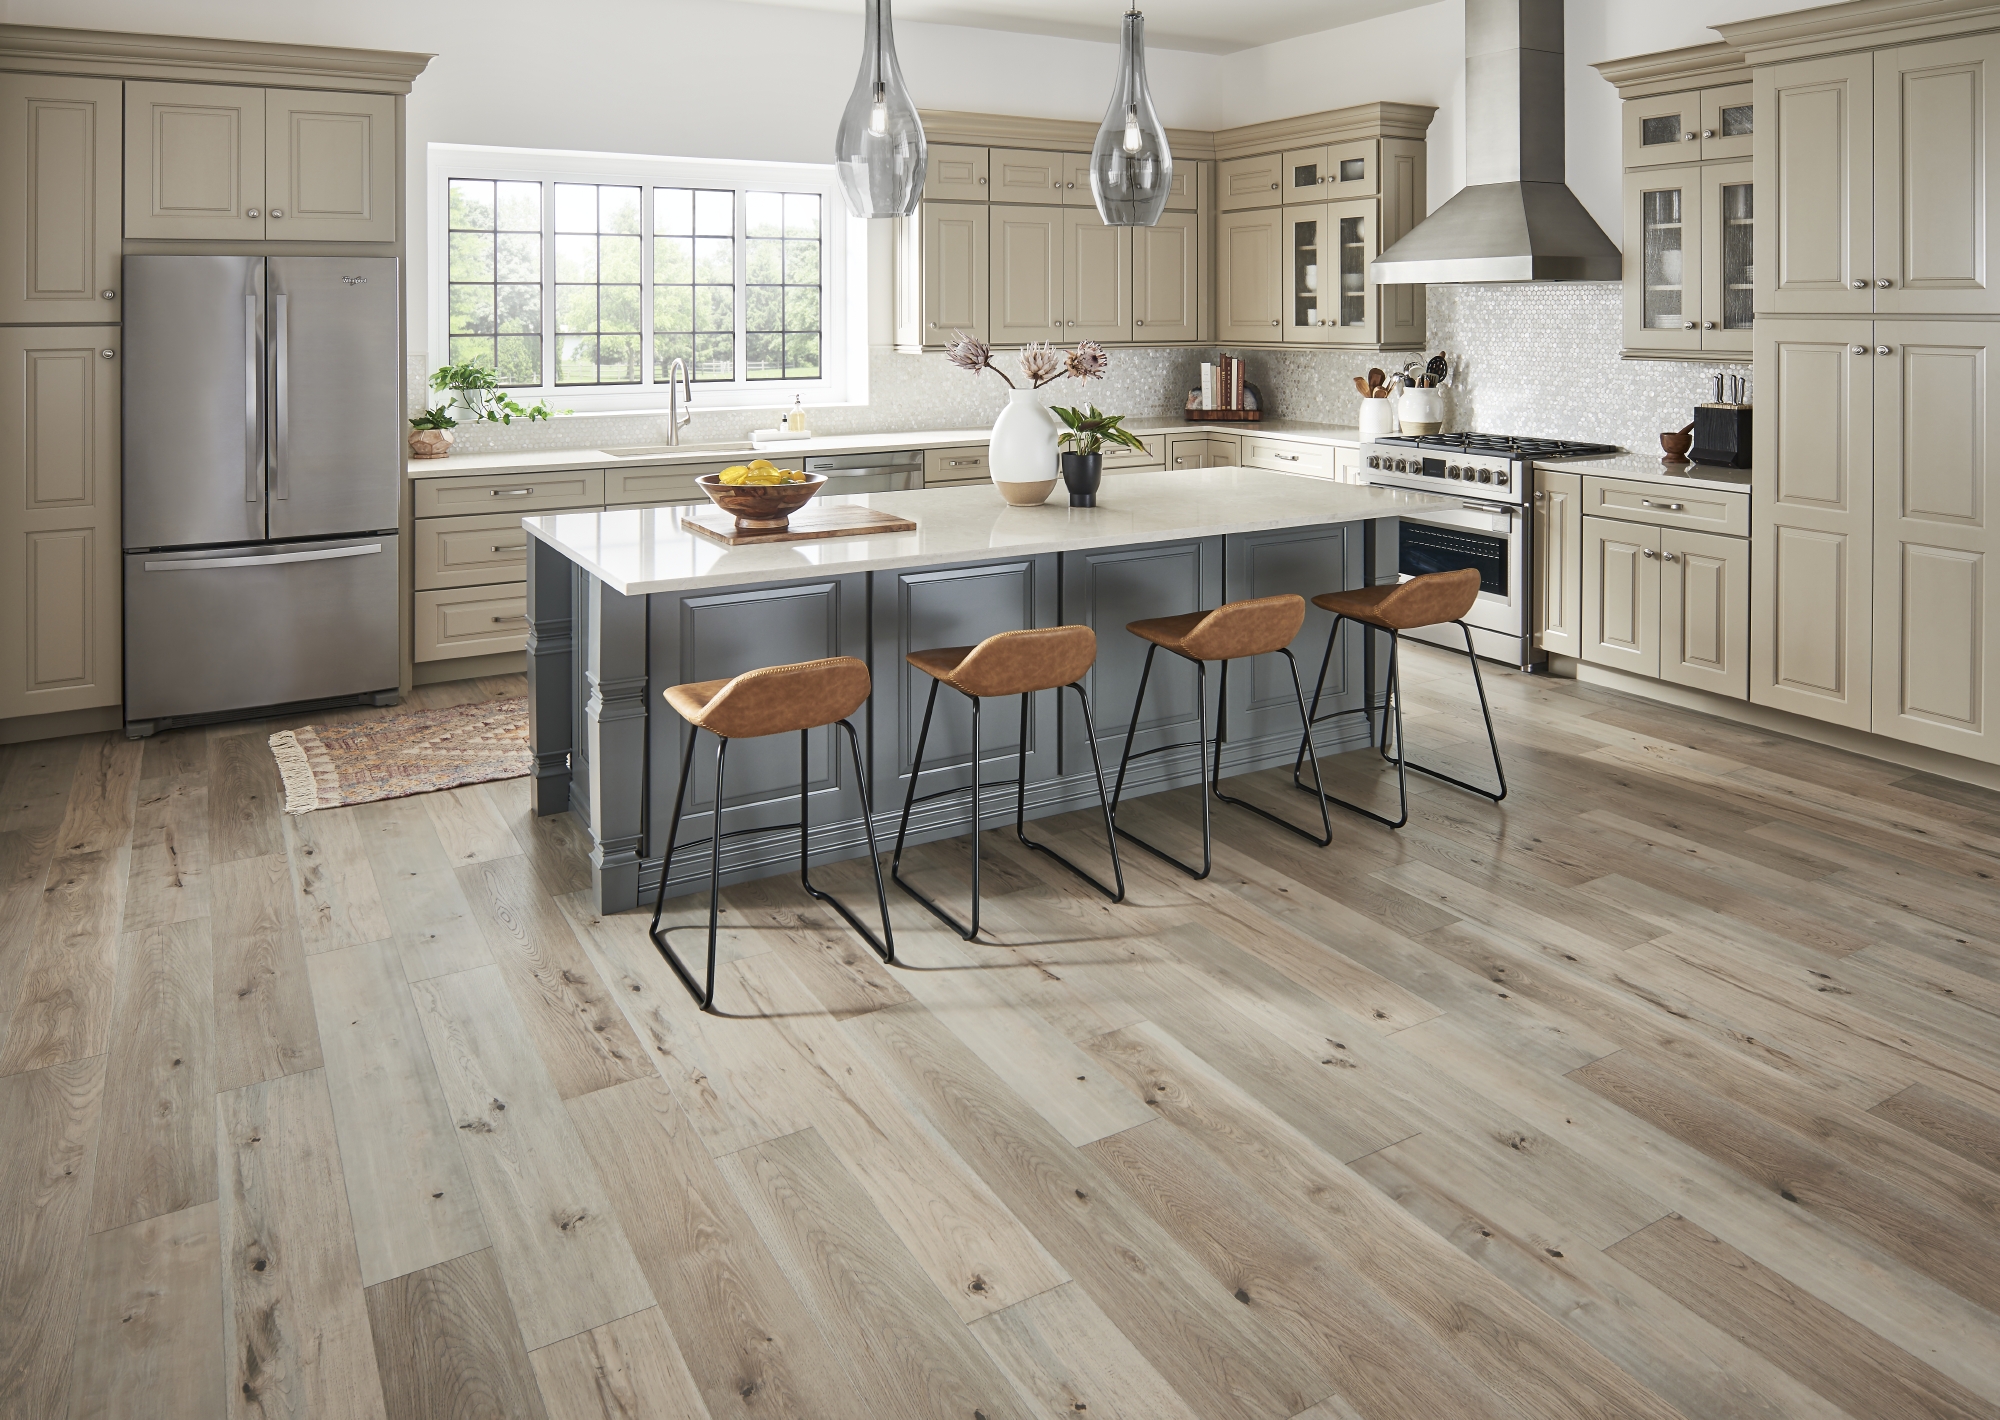
The transformation exceeded my expectations, creating a warm and inviting atmosphere that completely changed how I felt about my living space. The realistic wood grain patterns fooled even close inspection, and the uniform color and texture eliminated the wear patterns and stains that plagued my old carpet. Friends and family consistently complimented the flooring, often surprised to learn it was laminate rather than genuine hardwood. The smooth surface made cleaning effortless, requiring only regular sweeping and occasional damp mopping. The improved acoustics reduced echo and footstep noise compared to hard surfaces like tile. This flooring choice enhanced both the appearance and functionality of my home while staying within my modest budget.
Daily maintenance proves remarkably simple, requiring minimal effort to keep the floors looking pristine and new throughout normal household activities. Regular sweeping or vacuuming removes dirt and debris that could cause scratches over time, while microfiber dust mops handle light daily cleaning efficiently. For deeper cleaning, I use manufacturer-recommended laminate floor cleaners that won’t leave residue or damage the protective wear layer. Spills clean up easily when addressed promptly, preventing stains or moisture damage. I use furniture pads under heavy items and area rugs in high-traffic zones for additional protection. The durability continues to impress me after several years of normal family use, showing minimal signs of wear.

Cost analysis revealed significant savings compared to hardwood installation while delivering comparable aesthetic results and long-term durability for my family’s needs. The material cost per square foot was roughly one-third that of comparable hardwood flooring, and the DIY installation eliminated expensive labor charges. The tools required represented a one-time investment that I could use for future projects throughout my home. No sanding, staining, or refinishing costs would ever be necessary, unlike traditional hardwood that requires periodic maintenance. The quick installation timeline meant minimal disruption to our daily routines compared to lengthy hardwood projects. When factoring in longevity and maintenance savings, laminate flooring provided exceptional value for our household budget.
This flooring project taught me that modern building materials can offer excellent alternatives to traditional options without compromising quality or appearance. The technology behind today’s laminate products has advanced tremendously, creating options that satisfy both practical and aesthetic requirements. I gained confidence in tackling home improvement projects while learning valuable skills about measuring, cutting, and installation techniques. The finished floors continue to bring joy and satisfaction years later, proving that careful research and quality materials yield lasting results. This experience opened my eyes to other innovative building products that combine affordability with performance, changing how I approach future home renovation decisions.

How long does laminate flooring typically last in a busy household?
Quality laminate flooring with proper AC ratings can last 15 to 25 years in busy households with normal wear and maintenance practices. Higher AC ratings indicate better durability for heavy traffic areas like hallways and living rooms. The wear layer thickness directly impacts longevity, with thicker layers resisting scratches and dents more effectively. Proper installation with quality underlayment prevents moisture issues that could cause premature failure. Regular maintenance, including prompt spill cleanup and protective measures under furniture, extends lifespan significantly. While not as long-lasting as solid hardwood, modern laminate offers excellent value when considering initial cost versus years of service life.
Can I install laminate flooring over existing floors?
Installing laminate over existing floors is possible in many situations, provided the underlying surface meets specific requirements for stability and levelness. Existing hardwood, vinyl, or tile floors often provide suitable substrates if they are firmly attached and level within the manufacturer’s tolerances. Carpet and padding must be completely removed before installation to ensure proper stability and prevent moisture issues. The total floor height increase should be considered, especially around doorways and transitions to other rooms. Always check manufacturer guidelines and local building codes before proceeding. A professional assessment may be wise for questionable subfloor conditions to avoid future problems.

What tools do I need for DIY laminate flooring installation?
Essential tools include a circular saw or miter saw with fine-tooth blade, jigsaw for detailed cuts, measuring tape, chalk line, spacers for expansion gaps, and a rubber mallet for fitting pieces. A laminate pulling bar helps position the last row, while knee pads provide comfort during installation. Safety equipment, including eye and ear protection, is crucial when cutting materials. A moisture meter helps verify subfloor conditions before beginning work. Additional helpful tools include a speed square for marking cuts, a utility knife for trimming underlayment, and a pry bar for removing existing trim. Quality tools make the job easier and produce better results than cheap alternatives.
How do I maintain laminate flooring to keep it looking new?
Regular maintenance involves daily sweeping or vacuuming to remove abrasive dirt particles that could scratch the surface over time. Weekly damp mopping with laminate-specific cleaners removes stuck-on dirt without leaving harmful residue that could damage the protective wear layer. Avoid excessive water, steam mops, or harsh chemicals that could cause swelling or finish damage. Use furniture pads under heavy items and area rugs in high-traffic zones for additional protection. Clean spills immediately to prevent moisture penetration at seams. Periodic deep cleaning with manufacturer-approved products keeps floors looking fresh while protecting your investment for years of beautiful service.

What should I consider when choosing laminate flooring thickness?
Thickness typically ranges from 6mm to 12mm, with thicker options providing better stability, durability, and sound absorption for comfortable walking. Thinner laminates cost less but may feel hollow underfoot and show more flex in larger rooms with standard joist spacing. 8mm thickness offers excellent balance between cost and performance for most residential applications, while 10mm and above suit high-traffic commercial spaces or areas requiring a premium feel. Thicker planks often feature better locking systems and wear layers for enhanced longevity. Consider your subfloor conditions, traffic levels, and budget when selecting an appropriate thickness for optimal long-term satisfaction.
Can laminate flooring be repaired if damaged?
Individual damaged planks can be replaced in floating floor installations, though the process requires careful disassembly from the nearest wall to reach the affected area. Small scratches may be concealed with manufacturer-approved touch-up markers or putty sticks that match the floor color and grain pattern. Deep gouges or severe water damage typically require plank replacement for proper repair and appearance restoration. Prevention through proper maintenance and protective measures proves more effective than repairs after damage occurs. Keep spare planks from the original installation for future repair needs, as exact color matches may be difficult to obtain later. Professional repair services are available for extensive damage beyond DIY capabilities.

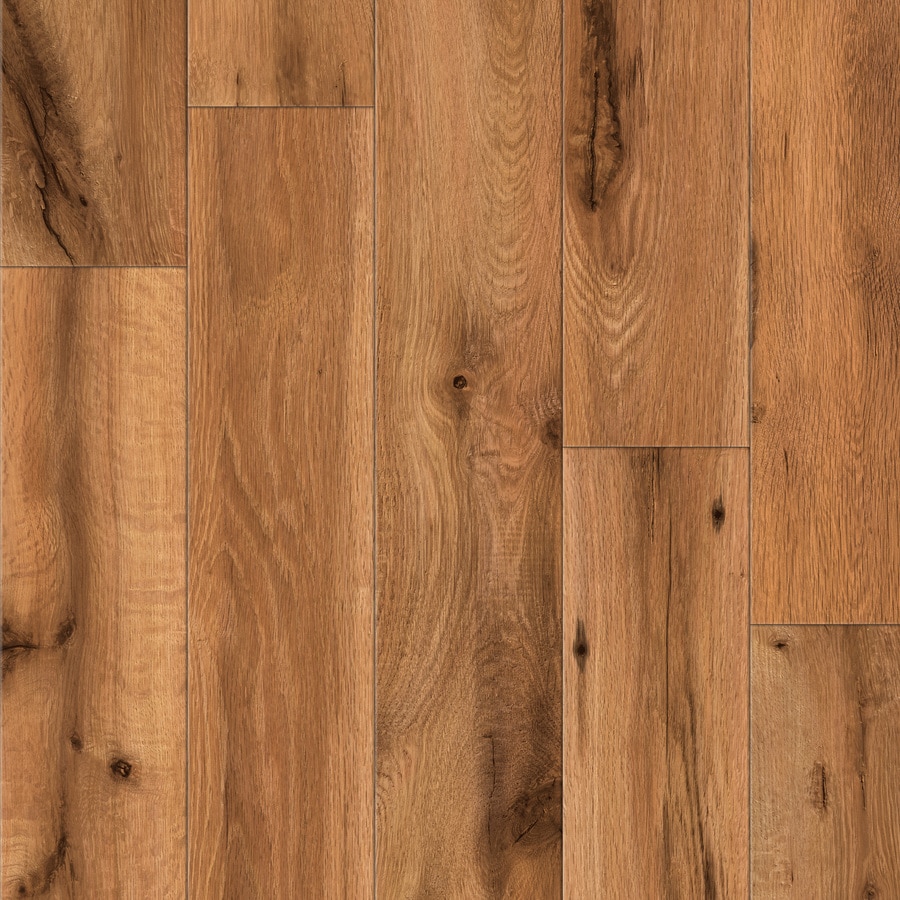
Allen + roth Lodge Oak 4.96-in W x 4.23-ft L Handscraped Wood Plank Laminate Flooring
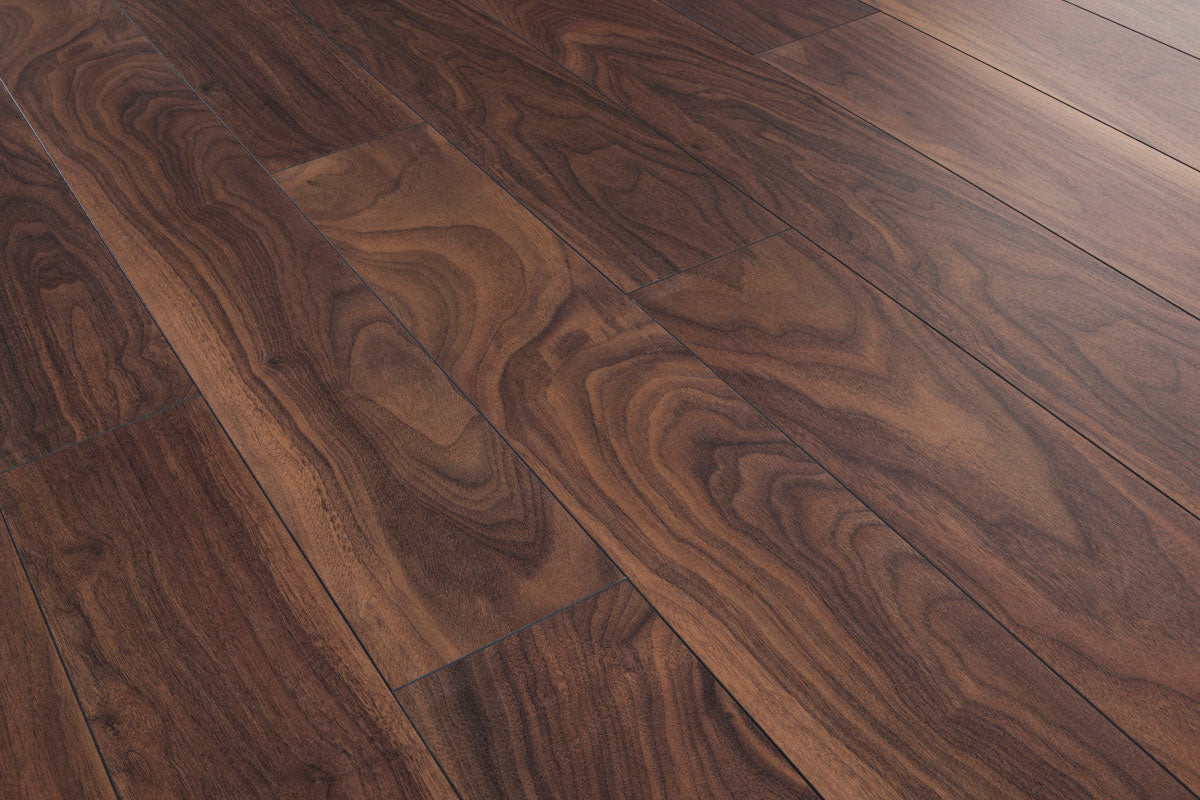
Mega Deal 10mm Laminate Flooring American Walnut
Laminate Flooring For That Authentic Timber Look Laminate flooring, Flooring, Laminate

Laminate Floors: Mohawk Laminate Flooring – Carrolton – Harvest Oak

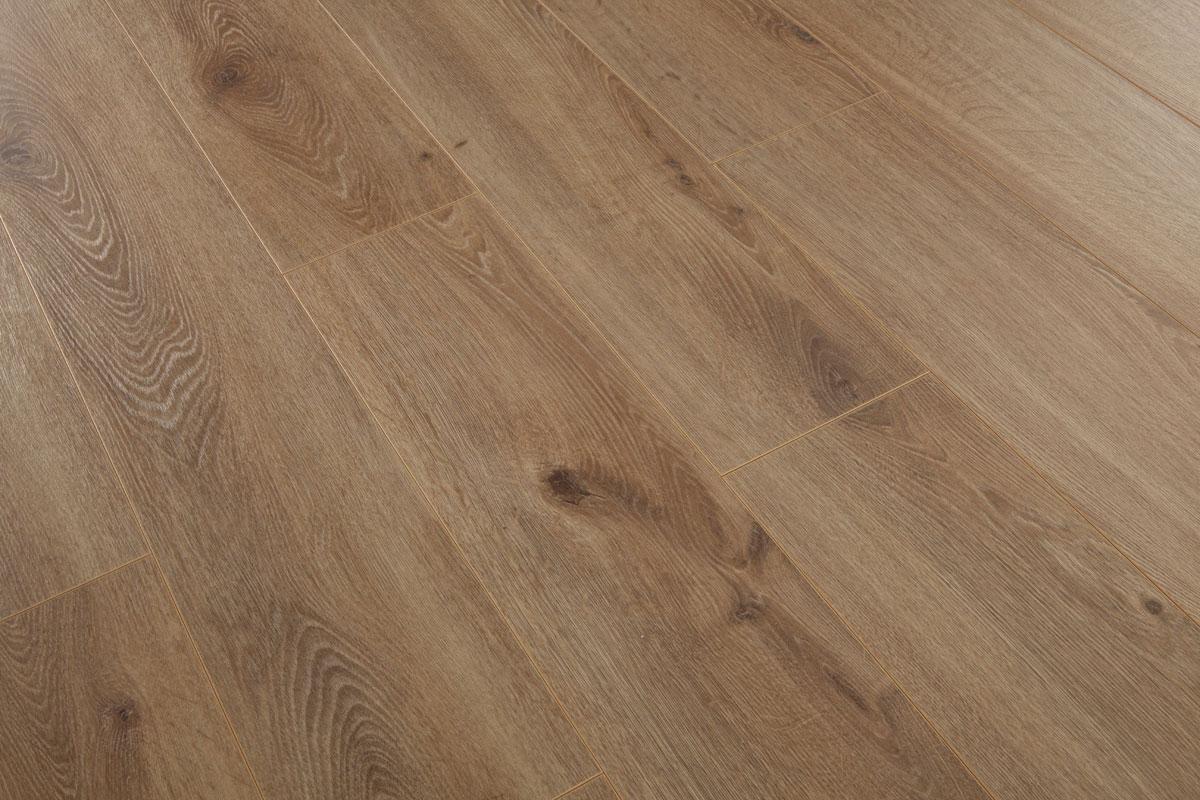
Series Woods Professional 10mm Laminate Flooring Oak Light
Related Posts: