When I decided to upgrade my garage floor, I knew I wanted something durable and easy to maintain. After researching options, I chose a 100% solid epoxy coating, and it’s been one of the best home improvements I’ve made. Unlike water-based or solvent-based epoxies, the 100% solid formula contains no fillers or thinning agents, making it incredibly tough. The installation process was intensive, but the results speak for themselves. My garage floor now resists oil stains, chemical spills, and heavy impacts that would damage concrete. It’s transformed my garage from a dingy space into something that looks professional and polished.
Preparation is absolutely crucial for a successful epoxy application. I spent an entire weekend cleaning, etching, and repairing my concrete floor before even opening the epoxy kit. Any grease stains or cracks must be addressed, or the epoxy won’t adhere properly. I used a concrete grinder to open the pores of the floor, followed by acid etching to ensure maximum bonding. This step was messy but necessary. The floor must be completely dry before application—I waited 72 hours after cleaning to be safe. Skipping proper prep is why many DIY epoxy jobs fail within months. Taking time here makes all the difference in longevity.

Applying the epoxy was both easier and harder than I expected. The material mixes quickly and starts to set fast, so you need to work in small sections. I divided my two-car garage into quadrants and recruited a friend to help. The epoxy self-levels somewhat, but you still need to spread it evenly with a squeegee. Watching the glossy finish develop was satisfying, but the real challenge came with the decorative flakes. They need to be broadcast evenly while the epoxy is wet, requiring careful timing. We finished just as the epoxy began to thicken—any later and the flakes wouldn’t have embedded properly. The whole process took about six hours from mixing to cleanup.
The curing process tested my patience. While the epoxy was dry to the touch after 24 hours, full curing takes about seven days. I avoided parking on it for a full week, which meant temporarily reorganizing my driveway. Temperature matters during curing—I waited for a stretch of 70°F days to ensure proper hardening. The smell was strong initially but dissipated after about 48 hours. What surprised me most was how the finish continued to improve over weeks, becoming harder and more glossy. Now, six months later, it’s even more durable than when first applied. This extended curing is why 100% solid epoxy outperforms quick-dry alternatives in the long run.
Maintenance has been incredibly easy compared to bare concrete. Spills wipe right up without staining, and dirt sweeps away effortlessly. I occasionally mop with a mild detergent to keep the shine, but that’s about it. The epoxy resists tire marks better than I expected—no more worrying about hot tires leaving rubber stains. When I drop tools, they don’t chip the floor like they did with concrete. The only maintenance tip I’d emphasize is avoiding harsh chemicals like undiluted bleach, which can dull the finish over time. For garage floors that see heavy use, this low-maintenance aspect is a game-changer.
Durability has exceeded my expectations. My garage serves as both parking space and workshop, so it takes abuse. The epoxy has withstood jack stands, engine hoists, and dropped wrenches without damage. The thermal stability impresses me—it doesn’t crack during temperature swings like some coatings. Even when I spilled brake fluid (which eats through many finishes), quick cleanup left no mark. The anti-slip texture I added during application provides good traction even when wet. After a year of use, there’s just one small chip near the workbench from when I dropped a sharp metal corner from waist height. For normal garage use, this stuff is nearly indestructible.

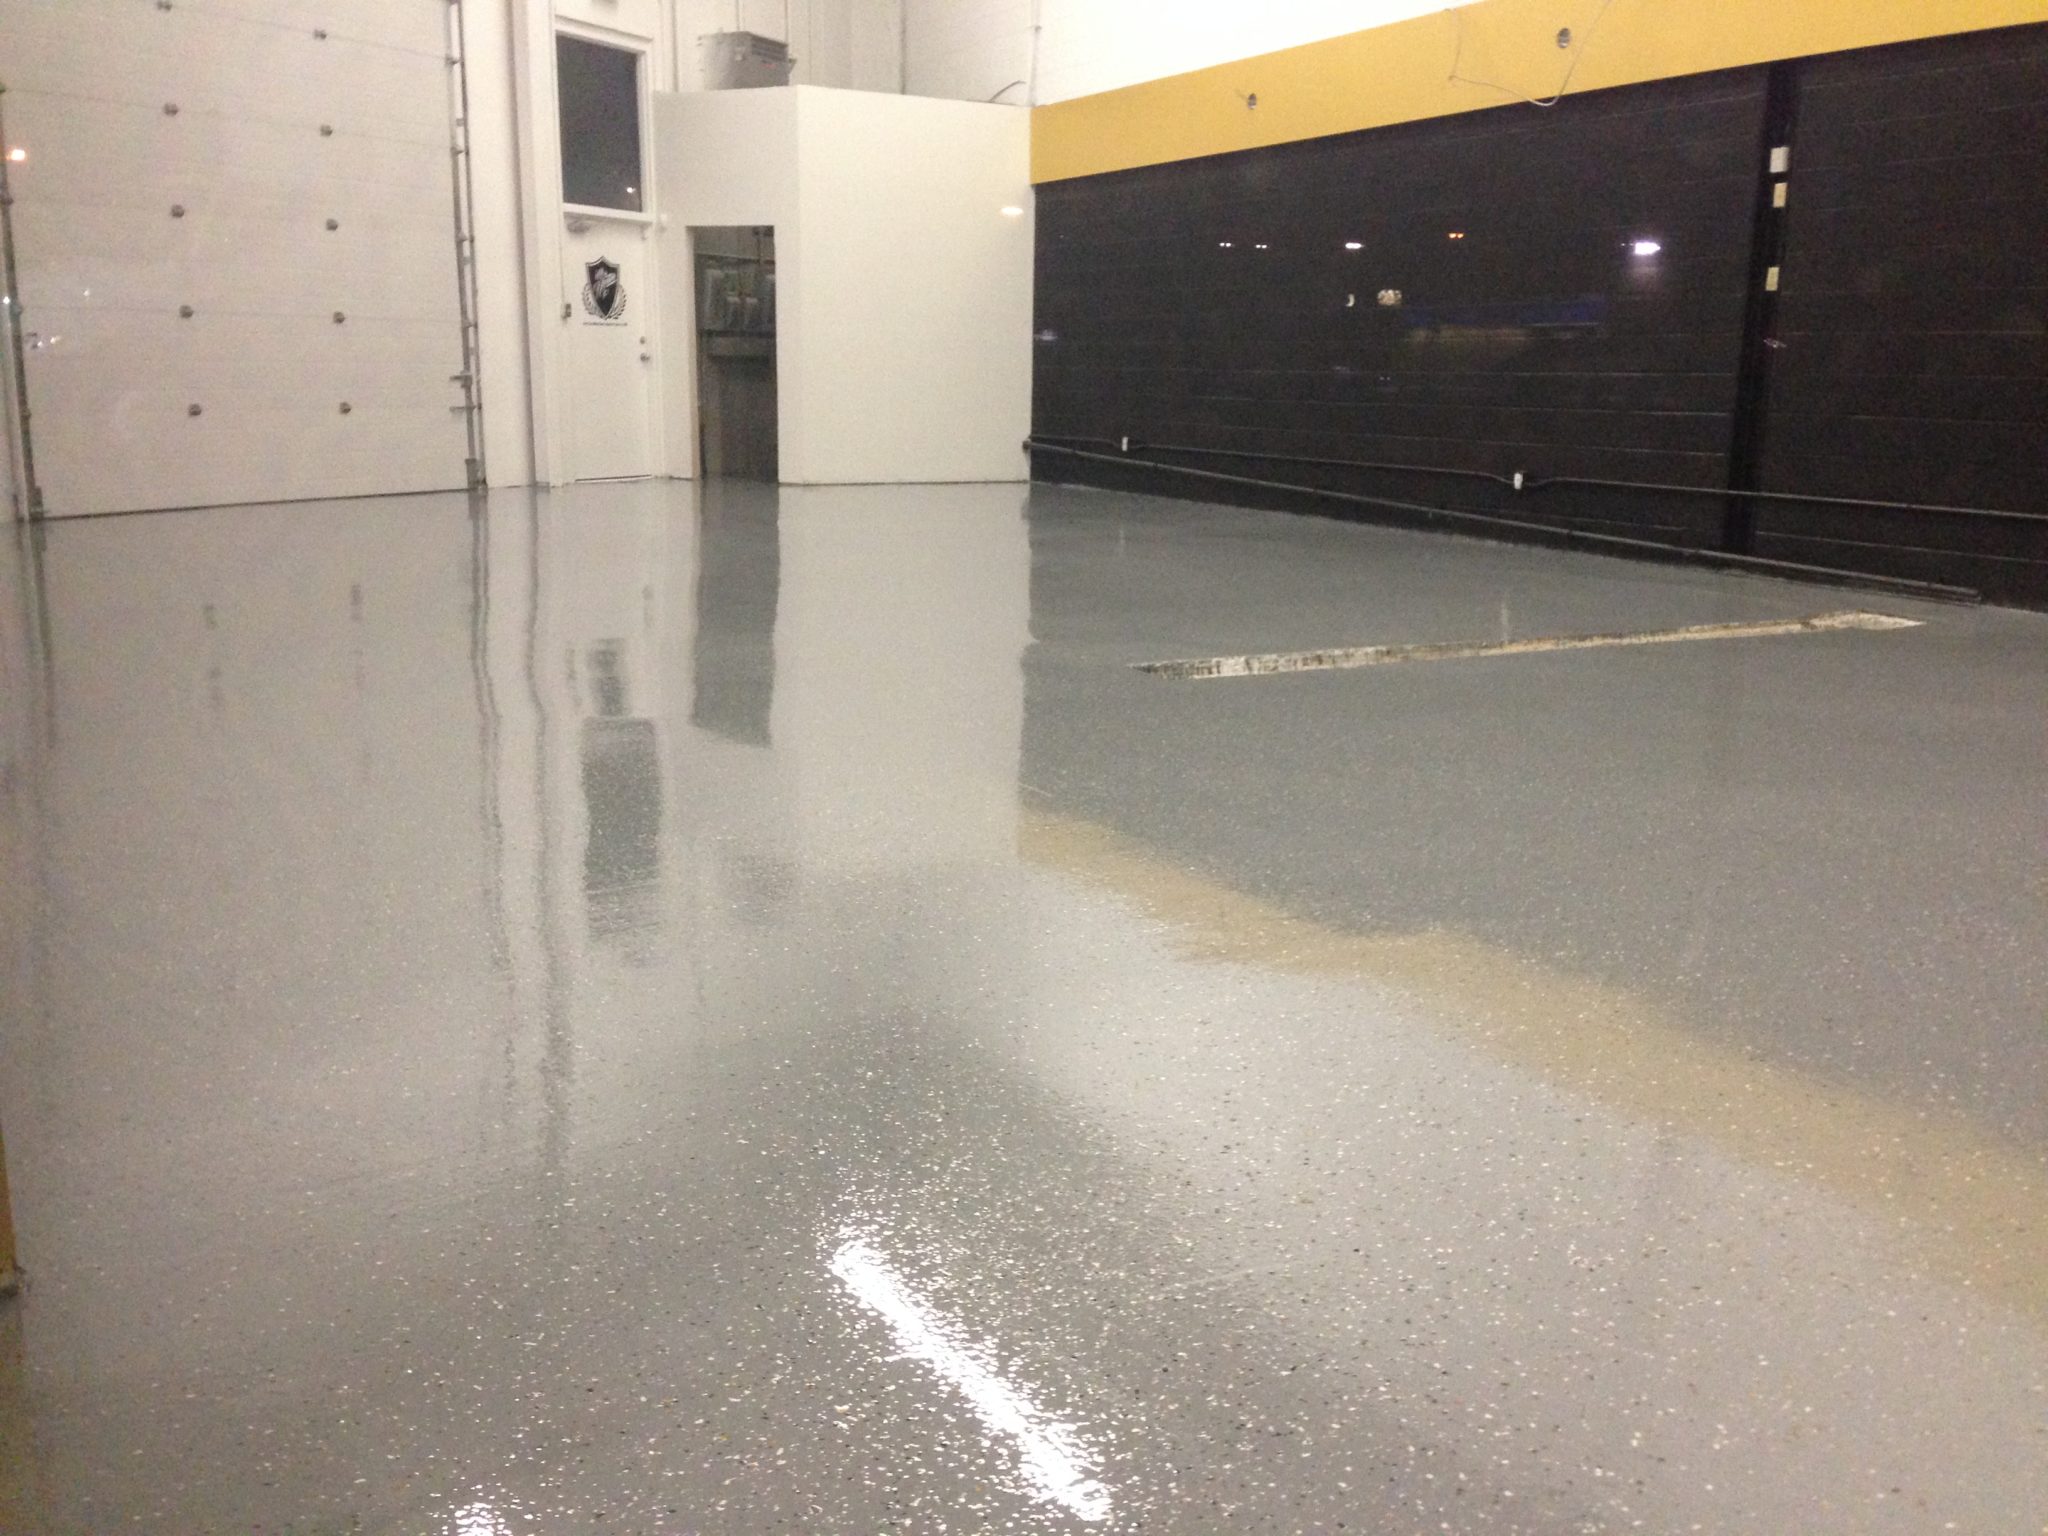
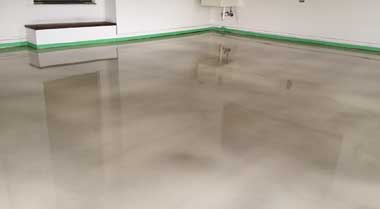
The aesthetic improvement shocked me most. My formerly stained, pitted concrete now looks like a high-end showroom floor. The glossy finish reflects light, making the whole garage brighter. I chose a light gray base with multicolor flakes that hide dirt beautifully. Visitors often comment on how professional it looks—some don’t even realize it’s a coating at first. The color hasn’t yellowed or faded despite sunlight from the garage door windows. For anyone using their garage as more than just parking—maybe a workshop, gym, or hangout space—the visual upgrade alone justifies the effort.
There are a few things I’d do differently next time. I’d rent a professional concrete grinder instead of using hand tools for prep—it would have saved hours of labor. Adding more anti-slip additive would be wise, as some wet spots can be slick. I’d also purchase extra flakes for better coverage in high-traffic areas. One regret is not extending the epoxy up the garage walls’ baseboard area for easier cleaning. Most importantly, I’d block off more curing time—trying to rush back to normal garage use caused some early scuffs that could have been avoided with more patience.
After living with my epoxy floor for over a year, I can confidently recommend it to any homeowner. The combination of durability, easy maintenance, and professional appearance is unmatched by other garage floor options. While the installation requires serious effort and patience, the long-term benefits make it worthwhile. My garage is now a space I’m proud of rather than just tolerating. For anyone tired of stained, cracking concrete or peeling paint, 100% solid epoxy provides a permanent solution that improves with age. It’s one home improvement that truly delivers on its promises.

How does 100% solid epoxy compare to epoxy paint kits from hardware stores?
The difference is night and day. Hardware store epoxy paints contain solvents and fillers that dilute the epoxy resin, resulting in a thinner, less durable coating. My 100% solid epoxy has no solvents—it’s pure epoxy and hardener that chemically bonds into an incredibly tough surface. While paint kits might last 1-3 years, my solid epoxy should last 10-15 years with proper care. The solid epoxy is also much thicker during application, self-leveling better to hide minor concrete imperfections. For serious garage use, the investment in 100% solid epoxy pays off in long-term performance.
Can you apply epoxy over existing paint or sealers?
Absolutely not—this is crucial. Any existing coatings must be completely removed for proper epoxy adhesion. I learned this the hard way when a test patch peeled right up where old sealant remained. The epoxy needs direct contact with porous concrete to form a permanent bond. This means grinding or chemically stripping the entire floor down to bare concrete. It’s extra work, but skipping this step guarantees failure. Even “bonding primers” can’t compensate for improper surface preparation. Starting with a clean, bare concrete surface is non-negotiable for a lasting epoxy floor.

How slippery is epoxy when wet?
The natural finish can be slippery, but there are solutions. I added anti-slip additive to my final clear coat, creating a textured surface that provides traction. Some people broadcast fine silica sand for grip. Without these additives, a wet epoxy floor can be hazardous, especially with vehicle fluids. The flakes I used also help with slip resistance by creating surface variation. For garage floors that might get wet from cars or cleaning, I strongly recommend incorporating some anti-slip measure during application. It slightly reduces the glossy look but greatly improves safety.
What temperature range is suitable for application?
Temperature control is critical for proper curing. Most 100% solid epoxies require application between 50-90°F, with ideal around 70°F. I waited for a mild weather window—too cold and the epoxy won’t flow properly; too hot and it cures too fast. The concrete temperature matters more than air temperature, so check with an infrared thermometer. Humidity below 85% is also important to prevent moisture issues. I ran a dehumidifier in my garage for two days before applying. For consistent results, avoid temperature extremes and rapid changes during the critical 72-hour initial cure period.

Can you patch damaged areas later?
Small repairs are possible but challenging to make invisible. When I chipped my floor, I cleaned the area thoroughly and feathered in new epoxy, but the repair remains slightly noticeable. For larger damaged sections, you’d need to grind down the area and reapply base and top coats. This is why proper initial application and maintenance are so important—while durable, epoxy isn’t indestructible. Keeping spare material from the original installation helps color-match repairs. For most homeowners, preventing damage is easier than achieving perfect repairs later.
How does epoxy hold up against hot tires?
Properly cured 100% solid epoxy resists hot tire pickup remarkably well. The key is allowing full cure time before parking vehicles—I waited 7 days. Some cheaper coatings soften when hot tires sit on them, pulling up the finish. My floor has handled summer heat with black asphalt-shaded tires without marking. That said, I avoid parking immediately after long drives when tires are hottest. The epoxy’s thermal stability prevents the cracking that plagues some garage coatings. For extreme heat situations, checking your specific product’s temperature rating is wise, but standard vehicle use poses no issues.

Garage With Steps – Dynasty Epoxy

Epoxy Terrazzo & Granite Style Flooring – TOP FLOOR EPOXY
Superior Garage Flooring Garage Floor Epoxy Coating
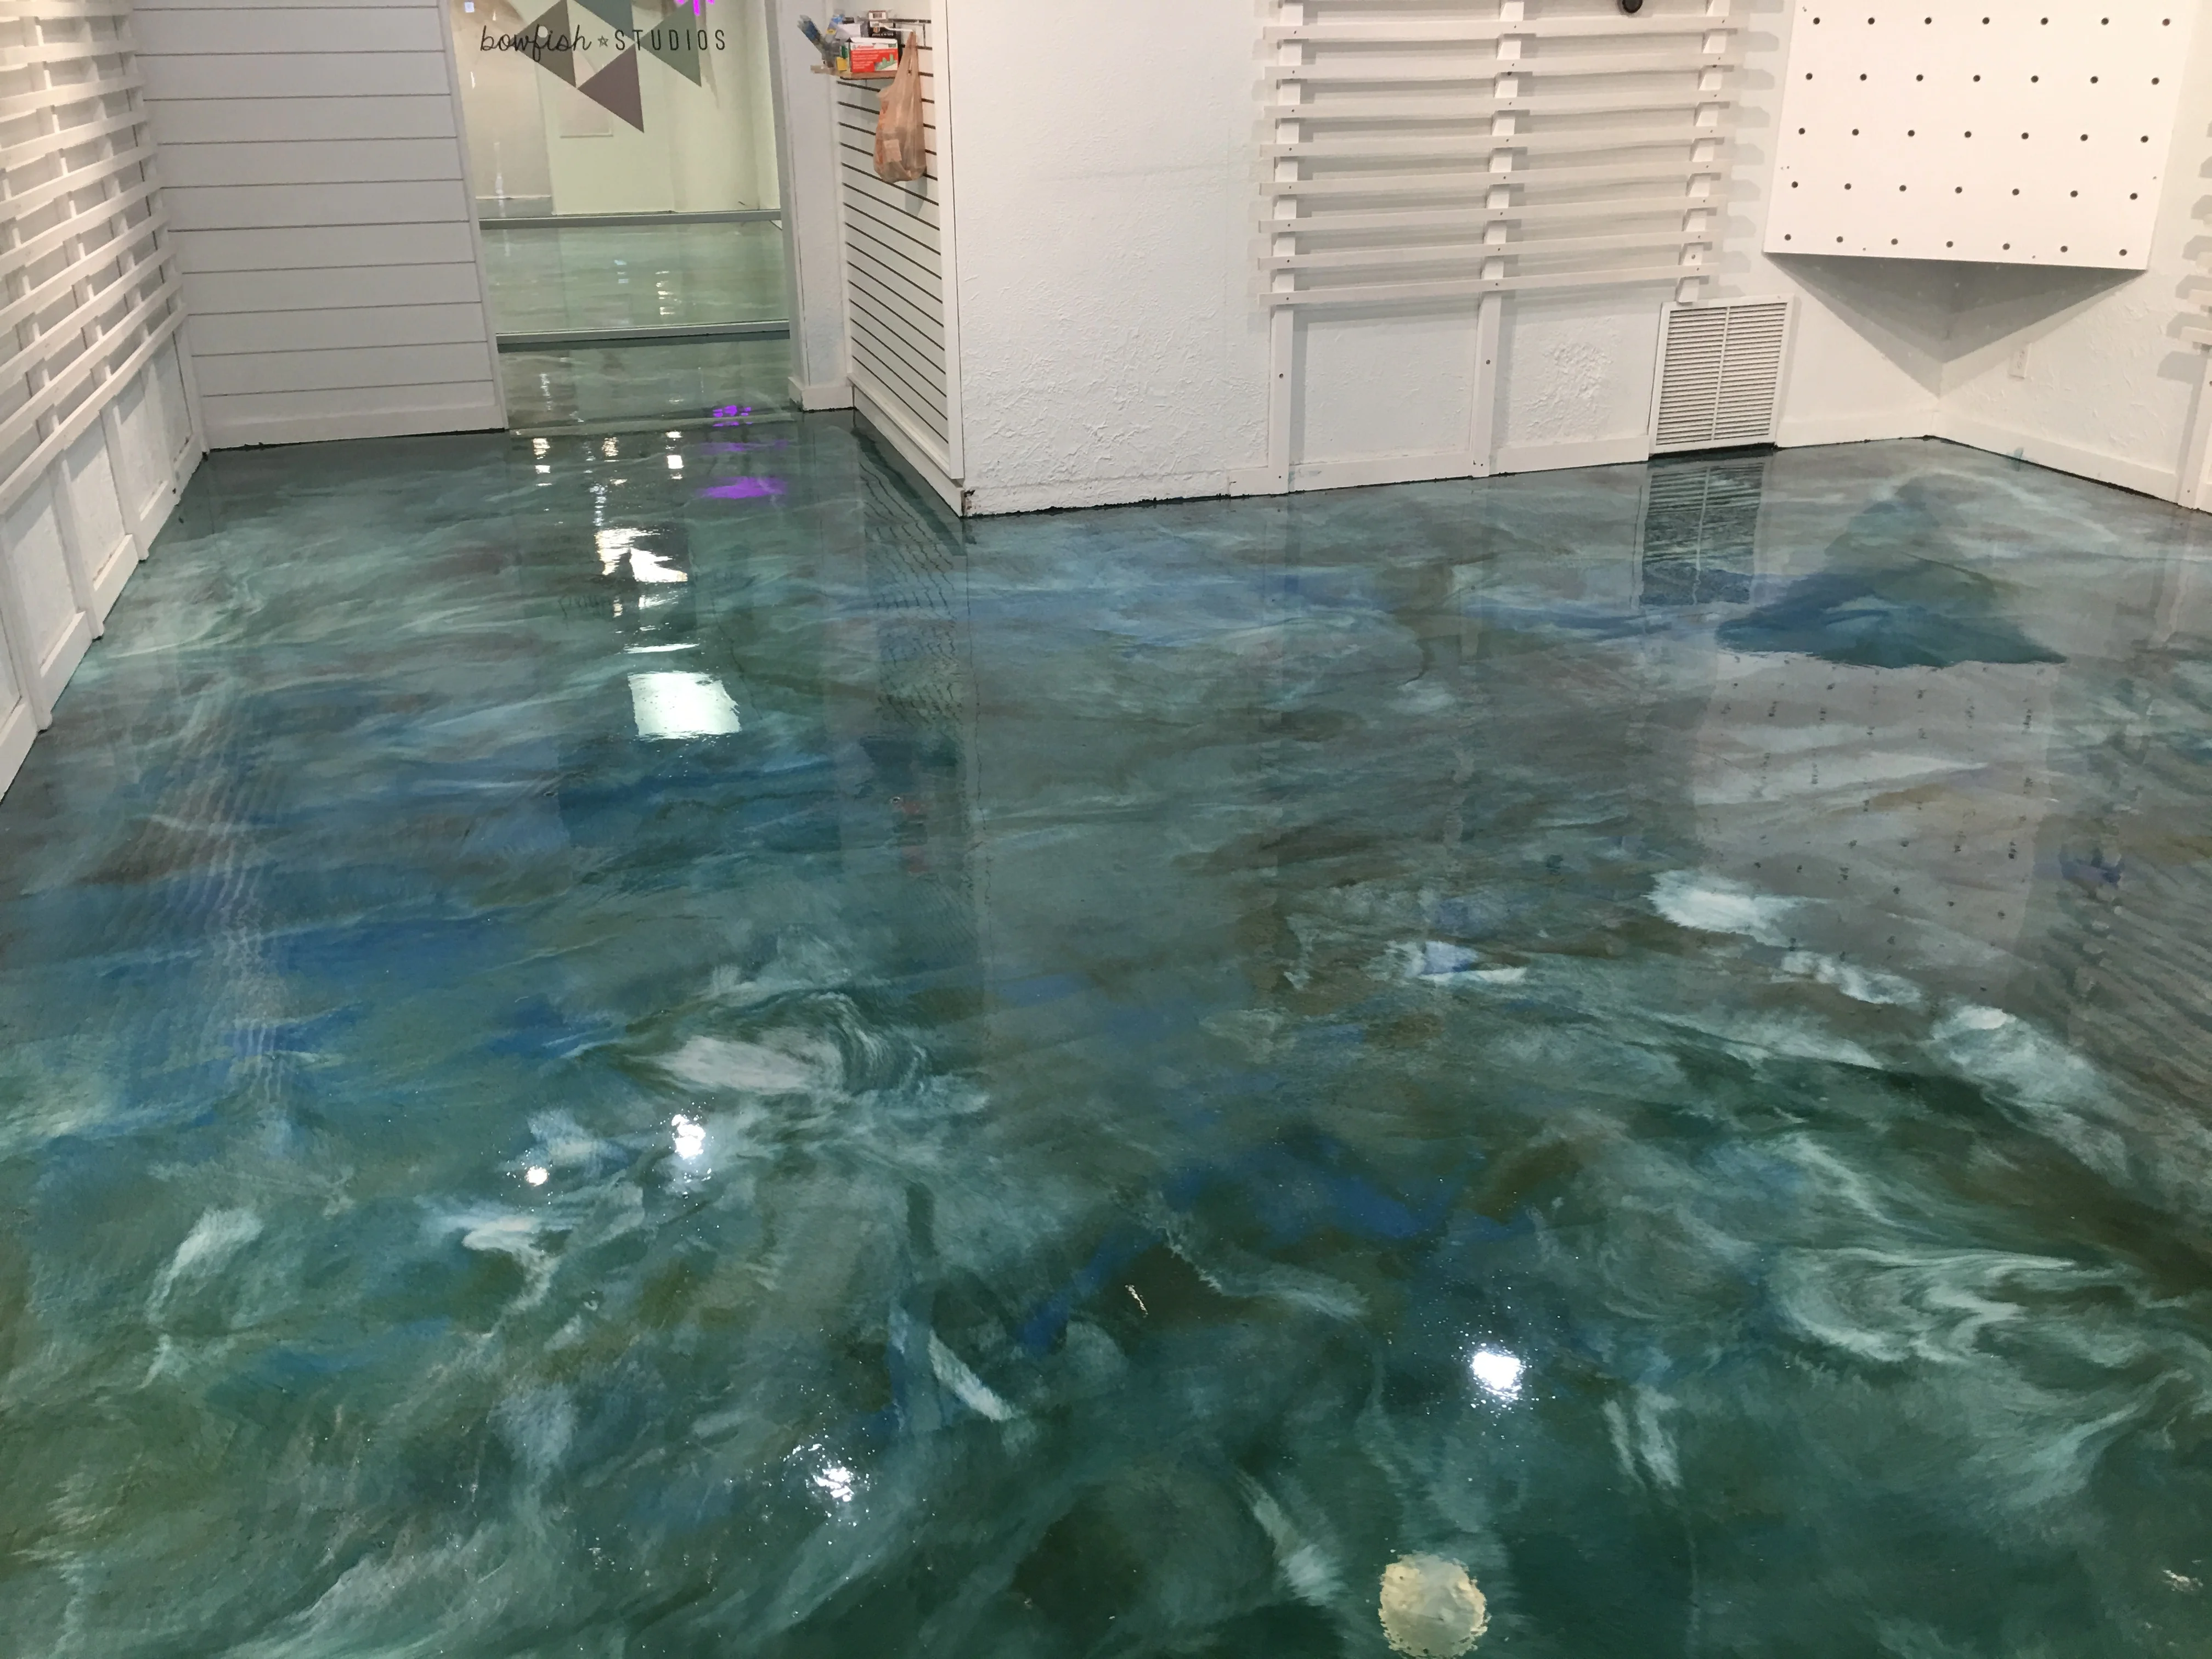
Metallic Pigment Epoxy Resin For Floor Coating Floor Painting Nature Marble Effect – Buy
Related Posts: