I never dreamed my garage floor could look this amazing for so little money until I discovered low-cost epoxy coatings. My concrete slab had been neglected for years, resulting in oil stains, tire marks, and other unsightly appearances. Friends recommended expensive expert treatments, but I wanted to try something more reasonable first. After exploring several choices, I discovered numerous low-cost epoxy kits that claimed professional results for a fraction of the price. The makeover exceeded all of my expectations.
Shopping for cheap epoxy revealed unexpected quality disparities between companies that were not immediately apparent from packaging alone. I compared items in home improvement stores, carefully reading each label to determine coverage rates and application requirements. Some cheaper kits featured less actual epoxy resin, necessitating numerous coatings to obtain the desired thickness. Others contained poorer hardeners, which greatly increased cure times. I discovered that price alone does not determine quality, but understanding ingredients helps distinguish genuine discounts from fake economy products.

Preparing my garage floor took longer than applying the paint, but this step is critical for long-term success. I thoroughly swept, then cleaned with degreasing solutions to eliminate any oil residue that would inhibit effective adhesion. Concrete etching solution expanded surface pores, forming mechanical connections that are necessary for durability. I fixed small cracks with concrete filler and waited for it to cure completely before proceeding. Proper preparation requires patience, but skipping steps results in premature failure regardless of coating quality or application technique.
The mixing process originally worried me because epoxy chemistry requires precise ratios and timing that cannot be changed once begun. I measured components precisely using graduated containers rather than guessing proportions, which could jeopardize curing. Working time varies with temperature, thus I scheduled each batch size based on the speed of my application. Thorough mixing prevents soft spots caused by improperly blended components. I learnt to work in small parts, finishing each region before the pot life ran out and rendered the concoction unworkable.

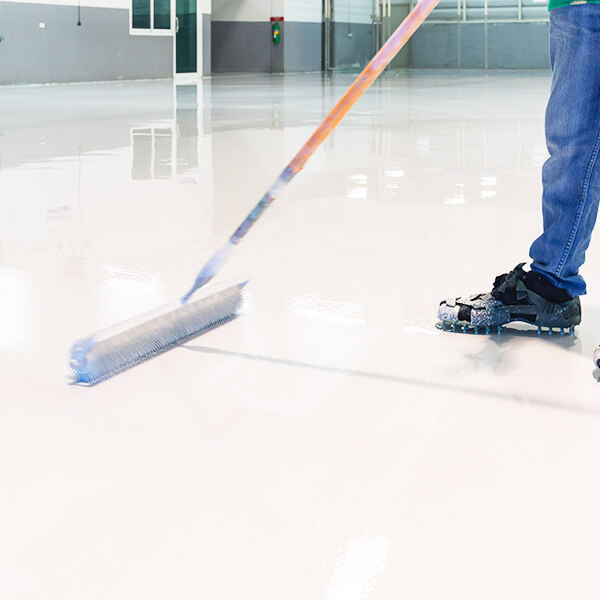
Application technique has a greater impact on the final appearance and performance of budget epoxy systems than more expensive ones. I used high-quality rollers designed for solvent-based coatings rather than cheap foam rollers, which disintegrate or leave textural marks. Working with overlapping portions with damp edges eliminated apparent seams in the finished surface. Back rolling removed air bubbles and ensured equal thickness across each section. Taking time during application yields results comparable to professional installations at a fraction of the expense.
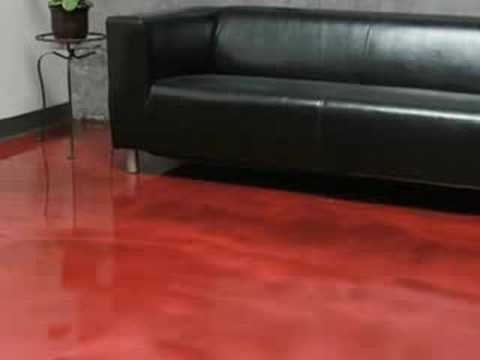
Decorative flakes elevated my basic coating into something that appeared professionally done rather than blatantly DIY. While the epoxy was still wet, I spread the colored chips uniformly throughout the surface to ensure a consistent appearance. After the initial curing, excess flakes were removed, and a second layer was applied to permanently seal everything in place. This simple improvement transformed the project from utilitarian to attractive, giving visual interest that hides minor flaws and texture that enhances traction on smooth surfaces.
Curing needs patience, something many DIY enthusiasts struggle with, yet speeding through this stage severely destroys all previous efforts. Throughout the curing time, I kept a steady temperature and humidity, avoiding severe situations that could cause issues. Foot traffic was prohibited for 24 hours, while vehicle use was delayed for a full week to allow for complete hardness development. Proper ventilation during curing eliminates difficulties caused by trapped solvents while also enabling optimal chemical cross bonding. When you want to use the room right now, the wait can seem lengthy, but patience safeguards your investment.
Temperature and humidity management during application proved more important than I had thought for getting excellent results with low-cost materials. Cold temperatures significantly slow curing, whilst high humidity might produce clouding or poor adhesion, destroying the finish permanently. I carefully watched conditions, delaying application when the weather was not ideal rather than risking failure. When the weather is not cooperating, using room heaters or fans might help maintain perfect conditions. These tiny changes spell the difference between successful and costly do-over ventures.

Epoxy floors require little maintenance, however following basic practices increases their life far beyond what is typically expected for budget coatings. I sweep frequently to keep abrasive dirt from dulling the surface over time. Stains can be removed before they penetrate or become permanent by mopping them on occasion with mild detergent. Avoiding strong chemicals protects the coating’s integrity and prevents irreversible discoloration. Simple care maintains my floor looking new years after it was installed, demonstrating that low-cost solutions may produce long-term effects.
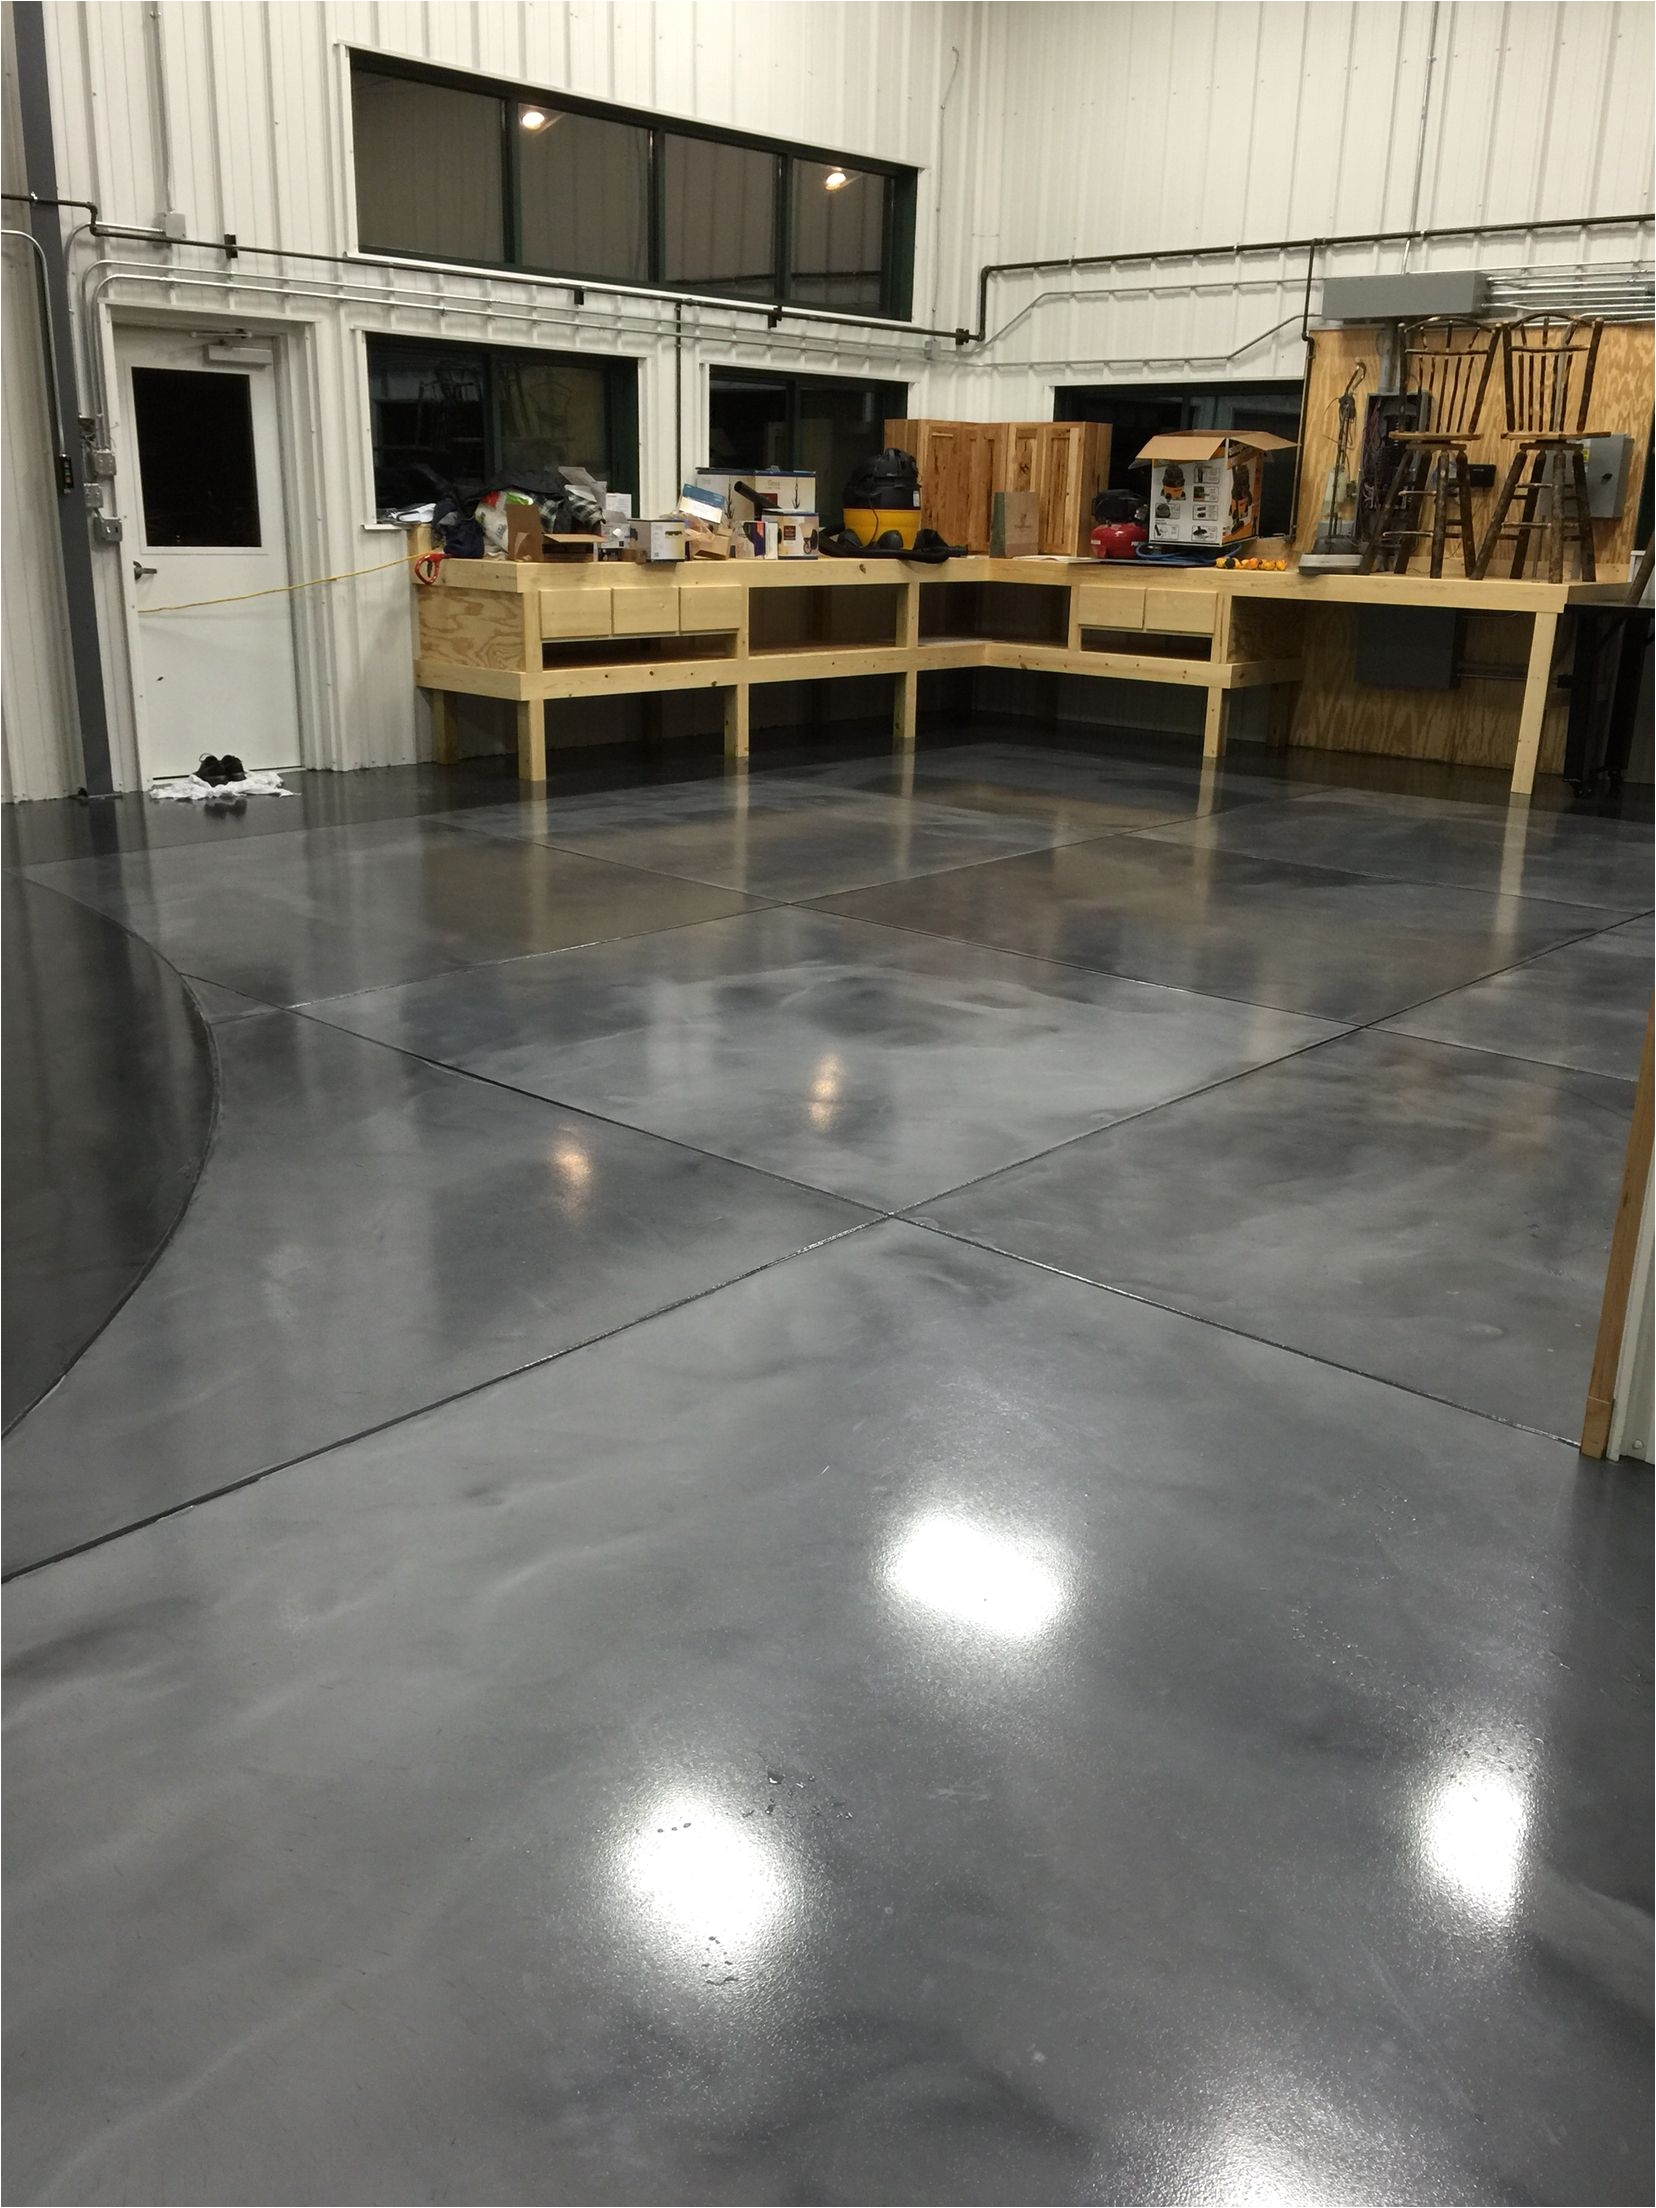
My garage floor looks great three years later, despite everyday use from many automobiles and workshop operations. An investment of less than $200 changed an unsightly concrete slab into something I’m happy to show visitors who can’t believe how professional it now looks. Several neighbors have replicated my strategy after viewing the outcomes, demonstrating that pricey is not necessarily better when right techniques are used. This project showed me that careful preparation and application are more important than high-quality materials in many home renovation applications.
How much money can I really save if I choose cheap epoxy floor coating instead of expert installation?
Professional epoxy installation normally costs $3 to $8 per square foot, but decent budget kits cost approximately $0.50 to $1.50 per square foot in supplies. My 400-square-foot garage would have cost $1,200 to $3,200 professionally, but I built it for less than $200 in supplies. The majority of the difference comes from labor savings, even though you devote your own time and effort. The secret is to choose high-quality budget materials and follow proper application processes to obtain professional-level effects at a fraction of the cost.
What are the primary distinctions between pricey and inexpensive epoxy coating solutions for garage floors?
Higher-end solutions frequently feature improved chemical resistance, faster cure times, and stronger UV stability to minimize yellowing over time. Cheap epoxy may require more coatings to reach the desired thickness and durability than premium brands. However, when applied appropriately, superior budget coatings function admirably in the normal garage environment. The key distinction is simplicity of application and longevity in harsh situations. For most homes, low-cost choices offer exceptional value without losing appeal or basic performance qualities.

How long does cheap epoxy floor coating usually endure compared to professional grade materials?
Quality budget epoxy coatings endure 5 to 10 years with adequate preparation and application, as opposed to 10 to 20 years for premium systems. My floor shows little wear after three years of heavy use, indicating that it will easily fall into the lower end of this range. In most residential applications, material cost has little bearing on durability. Regular maintenance considerably increases life expectancy, regardless of coating grade. For the price difference, changing budget coating every 7 years is still less expensive than a professional installation.
What mistakes should I avoid while using cheap epoxy coating to get the best results?
The majority of failures are caused by inadequate surface preparation, thus never omit the cleaning, degreasing, and etching procedures, regardless of time constraints. Mixing ratios must be accurate; estimating amounts results in soft patches or inadequate curing, which destroys the finish. Working in temperatures below 60°F or above 90°F causes application issues that cannot be resolved later. Rushing the cure time by exposing the surface too soon irreversibly destroys the coating. Finally, applying coatings too thin to conserve material reduces durability and attractiveness greatly when compared to optimum thickness.

Can I apply inexpensive epoxy coating over existing paint or previous coatings on my concrete floor?
Existing coatings must be entirely removed before applying epoxy, as the new coating will not adhere adequately to painted surfaces. I utilized chemical strippers and mechanical scraping to remove all prior finishes, exposing bare concrete. Any leftover paint or sealers cause adhesion failure, resulting in peeling or bubbling within months. The additional preparation work is critical for long-term success. Adhesion testing in a small area helps assess if surface preparation is adequate before proceeding with complete application throughout the entire floor surface area.
How can I keep my cheap epoxy floor coating looking good and lasting as long as possible?
Regular sweeping keeps abrasive particles from dulling the surface finish over time, and spills are cleaned up quickly to prevent stains. Mopping with mild soap once a month keeps the appearance intact without causing damage to the coating chemistry. Avoid using aggressive cleansers, degreasers, or abrasive pads, since these can permanently harm or dull the surface. Place carpets beneath vehicle drip spots to avoid concentrated chemical exposure. Reapplying topcoat every few years refreshes the appearance and provides protection. These basic maintenance methods keep cheap coatings looking good for longer than expected.

garage flooring ideas – garage flooring epoxy

When Should You Use an Epoxy Floor Coating?
Related Posts: