I spent years staring at my unattractive, stained concrete garage floor, watching oil marks grow and dust gather. Every time I swept, additional concrete dust accumulated within days. My wife continued urging that we park outdoors rather than dealing with the mess that was tracking inside our house. When I eventually chose to tackle this project with epoxy coating, I had no clue how significantly it would change not only the appearance of my garage, but also its overall functionality. The approach initially appeared scary, but it turned out to be one of my most satisfying home renovation undertakings.
Before beginning this project, research became my obsession for several weeks. I realized that not all epoxy coatings are the same, with notable differences in durability, application procedures, and final appearance. Water-based epoxies are easier to apply but less durable, whereas 100% solids epoxy offers greater lifespan and chemical resistance. I went with a two-part 100% solids technique with decorative color flakes for aesthetics and slide resistance. Reading multiple reviews and watching installation videos taught me the vital importance of good surface preparation for long-term outcomes.

Surface preparation proved to be the most labor-intensive aspect of the entire endeavor. To allow the epoxy to adhere well, my concrete needed to be absolutely clean, dry, and correctly etched. I rented a concrete grinder to remove any existing stains, paint, or surface pollutants. The etching process with muriatic acid expanded the concrete pores, allowing for greater adherence. This preparation took two full weekends, but I learnt that taking shortcuts now will lead to peeling and failure later. Before beginning, each fracture needed to be filled and the entire surface thoroughly cleaned.
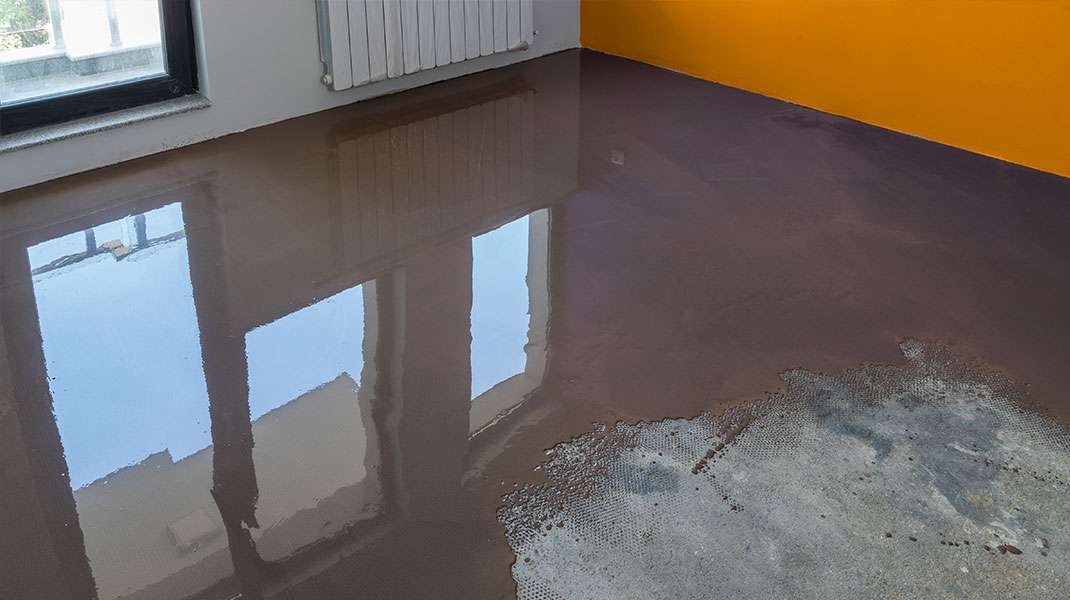
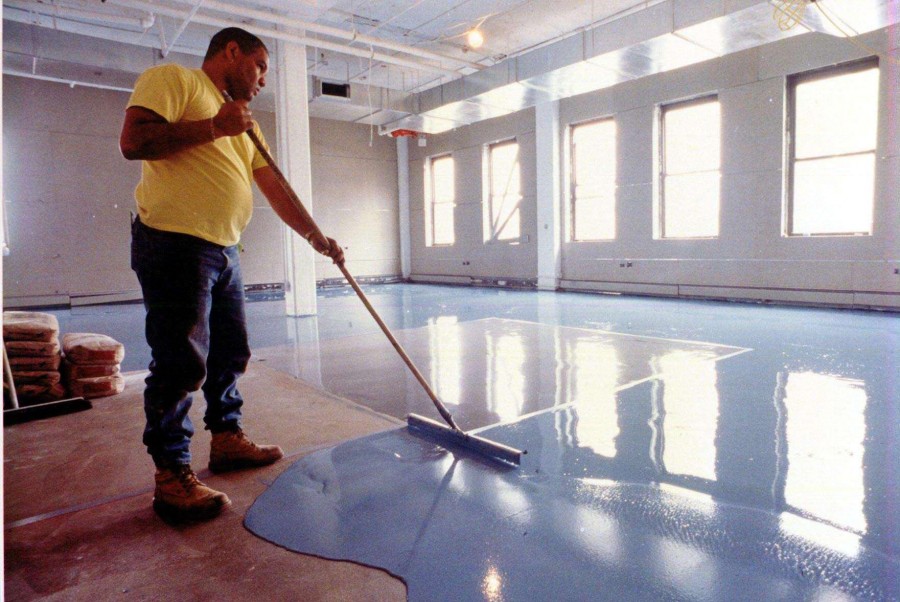
The application day arrived with ideal weather, which I had meticulously arranged for. Epoxy coatings require certain temperature and humidity ranges for optimal curing, therefore timing is critical. I mixed the two-part epoxy in small batches to reduce waste, as the working time is restricted once mixed. Starting in the back corner, I applied the epoxy in thin, even layers with a high-quality roller meant for epoxy applications. The color flakes were applied while the epoxy was still wet, resulting in the ornamental speckled pattern I desired for my garage floor.

Patience during the curing process strained my willpower, but perfect timing ensures the best results. The initial application took 24 hours to become tack-free, but full cure took several days. I used a second topcoat to increase longevity and shine, as well as to permanently seal the decorative flakes. Temperature changes during curing can cause issues, so I continuously monitored the situation. After five days, the floor was ready for mild foot traffic, but I waited a week before parking my car. The anticipation made the ultimate reveal all the more thrilling and valuable.
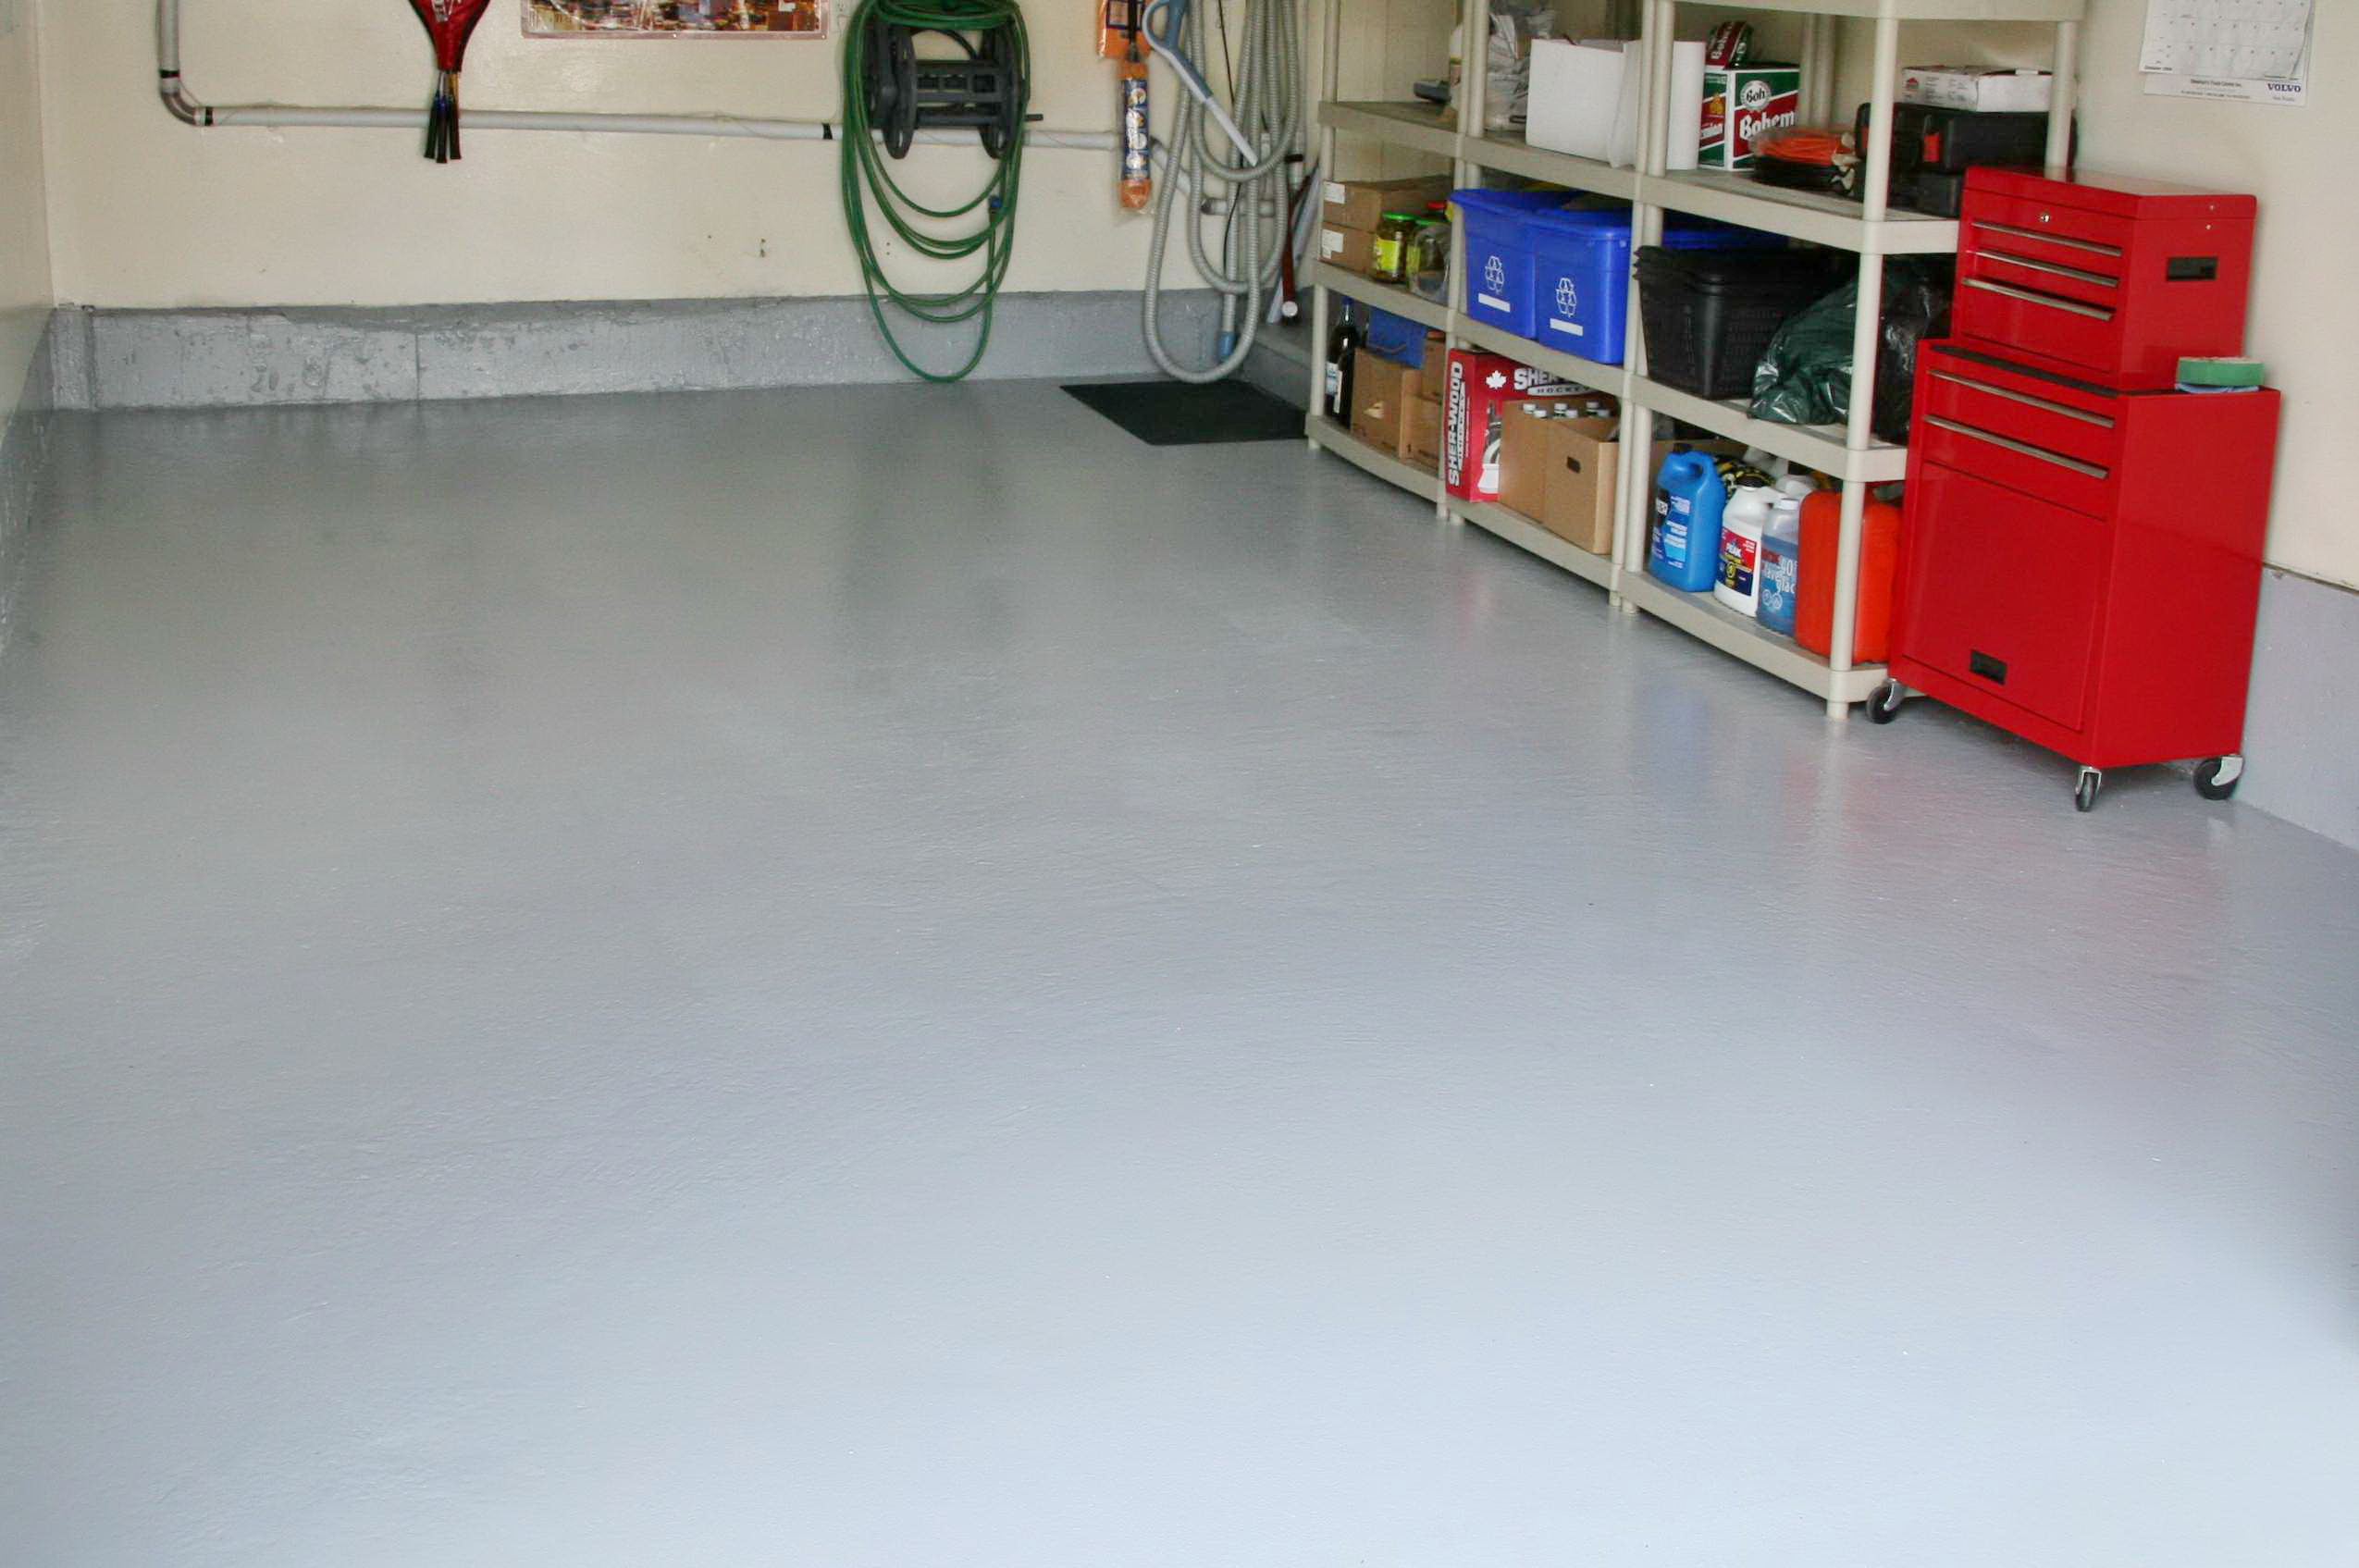
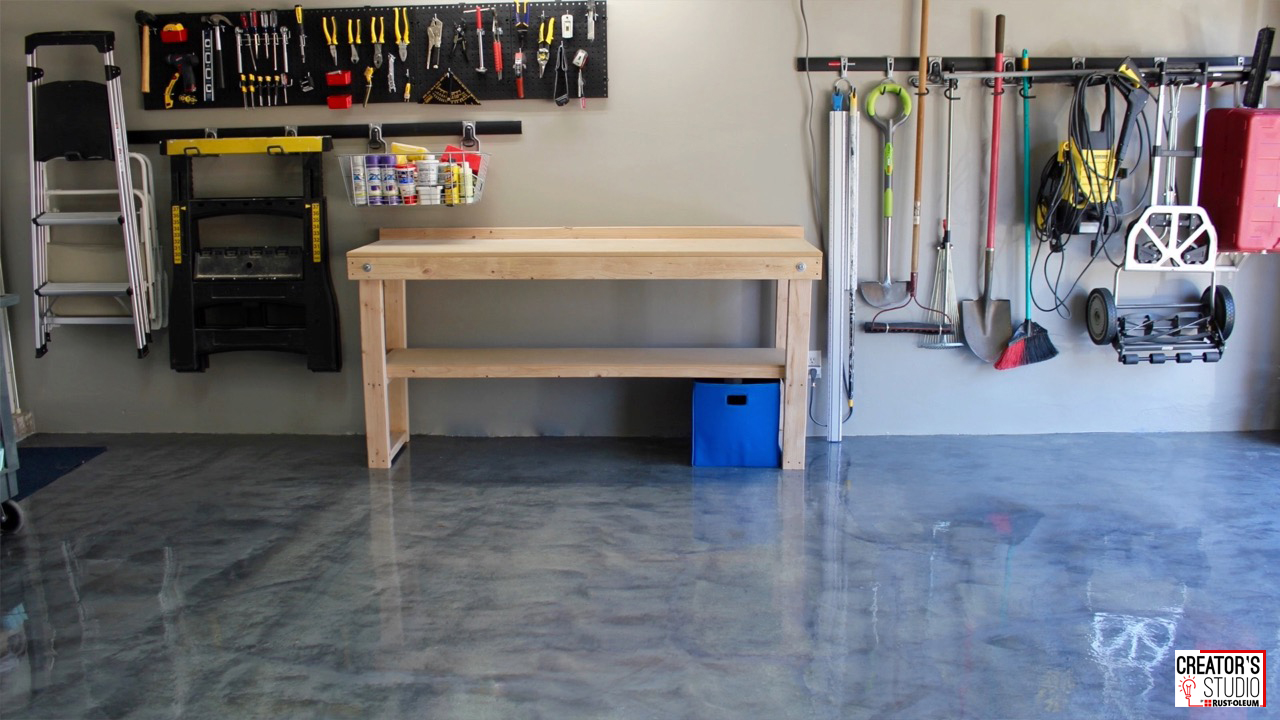
The makeover exceeded my expectations for this assignment. My garage changed from appearing like an industrial warehouse to resemble a showroom floor. The high-gloss finish effectively reflects light, making the space appear brighter and more pleasant. Oil spills from my automobile now clean away easily with a moist cloth, preventing lasting stains. The continuous surface reduces dust gathering, and sweeping takes half the time it used to. Friends often comment on how professional and tidy my garage is in comparison to their bare concrete floors.

Maintenance has become relatively straightforward when compared to my previous concrete challenges. Daily sweeping quickly eliminates trash, and periodic mopping with mild detergent keeps the floor clean. Automotive fluids, paint spills, and even battery acid can be removed without leaving permanent scars. The chemical resistance protects my concrete from road salt and deicing agents, which have previously caused damage. Heavy objects may be dragged across the surface without scratching, but I still use protection pads for peace of mind. This durability implies that I won’t have to recoat for many years.
When compared to expert installation quotes, I was impressed by how affordable this project was. Materials for my two-car garage cost around $300, whereas contractors charged $1,200-2,000 for comparable work. The time investment was enormous, taking four full days, including preparation, but the savings justified the effort. When used appropriately, quality epoxy kits produce professional-level results, making this a great DIY project for ambitious homeowners. The necessary tools and equipment are readily available at home improvement stores; however, some rental items, such as concrete grinders, require careful planning.
After more than a year of using my epoxy garage floor, I discovered unexpected benefits. The improved lighting from the reflective surface decreases electricity use because I require fewer above lights for good visibility. Overall, my garage stays cleaner, which encourages me to better organize and manage it. Garage upgrades have increased the value of properties in my area, with real estate brokers citing epoxy floors as desirable selling elements. The professional appearance makes me glad to show off my office to neighbors and friends that stop by.
My experience with epoxy garage floor coating has been extraordinarily positive, changing a neglected room into a practical, aesthetically pleasing place. The longevity, attractiveness, and ease of upkeep make this an update worth considering for any homeowner with a concrete garage floor. While the preparation work demands time and effort, the long-term advantages make the initial commitment worthwhile. I recommend this idea to anyone trying to make their garage more functional and appealing. The satisfaction of achieving this transformation on my own adds to the wonderful effects I see on a daily basis.

How long does the epoxy garage floor coating procedure take from beginning to end?
The entire process usually takes 7-10 days, while the actual work time is roughly 4-5 days. Surface preparation takes 2-3 days and includes cleaning, grinding, etching, and repairs. Application takes 1-2 days, depending on whether you apply multiple coats. Curing time adds an extra 5-7 days before maximum use. Weather variables have a considerable impact on timing, as temperature and humidity affect cure rates. Prepare for potential delays, particularly during hot or cold seasons. Rushing the process damages results, thus patience gives the best durability and look.
What tools and equipment are required for a successful DIY epoxy garage floor installation?
Concrete grinder (rental), acid-resistant etching sprayer, high-quality epoxy rollers, mixing buckets, squeegees, and safety equipment are all necessary instruments. Safety equipment is essential, including a respirator mask, chemical-resistant gloves, eye protection, and ventilation fans. Cleaning supplies such as degreasers, scrub brushes, and a shop vacuum are required for preparation. Professional-grade mixing paddles provide accurate epoxy blending. The majority of supplies are available in home improvement stores, although specialist epoxy tools may require internet buying. Proper equipment investment promotes both professional outcomes and personal safety.
How can I determine whether my concrete garage floor is acceptable for epoxy coating application?
Prior to applying epoxy, the concrete must be at least 28 days old and fully cured. Check for moisture by taping plastic sheets to the floor overnight and looking for dampness underneath. Oil stains, paint, and sealers must be fully removed by grinding or chemical stripping. Cracks broader than the hairline must be filled using concrete crack filler. After etching, the concrete should allow water penetration, indicating that it has sufficient porosity for adhesion. Before beginning epoxy installation, floors with existing coatings or extreme moisture problems should be evaluated by an expert.
What is the primary distinction between DIY epoxy kits and professional-grade epoxy systems?
Professional systems often employ 100% solids epoxy, which has higher chemical resistance and endurance for 10-20 years. DIY kits frequently include water-based or low-solid formulas, which are easier to apply but may only last 3-7 years. Professional products demand more exact mixing ratios and application techniques, but they deliver greater results. DIY kits provide simple instructions and consumer-friendly packaging, whereas professional goods prioritize performance over convenience. The cost difference is enormous, with professional materials costing 2-3 times more but providing improved lifespan and chemical resistance.

How should I maintain my epoxy garage floor to preserve its longevity and appearance?
Regular sweeping removes abrasive dirt, which can dull the surface over time. Monthly mopping with pH-neutral cleansers keeps the coating looking glossy without harming it. Immediately clean automobile fluids, even though well placed epoxy resists most chemical stains. Avoid dragging sharp metal objects that could scratch the surface, and use protective pads as needed. In high-traffic locations, reapply topcoat every 3-5 years to ensure maximum protection. To avoid moisture ingress and coating failure, use touch-up kits to repair any chips or scratches as soon as possible.
Can I apply epoxy coating over existing paint or coatings on my garage floor?
To ensure optimal adherence, any existing coatings must be fully removed before applying epoxy. Paint, sealers, and previous coatings hinder the chemical connection required for long-term outcomes. Grinding or chemical stripping removes these obstacles, but it adds time and cost to the operation. Some newer epoxy solutions claim adherence to existing coatings, however the results are sometimes disappointing, with premature peeling or bubbling. Testing a tiny area first reveals possible adhesion issues. Professional surface preparation, including complete coating removal, offers the best performance and lifespan for your investment.
How to Choose the Best Garage Floor Epoxy Coating – SurePro Painting

Painter vs Pro – Failed Garage Floor Coating Slide-Lok Garage Floors & Storage Systems

Premium Epoxy Flooring

Types Of Epoxy Floor Coating For Your Garage
Related Posts: