Concrete floor grinding prepares surfaces for coatings, repairs, or polished finishes by removing imperfections and creating uniform textures. This process uses diamond-embedded grinding tools to eliminate bumps, adhesives, or surface defects. Heavy-duty grinders with rotating discs level uneven areas, exposing clean aggregate for better coating adhesion. The intensity varies from light scuffing to deep grinding that reveals decorative stones within the concrete. Proper grinding removes laitance—the weak surface layer—to enhance durability. This critical first step ensures subsequent treatments bond effectively, whether applying epoxy, staining, or polishing. Different grit sequences achieve specific finishes, from coarse removal to ultra-smooth surfaces ready for sealing.
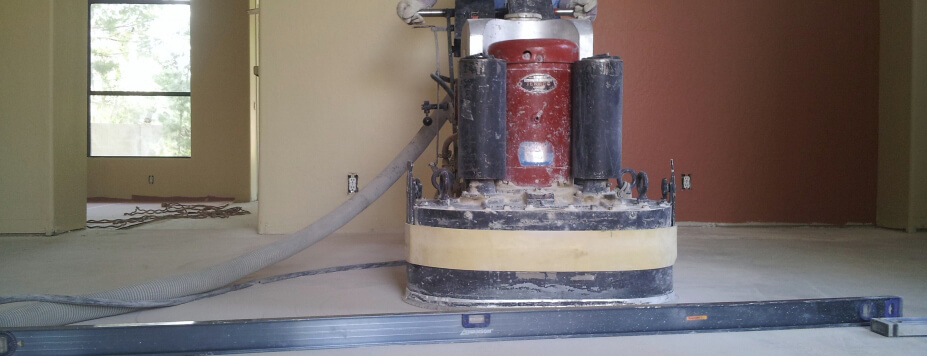
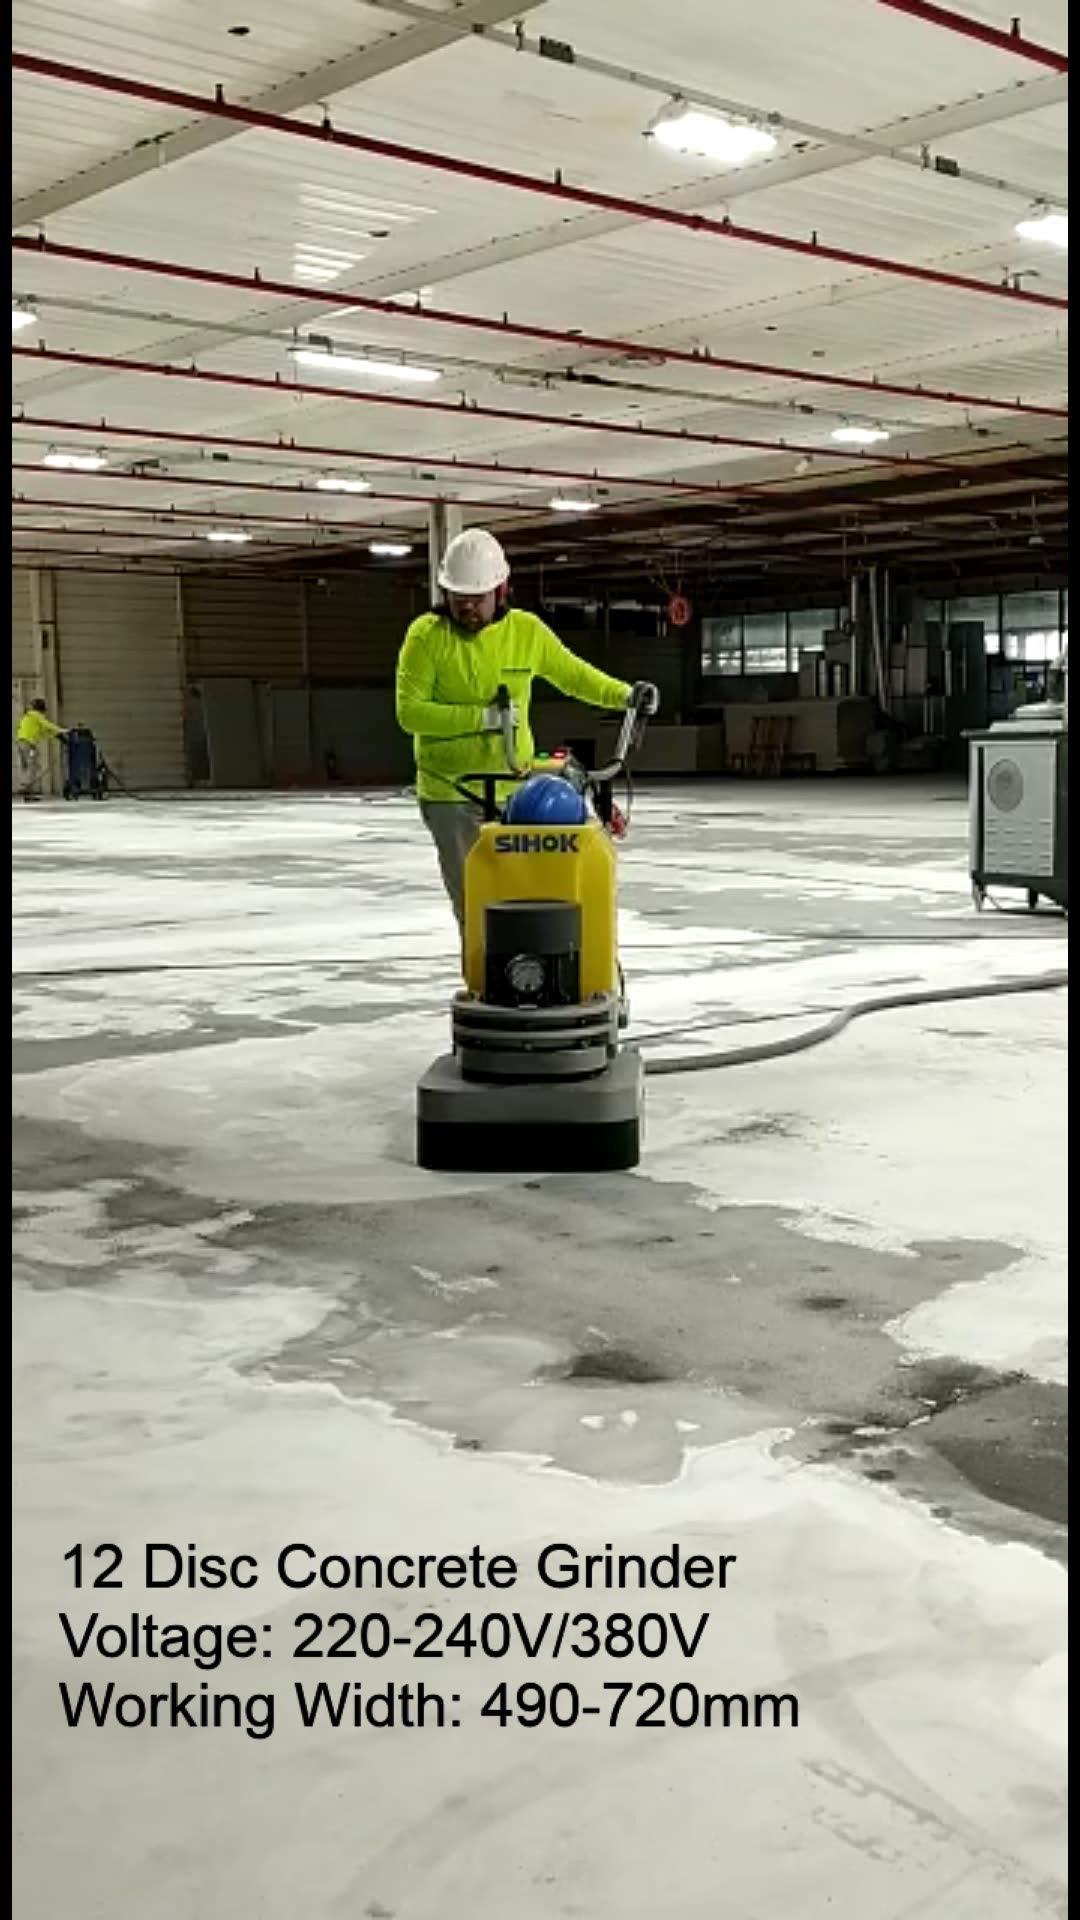
Equipment selection depends on the project scope and concrete condition. Walk-behind planetary grinders handle large areas efficiently with multiple rotating heads. Hand-held grinders access edges and tight corners that larger machines can’t reach. Diamond tooling comes in various bond strengths—soft bonds cut hard concrete, while hard bonds work on softer mixes. Dust-control systems with HEPA filters and vacuum attachments maintain clean air quality during grinding. Smaller residential projects may use rental equipment, while professionals invest in industrial-grade machines for commercial jobs. The right tools prevent unnecessary labor and ensure consistent results across the entire floor surface. Matching equipment to the task prevents surface damage and optimizes productivity.
Surface preparation determines grinding effectiveness. Remove all furniture, debris, and loose material before starting. Identify high spots with a straightedge and mark them for targeted grinding. Fill large cracks or spalls with polymer-modified patching compounds before grinding begins. Test moisture levels—excess dampness requires additional drying time. Cover walls and vents to contain dust, even with vacuum systems. These preparatory steps streamline the grinding process and prevent avoidable problems. Proper planning reduces equipment wear and ensures the floor reaches the desired profile for subsequent treatments. Taking time to prepare prevents costly rework and delivers professional-quality results.
Grinding techniques vary based on the desired finish and concrete hardness. Start with coarse 30-40 grit metal-bonded diamonds to remove coatings or level significant unevenness. Make parallel passes overlapping by 50%, then cross-grind perpendicular to eliminate swirl marks. Progress through medium 80-150 grit resins for smoothing, finishing with fine 200+ grit tools for polished surfaces. Keep the grinder moving steadily to prevent uneven spots or burning the concrete. Adjust pressure based on the machine’s response—excessive force slows progress and wears tools prematurely. Proper technique maintains consistent cut depth and prevents creating new imperfections while removing old ones.

Dust management protects workers and maintains clean job sites. Concrete grinding produces fine silica dust that poses health risks if inhaled. OSHA-compliant vacuums with automatic shutoff features connect directly to grinders. Water-fed systems control dust but create slurry requiring proper disposal. Workers should wear NIOSH-approved respirators, even with dust collection systems. Seal off work areas from other building sections when possible. Post-grinding cleanup includes HEPA vacuuming all surfaces and wiping down walls. Effective dust control isn’t just a regulatory requirement—it creates safer, more professional working conditions. Proper management prevents respiratory issues and keeps surrounding areas contamination-free.
Edge grinding requires specialized approaches for uniform results. Smaller handheld grinders or dedicated edge machines access perimeter areas unreachable by larger equipment. Use the same grit sequence as the main floor to maintain consistency. Pay extra attention to transitions between edge and field areas to prevent noticeable height differences. For polished concrete, extend the polishing steps completely to the wall line. These often-overlooked areas become glaring flaws if neglected. Professionals sometimes grind edges first as a reference point for the main floor height. Meticulous edge work ensures the entire floor meets quality standards, not just the easily accessible central areas.

Repair integration during grinding strengthens the overall floor. Expose solid concrete beneath damaged areas before patching to ensure proper bonding. Feather patch edges smoothly into surrounding surfaces during the grinding process. Time repairs appropriately—some compounds require initial set before grinding, while others integrate immediately. Use matching aggregate mixes for decorative concrete repairs. Properly executed repairs become virtually invisible after final grinding and finishing. This simultaneous approach creates stronger, more uniform floors than separate repair and grinding phases. Addressing problems during grinding prevents callback repairs after coating or polishing applications.
Surface profiling ensures optimal coating adhesion. The International Concrete Repair Institute (ICRI) defines surface profiles (CSP 1-10) for different coating systems. Measure profiles using comparator chips or laser scanners. Most epoxy coatings require CSP 3-5, while polished concrete may use CSP 1-3. Adjust grinding tools and sequences to achieve specified roughness. Test adhesion with pull-off tests if uncertain. Proper profiling prevents coating delamination and extends floor life significantly. This technical step separates amateur results from professional-quality installations. Documenting achieved profiles helps troubleshoot any future coating issues.
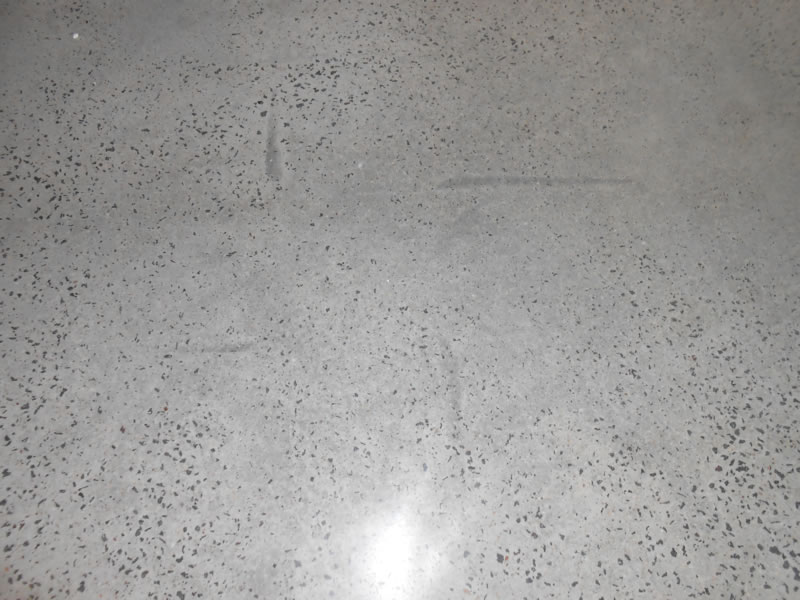
Polished concrete grinding transforms floors into glossy, low-maintenance surfaces. Initial grinding with metal bonds removes existing finishes and levels the slab. Subsequent resin-bond diamond steps refine the surface up to 3000 grit or higher. Densifiers applied during polishing chemically harden the concrete. Each progressive grind removes scratches from the previous step, creating reflective clarity. The final burnishing step maximizes shine without coatings. This multi-stage process requires patience but produces stunning, durable results. Polished floors resist stains, reduce dusting, and maintain their appearance for decades with proper care.
Safety protocols prevent injuries during concrete grinding. Secure long hair, loose clothing, and jewelry that could catch in machinery. Wear steel-toe boots, hearing protection, and safety glasses along with respirators. Check electrical cords and hoses regularly for damage when using electric equipment. Mark grinding areas clearly to prevent accidental trips over cords or hoses. Follow manufacturer guidelines for tool changes to prevent accidental starts. Proper training on equipment operation prevents kickbacks or loss of control. These precautions protect workers while maintaining efficient job progress. A safe worksite prevents costly accidents and ensures consistent production quality.

Cost considerations balance equipment, labor, and desired results. Rental equipment costs 200−500 daily but may lack dust control features. Professional services average 3−12 per square foot depending on floor condition and finish requirements. DIY projects save labor costs but risk inconsistent quality without proper experience. Factor in diamond tooling replacement—softer concrete wears tools faster. Higher grit polishing steps require more time and finer (more expensive) diamonds. Weighing these factors helps determine whether to tackle projects independently or hire specialists. Quality grinding extends coating lifespans, making the investment pay off through reduced maintenance and repairs.
Post-grinding steps complete the floor transformation. Thorough cleaning removes all residual dust before applying sealers or coatings. Inspect the surface under angled light to identify missed spots needing touch-up. Apply penetrating sealers immediately after final grinding to maximize absorption. For coated floors, prime within the manufacturer’s recommended window after grinding. Document grinding specifications and products used for future maintenance reference. These finishing steps lock in the grinding’s benefits and prepare surfaces for their final functional state. Proper post-grinding procedures ensure the effort yields long-lasting, high-performance floors. Attention to detail during this phase separates adequate work from exceptional results.
Concrete grinding solves numerous floor problems economically. It removes stubborn coatings that chemical strippers can’t tackle. The process levels uneven slabs without costly removal and replacement. Exposed aggregate finishes provide attractive, slip-resistant surfaces. Proper grinding restores damaged floors to usable condition. The technique works on both new construction and renovation projects. Whether preparing for decorative treatments or creating stand-alone polished floors, grinding delivers transformative results. Mastering this fundamental process opens possibilities for enhancing concrete’s natural durability and beauty. The right grinding approach tailors floors to exact functional and aesthetic requirements.

Helicopter and Screed Marks – CCC Polished Concrete
Protective Epoxy Coatings – BwBerch Concrete

Related Posts: