Applying epoxy flooring yourself can be an effective way to save money while upgrading the look and function of your space. Whether you’re covering a garage, basement, or workshop, the cost is often significantly lower than hiring professionals. A typical DIY epoxy floor kit ranges from $50 to $300 depending on the square footage, brand, and type of epoxy. Additional materials like rollers, brushes, cleaning agents, and safety gear will also affect the final cost.
One of the largest factors in determining your DIY epoxy floor cost is the size of the area. Smaller spaces like a single-car garage might only require one kit and a few supplies, keeping costs low. Larger spaces may need multiple kits, extra materials, and more prep time. Measuring accurately before buying is crucial to avoid over- or under-purchasing. Always check the kit coverage and compare it with your floor area.
Another major cost consideration is the type of epoxy you choose. Water-based epoxy is typically the cheapest and easiest to apply, making it a common choice for beginners. Solvent-based or 100% solids epoxy costs more but provides greater durability and a professional-grade finish. While high-end options cost more up front, they often resist wear and chemicals better over time, potentially saving money on future repairs or recoats.
Preparation is one of the most important and time-consuming parts of the process, and it has its own costs. Cleaning products, degreasers, concrete patch kits, and etching solutions may all be necessary to properly prep the floor. Skipping this step can lead to poor adhesion and a finish that peels or bubbles. A poorly prepared surface might force you to redo the work sooner than expected, doubling your investment of time and money.

You’ll also need to purchase application tools, which can include rollers, paintbrushes, squeegees, and spiked shoes. These can add another $30 to $100 depending on quality and quantity. If you don’t already own personal protective equipment such as gloves, goggles, and a respirator, that’s another $20 to $50. Some homeowners try to cut corners on these tools, but proper gear ensures a safer and more effective application.
If your floor is damaged or has been previously painted, additional prep costs may be involved. Removing old paint or sealant often requires a floor grinder, which can be rented for about $50 to $150 per day. Cracks or holes may require special fillers or patching products. These hidden costs can make a DIY epoxy project more expensive than initially expected, so it’s wise to budget a cushion for unforeseen issues.

Curing time also adds an indirect cost. Epoxy floors need time to fully cure before they can be used. During this time, you may need to move vehicles or tools elsewhere, which could be inconvenient or result in temporary storage fees. Curing typically takes 24 to 72 hours for light foot traffic and up to seven days for full hardness. Planning around this timeframe can help avoid unnecessary delays or damage to the fresh coating.
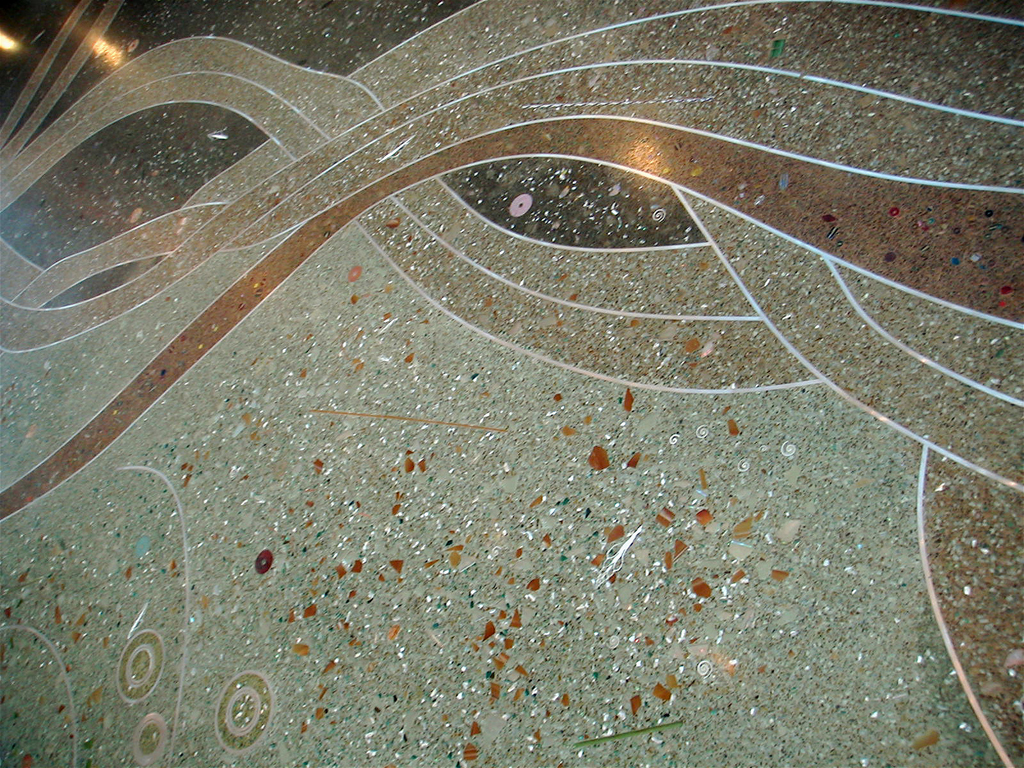
Some people also choose to enhance their epoxy floor with decorative flakes or metallic pigments. These add-ons increase the material cost but can significantly improve the appearance and slip resistance. Decorative flakes typically cost \$10 to \$50 per bag depending on size and coverage. While optional, these additions allow for customization and help mask imperfections, making the floor look more polished and refined.
Lighting and ventilation can also influence the success of your DIY project. If you’re working in a poorly lit area, you may need to invest in temporary lighting. Proper ventilation is crucial, especially when working with solvent-based epoxies. Fans or exhaust systems may be needed, especially if your space has no windows. Though these aren’t direct floor costs, they impact both safety and final results.
In total, the average DIY epoxy floor project can range from $100 for a basic setup in a small space to over $700 for a more advanced job in a large area with professional-grade materials. While it’s a cost-effective alternative to hiring contractors, DIY epoxy flooring still requires careful budgeting, planning, and attention to detail. Doing it right the first time helps ensure a long-lasting finish and maximizes your return on investment.

Is DIY epoxy flooring really cheaper than hiring professionals?
Yes, doing it yourself is usually much cheaper. Professional epoxy floor installations often cost between \$3 to \$12 per square foot. A DIY kit for the same space might cost \$0.50 to \$2 per square foot. However, you must factor in tools, prep supplies, and time. If you’re careful and follow instructions closely, you can save hundreds or even thousands depending on the size of the project.
What unexpected costs should I prepare for in a DIY epoxy project?
You might face surprise expenses like concrete patching products, extra cleaning supplies, or equipment rentals for grinding or sanding. If your floor is damaged or coated with old paint, removing it will cost time and money. Protective gear, extra epoxy, or redoing a failed section can also drive up your final cost. Adding 10 to 20 percent to your estimated budget helps cover these surprises.
![]()
How much epoxy do I need for a two-car garage?
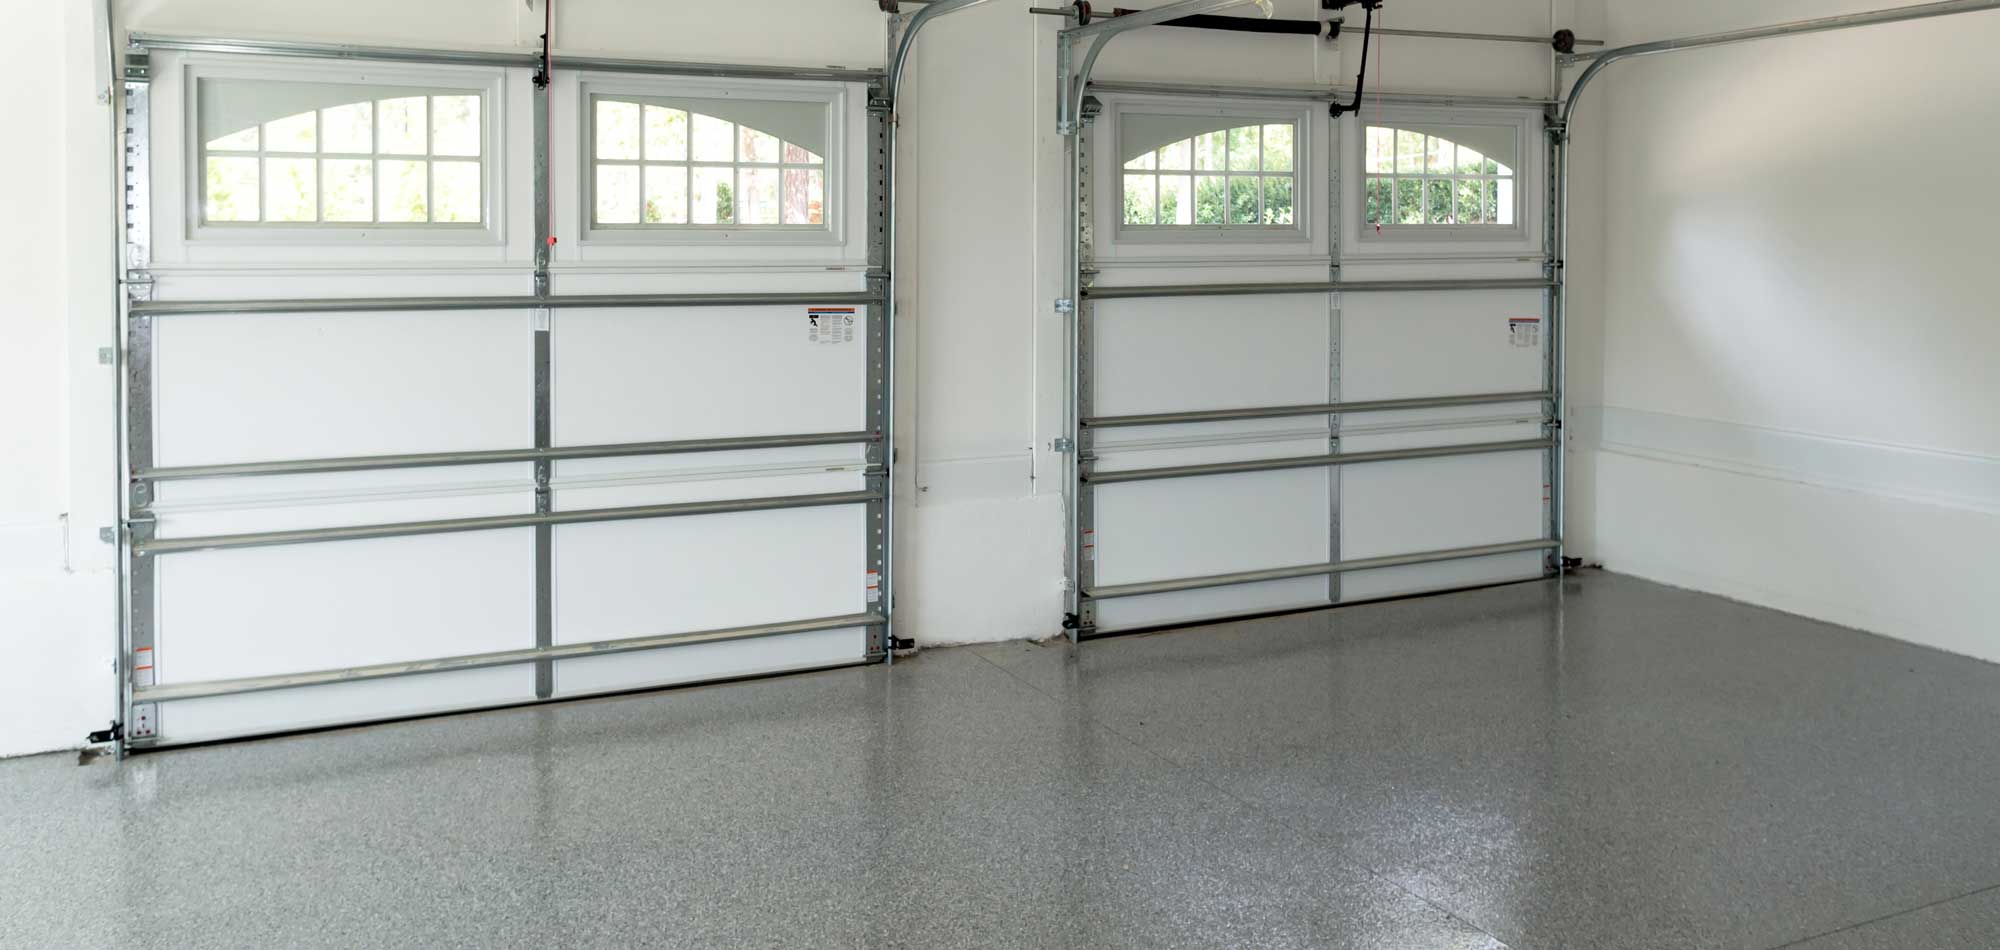
A standard two-car garage is about 400 to 500 square feet. Most kits cover around 200 to 250 square feet per gallon, depending on the thickness of the coat. For a two-car garage, expect to buy at least two full kits, especially if you’re applying a base coat and topcoat. Also factor in the potential use of decorative flakes, primer, or sealer, which may require extra materials and add to the cost.
Are water-based epoxy kits good enough for long-term use?
Water-based epoxy kits are more budget-friendly and easier to apply, especially for beginners. They work well for light to moderate use but may not last as long in high-traffic or heavy-duty settings. If you want a longer-lasting, more chemical-resistant surface, solvent-based or 100% solids epoxy will perform better over time. Consider your specific use case before deciding which type to use.
Do I need to buy special tools for applying epoxy?
Yes, you’ll need a few specific tools like rollers with extension poles, mixing sticks, a drill with a paddle mixer, and spiked shoes for walking over wet epoxy. You’ll also need good cleaning supplies and personal protective gear such as gloves, goggles, and a respirator. These tools are critical for applying the epoxy correctly and safely, and skipping them can lead to a poor finish or health risks.
Can I save money by skipping decorative flakes or a topcoat?
You can save some money by not using flakes or a topcoat, but this may reduce the floor’s durability and visual appeal. Decorative flakes add texture and help hide imperfections while improving grip. A topcoat protects the color layer and adds resistance to wear, chemicals, and stains. If you’re already investing time and effort into the project, these add-ons offer extra value and longevity.

Related Posts: