Five years ago, my garage floor was an embarrassment. Oil stains from decades of previous owners, concrete dust that never seemed to stay swept, and a surface so porous that spills disappeared into the concrete only to reappear as permanent reminders of my mechanical mishaps. After watching countless YouTube videos and reading forum debates about epoxy versus regular floor paint, I decided to tackle the project myself. What followed was equal parts learning experience and cautionary tale, but I’m happy to report my garage floor now looks like something from a showroom.
My first attempt was an absolute disaster, and I learned why proper preparation matters more than the quality of paint you choose. I rushed through the surface prep, thinking a quick power wash and some degreaser would suffice. The result was patchy adhesion that started peeling within six months. Chunks of epoxy would lift up when I moved my workbench, creating trip hazards and making the floor look worse than before. This expensive lesson taught me that concrete preparation isn’t optional, it’s the foundation that determines whether your project succeeds or becomes a costly do-over.
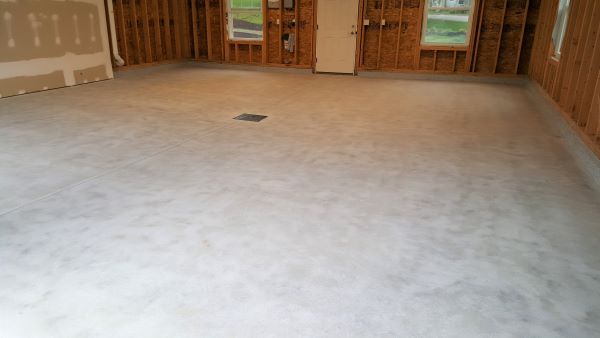
The second time around, I invested in proper preparation equipment and blocked out an entire weekend for surface prep alone. I rented a concrete grinder to remove all the old paint, oil stains, and surface contaminants. The grinding process was dusty, noisy, and exhausting, but it revealed the clean, porous concrete surface that epoxy needs for proper adhesion. I followed up with acid etching using muriatic acid, which opened up the concrete pores even further and neutralized any alkaline residues that could interfere with bonding.
Choosing the right epoxy system became a research project in itself. After my first failure with a basic hardware store kit, I invested in a professional-grade two-part epoxy designed specifically for garage floors with heavy vehicle traffic. The higher-quality system cost three times more than my original choice, but it included better primers, thicker mil coverage, and UV-stable topcoats that wouldn’t yellow under fluorescent lighting. The investment difference became negligible when spread over the expected lifespan of a properly applied system.
Weather timing proved more critical than I initially realized. My first attempt happened during a humid August week, which caused curing problems and surface imperfections. The second installation waited for a dry October stretch with stable temperatures between 60-80 degrees. Epoxy curing is temperature and humidity-sensitive, and rushing the timeline because of weather pressure leads to poor results. I learned to check three-day forecasts and plan accordingly, treating the weather window as seriously as any other aspect of the project.
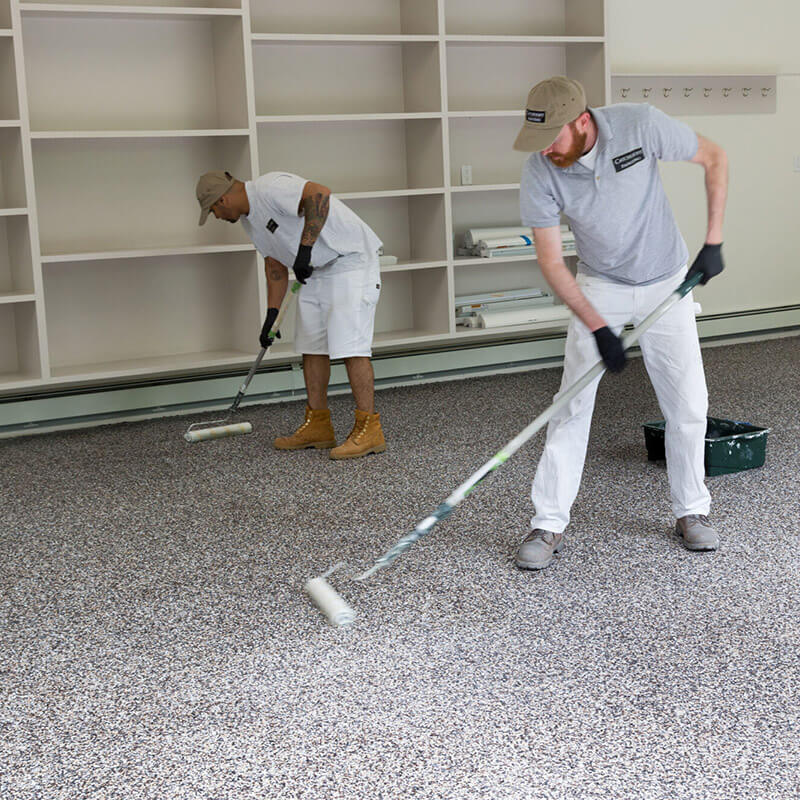
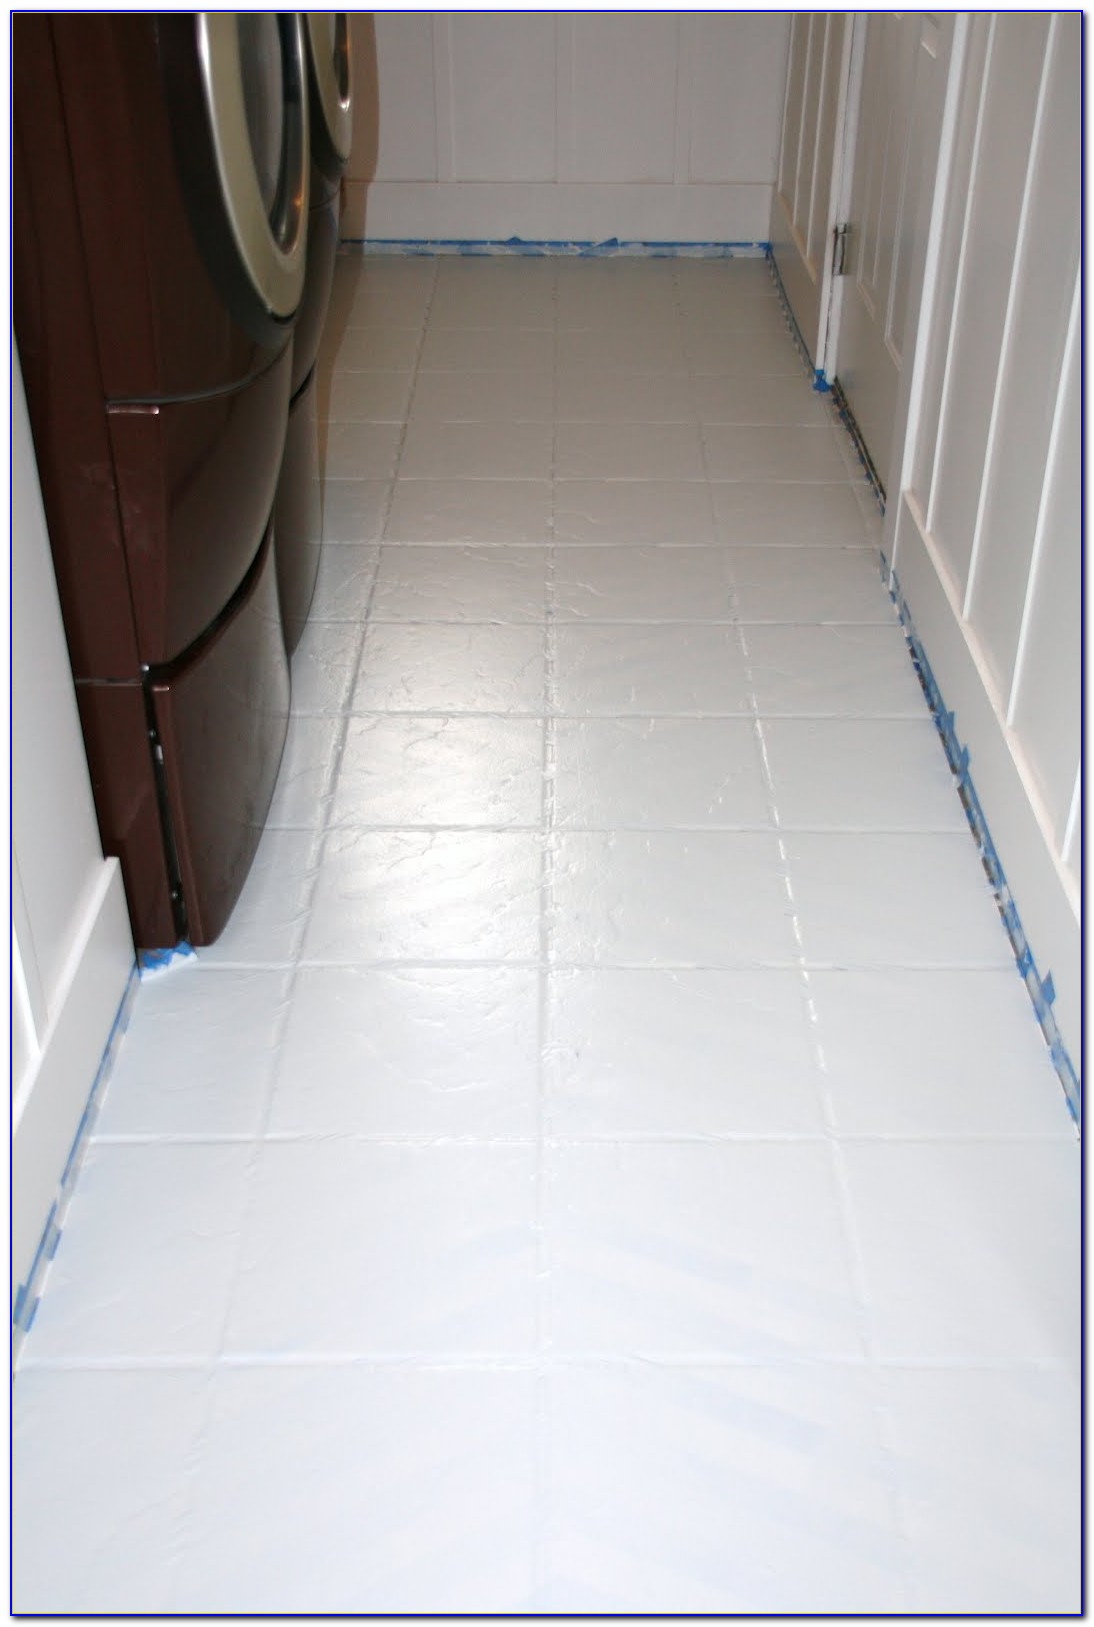
The actual application process required patience and attention to detail that my DIY-enthusiast personality initially resisted. Mixing ratios must be precise, pot life is unforgiving, and roller technique affects the final appearance. I used a high-quality 3/8-inch nap roller and worked in 4×4 foot sections, maintaining a wet edge to avoid lap marks. The decorative color flakes had to be broadcast while the epoxy was still tacky, requiring coordination between mixing, rolling, and broadcasting that felt like choreographed dance moves by the end of day one.

Curing time tested my patience more than any other aspect of the project. While the surface felt dry to the touch after 8 hours, full chemical cure took 7 days before I could park vehicles on it. During this time, I had to resist the temptation to walk on it excessively or place any weight on the surface. I used this forced waiting period to organize my garage storage and plan the layout for when I could finally use the space normally again. The anticipation made the final result even more satisfying.
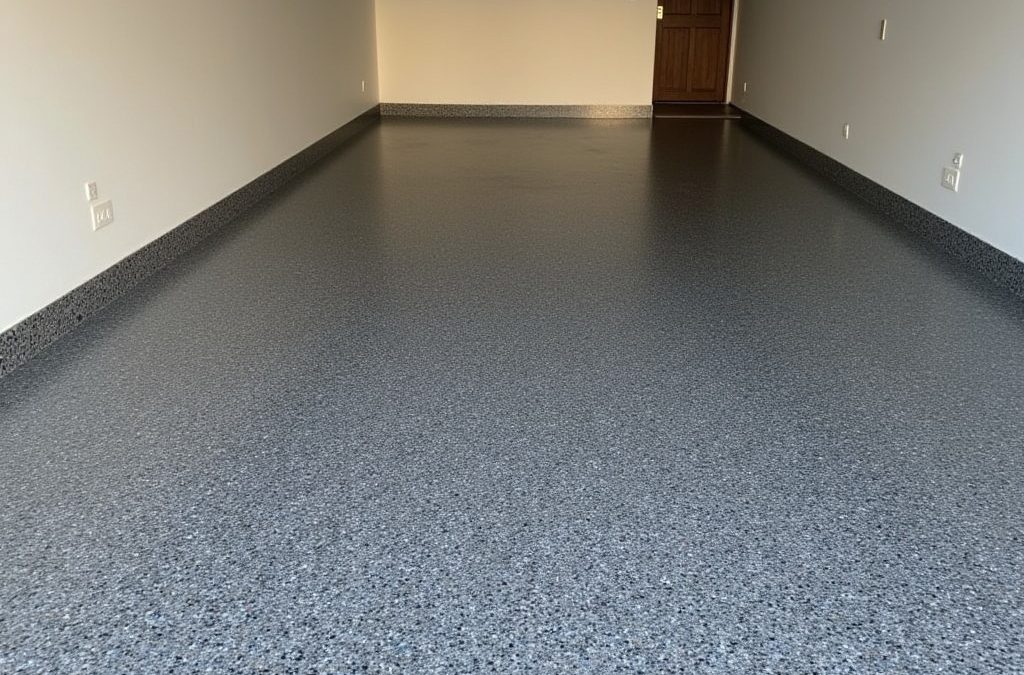
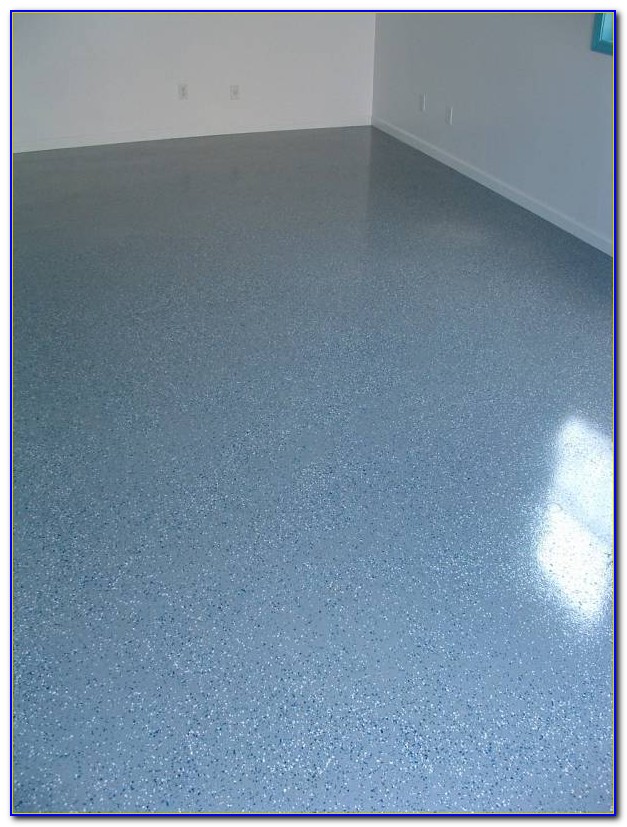
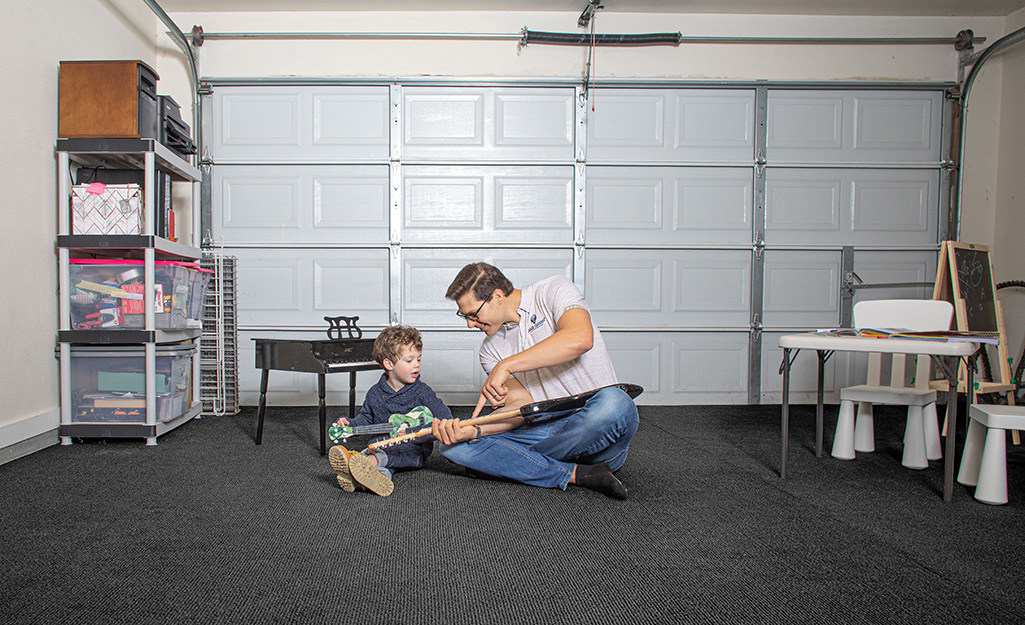
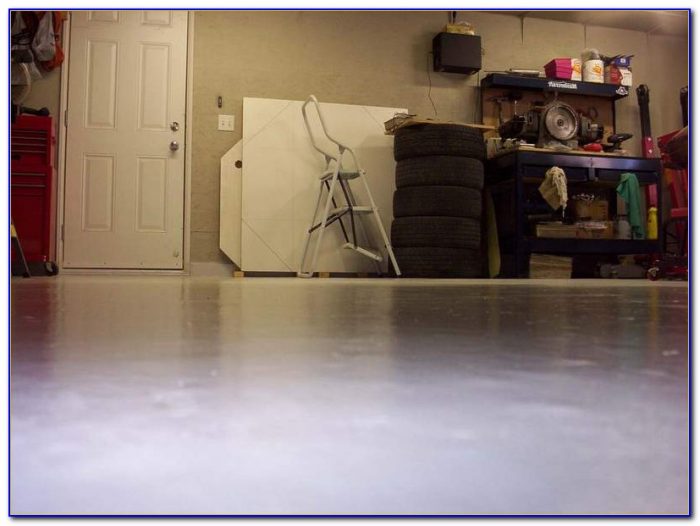
The transformation exceeded my expectations in ways I hadn’t considered. Beyond the obvious visual improvement, the sealed surface made cleaning effortless compared to raw concrete. Oil drips from my lawnmower wipe up with a paper towel instead of becoming permanent stains. The reflective surface brightened the entire space, making detail work on projects much easier. Even the sound changed, with less echo and a more finished feel that made the garage feel like an extension of my living space rather than just utilitarian storage.

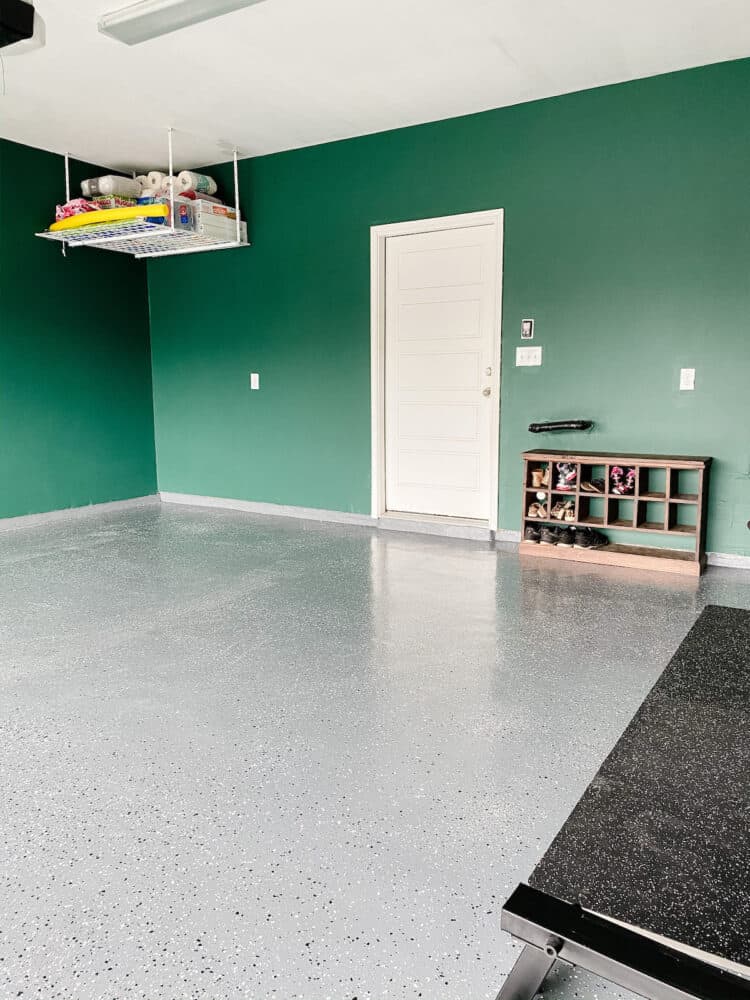
Maintenance has proven remarkably simple over the past three years. Regular sweeping and occasional mopping with mild detergent keeps the surface looking showroom fresh. The epoxy surface resists most chemicals, though I learned to clean up battery acid quickly to avoid potential etching. Small scratches from moving heavy equipment tend to be superficial and don’t affect the protective properties. The durability has exceeded my expectations, showing minimal wear despite regular use by two vehicles and constant foot traffic.
Looking back, the key to success was accepting that proper preparation couldn’t be rushed or shortcuts taken. The time investment in surface prep, material research, and weather planning made the difference between a professional-looking result and an expensive mistake. My garage floor now serves as both a source of pride and a reminder that sometimes the best DIY approach is taking time to do things right the first time. The investment in quality materials and proper technique has paid dividends in both appearance and functionality that continue to impress visitors years later.
How long does a properly applied epoxy garage floor coating actually last?
Based on my three-year experience and research from other owners, a quality two-part epoxy system should last 7-10 years with normal residential use. My floor still looks almost new after three years of regular vehicle traffic, oil changes, and workshop activities. The key factors affecting lifespan are surface preparation quality, product selection, and application technique. Cheap single-part epoxy paints might only last 2-3 years, while professional systems can exceed 10 years with proper care.
What’s the real cost difference between DIY epoxy application versus hiring professionals?
I spent about $400 on quality materials for my 600 square foot garage, plus $150 for equipment rental and prep supplies. Professional installation quotes ranged from $1,200 to $2,000 for the same space. While the material cost difference seems significant, factor in your time investment (3-4 full days), learning curve risks, and potential do-over costs if mistakes happen. After my first failure, the professional option looked much more attractive from a total cost perspective.

Can I really apply epoxy over existing oil stains, or do they need complete removal?
Oil stains absolutely must be removed or they’ll cause adhesion failure, as I learned the hard way. I used TSP degreaser followed by concrete grinding for stubborn spots. Some people have success with specialized oil stain removers, but mechanical removal through grinding is the most reliable method. Any contamination left on the surface will prevent proper bonding and create failure points. It’s better to over-prep than risk having to redo the entire project later.
How slippery does epoxy flooring become when wet, and what can I do about it?
Smooth epoxy can be quite slippery when wet, which concerned me initially. I added anti-slip additives to my final topcoat, which provides excellent traction without being rough enough to damage shoes or equipment. The decorative flakes also add some texture. In practice, I rarely have standing water in my garage, so slipperiness hasn’t been an issue during normal use. The bigger concern is keeping the surface clean so tracked-in snow and rain don’t create hazards.
What’s the most critical mistake that causes epoxy garage floor failures?
Inadequate surface preparation causes 90% of epoxy failures, in my experience and research. Rushing the prep work, skipping acid etching, not removing all contaminants, or applying over marginally clean concrete will result in poor adhesion and eventual peeling. My first attempt failed because I underestimated prep requirements. The second attempt succeeded because I invested in proper grinding equipment and took time to do it right. There’s no substitute for a properly prepared concrete substrate.
Do I really need to keep vehicles off the floor for a full week after application?
Yes, full cure time is critical for long-term durability. While the surface feels dry after 24 hours, the chemical cure continues for 7 days. Parking vehicles too early can leave permanent tire marks and compromise the coating’s integrity. I used this time productively by reorganizing garage storage and planning layout improvements. Rushing this step risks damaging your investment just when you’re most excited to use it. The wait is frustrating but necessary for optimal results.

Do It Yourself Garage Floor Epoxy
Floor Paint Drying Time
Garage Floor Epoxy
Garage Epoxy Flooring

Best Garage Floor Paint (Epoxy – Polyaspartics – Acrylics- Latex?)
Exterior Paint Color Wheel – Painting
Related Posts: