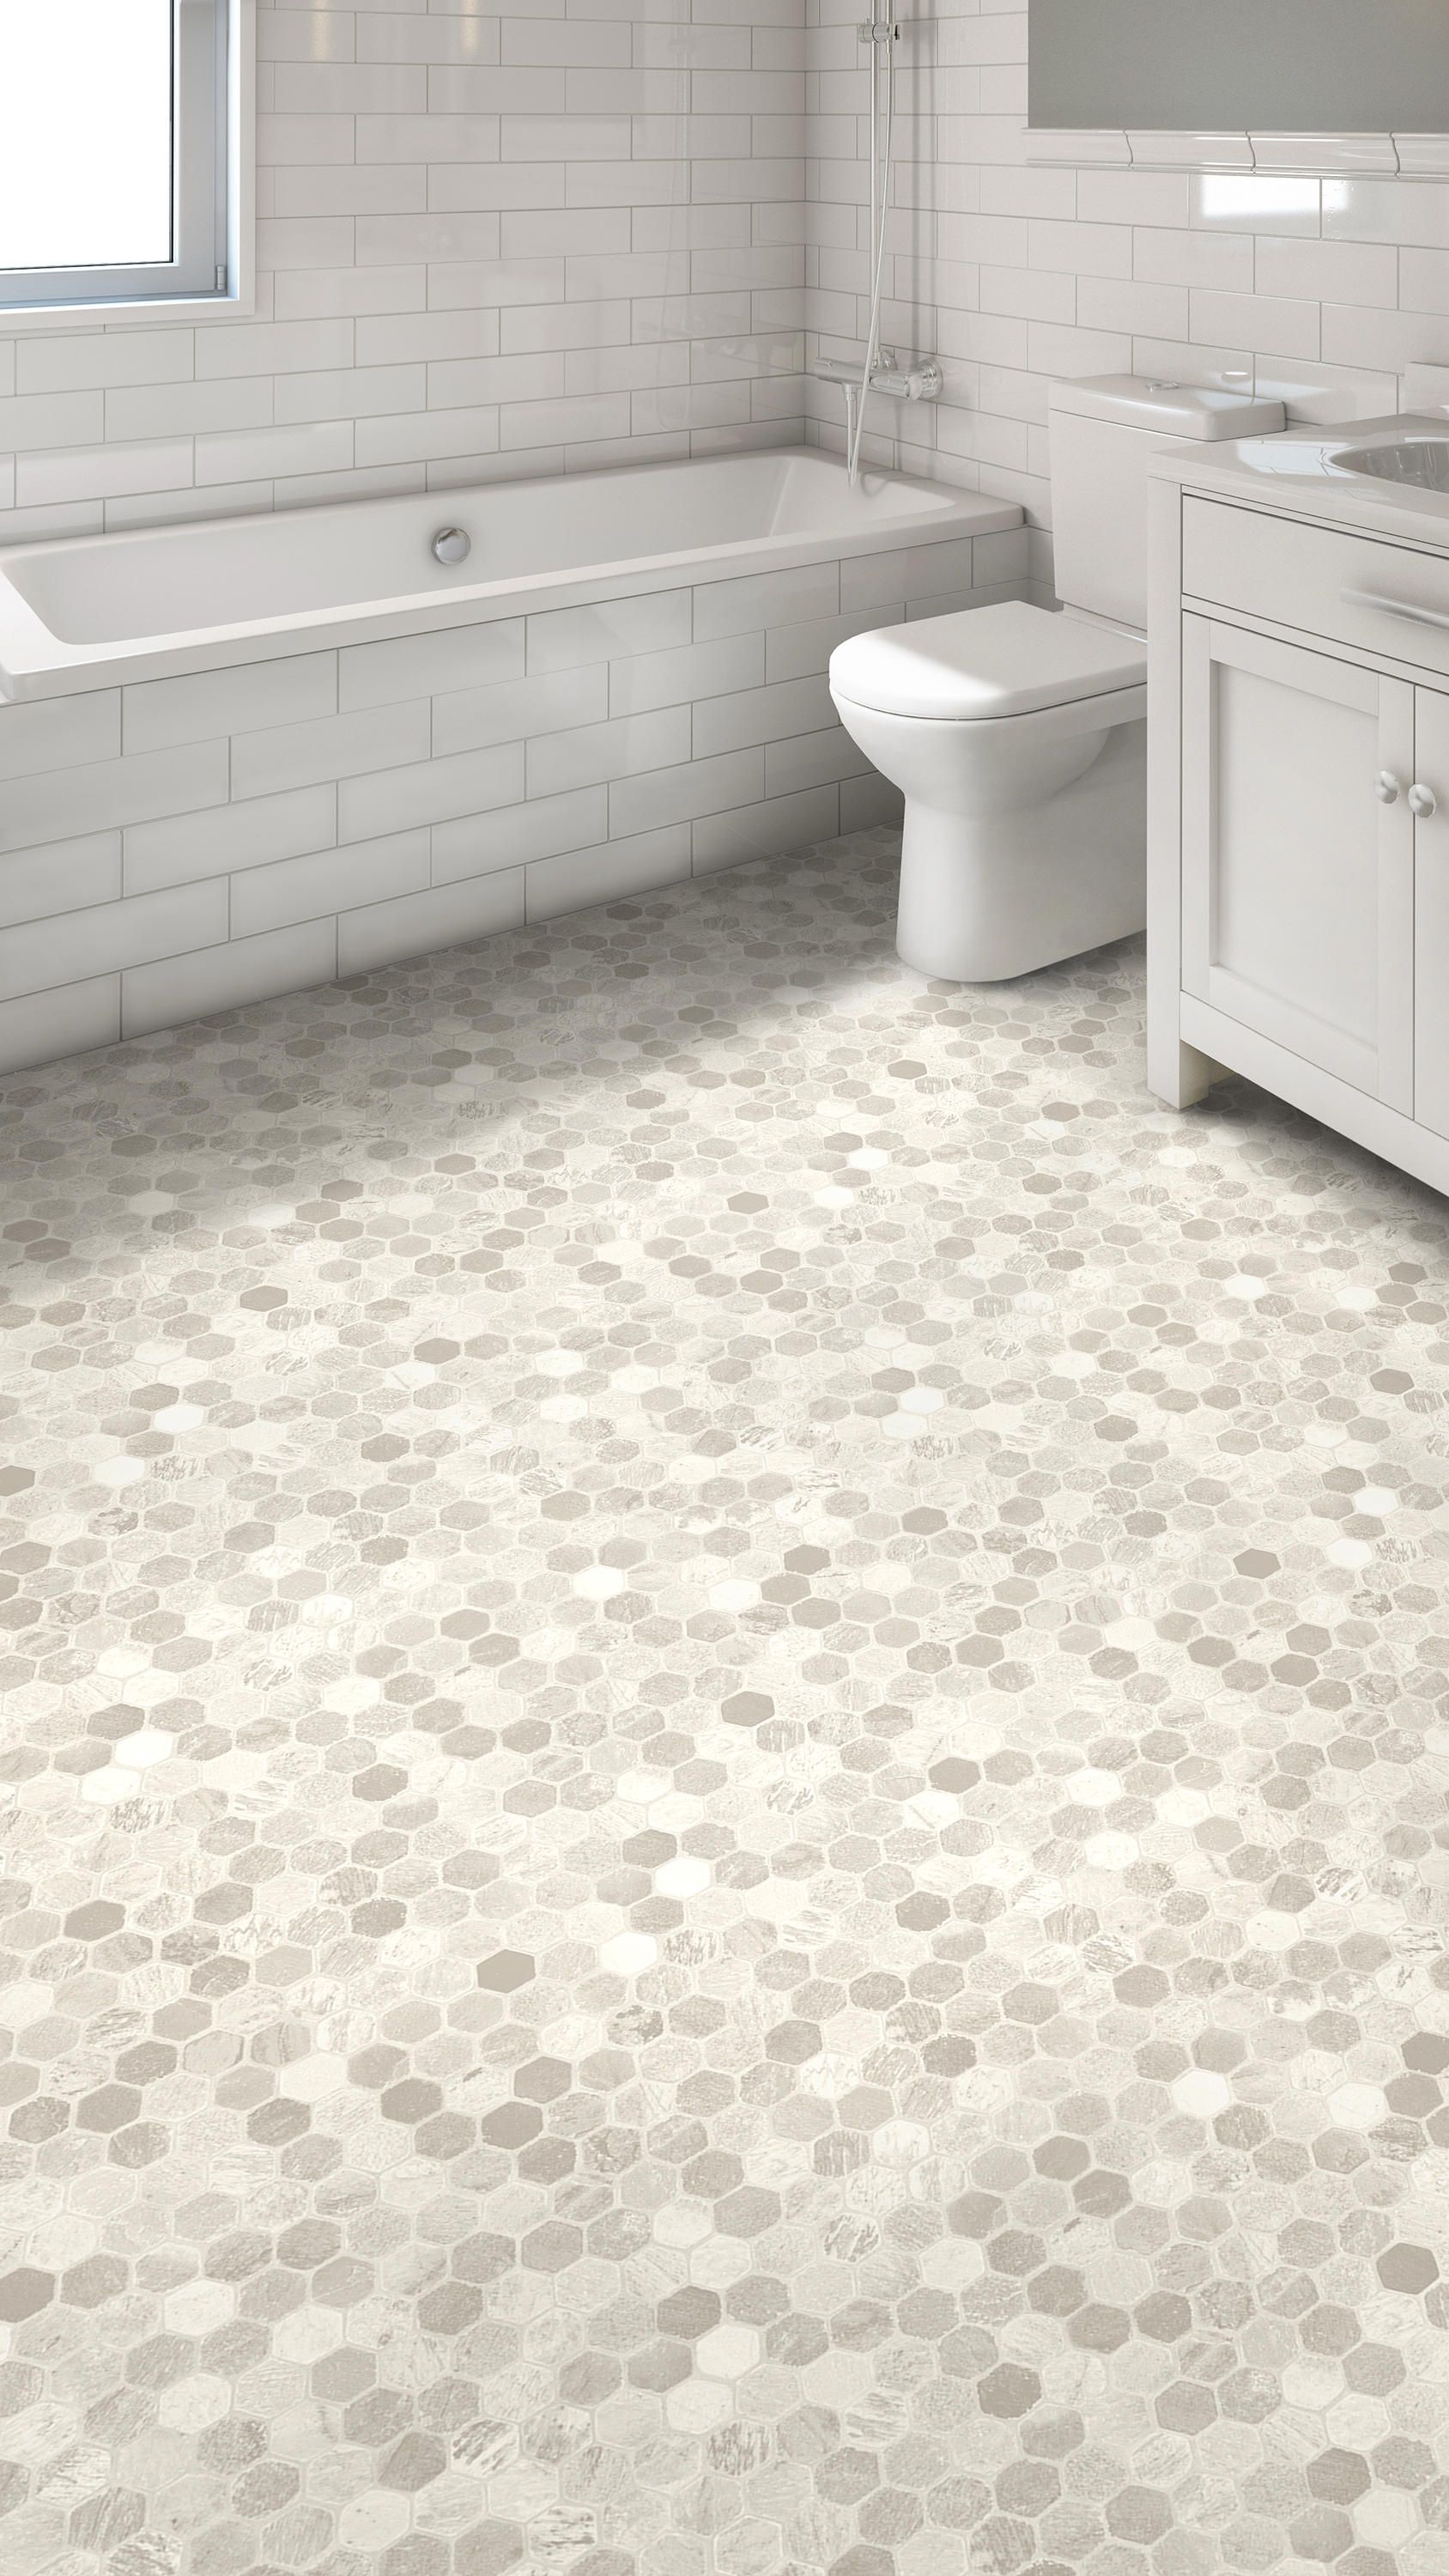
Preparing the Bathroom Floor
A smooth and clean surface is key to a successful vinyl flooring installation. Start by removing old flooring, ensuring there are no nails, bumps, or debris left behind. If the subfloor is uneven, use a leveling compound to create a flat surface. Thoroughly clean and dry the area to prevent moisture from getting trapped under the vinyl. Measuring the space carefully ensures you cut the flooring to fit snugly around fixtures like the toilet and vanity for a professional look.
Choosing the Right Installation Method
Vinyl flooring comes in different formats, including peel-and-stick tiles, glue-down planks, and floating click-together options. Peel-and-stick tiles work well for quick installations, while glue-down planks offer extra durability. Floating vinyl planks click together without adhesive, making them ideal for DIY projects. The best choice depends on moisture levels, budget, and personal preference. No matter the method, ensuring a tight fit helps prevent water from seeping underneath.
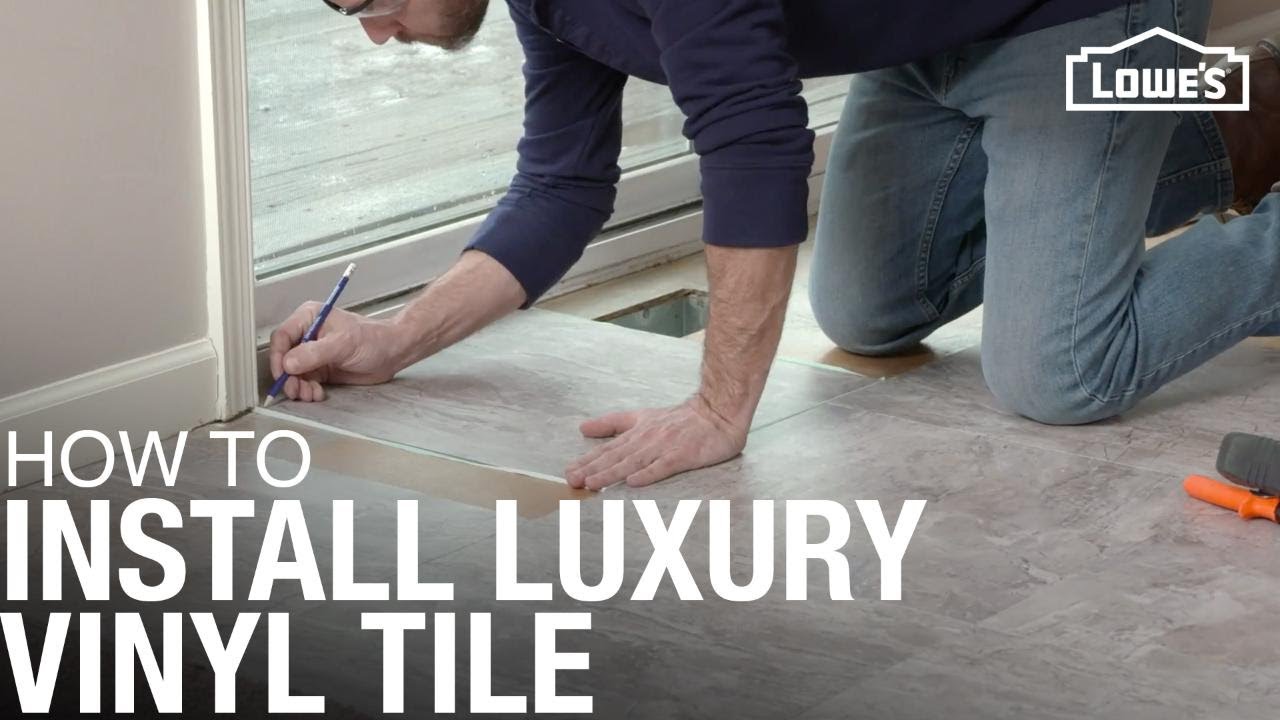
Cutting and Fitting the Vinyl
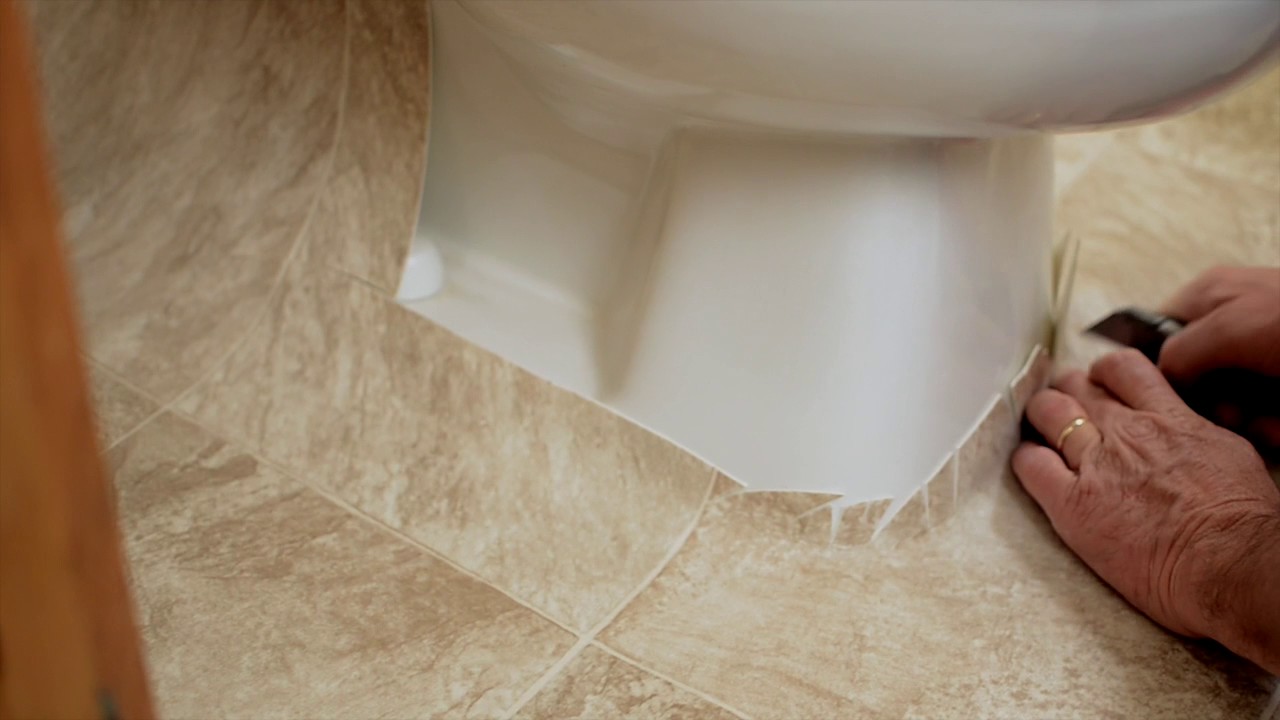
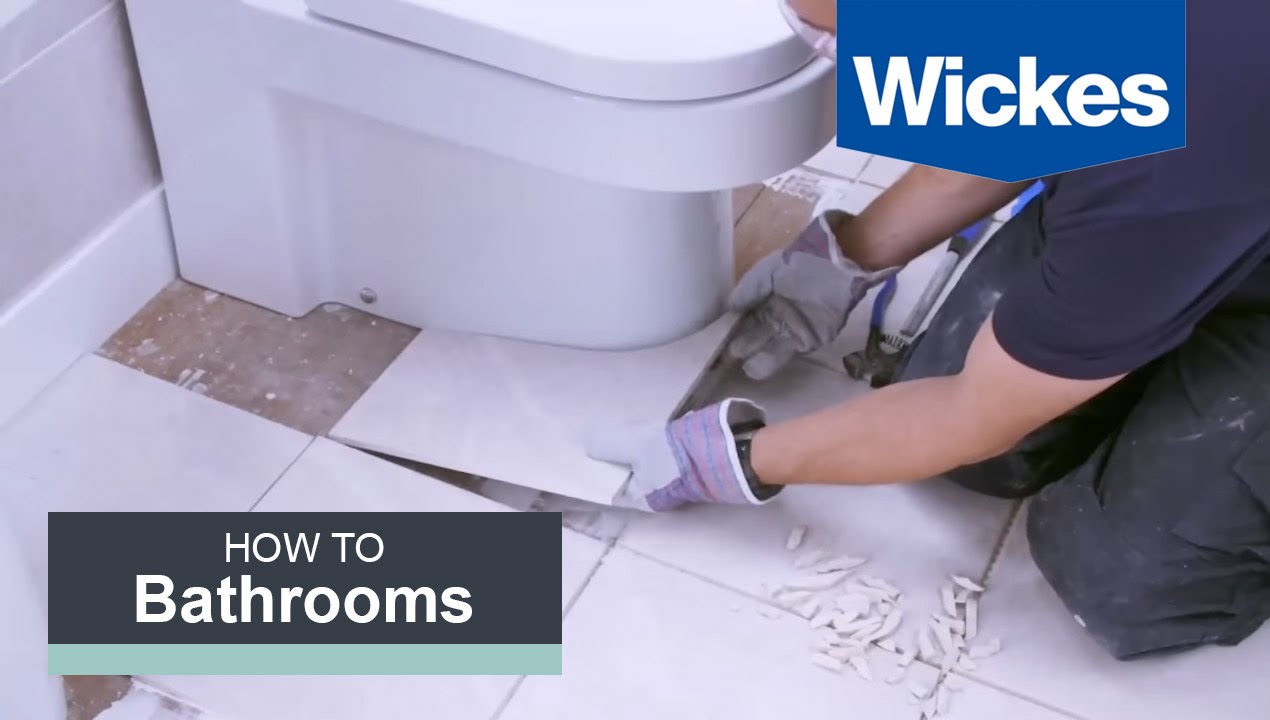
Once the flooring type is selected, careful cutting is essential for a seamless finish. Use a utility knife to trim vinyl planks or sheets to fit corners and edges. For precise cuts around the toilet, trace the base onto a sheet of paper, transfer the outline onto the vinyl, and cut accordingly. Leaving a small expansion gap along the walls allows the flooring to adjust to temperature changes. A snug fit around all fixtures prevents gaps that could collect moisture over time.
Securing and Sealing the Flooring
After placing the vinyl flooring, securing the edges prevents shifting. If using glue-down vinyl, press firmly to ensure strong adhesion. Floating planks should be locked tightly together with no gaps between them. Adding a waterproof sealant around the toilet base, bathtub, and along the walls prevents water from seeping underneath. Proper sealing is crucial in bathrooms where high humidity and frequent spills occur, helping extend the life of the flooring.

Final Touches and Maintenance
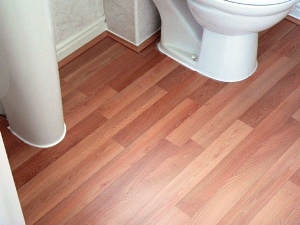
With the vinyl flooring installed, final adjustments ensure a polished look. Trim and reinstall baseboards or transition strips for a clean finish. Regular maintenance includes sweeping to remove dirt and occasional mopping with a mild cleaner to keep the surface in top shape. Avoid excessive water when cleaning to prevent moisture from seeping into seams. With proper care, vinyl flooring in a bathroom remains stylish, durable, and resistant to everyday wear.
How to Install Vinyl Plank Flooring Into a Bathroom

Farmhouse Vinyl Plank Flooring (One Room Challenge, Week 5) – Artsy Chicks Rule®
Pin on Vinyl Floors

How To Lay Vinyl Plank Flooring Around A Toilet Review Home Co
Vinyl Flooring Bathroom Update – Angela Marie Made

Installing Vinyl Plank Flooring On Shower Walls – Idalias Salon

Bathroom, Portfolio Smooth Floors The Flooring Group

Bathroom Laminate Flooring – Is It A Good Choice for You to Install in Your Home’s Bathroom
What flooring for our bathroom?

Related Posts: