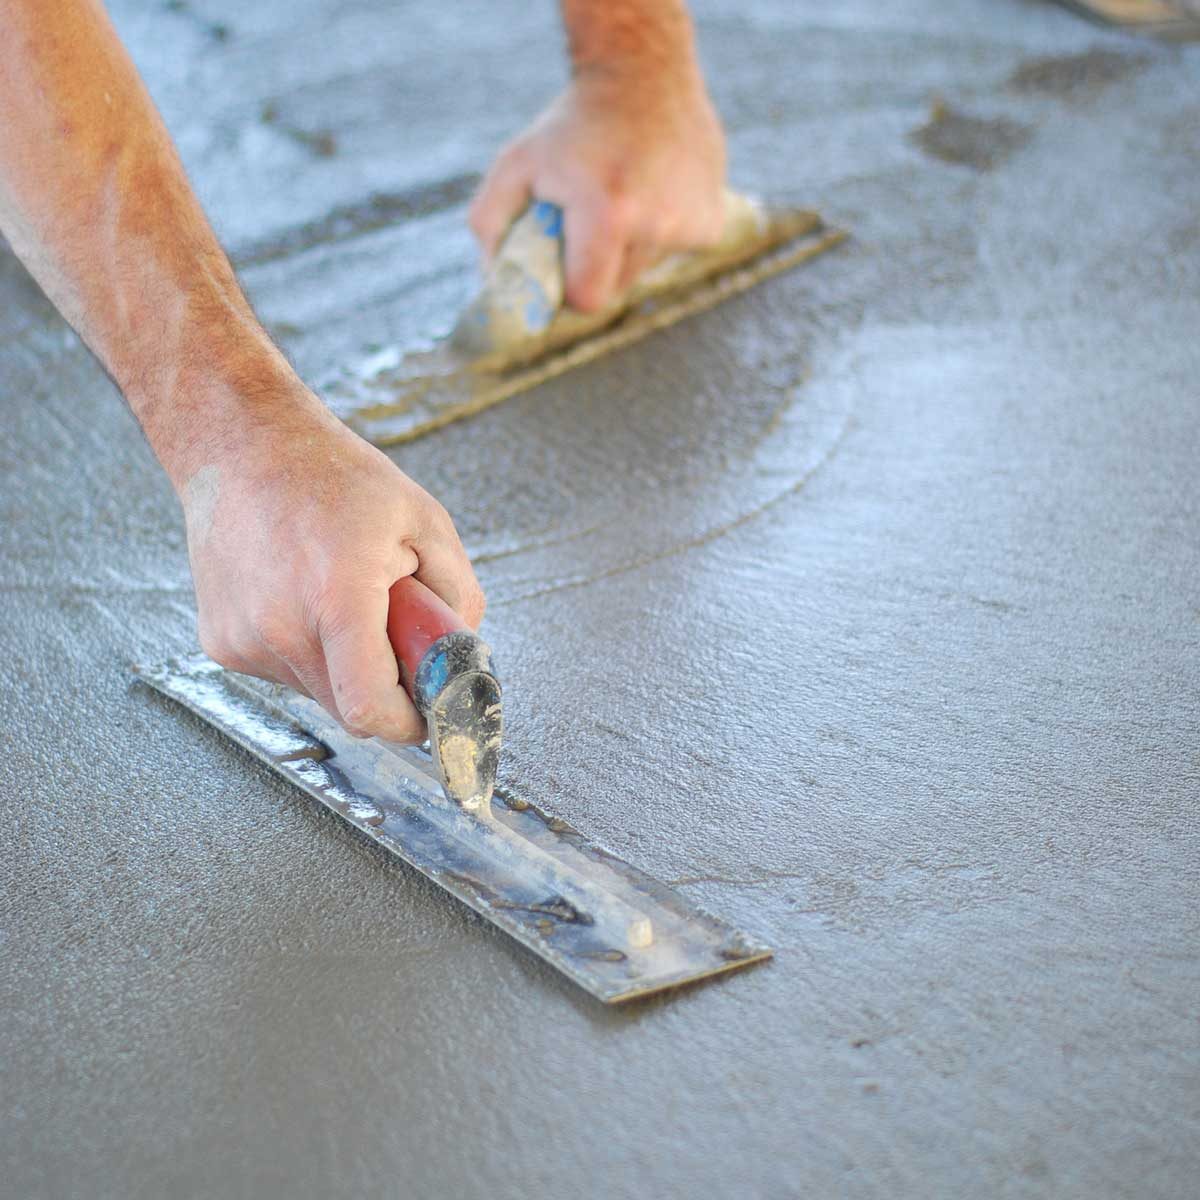
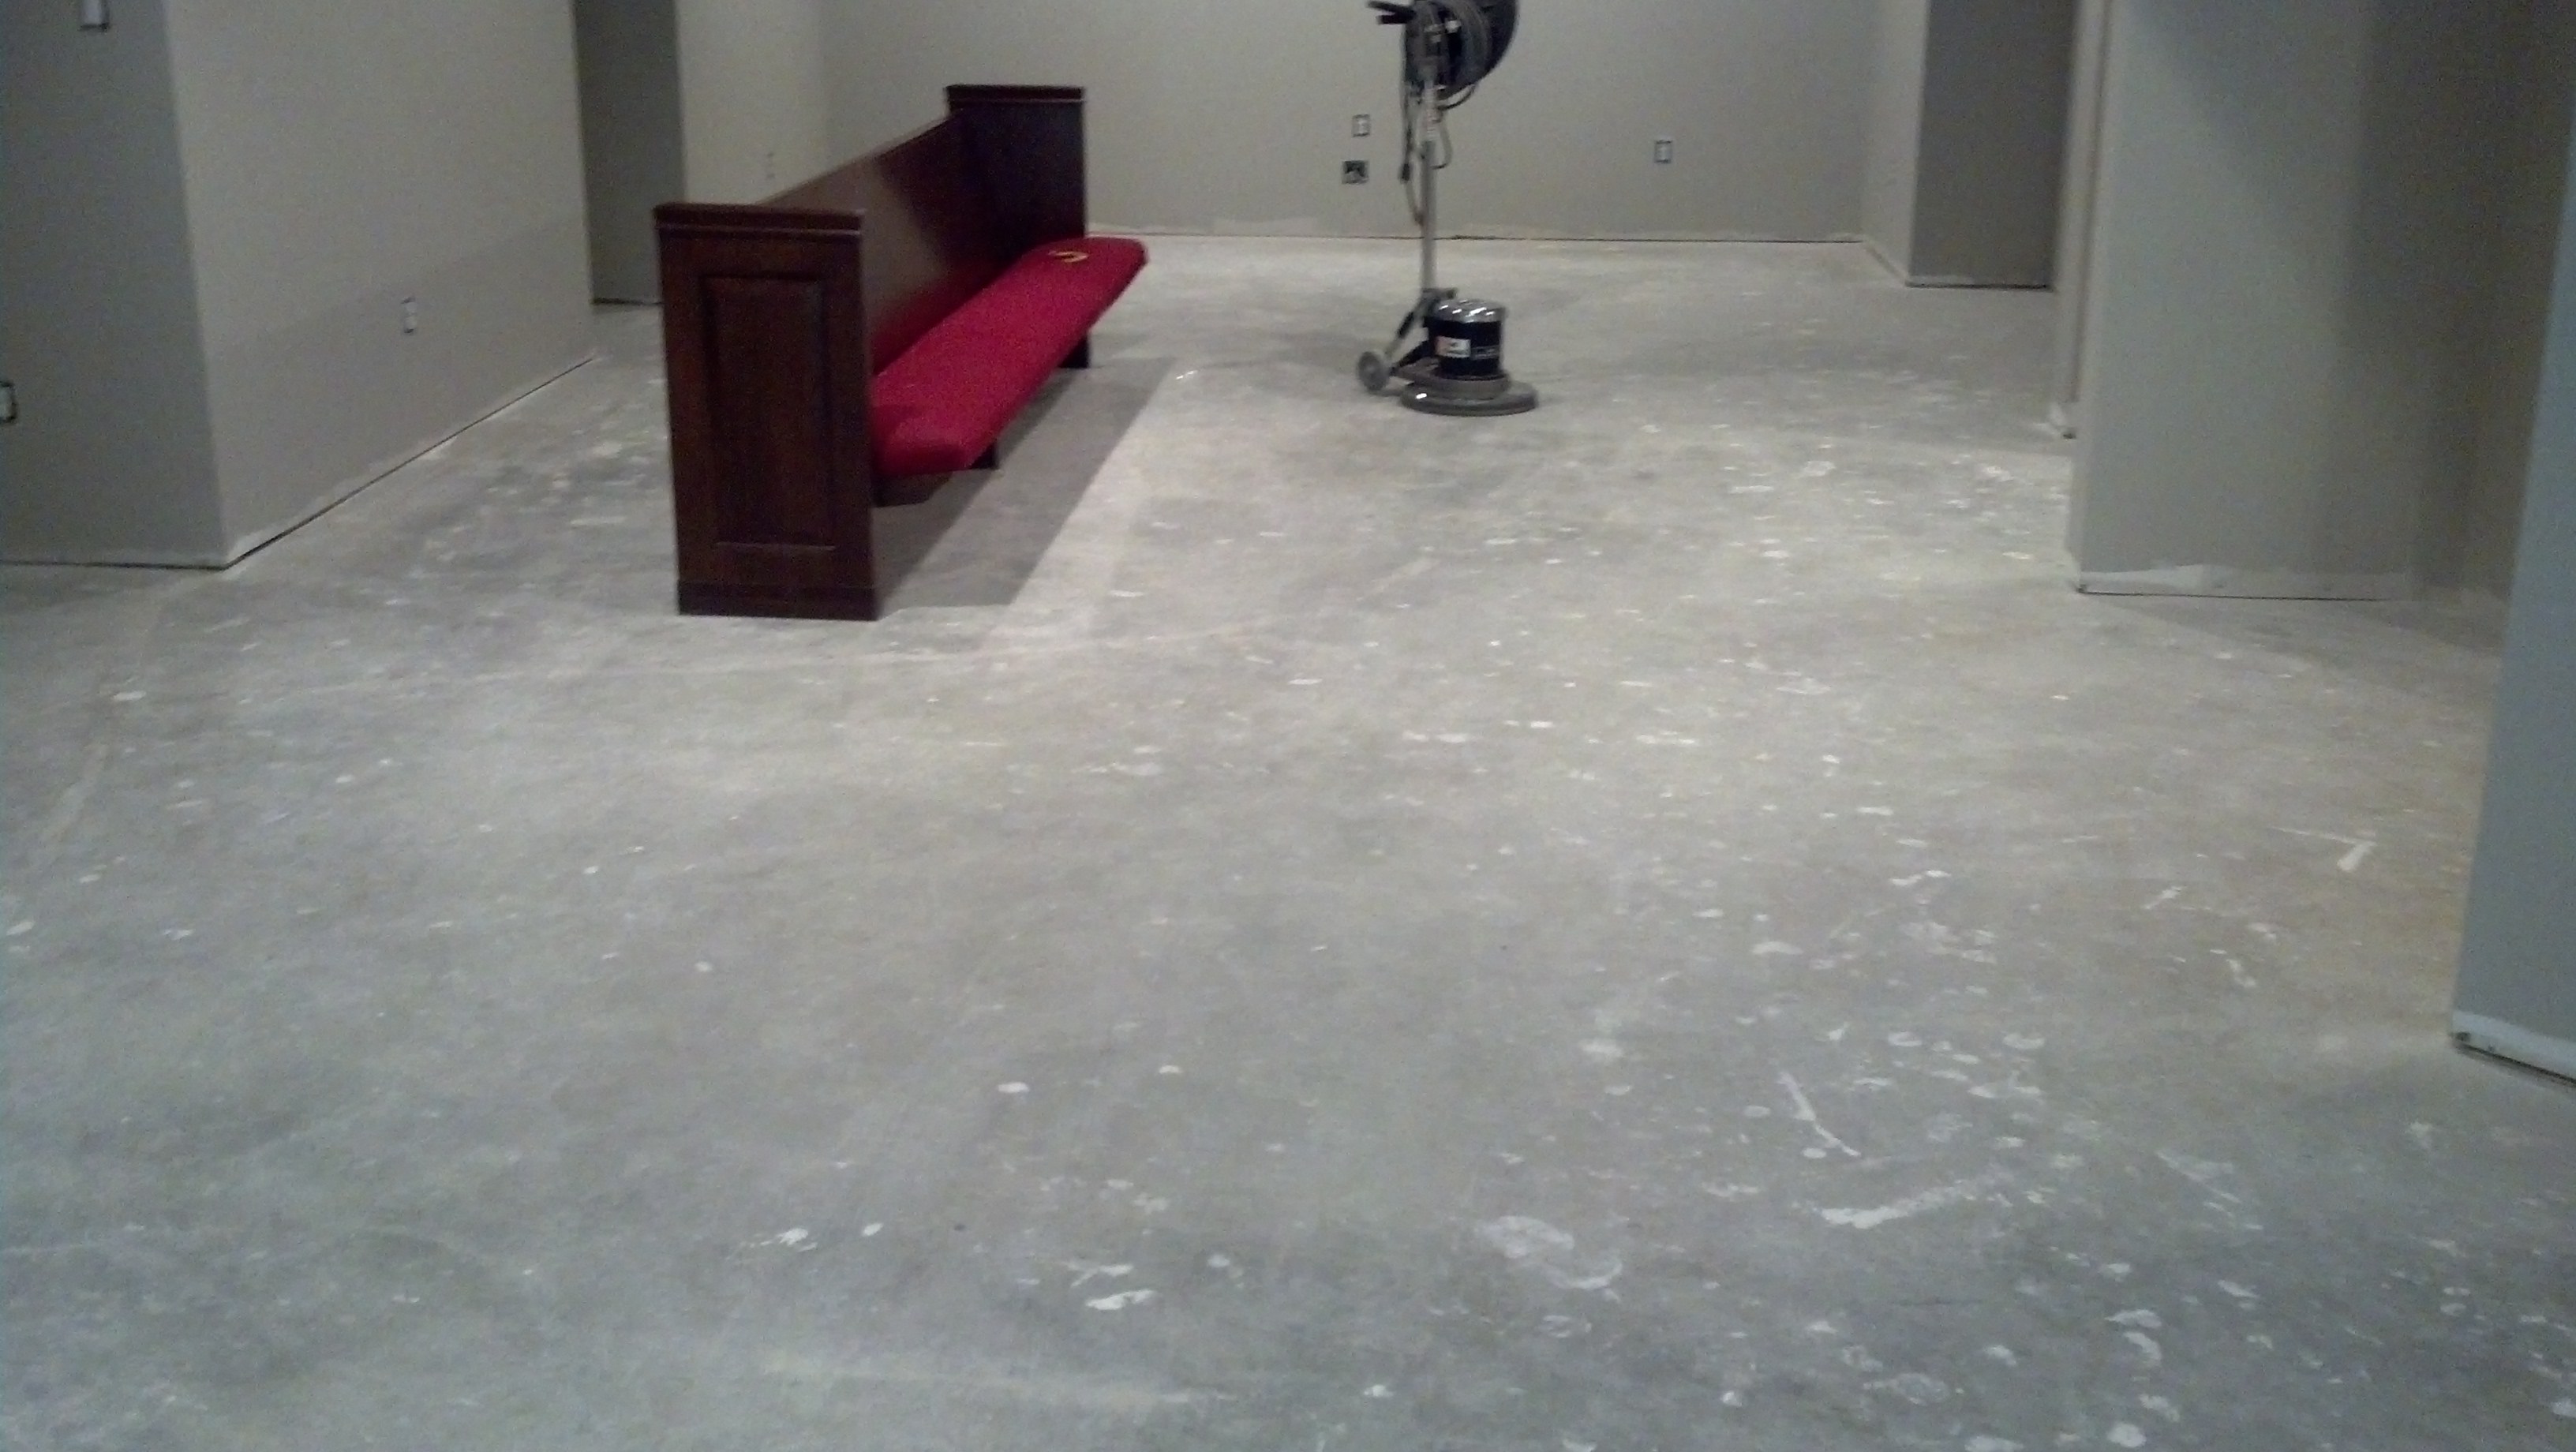
Concrete floor finishes transform plain slabs into durable, attractive surfaces for homes and commercial spaces. The process begins with proper surface preparation—cleaning, repairing cracks, and ensuring the slab is level. A well-prepared base prevents future issues like peeling or uneven textures. For new concrete, allow at least 28 days of curing before applying finishes. Existing floors may require grinding or shot blasting to remove old coatings or stains. Always test moisture levels; high moisture can ruin certain finishes. Proper prep work sets the foundation for long-lasting results.
Staining is a popular technique that adds rich, translucent color to concrete floors. Acid-based stains react chemically with the surface, creating unique marbled effects in earthy tones. Water-based stains offer more color options and are easier to apply. Before staining, clean the floor thoroughly and etch it for better absorption. Apply the stain in thin, even coats using sprayers or brushes, working in small sections. Neutralize acid stains with a baking soda solution, then seal the floor to protect the finish. Stained concrete provides artisanal character but requires periodic resealing.
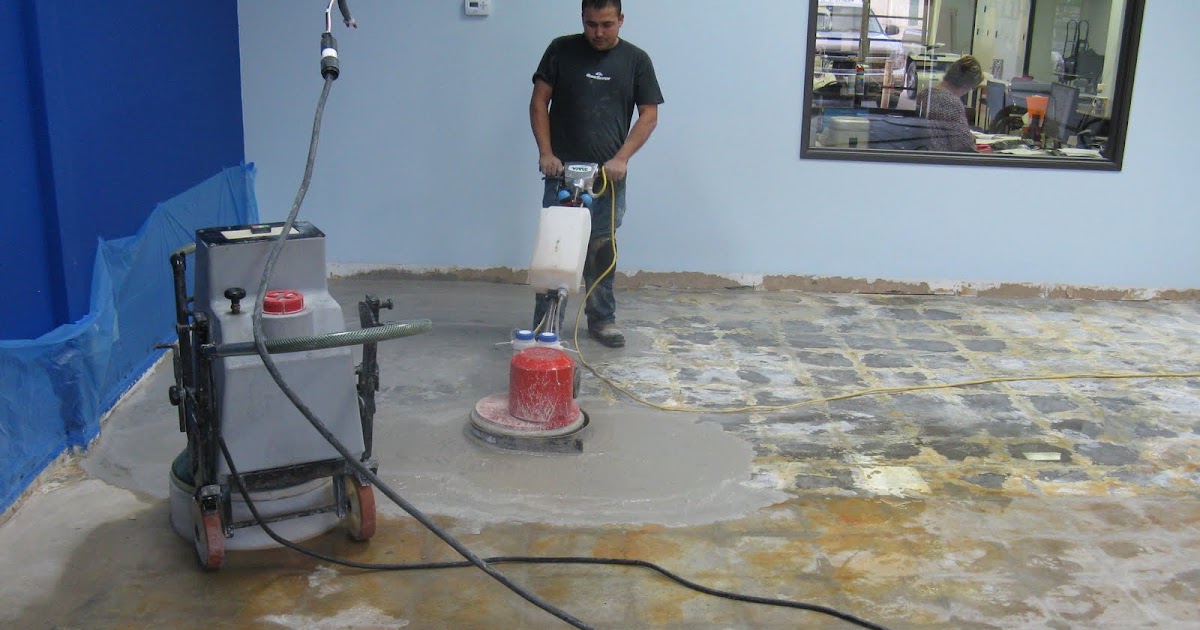
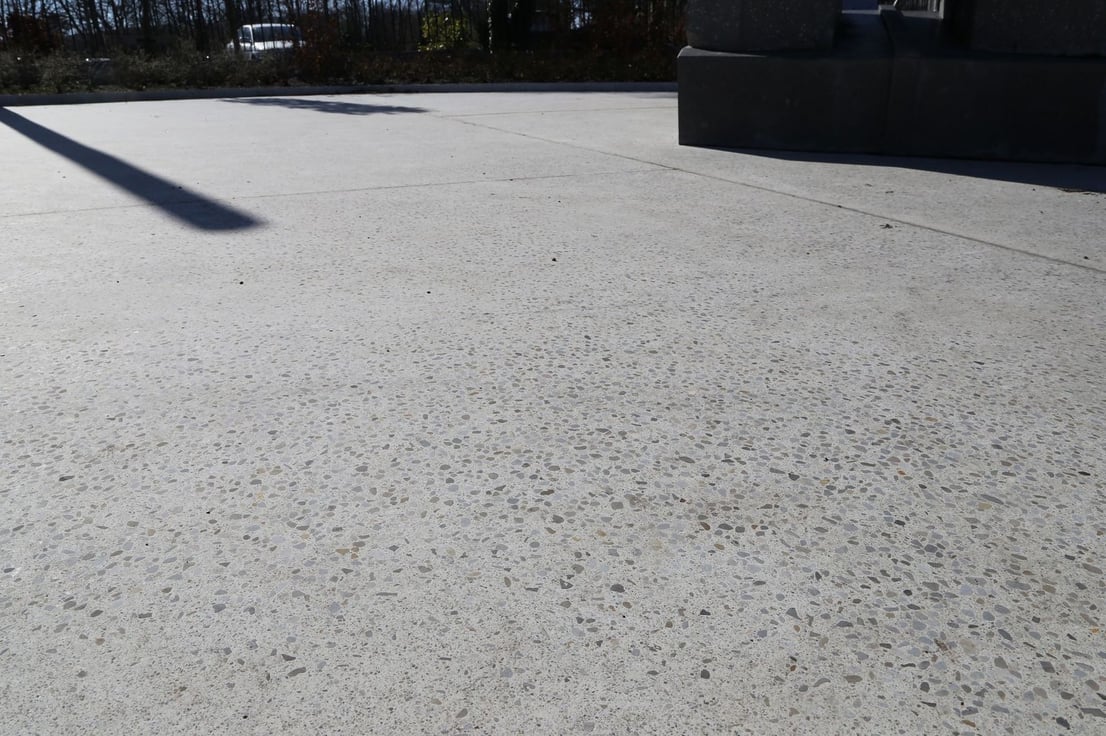
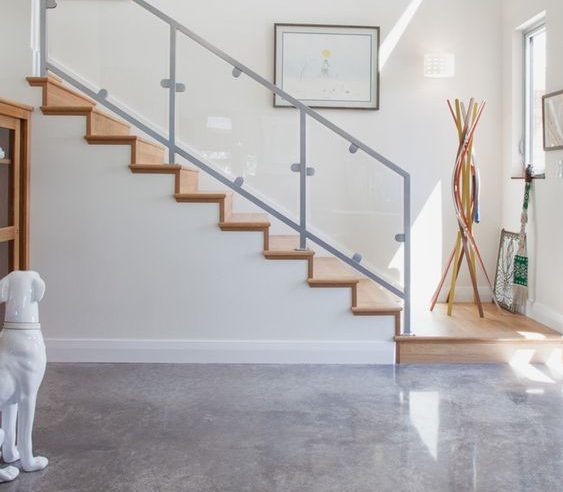
Polished concrete delivers a sleek, modern look with minimal maintenance. The process involves grinding the surface with progressively finer diamond abrasives, then densifying it with chemical hardeners. This creates a glossy, reflective finish that enhances light in spaces. Polishing can expose decorative aggregates for added visual interest. It’s ideal for high-traffic areas since it resists scratches and stains. While DIY polishing is possible with rental equipment, professional services ensure uniform results. Regular cleaning with pH-neutral cleaners preserves the shine for years.
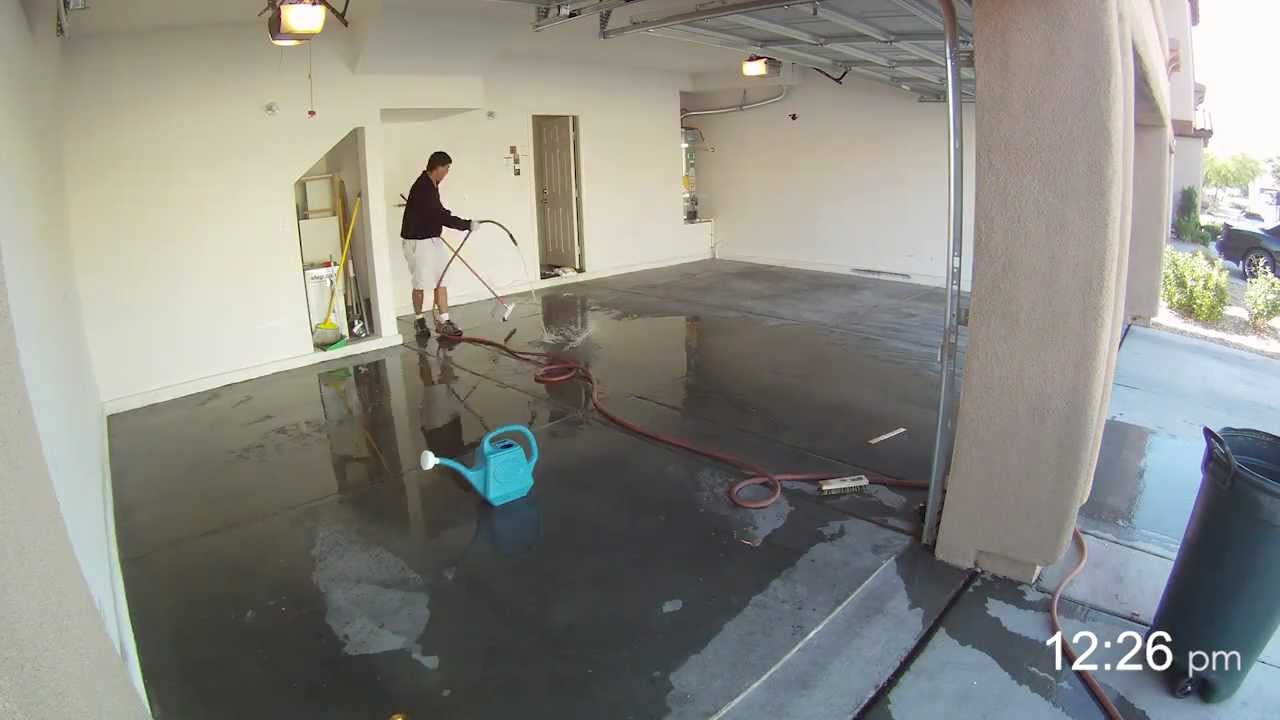
Epoxy coatings create ultra-durable, seamless floors perfect for garages and industrial spaces. These two-part resin systems bond tightly to concrete, resisting chemicals, impacts, and heavy loads. Choose from solid colors, metallic effects, or decorative flakes for customization. Proper mixing and application within the pot life are crucial—work in small batches to avoid curing issues. Apply epoxy to a clean, porous surface, using rollers for even coverage. Add anti-slip additives for safety in wet areas. While epoxy is tough, UV exposure can yellow it over time unless top-coated with polyurethane.
Microtoppings are thin polymer-modified overlays that renew worn concrete with fresh texture and color. They’re applied like mortar, then troweled smooth or stamped with patterns resembling tile or stone. Microtoppings can hide minor flaws but won’t fix structural cracks. They require precise mixing and skilled application to avoid cracking or delamination. Once cured, seal the surface to enhance durability. This option works well for interior floors needing a quick facelift without full replacement. Avoid heavy abrasives when cleaning to preserve the finish.
Stamped concrete mimics brick, slate, or wood with textured molds pressed into fresh overlay or base slabs. Start by applying a release agent to prevent sticking, then press stamps into the pliable surface. After curing, wash off excess release agent and apply sealant for color depth and protection. Stamping works best on new concrete but can be adapted for overlays. While highly decorative, stamped floors may need resealing every few years to maintain their appearance. Use non-abrasive cleaners to avoid wearing down the pattern.
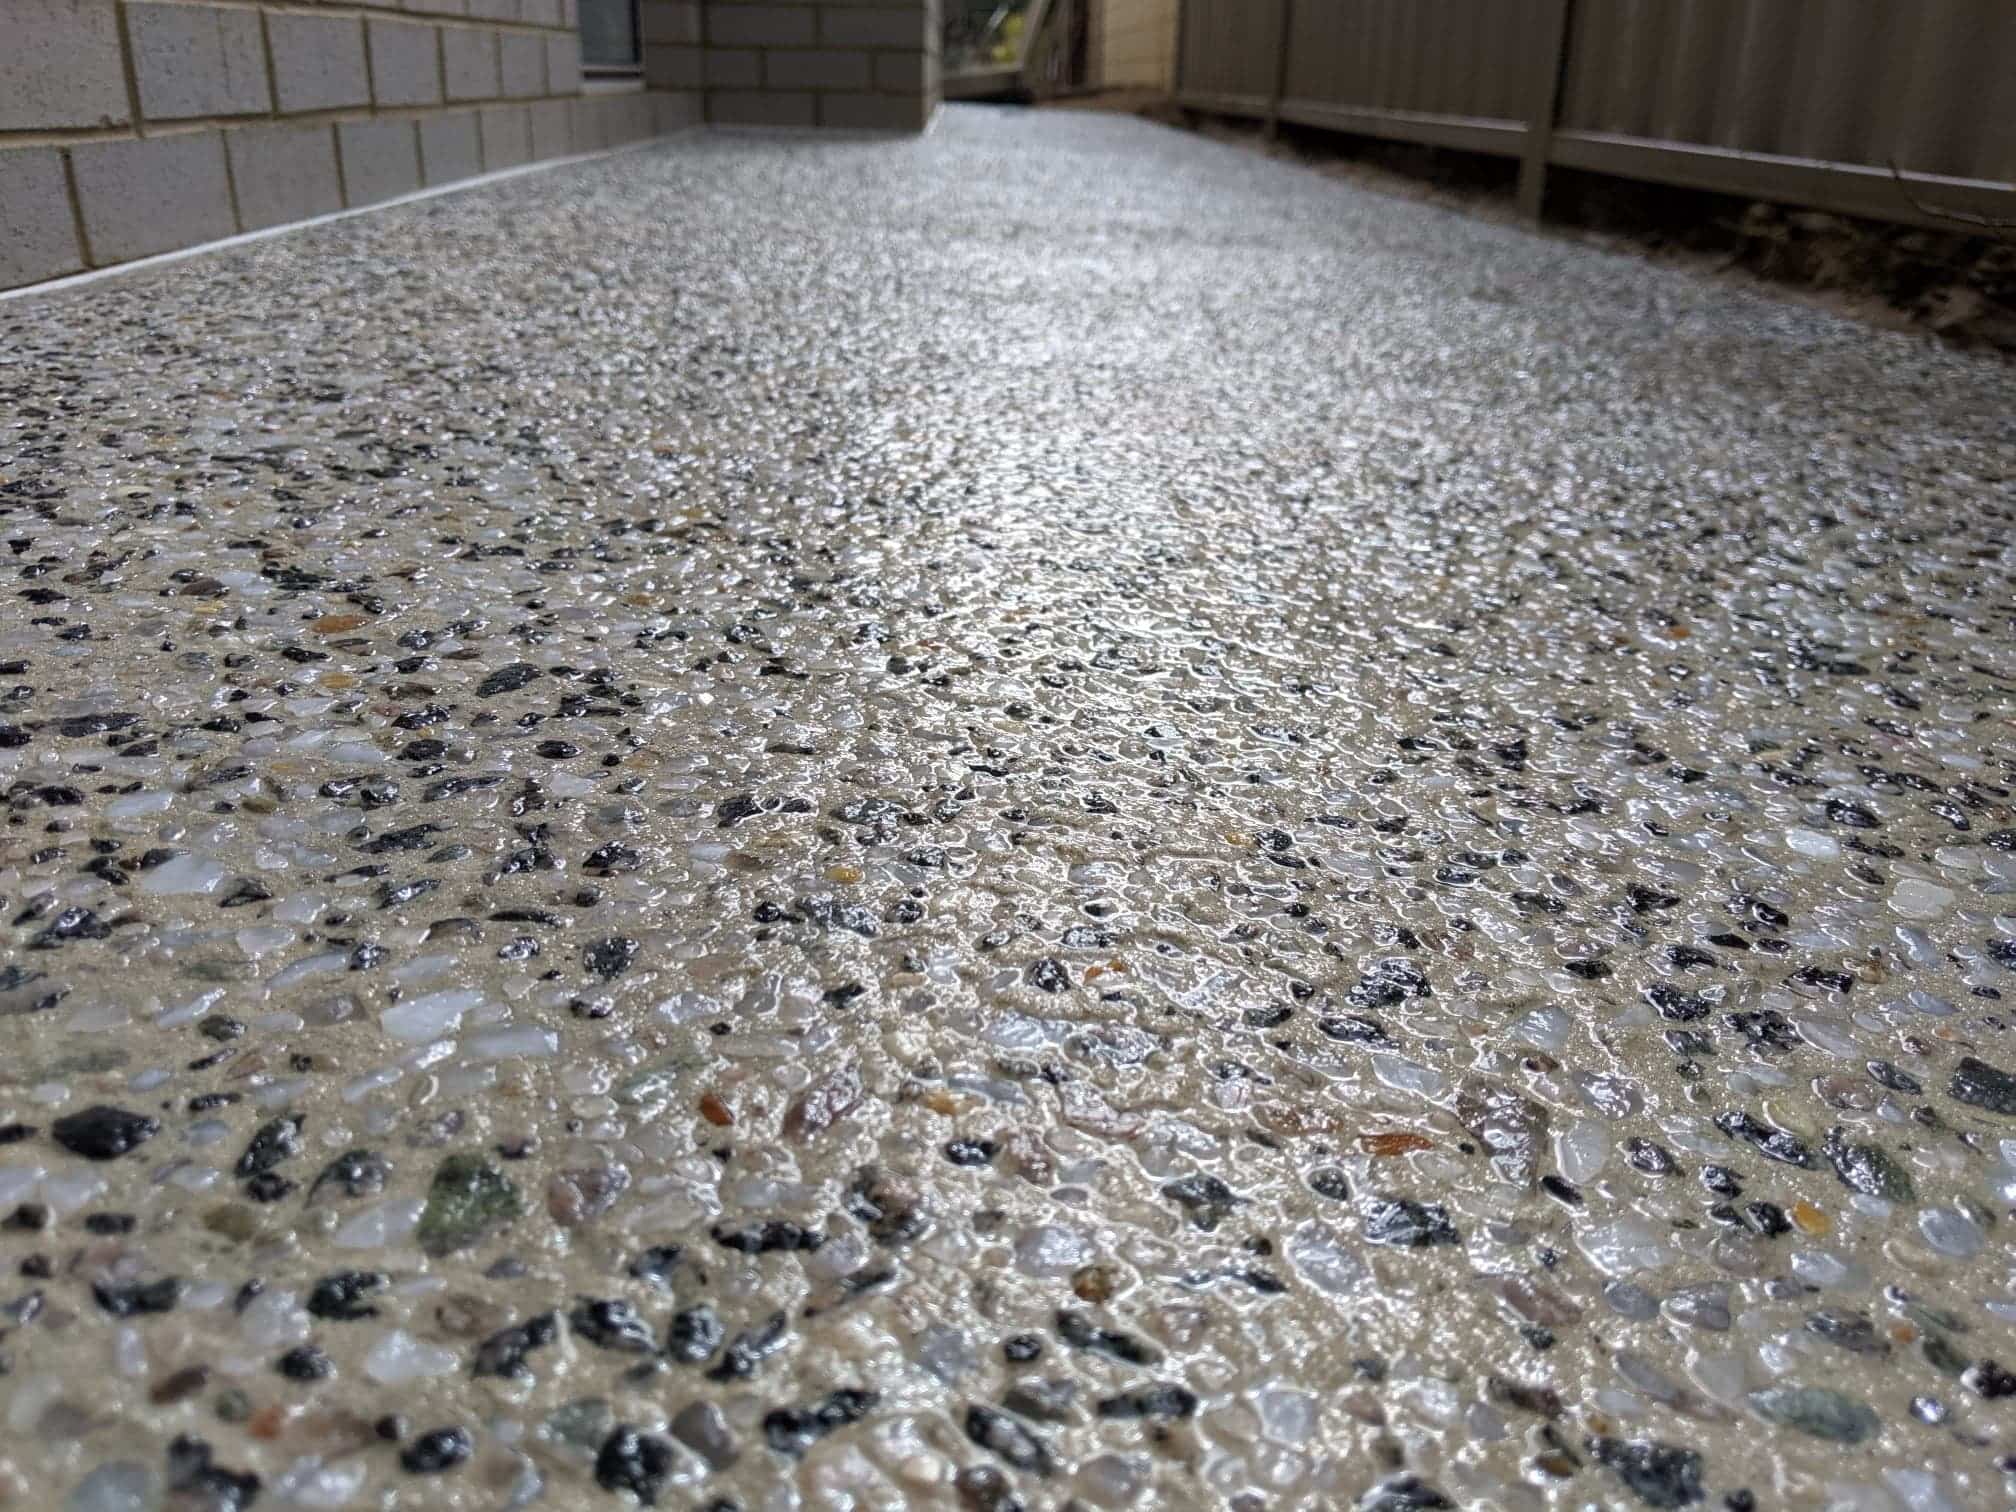
For a rustic, industrial vibe, consider exposed aggregate finishes. This involves washing away the top layer of cement paste to reveal pebbles or crushed stone beneath. Apply a surface retarder to slow curing on the top layer, then scrub it off with pressurized water. The result is a slip-resistant texture with natural variation. Exposed aggregate is low-maintenance but can feel rough underfoot. It’s often used outdoors but can be sealed for indoor applications. Avoid harsh chemicals that might degrade the exposed stones.
Burnished finishes offer a cost-effective alternative to polishing, using mechanical friction to compact and shine the surface. Apply a densifier, then use a floor machine with progressively finer pads to achieve sheen. Burnishing works on new or old concrete and doesn’t require coatings. While less glossy than polished concrete, it still repels stains and simplifies cleaning. This method is quicker than traditional polishing but may need periodic re-burnishing to maintain luster. It’s ideal for warehouses or retail spaces needing functional shine.
Dyed concrete provides opaque, consistent color throughout the floor. Integrate pigments directly into the mix before pouring or apply powdered dyes during finishing. Unlike stains, dyes won’t fade unevenly and offer brighter hues. They’re often combined with polishing or sealing for enhanced effects. Dyes work best on fresh concrete but can be used on existing floors with proper preparation. This method is popular for creating bold, designer looks in modern interiors. Reapply sealant every few years to protect the color from wear.
Maintenance preserves any concrete finish’s beauty and longevity. Sweep or dust-mop regularly to prevent abrasive grit buildup. Clean spills promptly, especially with acidic substances that could etch surfaces. Use floor mats at entrances to reduce dirt and moisture tracking. Reapply sealants as recommended—typically every 1-3 years for high-traffic areas. Avoid harsh cleaners or steel wool that could scratch finishes. With proper care, decorative concrete floors can last decades while retaining their aesthetic appeal. Each finish type has unique care needs, so follow manufacturer guidelines for best results.
Concrete floor finishes News Building

Finished Concrete Floor: Is Polished Concrete Flooring Easiercheeper Teakdoorcom The Concrete

The 8 step ultimate guide to laying polished concrete flooring
How to Pour Concrete Driveway – YouTube

How to Apply Garage Floor Epoxy – in 2 Minutes – YouTube
What Are The Finishing Options Available For Concrete Floors? Interior Desire
Related Posts: