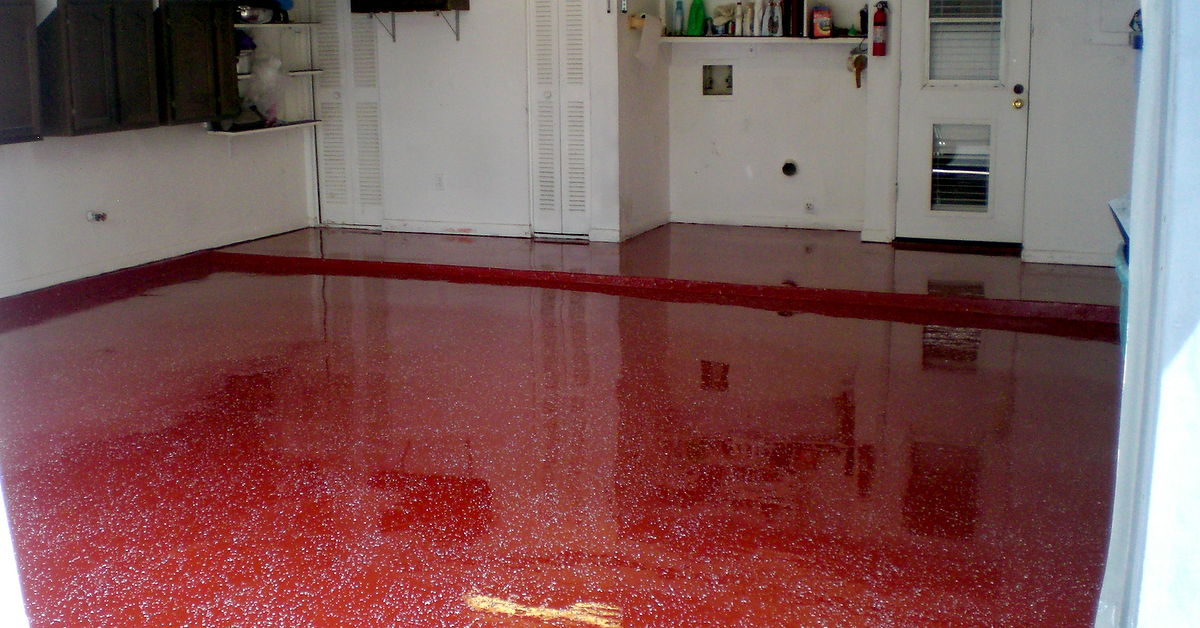
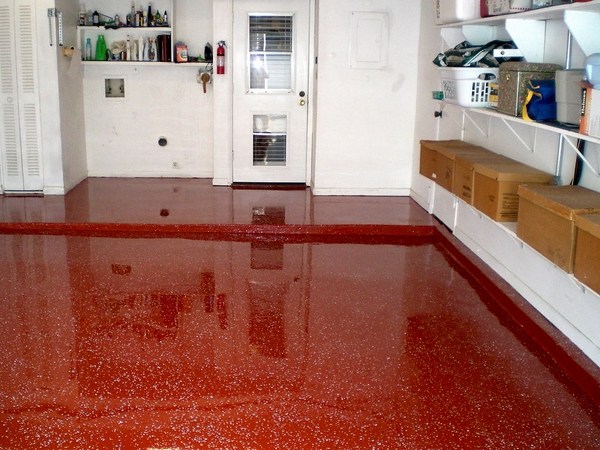
Over time, even the best epoxy garage floors can show signs of wear, including peeling, discoloration, or chipping. Redoing your epoxy floor brings back its glossy finish and protective qualities while giving your garage a fresh, clean appearance. The process involves removing the old coating, repairing any damage, and applying new epoxy for a durable surface that resists stains, chemicals, and heavy traffic. Whether your existing floor has lasted five years or fifteen, a proper redo can make it look brand new while extending its lifespan significantly. Proper preparation is key to ensuring the new epoxy bonds correctly and lasts for years to come.
The first step in redoing an epoxy garage floor is assessing the existing coating’s condition. Look for areas where the epoxy has lifted, cracked, or worn thin. Minor damage may only require spot repairs, while widespread issues suggest a complete redo. Test adhesion by scratching the surface with a putty knife—if the epoxy flakes off easily, full removal is necessary. Check for moisture problems by taping a plastic sheet to the floor overnight; condensation underneath indicates sealing is needed before reapplying epoxy. Identifying these issues early helps determine whether to strip the entire floor or just repair problem areas.

Removing old epoxy requires the right tools and techniques for best results. Mechanical methods like grinding or shot blasting effectively strip worn coatings while roughing up the concrete for better new epoxy adhesion. Chemical strippers can work for small areas but often require multiple applications and thorough rinsing. Diamond grinders with coarse grit pads efficiently remove epoxy without damaging the concrete beneath. For DIYers, renting a floor grinder makes the job manageable, though professional contractors have industrial equipment that completes the work faster. Proper dust control with vacuums and protective gear is essential during this messy but crucial step.
After removing old epoxy, concrete repairs create a smooth base for the new coating. Fill cracks with epoxy-based patching compounds that flex with temperature changes. Level low spots with self-leveling underlayment to prevent pooling liquids. Etch the entire surface with muriatic acid or a commercial etcher to open pores for maximum adhesion. Thorough cleaning removes all dust and debris—any contaminants left behind can cause bonding failures. Consider applying a moisture barrier if testing revealed dampness issues. These preparatory steps might seem tedious but directly impact how well and how long the new epoxy coating will perform.

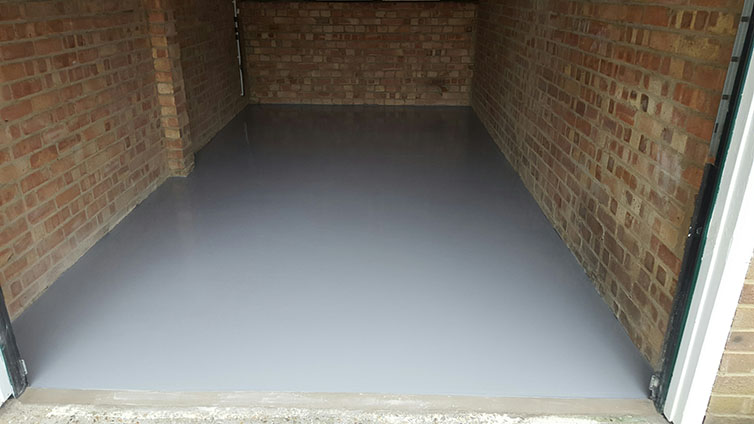
Choosing the right epoxy products ensures a durable, attractive finish. Two-part 100% solids epoxy provides the thickest, most resilient coating for high-traffic garages. Water-based epoxies offer easier application and lower odor but may not last as long. Look for systems that include anti-slip additives, especially for areas that get wet. Quality kits contain primer, base coat, and clear topcoat for complete protection. Metallic epoxy creates stunning decorative effects but requires more skill to apply. Compare coverage rates and dry times when selecting products to match your project timeline and garage size.
Proper application techniques make the difference between amateur and professional results. Maintain consistent temperatures between 50-90°F during curing for proper bonding. Mix components thoroughly but avoid whipping air into the epoxy. Use notched squeegees for even spreading followed by spiked rollers to eliminate bubbles. Work in manageable sections to maintain a wet edge and prevent lap marks. Apply the recommended thickness—skimping on product reduces durability. Many systems benefit from broadcasting color flakes for traction and visual appeal. Follow manufacturer instructions precisely for mixing ratios, recoat windows, and dry times between steps.
The finishing touches protect your investment and enhance performance. A polyurethane or polyaspartic topcoat adds UV resistance and extra shine while protecting against yellowing. Anti-slip additives can be sprinkled into the final coat for safer footing. Painter’s tape creates crisp edges where the floor meets walls or cabinets. Allow full cure time before parking vehicles—typically 3-7 days depending on products used. Consider applying matching epoxy to garage steps or adjacent concrete areas for a cohesive look. These final details ensure your redone floor looks professional and withstands daily use.
Maintaining your refreshed epoxy floor preserves its appearance and longevity. Sweep regularly to remove abrasive grit that can scratch the surface. Clean spills promptly, especially oil or chemicals that could stain. Use mild detergents and soft brushes for periodic deep cleaning. Avoid dragging sharp metal objects across the floor. Place rubber mats under workbenches and in high-traffic areas to minimize wear. Reapply topcoat every few years in heavily used garages to renew protection. With proper care, a professionally redone epoxy floor can last 10-15 years before needing another refresh.

Common mistakes to avoid include skipping surface preparation, applying epoxy in poor weather conditions, or rushing the curing process. Inadequate cleaning leads to peeling, while improper mixing causes soft spots. Applying epoxy over existing coatings without proper testing often results in failure. Walking on the floor too soon leaves footprints, and parking vehicles before full cure damages the finish. Using household cleaners with wax or oil leaves slippery residues. Following manufacturer guidelines and allowing sufficient time for each step prevents these issues and ensures a successful garage floor redo.
The benefits of redoing your epoxy garage floor justify the effort involved. A fresh coating restores protection against oil stains, tire marks, and chemical spills. The bright, reflective surface improves visibility and makes the space more inviting. Increased durability means fewer repairs and less maintenance over time. The project often costs less than replacing other flooring types while providing superior performance. Whether you use the garage for parking, projects, or as a multipurpose space, a properly redone epoxy floor creates a clean, professional-looking foundation that enhances your home’s functionality and value.
Epoxy Garage Floor Perth Garage Floor Coatings

Floor Epoxy Coating Fort Myers FL, Epoxy Flooring Epoxy floor, Garage floor, Floor coating

Epoxy granite Glitter Epoxy, Garage floor epoxy, Glitter floor

Garage Floors Garage Resin Floors Garagare Resin Flooring
Pebble Epoxy Concrete Overlay Sidewalk in Canton, GA – Pebble Stone, LLC

Epoxy floor, matte finish Basement Pinterest Epoxy, Basements and Concrete

Garage floor redo – CorvetteForum – Chevrolet Corvette Forum Discussion

Related Posts: