Removing tile from bathroom floors and walls may seem like a daunting task, but with the right tools and techniques, it can be manageable. Begin by preparing the space. Clear the bathroom of any furniture, accessories, or fixtures, and ensure proper ventilation to handle dust. Wear safety gear such as gloves, goggles, and a dust mask for protection. Use drop cloths or tape plastic sheets over nearby surfaces to shield them from debris. Proper preparation sets the stage for an efficient and safe tile removal process.

Start by tackling the tiles on the walls, as this allows you to control falling debris. Locate a loose tile or create an access point by chipping away at the grout with a utility knife or grout saw. Using a flat chisel and hammer, pry the tile loose by angling the chisel under the edge of the tile and gently tapping. Continue working methodically, removing tiles section by section while avoiding unnecessary force to prevent damaging the underlying wall or plumbing. Patience is crucial during this stage.

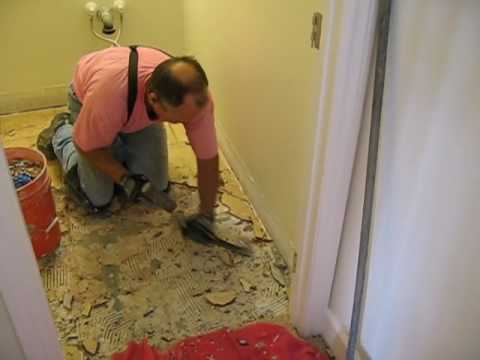
Once the wall tiles are removed, shift focus to the floor tiles. Similar to the walls, begin by targeting grout lines to weaken the bond. A hammer and chisel can effectively loosen tiles, but for larger areas, consider using a floor scraper or a power tool designed for tile removal. Ensure steady and controlled movements to avoid damage to the subfloor. As you progress, collect and dispose of tile pieces and grout carefully to maintain a tidy and safe workspace.

After all tiles are removed, assess the condition of the surfaces beneath. Use a scraper or putty knife to clear away any leftover adhesive or grout residue. For stubborn spots, a heat gun or adhesive remover can help soften the material, making it easier to scrape off. Smooth out any rough patches using sandpaper or a grinder to create an even surface. This step is essential for ensuring a clean foundation for any new flooring or wall covering you plan to install.

Finally, address the cleanup and disposal of the removed tiles and materials. Gather debris into sturdy bags or bins, and check local regulations for proper disposal of construction waste. Thoroughly vacuum the area to remove remaining dust and particles. With everything clean and prepped, your bathroom is ready for its next transformation. By following these steps, you can successfully remove old tiles and prepare the space for a fresh, updated look that suits your style.
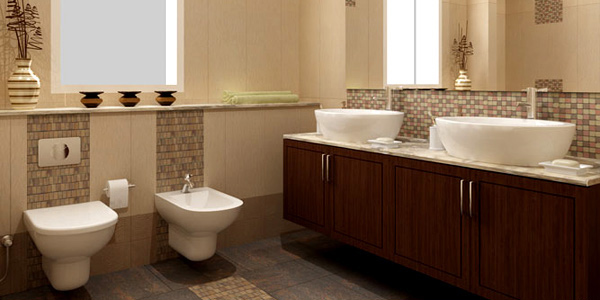
Tips on How to Renovate Your Bathroom Home Design Lover
preparing for new tile floors – 06 remove bathroom tile – YouTube
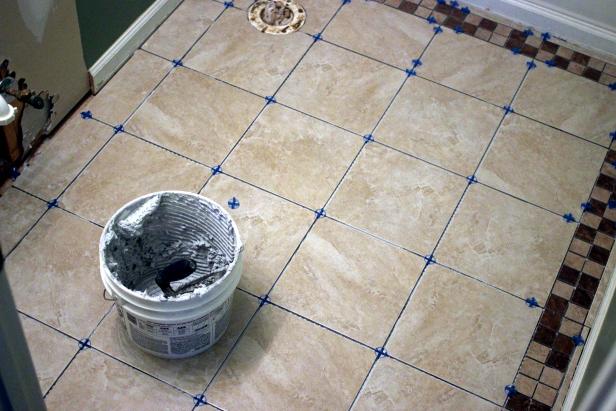
How To Lay Bathroom Floor Tile / How to tile a bathroom floor (it’s done!) Grey bathroom
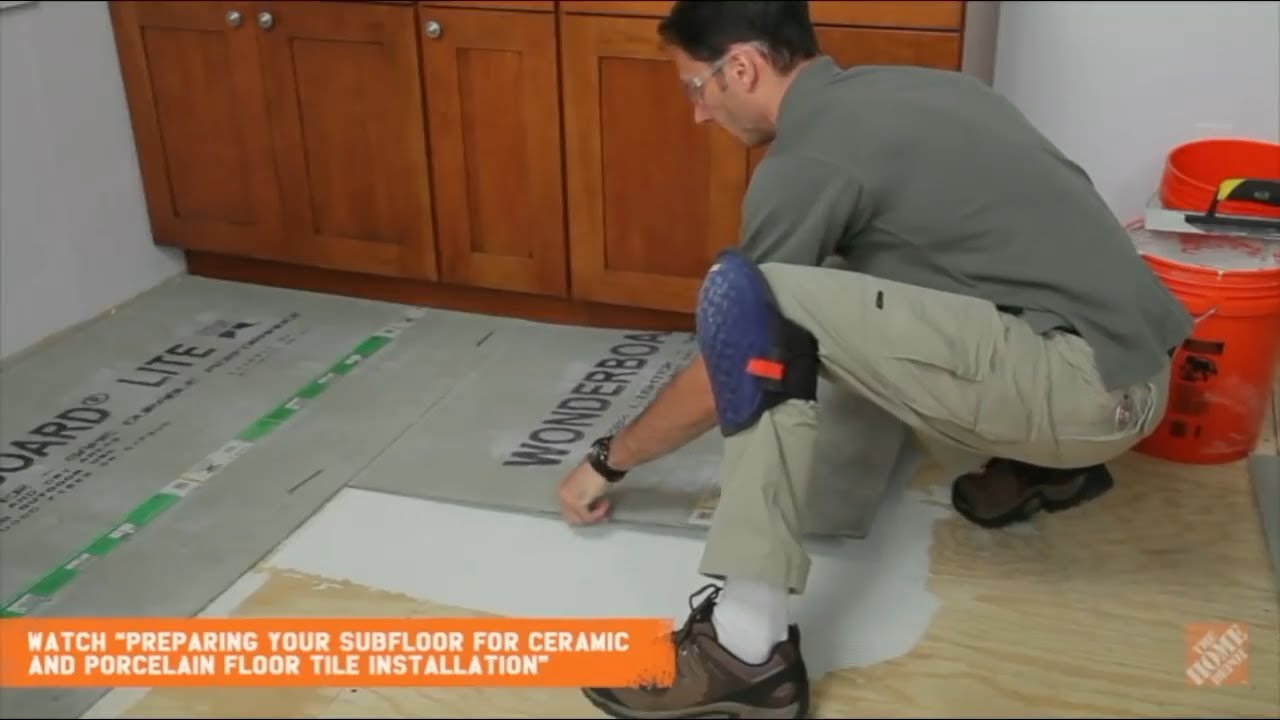
How to Install Bathroom Floor Tile how-tos DIY
Simple Bathroom Remodel – Tile, Drywall, Paint

How can I remove bathroom floor tile without breaking wall tile? (grout, bed) – Home Interior

DIY Share: Kids bathroom to a teen bathroom That Black Chic

Related Posts: