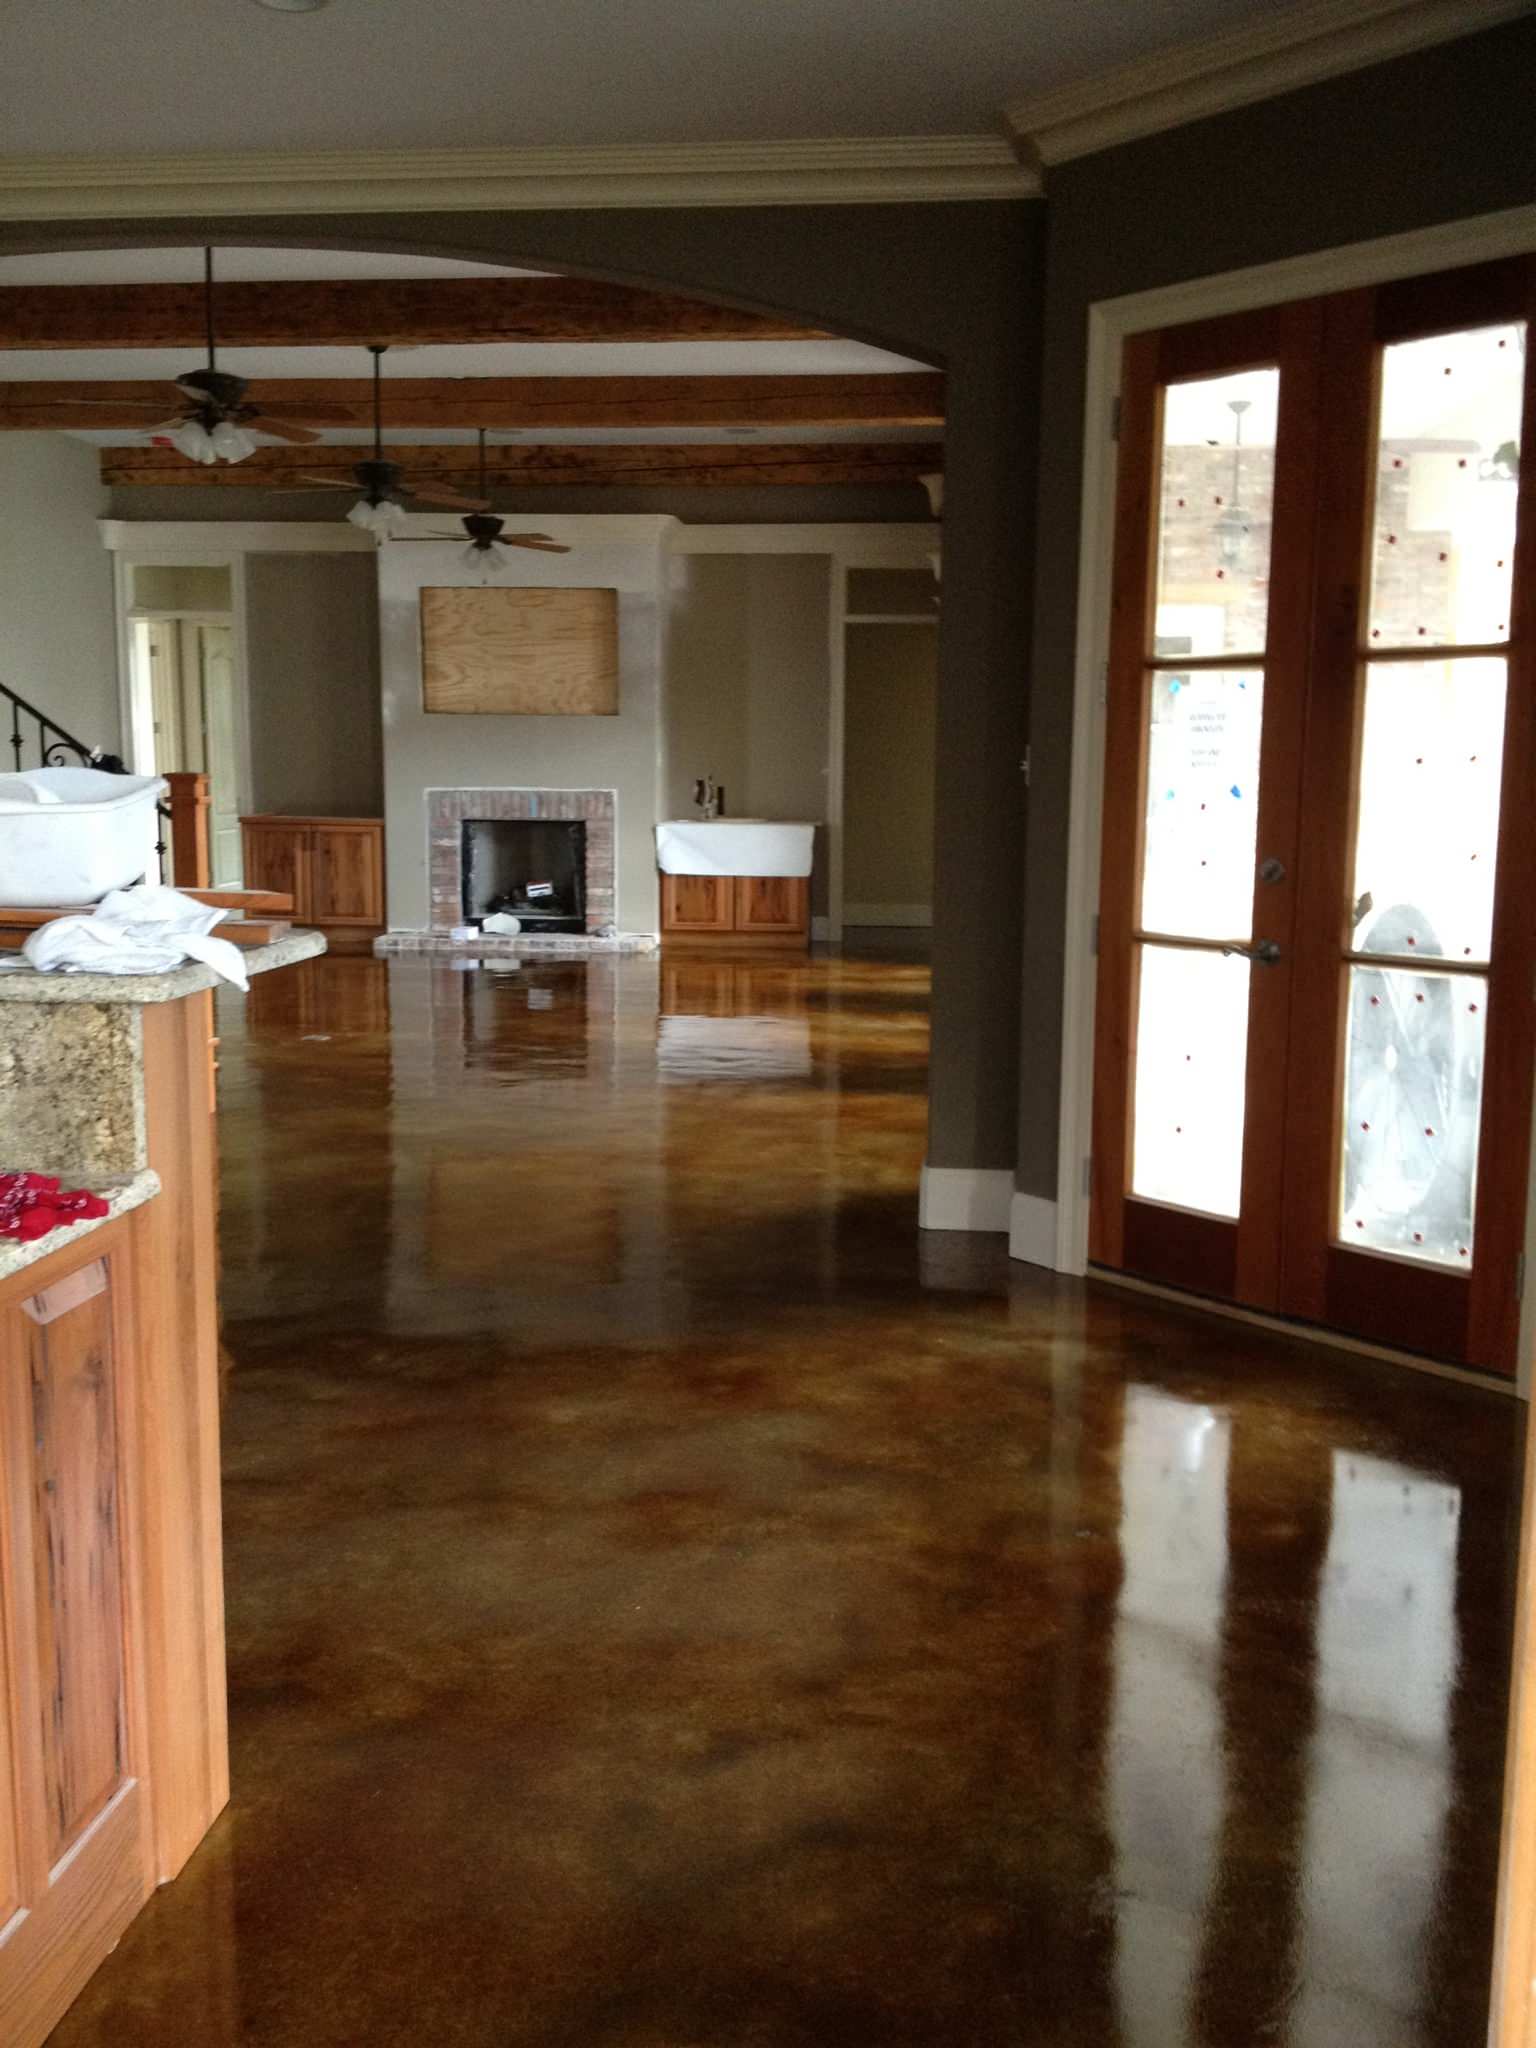
Three years ago, I stood in my newly purchased industrial loft staring at the bare concrete slab floors, trying to envision how to make them feel warm and inviting rather than cold and utilitarian. The budget didn’t allow for traditional hardwood or tile, but I’d heard about acid-stained concrete creating beautiful, organic patterns. What began as a cost-saving measure became my favorite design feature, transforming plain gray concrete into rich, variegated floors with depth and character that constantly draw compliments. My journey with rustic stained concrete taught me that beauty often comes from embracing materials in their natural state rather than covering them up.
Understanding concrete staining chemistry fascinated me more than I expected. Unlike paint or dyes that sit on the surface, acid stains actually react chemically with the minerals in concrete, creating permanent color that becomes part of the material itself. The stain penetrates and etches the concrete surface, producing translucent, variegated tones that vary based on the concrete’s composition, age, and mineral content. I learned that no two floors turn out identically because each concrete slab has unique characteristics. This unpredictability initially worried me, but I came to appreciate that the organic, unrepeatable nature of the results is exactly what creates the rustic aesthetic I wanted.
Choosing color combinations required letting go of control and embracing organic variation. I tested multiple acid stain colors on hidden areas of my concrete, discovering that color names only loosely predict final results. What manufacturers call “walnut” might turn out terra cotta on my slab, while “charcoal” could produce anything from gray-green to deep brown depending on the concrete’s mineral content. I ultimately chose a combination of earth tones, a rich brown base with charcoal accents, allowing the stains to react naturally without trying to force uniform color. Sample testing on my actual concrete proved essential for understanding what to expect.
Surface preparation took far longer than the actual staining process. My concrete had paint splatters, adhesive residue from old carpet tack strips, and an existing sealer that needed complete removal before staining could work. I spent two solid weeks grinding, scrubbing, and chemically stripping the floor down to bare concrete. Every contaminant had to go because anything on the surface would block the stain’s chemical reaction. I used a combination of mechanical grinding for heavy buildup and chemical strippers for adhesives. The preparation was exhausting and unglamorous, but I learned that acid staining only works on pristine, porous concrete.

The actual staining process felt like painting with watercolors on a massive scale. I started with the darker brown stain as my base color, using a plastic pump sprayer to apply it in overlapping patterns. The stain immediately began reacting, fizzing slightly as it etched the concrete and created color. I worked quickly across the 1,200 square foot space, deliberately creating uneven application that would result in natural-looking variation. The color developed over several hours, shifting from the initial reaction to deeper, richer tones. Watching the transformation happen in real-time was mesmerizing, like watching instant patina develop before my eyes.
Layering the second color created depth and complexity that single-color staining couldn’t achieve. After the brown base dried completely, I applied charcoal stain in strategic areas, focusing on edges, corners, and random patches throughout the floor. I used both spray application and hand-applied pools of stain, allowing them to spread organically. The charcoal reacted differently over the brown base than it would on raw concrete, creating unexpected tertiary colors and tonal shifts. Some areas turned deep chocolate, others developed olive undertones, and unexpected rust tones appeared where mineral concentrations were highest. These “imperfections” became the floor’s most beautiful features.
Neutralizing and cleaning after staining proved crucial but nerve-wracking. Once the stain stopped reacting and dried, I had to neutralize the acid with baking soda solution and scrub away the residue that formed during the chemical reaction. This process temporarily dulled the colors, making me panic that I’d ruined everything. However, once thoroughly rinsed and dried, the true colors emerged more vibrant than before. The scrubbing also revealed subtle patterns and variations I hadn’t noticed wet. This phase required patience and trust in the process, something I struggled with initially but now appreciate as essential to the final result.
Sealing the stained concrete transformed it from a matte, porous surface into a finished floor with subtle sheen and protection. I applied three coats of water-based concrete sealer, allowing proper cure time between applications. The sealer brought out the color depth dramatically, making the variegated tones pop and creating a slight wet-look that emphasizes the organic patterns. I chose a satin finish rather than high-gloss, maintaining the rustic aesthetic while providing durability and stain resistance. Each sealer coat deepened the colors incrementally, and I found myself constantly photographing the changing appearance as the true character emerged.

Living with rustic stained concrete floors has been surprisingly comfortable and practical. I worried they might feel cold underfoot, but area rugs in seating areas and the concrete’s thermal mass actually help regulate temperature efficiently. The sealed surface cleans easily with a damp mop and mild cleaner, and the variegated coloring hides dirt and wear far better than uniform floors. Small scratches and scuffs blend into the organic pattern rather than standing out as damage. The floors have developed a subtle patina over three years that only enhances their character. Friends consistently mistake them for expensive tile or leather, shocked when I reveal they’re just stained concrete.
The emotional satisfaction of these floors exceeds their practical benefits. Every time I walk through my loft, I feel pride in creating something unique with my own hands. The floors serve as both foundation and art, providing necessary function while contributing genuine beauty. Guests always comment on them, asking questions about the process and admiring the organic patterns. Most rewarding is knowing that my floors are truly one-of-a-kind, the exact combination of colors, patterns, and variations can never be replicated. What started as a budget compromise became my favorite feature, proving that limitation and creativity often produce the most satisfying results.

How much does DIY concrete staining cost compared to other flooring options?
My 1,200 square foot project cost approximately $600 in materials. Acid stains ran $150 for two colors, the concrete grinder rental cost $100, cleaning and prep supplies totaled $80, sealer for three coats was $200, and various tools and equipment added $70. Professional installation quotes ranged from $3-6 per square foot. Compare that to hardwood at $8-15 per square foot installed or tile at $10-20 per square foot. Stained concrete offers dramatic cost savings while creating unique, durable floors with minimal maintenance requirements.
Can any concrete floor be acid stained, or are there limitations?Most concrete can be stained, but results vary based on age, composition, and condition. New concrete needs at least 28 days to cure fully. Older concrete often produces richer colors due to mineral content. Previously sealed or painted concrete requires complete removal of surface treatments. My three-year-old concrete worked perfectly. Severely damaged concrete with large cracks or spalling isn’t ideal. Smooth-troweled concrete accepts stain differently than broom-finished surfaces. Test small areas first to ensure satisfactory results before committing to entire floors.

How durable are stained concrete floors for high-traffic residential use?
My floors have performed exceptionally well over three years of daily living with pets and frequent entertaining. The acid stain penetrates permanently, so color won’t wear away like surface coatings. Proper sealing protects against stains, moisture, and abrasion. I reseal every 2-3 years for continued protection. The floors handle dropped items, pet nails, and furniture movement without visible damage. The variegated coloring hides minor scratches and wears beautifully. They’re more durable than hardwood and comparable to tile, with easier repairs if damage occurs.
What maintenance do stained concrete floors require long-term?
Maintenance is remarkably simple. I sweep or vacuum several times weekly to remove grit that could scratch the sealer. Weekly damp mopping with pH-neutral cleaner keeps floors spotless. I avoid harsh chemicals and abrasive cleaning tools. Every 2-3 years, I apply a fresh coat of sealer after thoroughly cleaning the floor, which takes an afternoon and costs under $100. Spills wipe up easily when caught promptly. The sealed surface prevents staining from typical household accidents. Overall, maintenance is less demanding than hardwood and far easier than grout-intensive tile.

Can I achieve rustic stained concrete in just one room, or does it look odd?
Single-room applications work beautifully with proper transitions. I’ve since stained my bathroom using similar tones, creating flow between spaces. The key is thoughtful transition details where stained concrete meets other flooring. I used metal threshold strips for clean transitions. Consider how colors complement adjacent rooms. I chose earth tones that work with various décor styles. Staining one room is actually easier than whole-house projects, allowing you to test the process and results before expanding. Many homes successfully mix stained concrete in kitchens or basements with other flooring elsewhere.
What happens if I don’t like the color results after acid staining?
This was my biggest fear, and why testing is crucial. Once the acid stain reacts with concrete, it’s permanent and cannot be removed. However, you can apply darker stains over existing colors to adjust tones. I’ve made adjustments by adding darker stain layers in areas that turned too light. You can also apply concrete dyes over acid stain for color shifts. Worst case, you can grind away the surface layer or cover with other flooring. Testing multiple colors on your actual concrete before committing prevents disappointment and ensures satisfactory results.

Rustic Concrete Floor

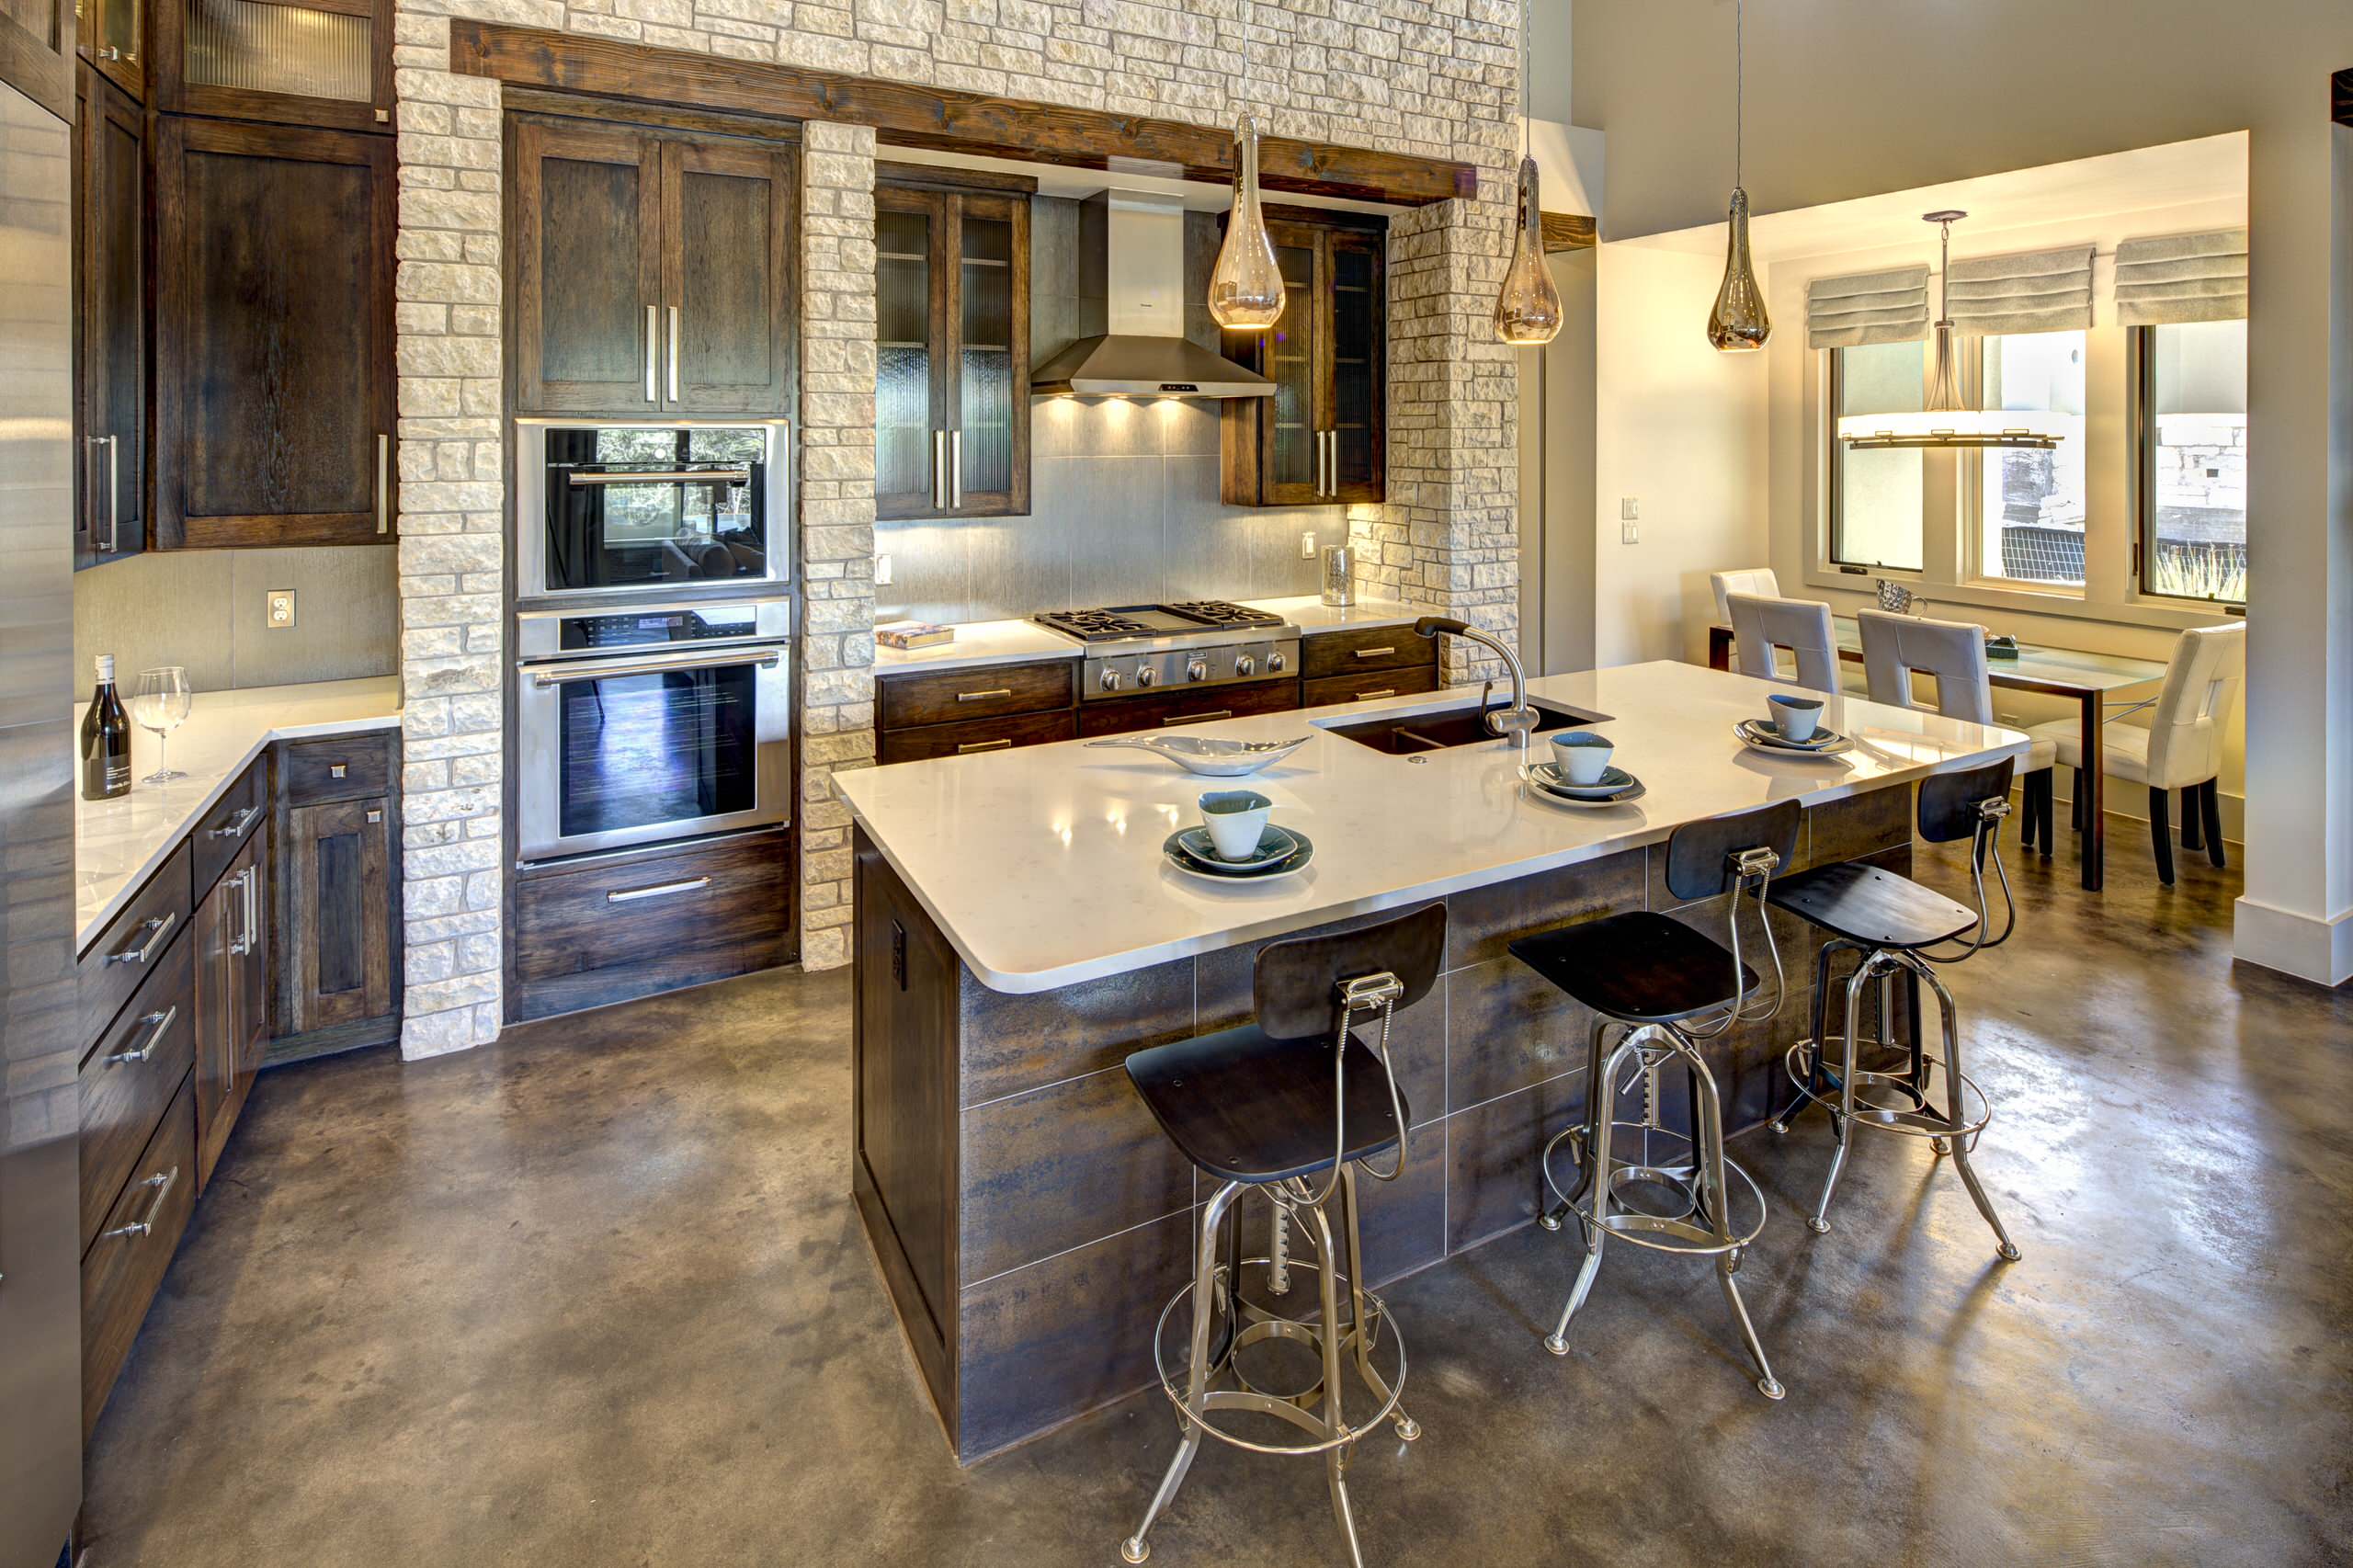
Best Concrete Floor Ideas – Smooth Flooring Interior Designs Concrete kitchen floor

Stained Concrete

Stamped Driveway Texture Stamped Concrete Color Cap

Dark gray siding hall rustic with dark stained wood natural wood trim

Related Posts: