When I decided to transform my garage floor with epoxy paint, I underestimated how much preparation would be involved. The process taught me that proper application makes all the difference between a professional-looking finish and a peeling mess. After two failed attempts and one successful application, I’ve learned exactly what it takes to create a durable, glossy surface that withstands oil spills, tire marks, and heavy tools. The key lies in meticulous surface preparation, ideal weather conditions, and patience during curing. My garage floor now looks like a showroom, but getting there required overcoming several challenges that most DIY guides don’t mention.
Surface preparation consumed 80% of my total project time but proved critical. I started by degreasing the concrete with a trisodium phosphate solution, scrubbing stubborn oil stains with a stiff brush. Etching the floor with muriatic acid opened the pores for better adhesion—a step I skipped during my first failed attempt. For cracks and spalling, I used a concrete patching compound, feathering the edges smoothly. The most labor-intensive part was grinding down uneven spots with a diamond abrasive wheel rented from my local hardware store. This created the perfectly profiled surface epoxy needs to bond properly. Any shortcuts in prep will haunt you later when the coating starts peeling.

Choosing the right epoxy product overwhelmed me initially. I learned that garage floors need 100% solids epoxy for maximum durability, not the watered-down versions found in big-box stores. The two-part system I selected came with color flakes for texture and UV resistance. Quality matters tremendously—professional-grade epoxy costs more but lasts years longer than consumer products. I also invested in a high-quality anti-slip additive to mix into the final topcoat. The epoxy’s pot life (working time once mixed) varies by brand; mine gave me 45 minutes before hardening, requiring efficient application. Testing a small area first revealed how the colors would look on my specific concrete, preventing unpleasant surprises.
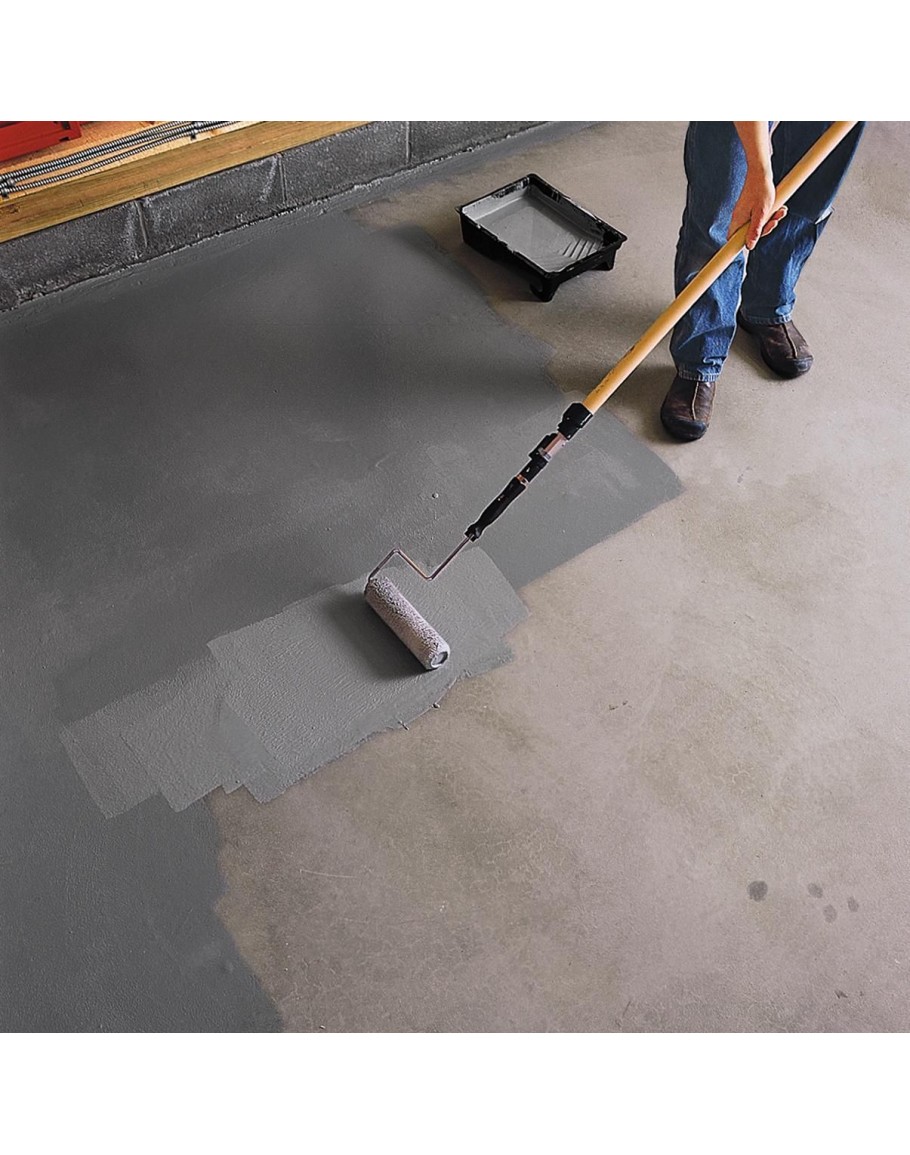
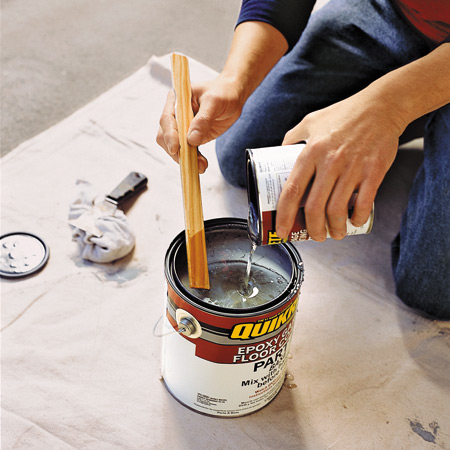
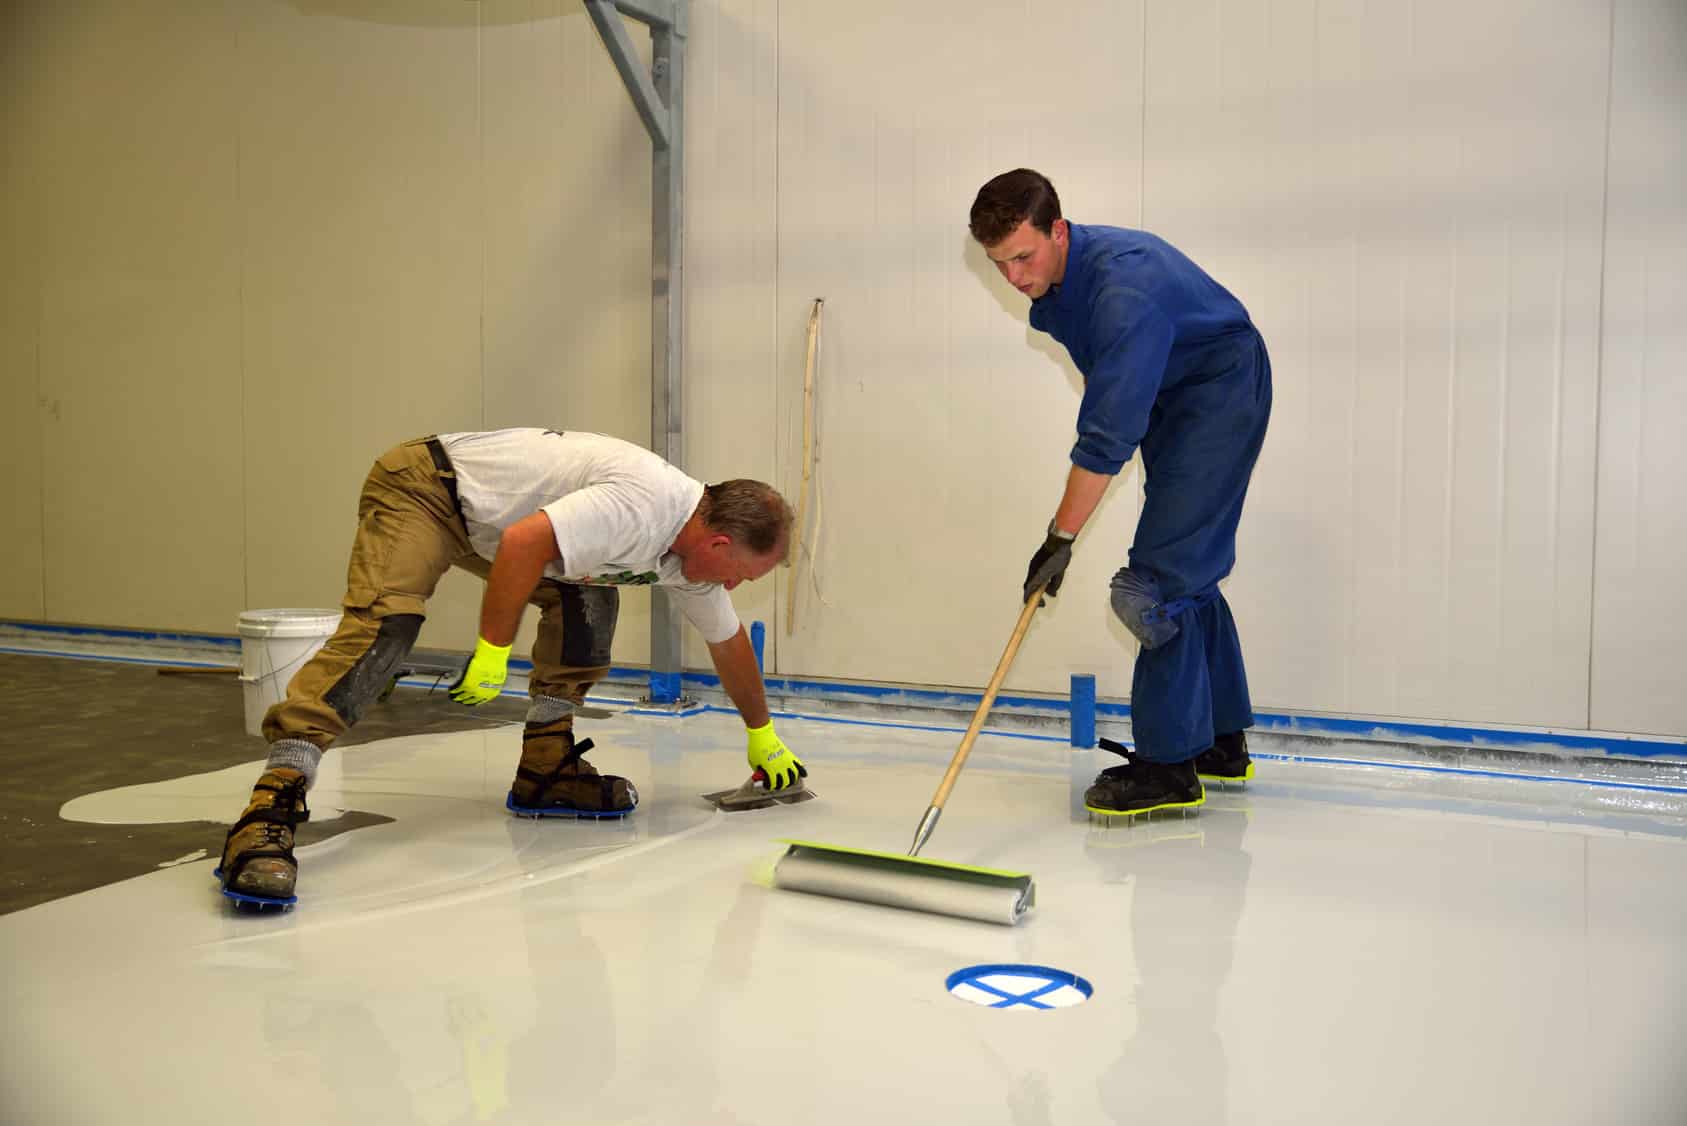
Application day required military-like planning. I waited for a stretch of dry weather with temperatures between 60-85°F—critical for proper curing. Wearing protective gear, I mixed Part A and Part B exactly per instructions using a drill paddle. The clock started ticking the moment the components combined. Pouring the epoxy in small sections, I used a notched squeegee to spread it evenly, followed by a spiked roller to remove bubbles. Broadcasting the color flakes at the right wetness stage took practice—too early and they sink, too late and they won’t stick. Working backward toward the garage door ensured I didn’t paint myself into a corner. The transformation as the glossy finish developed was nothing short of magical.
The curing process tested my patience more than expected. While the epoxy felt dry to the touch after 24 hours, full curing takes 72 hours before light use and seven days before parking cars. I learned this the hard way when tire marks appeared after premature use. Temperature and humidity dramatically affect drying times—my winter attempt failed because the garage stayed too cold. Using space heaters helped maintain ideal conditions. The smell dissipated after about 48 hours, but proper ventilation remained crucial throughout. Watching for imperfections during curing allowed me to spot a few thin areas that needed touch-ups before applying the final clear topcoat. Rushing this stage ruins all your hard work.
Maintenance has been refreshingly simple compared to bare concrete. Spills wipe up easily without staining, and dirt sweeps away effortlessly. I occasionally mop with a mild detergent to maintain the shine. The anti-slip additive provides enough texture for safety without making cleaning difficult. After three years, the floor still looks nearly new except for one small chip where I dropped a sharp metal tool from waist height. Unlike my previous painted floor that peeled wherever tires rested, the epoxy shows no signs of tire lift or hot tire pickup. The high-gloss finish actually makes the garage brighter by reflecting light—an unexpected benefit.
Costs were higher than I initially budgeted, but provided excellent value. My two-car garage required two epoxy kits totaling 350, plus 350, plus 150 in prep materials and tool rentals. Professional quotes came in around 3,000, making my DIY approach about one-fifth the price. The project demanded a full weekend of intense labor,buttheskillsIgainedtransfertootherfloorsinmyhome. Compared to the 3,000, my DIY approach is about one-fifth the price. The project demanded a full weekend of intense labor, but the skills I gained transferred to the floors in my home. Compared to the 50 garage floor paints I’d used before, the epoxy system costs more upfront but lasts decades rather than months. Considering I won’t need to redo it for 10-15 years with proper care, the long-term savings are substantial.
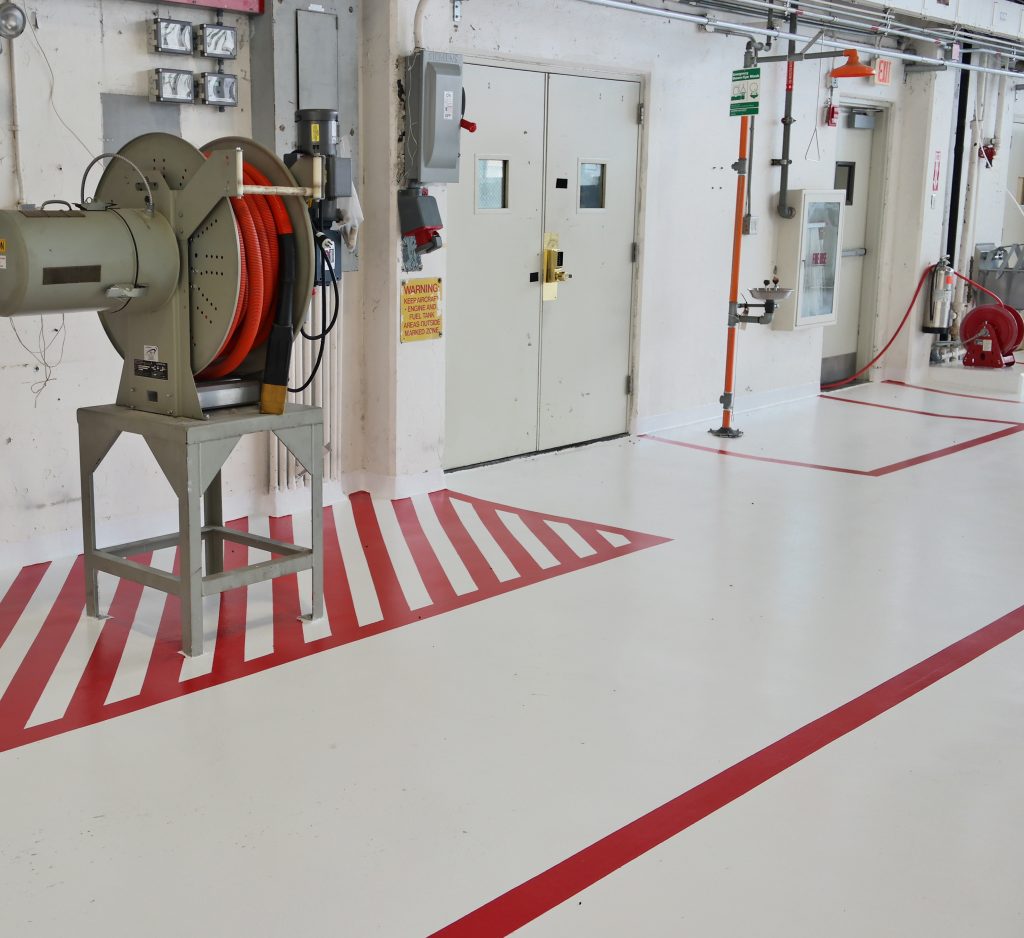
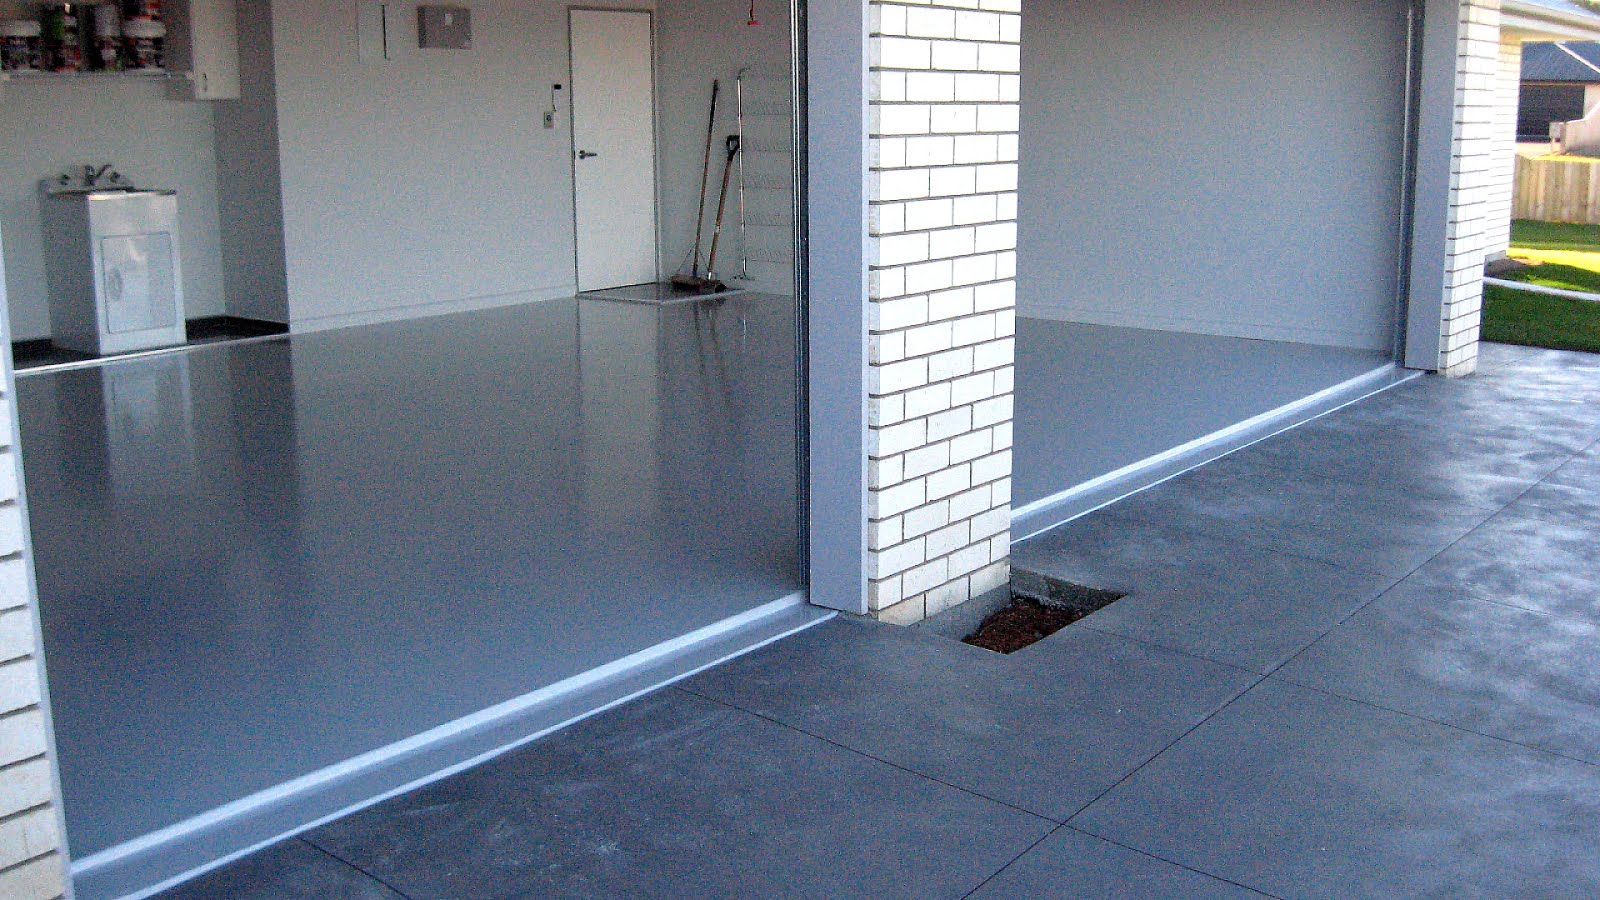
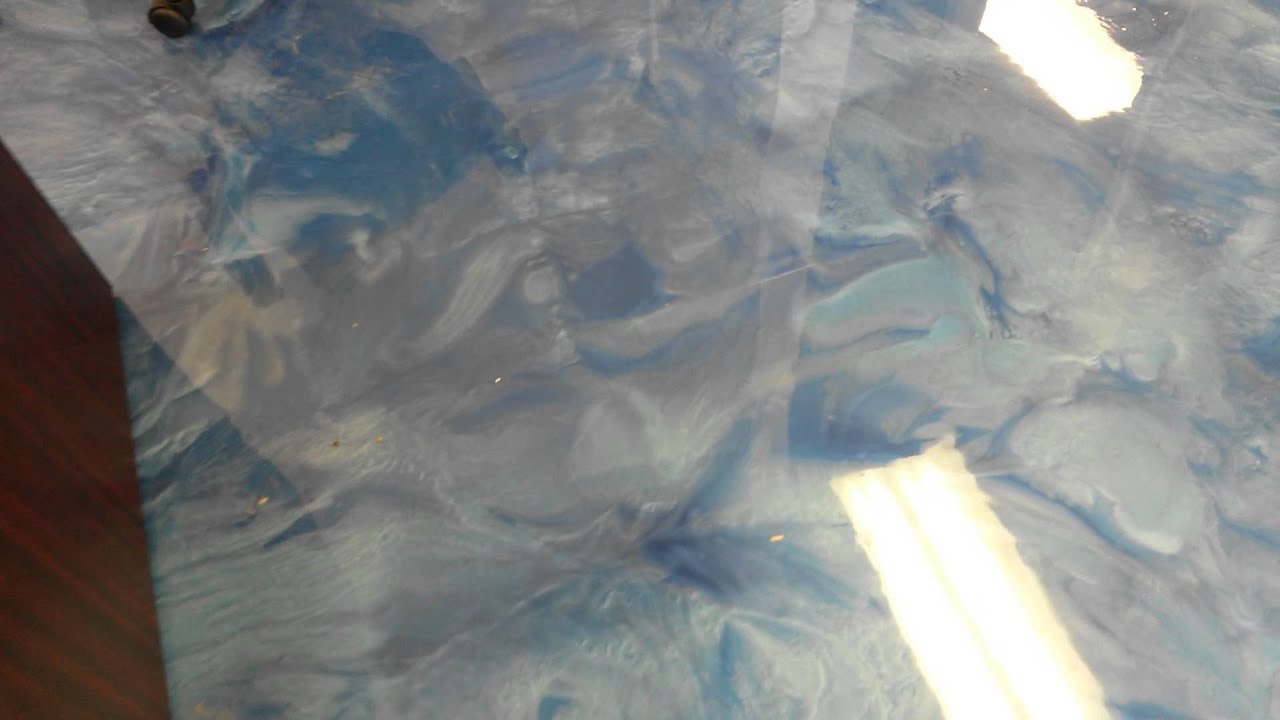
Design possibilities surprised me with their versatility. The color flakes create depth and hide imperfections beautifully—I chose a gray base with black, white, and silver flakes. Some neighbors have created intricate patterns using tape-off techniques between coats. Metallic epoxy systems produce stunning, marbled effects that look like polished stone. For my workshop area, I added glow-in-the-dark flakes that charge under lights—both functional and fun. The clear topcoat protects these decorative elements while adding depth. Next time, I might experiment with a two-tone design using different flake densities to define zones. Epoxy’s customization potential goes far beyond basic floor protection.
Temperature sensitivity was my biggest learning curve. My first attempt in fall failed because overnight temperatures dipped below the product’s minimum threshold. Epoxy becomes viscous in cold weather, making application difficult and affecting cure strength. Ideal conditions are 70-80°F with moderate humidity—I now plan projects for late spring or early fall. During application, I closed the garage door to prevent dust and insects from settling in the wet epoxy. A laser thermometer helped monitor concrete temperature, which often differs from air temperature. These environmental factors make or break an epoxy floor’s success more than any other variable.
After living with my epoxy floor for several years, I’m completely converted to its benefits. What was once a stained, cracked eyesore is now a point of pride that impresses visitors. The surface has withstood everything from leaking oil pans to dropped engine blocks without damage. Cleaning takes minutes instead of the hours I used to spend scrubbing concrete. While the process demands careful preparation and patience, the payoff in durability and aesthetics makes all the effort worthwhile. For any homeowner tired of ugly, high-maintenance garage floors, a properly applied epoxy coating delivers transformative results that last.
How long does epoxy floor paint last compared to regular paint?
Quality epoxy floor coatings last 10-15 years with proper application, while standard garage paints typically peel within 1-3 years. The difference lies in epoxy’s chemical bonding and thickness—it penetrates and coats concrete simultaneously. My three-year-old epoxy shows no wear beyond one small chip, whereas previous latex paints failed within months near tires. Two-part 100% solids epoxy systems offer the longest lifespan, especially with a protective topcoat. Environmental factors like UV exposure and freeze-thaw cycles affect longevity, but epoxy outperforms all other DIY floor coatings significantly.
Can you apply epoxy over existing paint or sealers?
Epoxy requires bare, properly prepared concrete for reliable adhesion. I learned this the hard way when my first attempt over old paint peeled within weeks. All existing coatings must be completely removed by grinding or chemical stripping. The concrete should then be etched to open pores for mechanical bonding. Some epoxy manufacturers offer primers for questionable surfaces, but nothing substitutes for proper preparation. Testing with water absorption—if water beads, keep prepping—ensures the surface is ready. This crucial step separates successful applications from expensive failures.

Is epoxy flooring slippery when wet?
Pure epoxy can be slippery, but additives solve this problem. I mixed anti-slip granules into my final clear coat, creating a textured surface that’s safe even with oil spills. The granules are nearly invisible but provide excellent traction—my floor has a slight roughness like fine sandpaper. Some DIYers sprinkle silica sand between coats or choose epoxy with built-in grip. The right additive maintains easy cleaning while preventing slips. Just avoid over-application, as too much texture collects dirt. Testing a small area first helps find the perfect balance between safety and cleanability.
How do you repair damaged epoxy floors?
Small chips can be filled with leftover epoxy mixed thicker than usual. For my tool-dropped chip, I cleaned the area, feathered the edges with sandpaper, and applied a small amount of tinted epoxy. Larger damaged sections require grinding back to sound material and reapplying base and top coats—this creates visible seams but restores protection. Prevention is easier than repair: using floor mats under workbenches and avoiding sharp impacts preserves the finish. Keeping extra material from the original installation ensures color matches for touch-ups.

Can epoxy floors handle hot tires without damage?
Quality epoxy systems resist hot tire pickup when fully cured. I waited seven days before parking cars and have had zero issues with summer heat or long drives. The epoxy’s thermal stability prevents the softening that causes cheaper coatings to peel. That said, extremely hot racing tires or prolonged exposure to hot objects can potentially mark the surface. For peace of mind, check your specific product’s temperature rating—most handle normal vehicle use effortlessly. Letting tires cool slightly before parking provides extra insurance during heat waves.
What’s the best way to clean and maintain epoxy floors?
Regular sweeping prevents abrasive dirt buildup, while occasional mopping with a pH-neutral cleaner maintains the shine. I avoid harsh chemicals like undiluted bleach that can dull the finish over time. For oil spills, immediate cleanup with absorbent materials followed by a mild detergent rinse works perfectly. Reapplying a fresh, clear topcoat every 3-5 years refreshes protection without redoing the entire floor. The beauty of epoxy is its low maintenance; my floor looks great with just minutes of care weekly, a dramatic improvement over high-maintenance bare concrete.
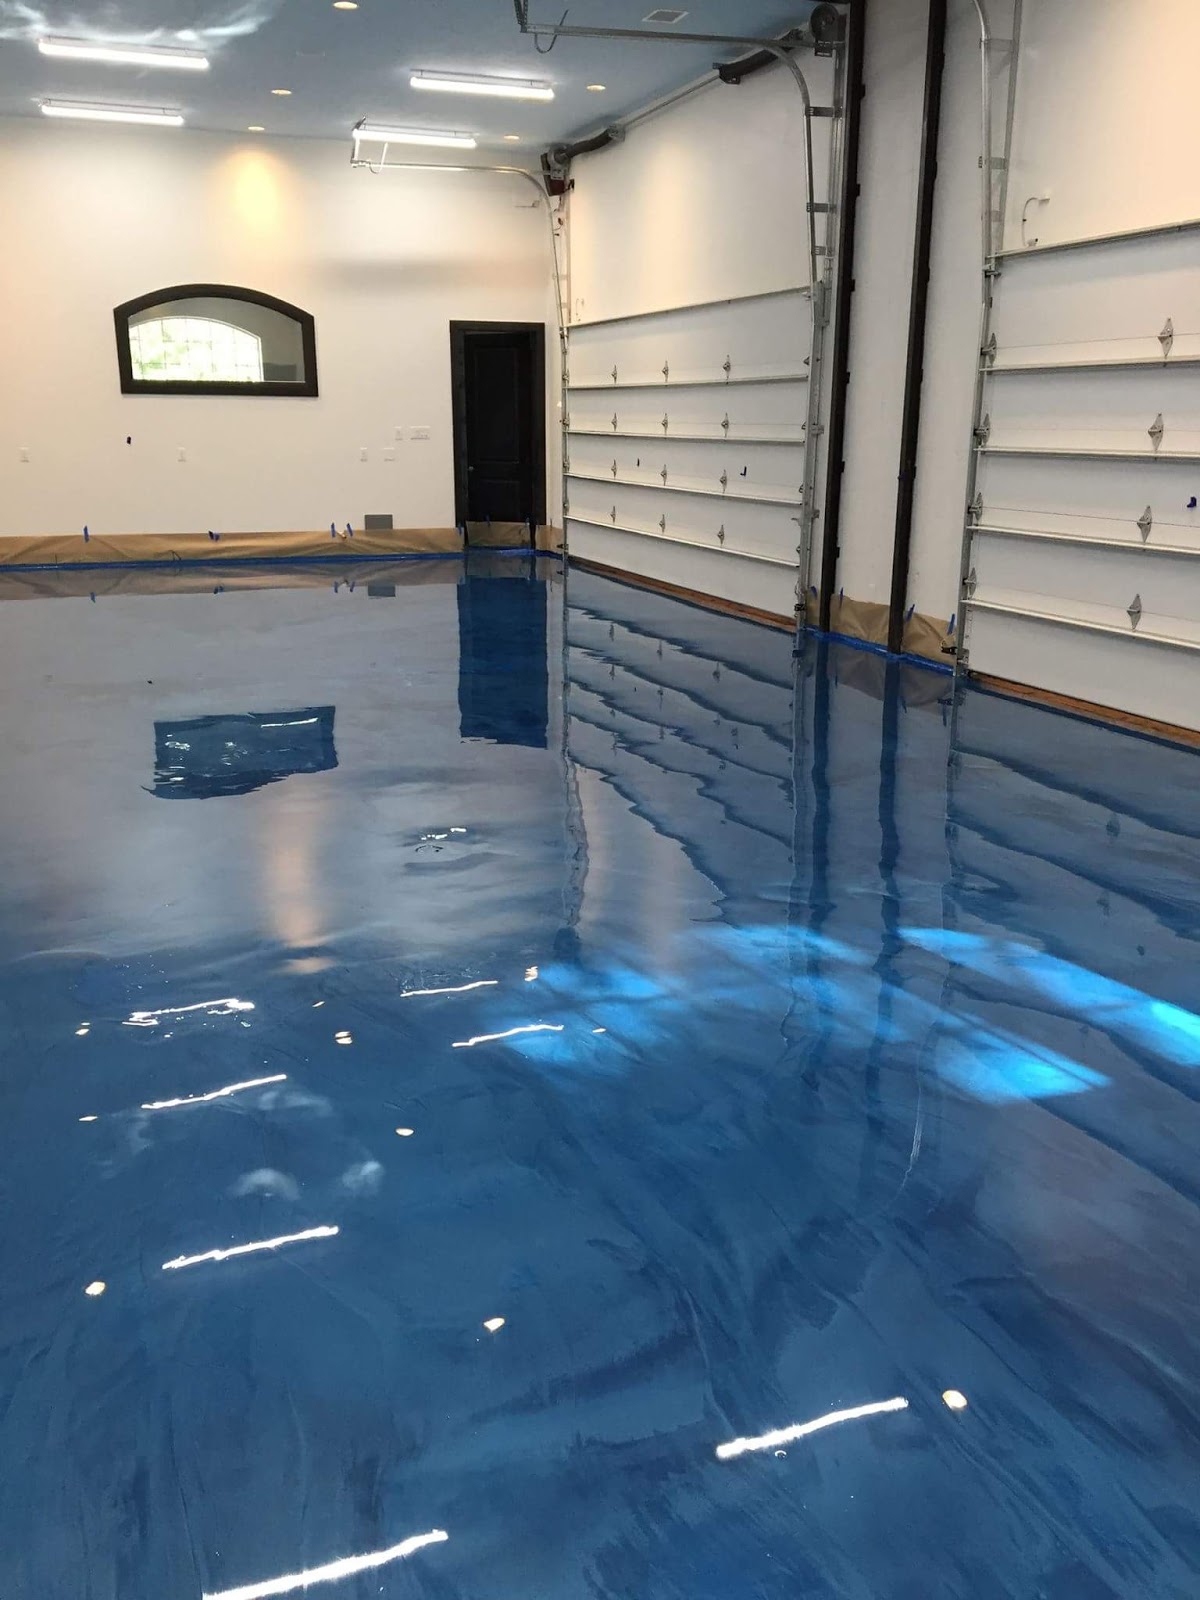
Blue metallic epoxy ‘The water floor’
Tout savoir sur la peinture époxy : coût, méthode d’application, etc.
Related Posts: