Installing tile over concrete might seem straightforward, but there are key steps you can’t skip if you want long-lasting results. I’ve tiled dozens of concrete floors, some that held up beautifully and others that taught me hard lessons. The concrete must be clean, dry, and structurally sound before you even think about tile. Cracks or moisture problems will ruin your work, so proper prep is everything. I always check for levelness, too—while small imperfections can be fixed with thinset, major uneven areas need self-leveling compound first. Taking time to do this right saves headaches later.
Moisture testing is a step many DIYers overlook, but it’s crucial. I learned this the hard way when tiles popped off a basement floor after just six months. Now I always do a plastic sheet test, tape a square of plastic to the concrete, and check for condensation after 24 hours. For slab-on-grade concrete, a calcium chloride test measures moisture vapor emission. If levels are high, you’ll need a moisture barrier or epoxy sealer before tiling. I keep a hygrometer handy to check humidity level,s too. These extra steps add time but prevent costly failures down the road.
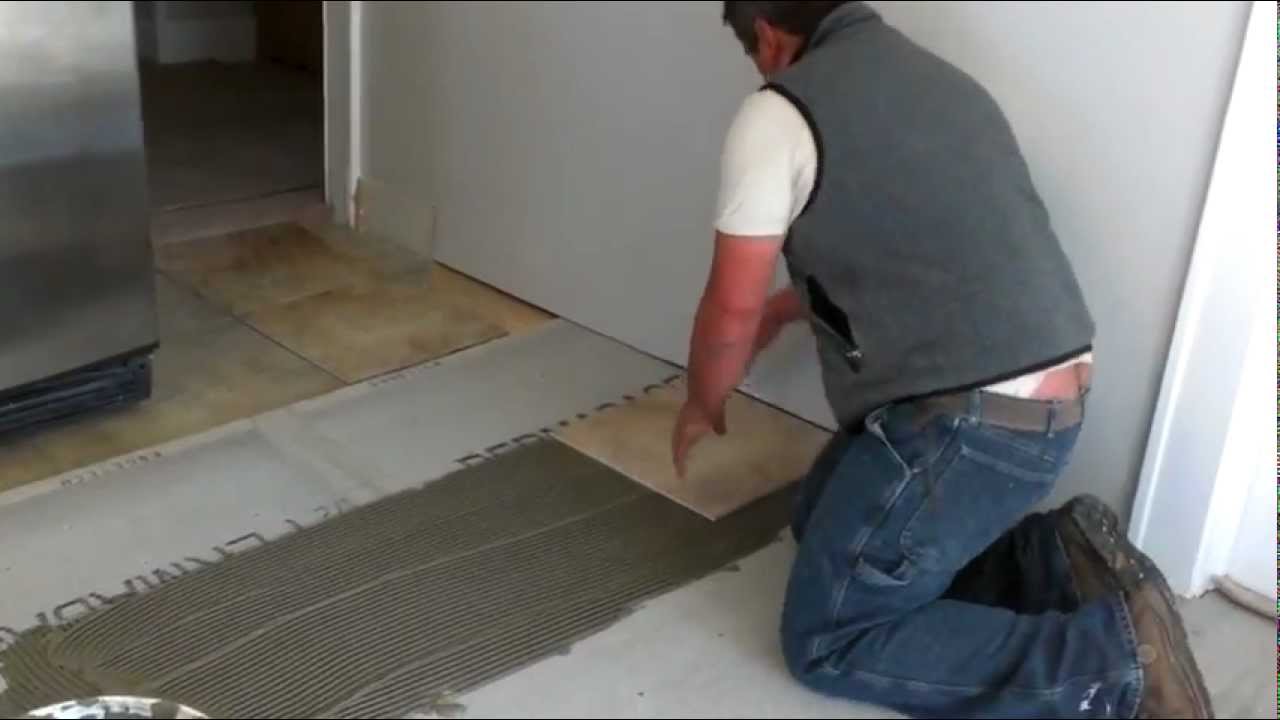
Choosing the right thinset mortar makes all the difference. For most concrete-to-tile applications, I use a modified polymer thinset that bonds well to both surfaces. In damp areas, I opt for a premium uncoupling membrane mortar that handles minor moisture. The mixing consistency matters, too thick and it won’t adhere properly, too thin and it’ll slump. I aim for a peanut butter texture and mix small batches to prevent drying out. Applying it with the correct notched trowel (usually 1/4″ x 3/8″ for floor tiles) ensures proper coverage. Watching the clock is key, you typically have about 30 minutes of working time before it skins over.
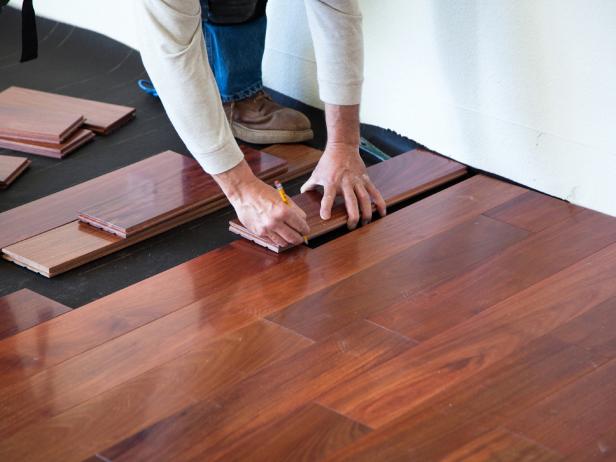
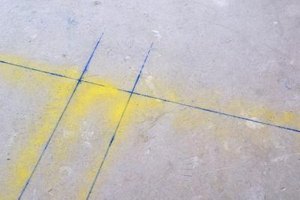
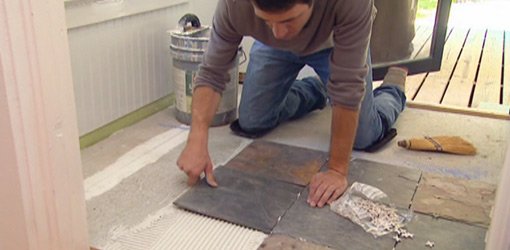
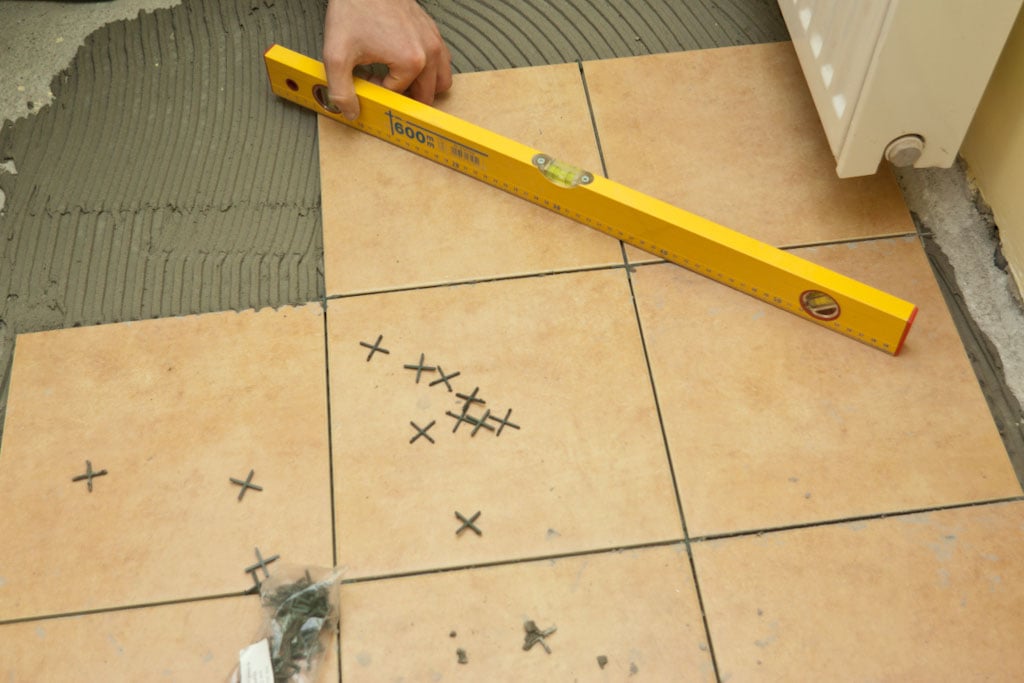
Tile layout planning separates pro results from amateur work. I always dry-lay tiles first to minimize cuts and ensure pleasing patterns. Starting from the center and working outward prevents awkward slivers at the edges. For large format tiles, I use leveling spacers to prevent lippage, those slight height differences that catch toes. A laser level helps maintain straight lines, especially in large rooms. One trick I’ve learned: lay out tiles in both directions before committing, since walls are rarely perfectly square. Taking an extra hour here saves days of frustration later.
Cutting tiles properly is an art I’ve refined over the years. For straight cuts, a quality wet saw with a diamond blade gives clean edges. When I need L-cuts or notches, an angle grinder with a tile blade handles complex shapes. For small adjustments, tile nippers work surprisingly well. I always cut a few extra tiles, mistakes happen, and dye lots vary between boxes. Safety gear is non-negotiable: gloves, goggles, and a mask protect against silica dust. Keeping a bucket of water nearby helps control dust when dry-cutting. Practice cuts on spare tiles help dial in the technique before working on the good pieces.
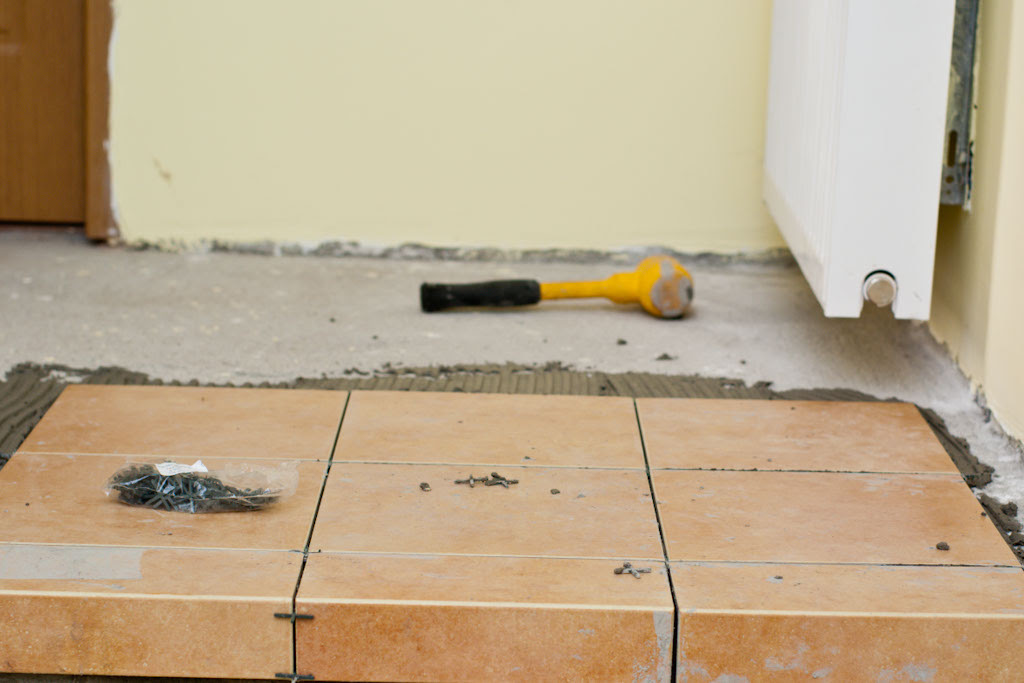
The actual installation requires patience and attention to detail. I butter the back of each tile with thinset using the flat side of the trowel, then press firmly into the combed mortar bed. A slight twisting motion ensures full contact. Checking periodically with a straightedge catches any unevenness early. I remove spacers once the thinset is firm but not fully cured, usually about 24 hours. Walking on fresh tiles is tempting, but they can shift; I use kneeboards to distribute weight. Working in manageable sections prevents rushing as the thinset sets up.

Grouting comes after the thinset fully cures, typically 24-48 hours. I prefer sanded grout for floors since it’s more durable and fills wider joints better. Mixing to pancake batter consistency prevents shrinkage cracks. Using a grout float at a 45-degree angle forces material deep into joints. Cleaning excess grout with a damp sponge before it fully dries is crucial—wait too long and you’ll scratch the tile surface. I make multiple light passes rather than one heavy cleaning. For natural stone tiles, I use a grout release first to prevent staining.
Sealing is the final protective step many skip, but I never do. For porous tiles like natural stone, I apply impregnating sealer before grouting. After grout cures (usually 72 hours), I seal everything again. Even glazed porcelain benefits from grout sealer which repels dirt and moisture. I test sealers in inconspicuous areas first since some can alter appearance. Reapplying sealer every 1-2 years maintains protection, especially in wet areas. This extra step dramatically extends the life of the installation.
The last touches make all the difference. Installing transition strips where tile meets other flooring protects edges and provides a clean look. I use color-matched caulk where tile abuts walls or fixtures—never grout—to allow for movement. For heated floors, I wait until everything’s fully cured before turning the system back on. A final inspection catches any high spots or loose tiles before furniture goes back. The pride of stepping onto a perfectly tiled floor makes all the effort worthwhile.
Can you tile directly over old concrete without prep?
Never skip prep—even seemingly sound concrete needs cleaning and evaluation. I start by pressure washing or scrubbing with a degreaser to remove all contaminants. Any cracks wider than 1/8″ need filling with concrete patching compound. The surface must be sound—if the concrete powders when scraped, it needs stabilizing treatment. I always grind or etch glossy surfaces for better thinset adhesion. While it’s tempting to save time, proper prep ensures your tile job lasts decades rather than years.
What’s the best tile size for concrete floors?
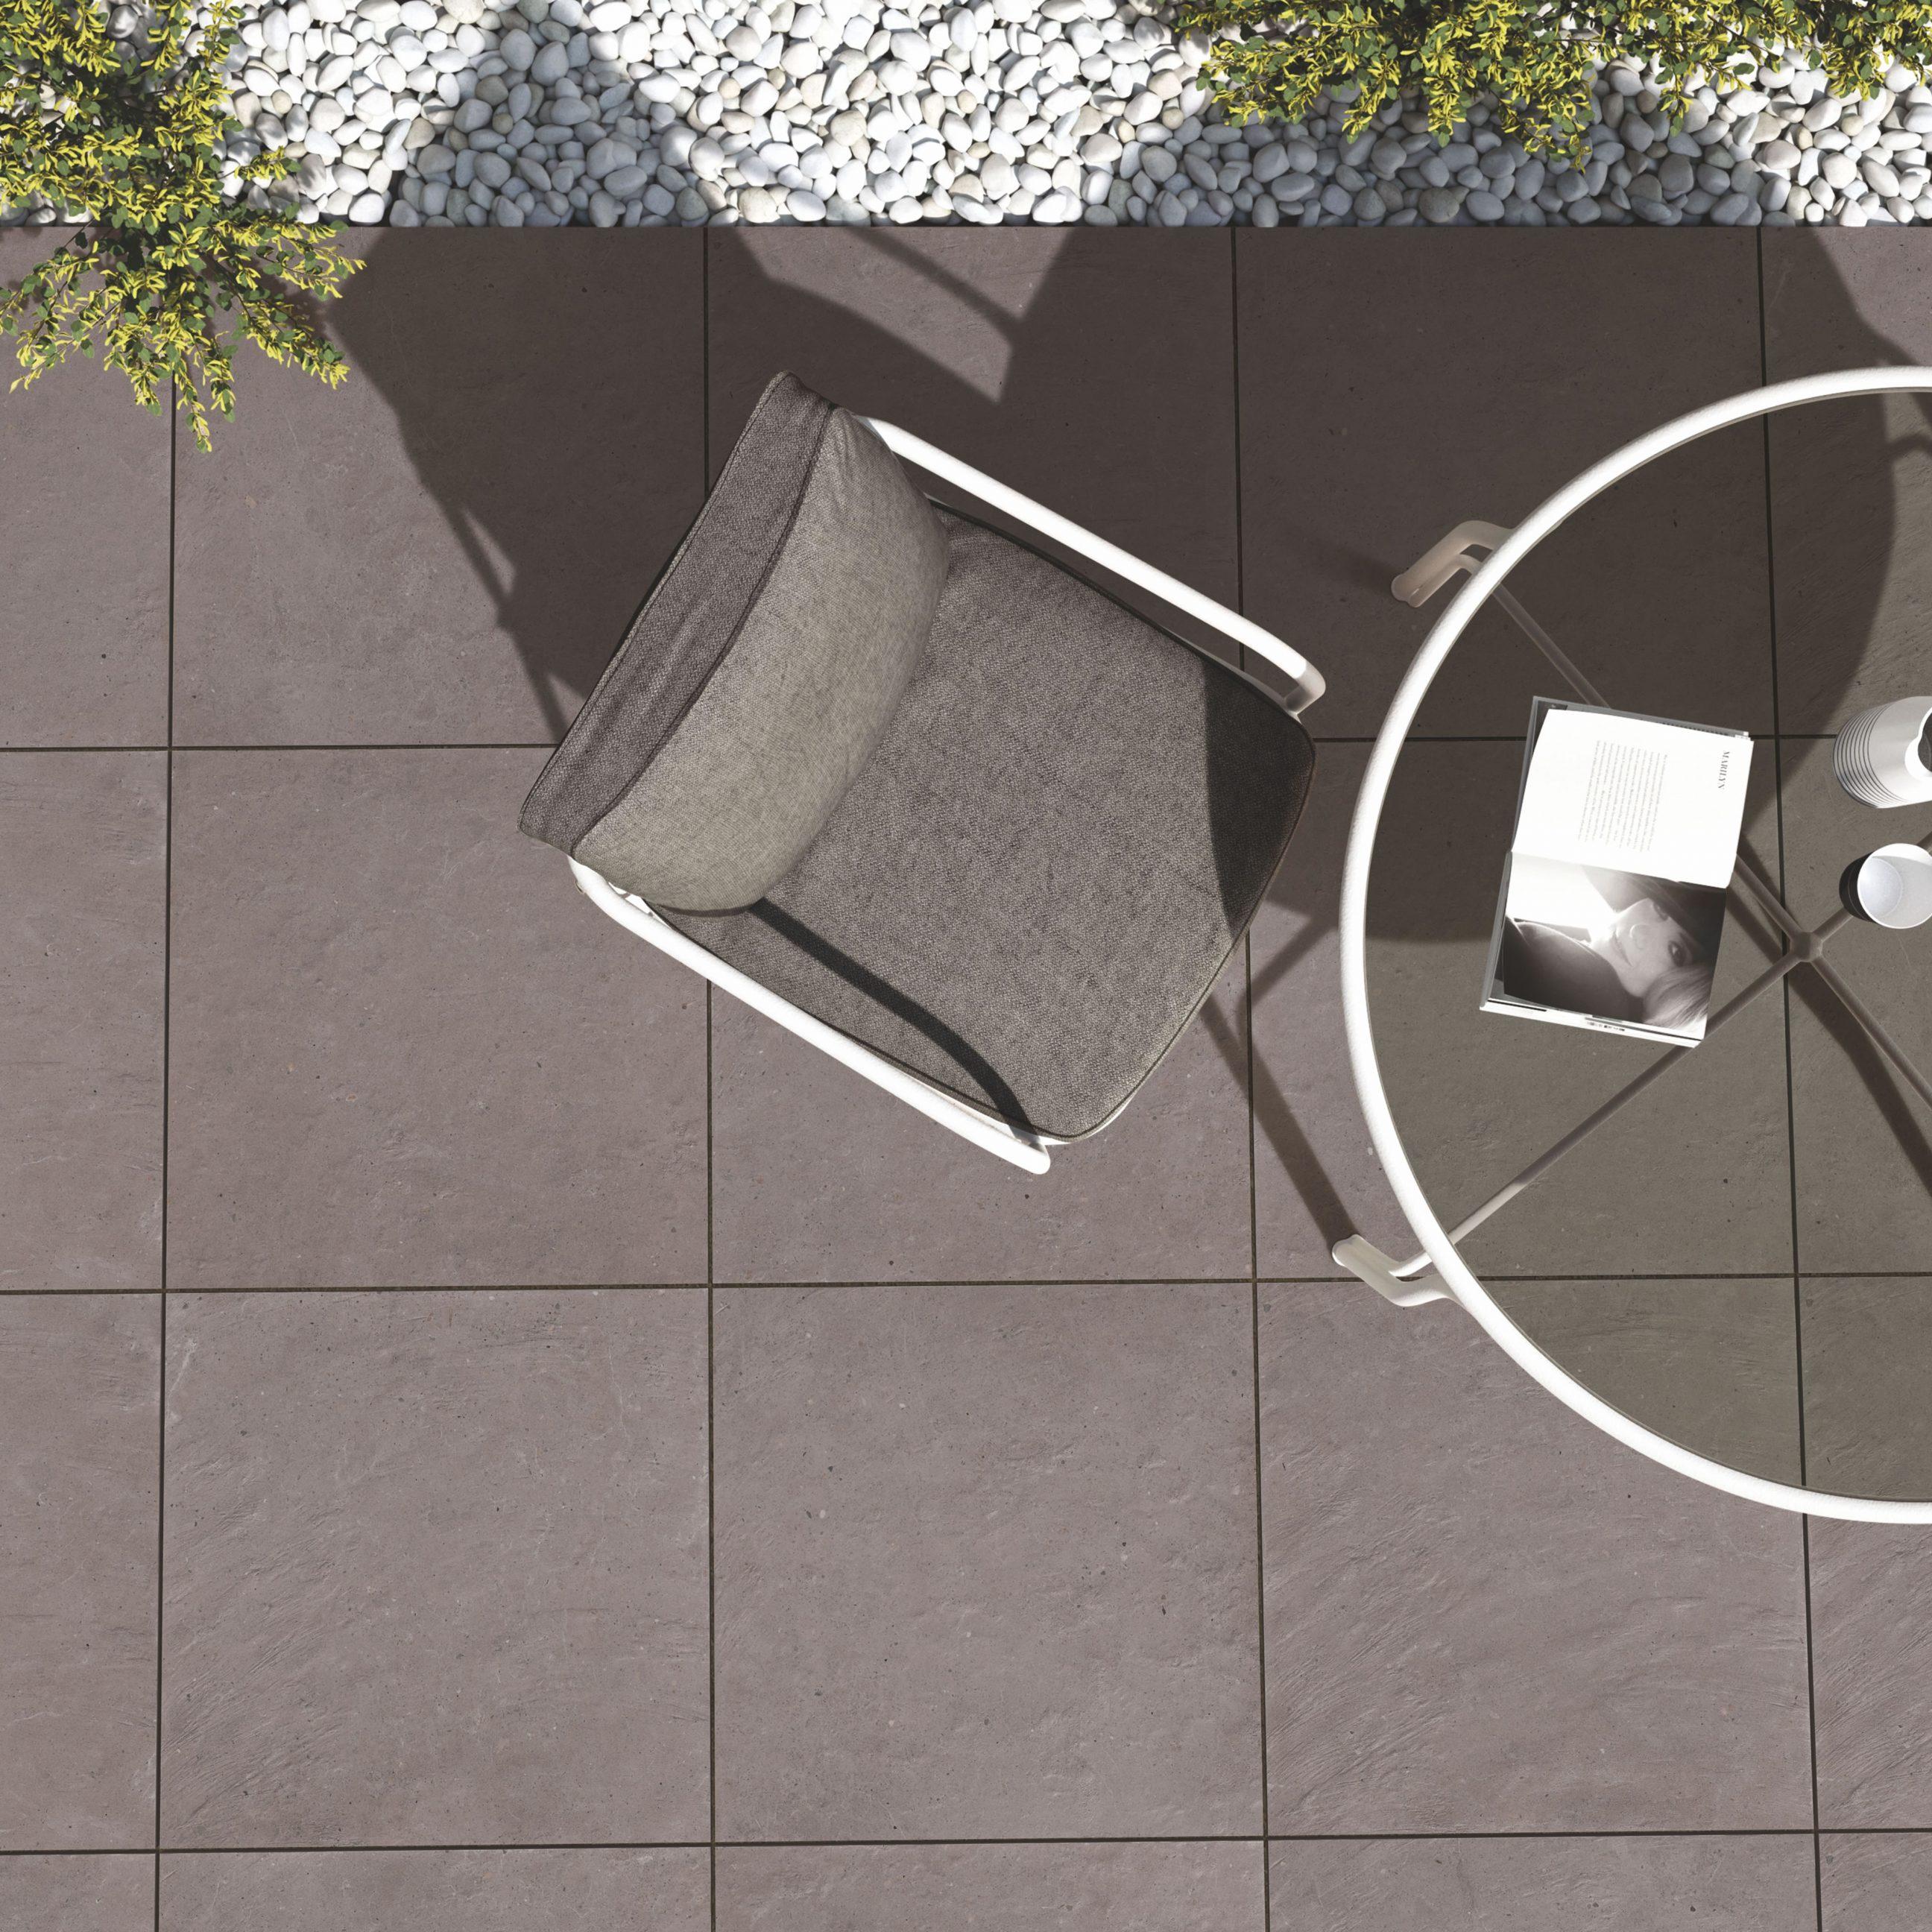
Medium format tiles (12″x24″) are my go-to—they’re easier to handle than large format but show fewer grout lines than small tiles. For DIYers, 12″x12″ tiles are most forgiving to install. Large tiles (24″x48″) require perfectly flat floors and more skill to prevent lippage. I avoid tiny mosaic tiles on floors—too many grout lines to maintain. The key is choosing tiles rated for floor use (PEI 3 or higher) with proper slip resistance (COF ≥0.60 for wet areas). Scale the tile size to your room dimensions for balanced proportions.
How do you prevent cracks in tile over concrete?
An uncoupling membrane is my top defense against cracks. Products like Schluter-Ditra create a buffer that prevents concrete movement from transferring to tiles. For large areas, I incorporate soft joints (color-matched caulk) every 20-25 feet. Using a high-quality modified thinset with crack prevention properties helps, too. Ensure the concrete slab has control joints that align with tile joints when possible. In cold climates, I avoid tiling directly over exterior concrete that experiences freeze-thaw cycles without proper insulation.
Can you install tile over painted concrete?
It’s possible but risky, I only do it after thorough preparation. First, test if the paint is latex or epoxy by rubbing with acetone. Latex paint must be completely removed by grinding or chemical strippers. Epoxy can sometimes stay if it’s well-adhered and roughened with 60-grit sandpaper. I always conduct a bond test first, apply thinset to a small area, and try prying it up after curing. If it releases easily, the paint must go. When in doubt, I remove all paint, it’s extra work, but guarantees a lasting installation.
How long should concrete cure before tiling?
New concrete needs at least 28 days to fully cure before tiling—I’ve seen tiles fail when installed too soon. For interior slabs, I wait a minimum of 30 days in moderate climates. In humid areas, I extend this to 45-60 days and verify with moisture tests. Patches and repairs need at least 7 days to cure. Rushing this stage risks moisture-related failures as the concrete continues drying. If you must tile sooner, use a rapid-setting uncoupling membrane system designed for fresh concrete.
What’s the best way to clean concrete before tiling?
My three-step process never fails: First, remove all loose debris with a stiff broom and vacuum. Next, scrub with a concrete etcher (muriatic acid substitute) to open pores, neutralize, and rinse thoroughly. Finally, degrease with trisodium phosphate (TSP) for oily stains. For stubborn contaminants, I rent a concrete grinder with a diamond cup wheel. The surface should be clean enough that water soaks in rather than beads up. I always do a “white glove test” – if a white cloth shows dirt after wiping the concrete, more cleaning is needed.
How to make the concrete floor tile – YouTube

How to tile a concrete floor HowToSpecialist – How to Build, Step by Step DIY Plans
Removing Tile From Concrete Floor – Flooring – DIY Chatroom Home Improvement Forum

Removing Tile From Concrete Floor – Flooring – DIY Chatroom Home Improvement Forum

How to Give a Tile Facelift to an Ordinary Concrete Porch how-tos DIY

How to Build a Concrete Fireplace Hearth
Related Posts: